Foundations
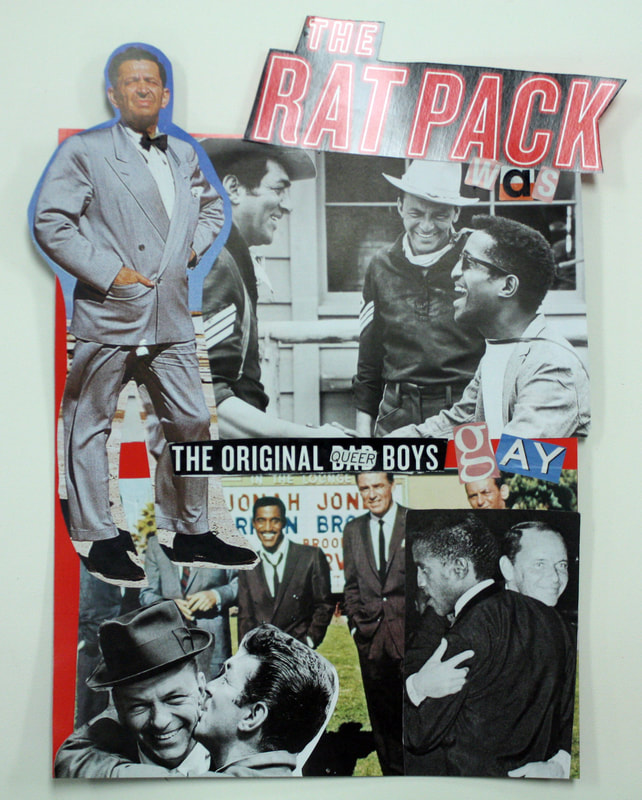
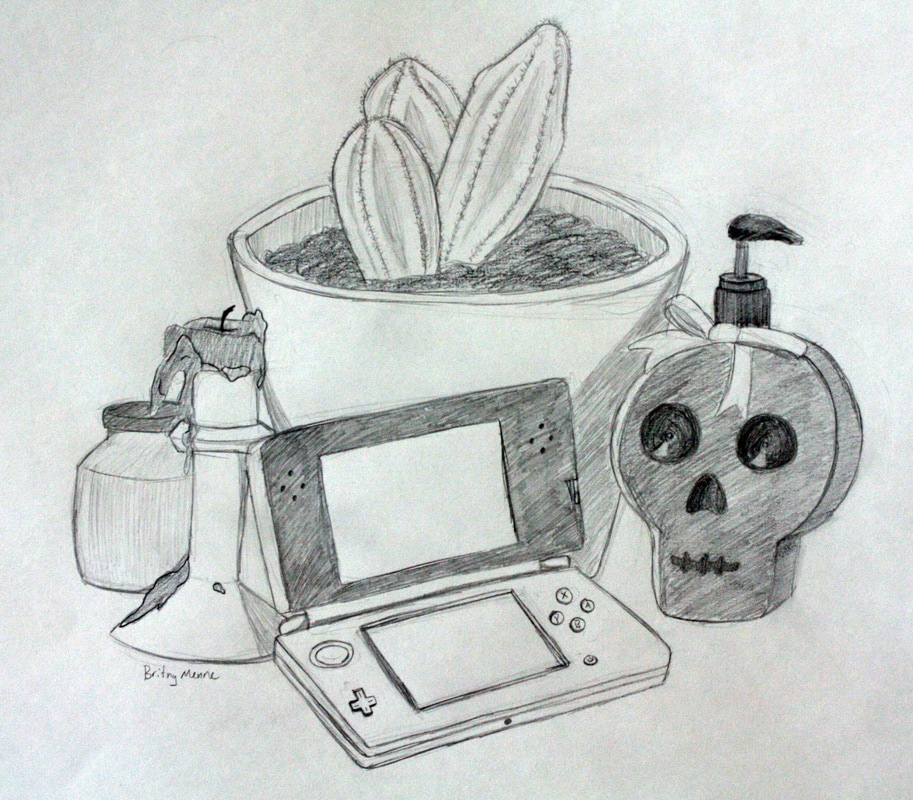
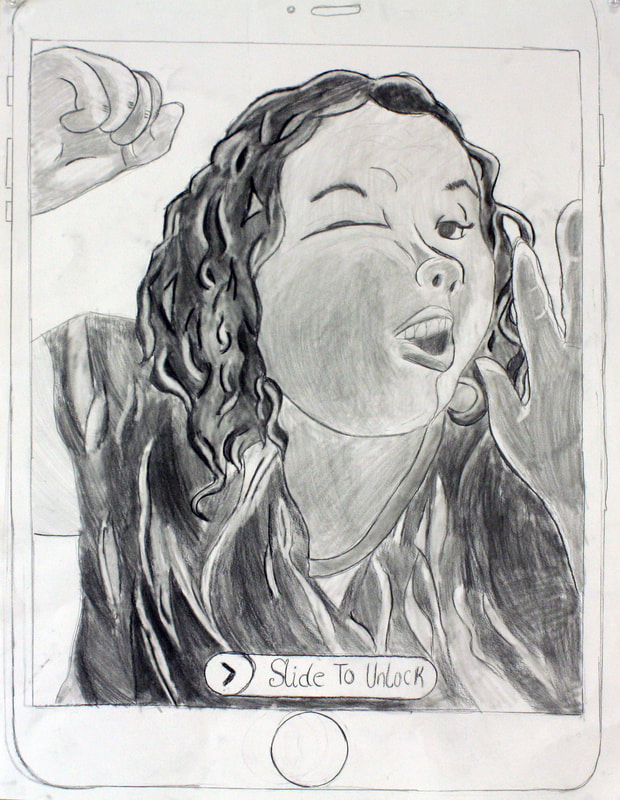
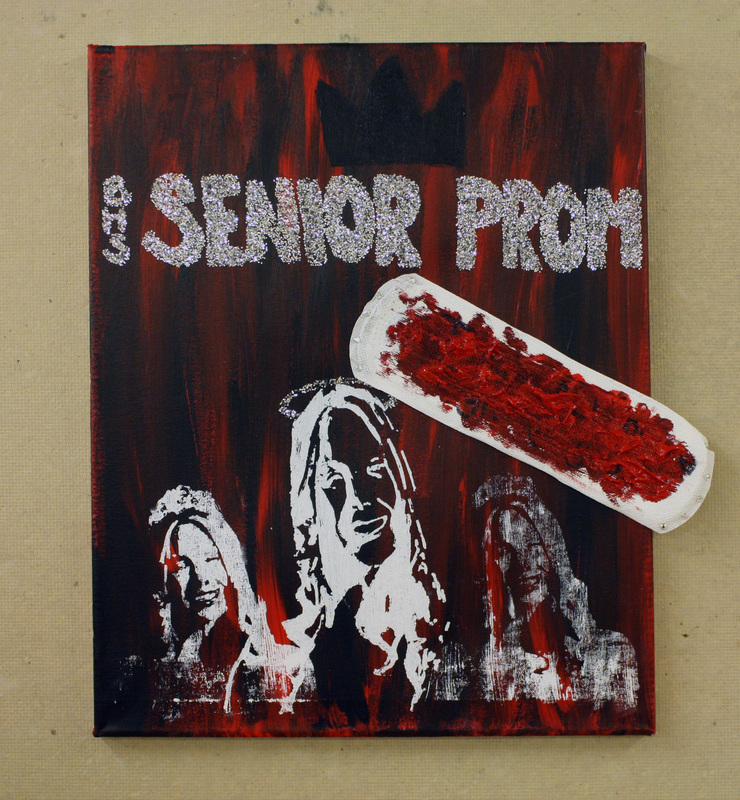
Newspaper Project - The Newspaper Project begins with announcing to the students that they must procure a newspaper. Next, they are tasked with creating an artwork based on a news article with little to no help from the professor. In doing so, the student must form an idea, a small introduction to conceptualization, and using their techniques they've learned so far, which allows the professor to gauge their skill levels and preferred mediums, to create a unique artwork on their own.
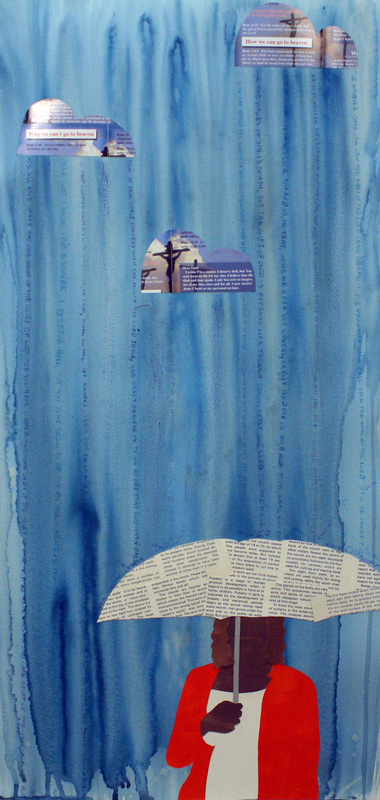
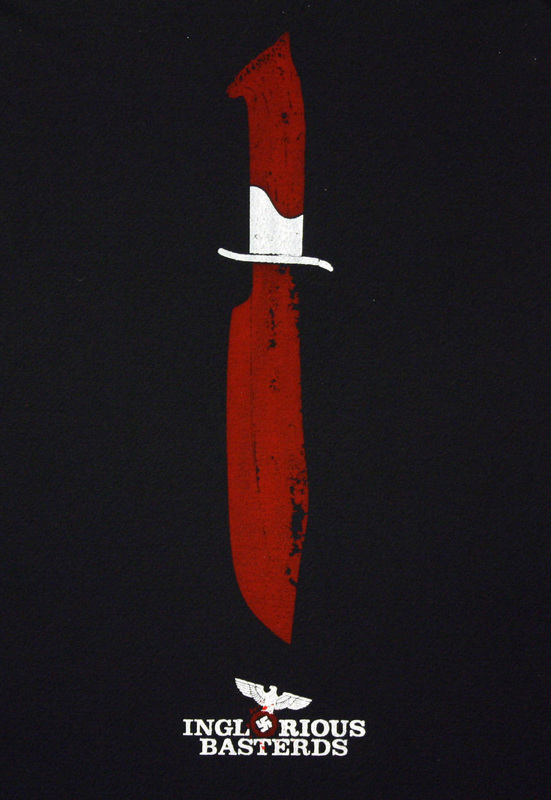
Conversion Project - The Conversion Project begins with announcing to the students they must select a sound to create an artwork based on. They are not allowed to create the sound themselves, this is the only rule. In doing so, the student must then recreate a sound as a visual artwork and create their own composition. The student is given a small introduction to conceptualization and using the techniques they've learned thus far, which allows the professor to gauge their skills and preferred mediums to create a unique artwork on their own.


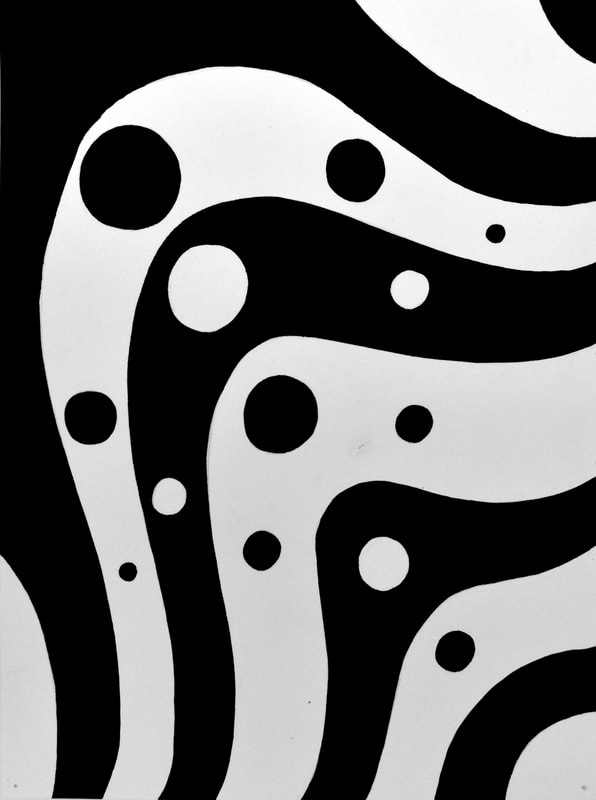
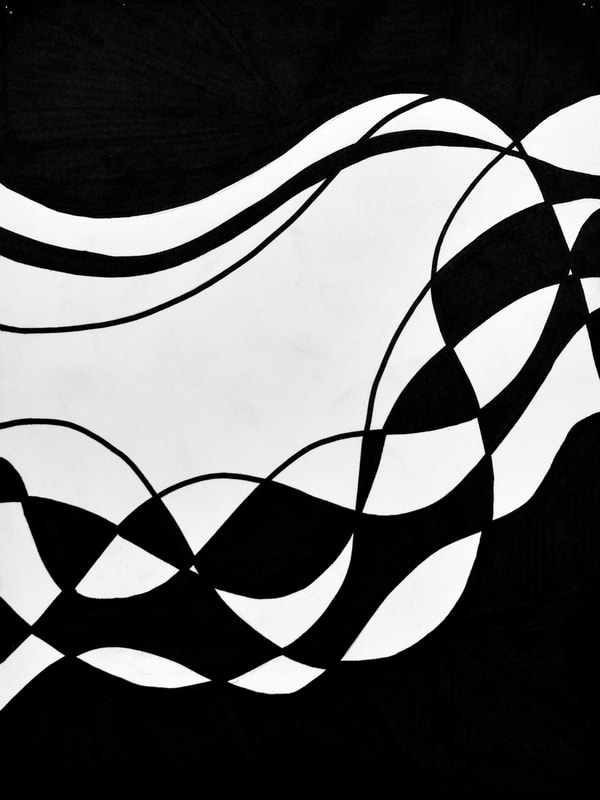
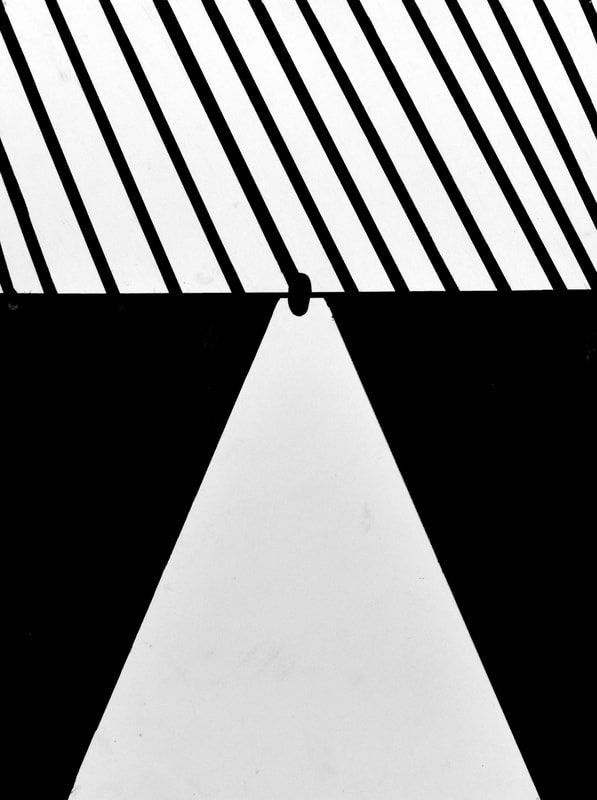
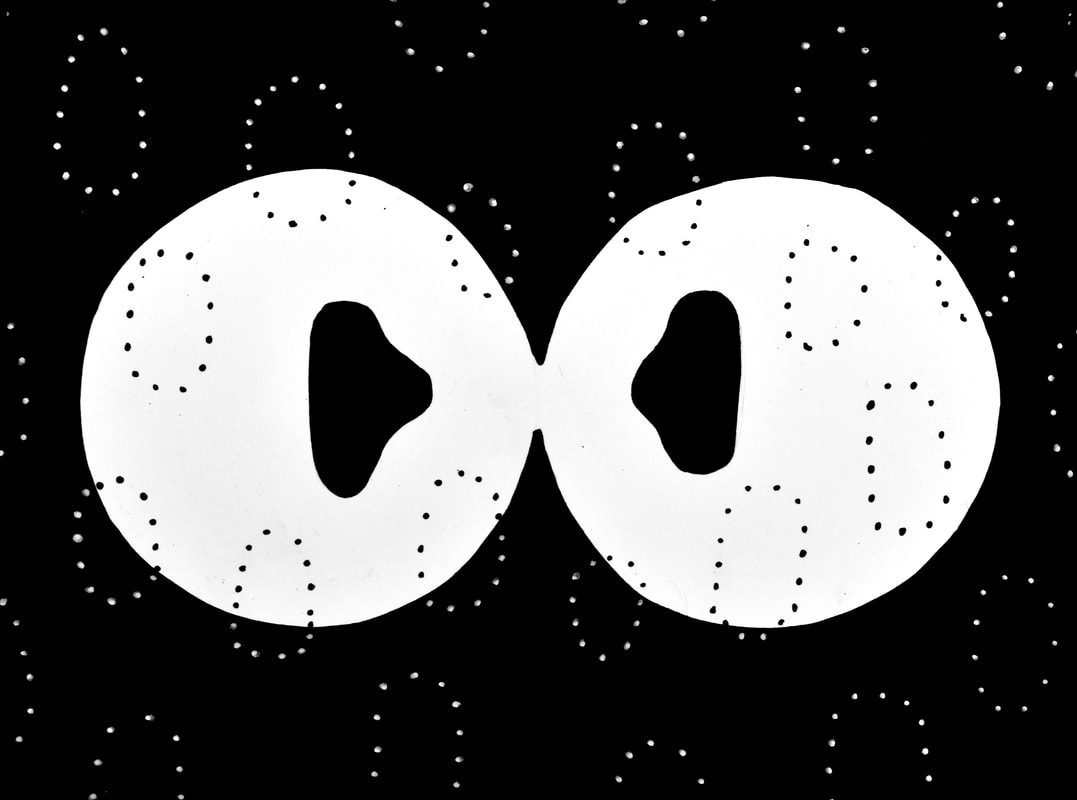
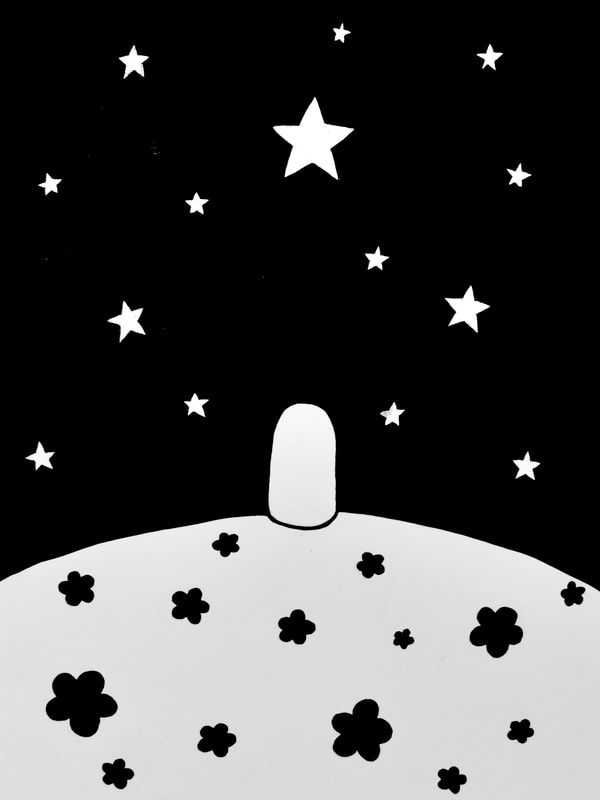
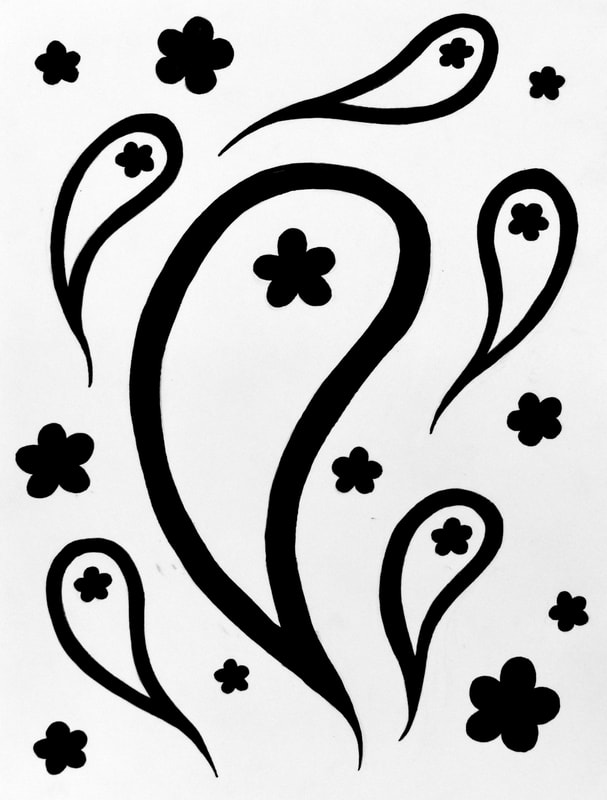
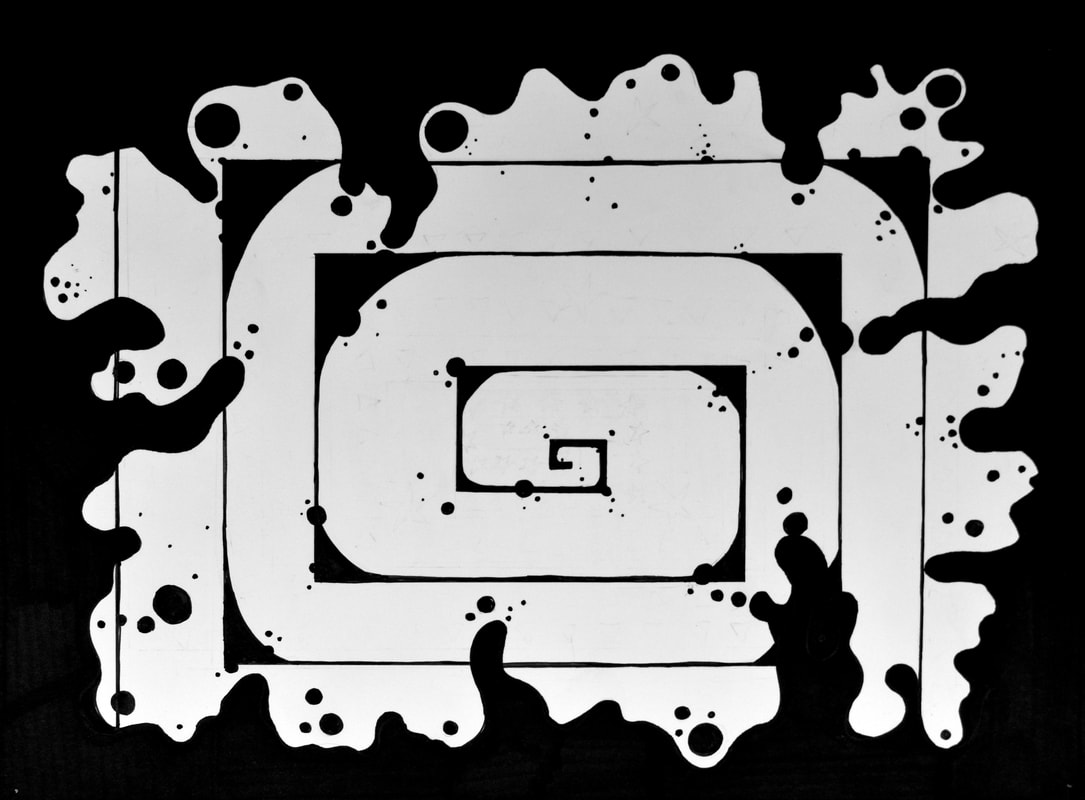
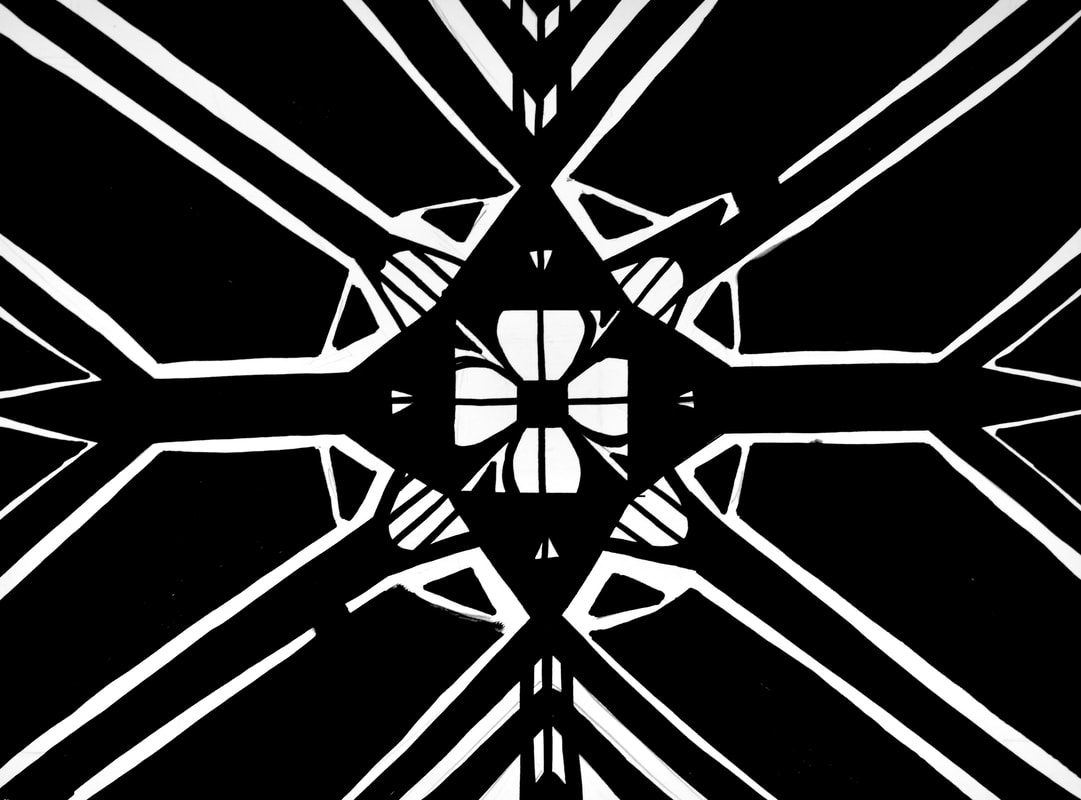
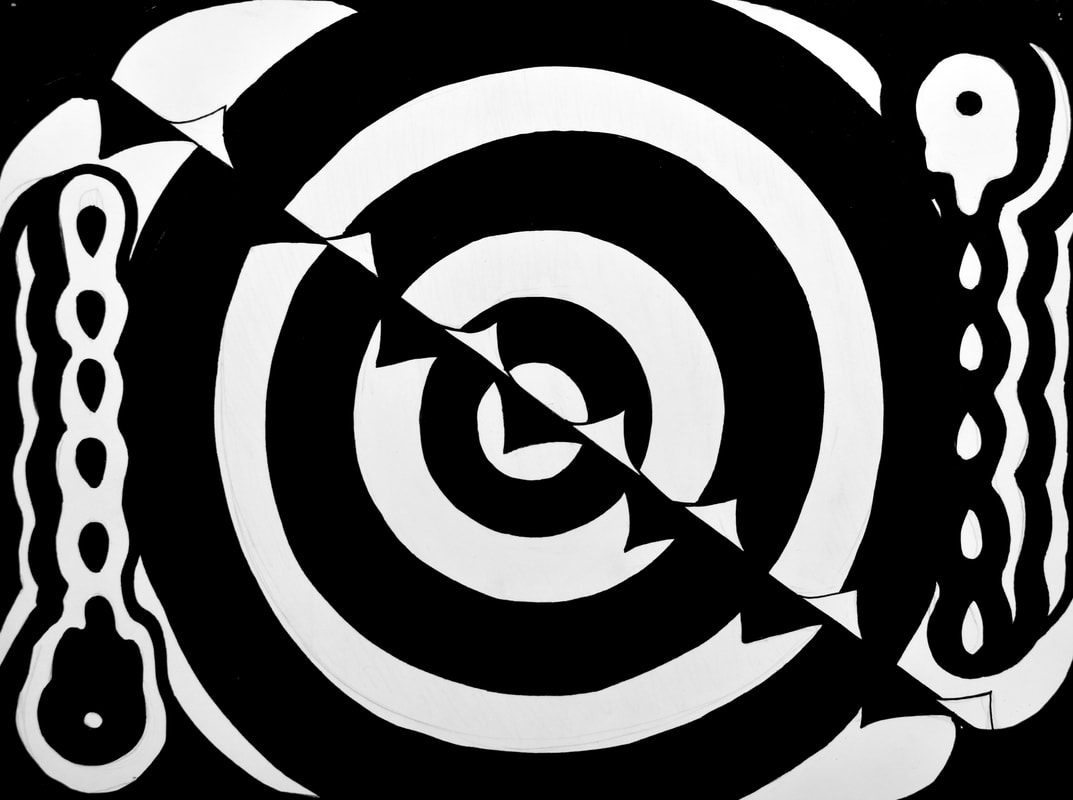
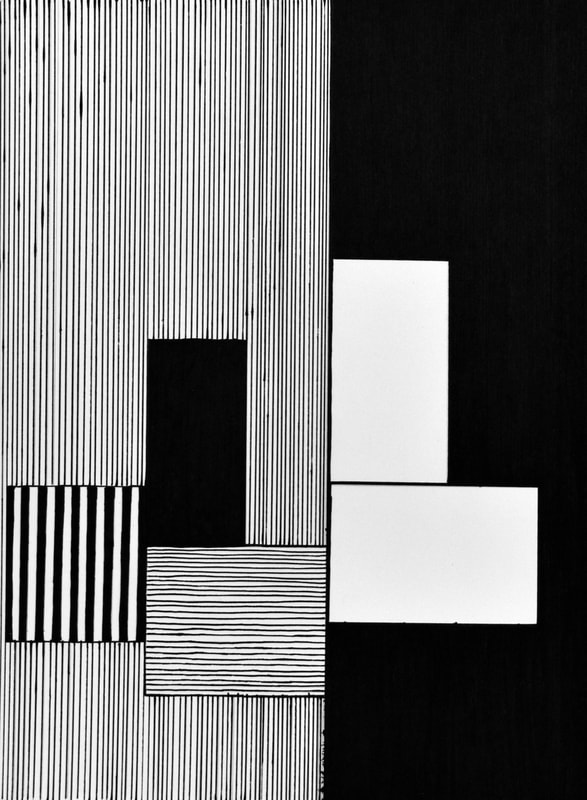
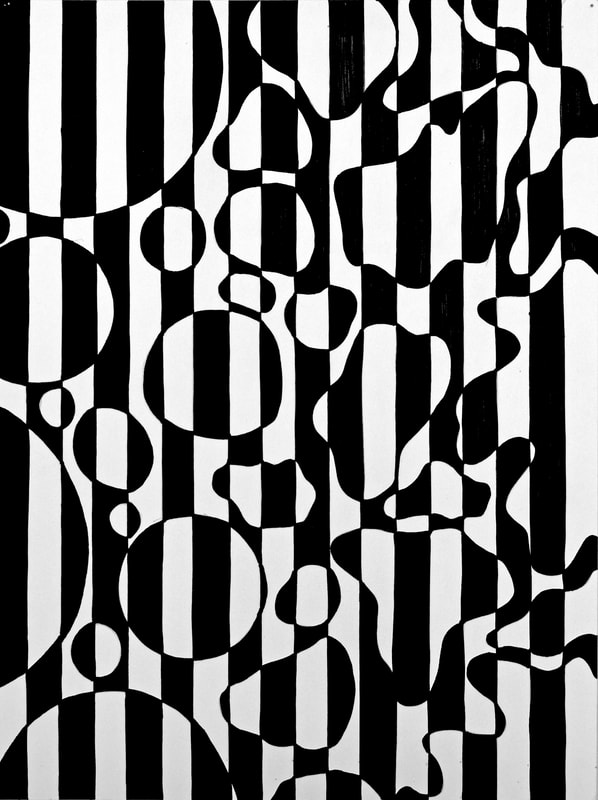
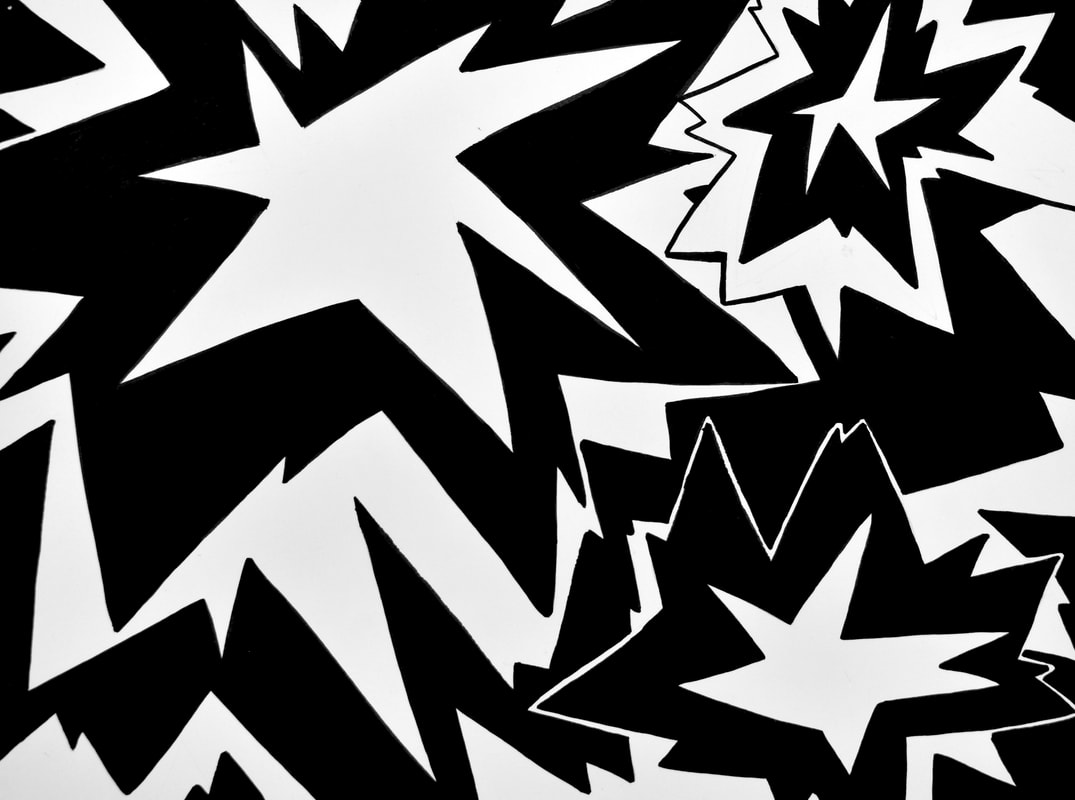
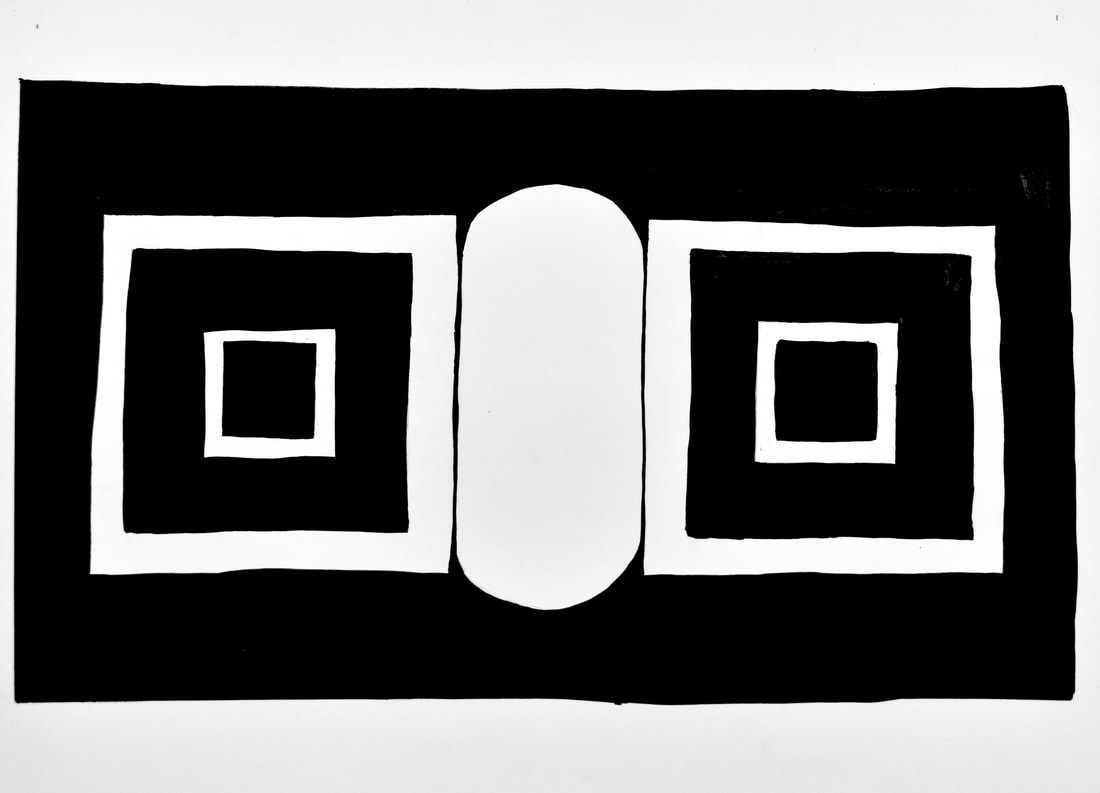
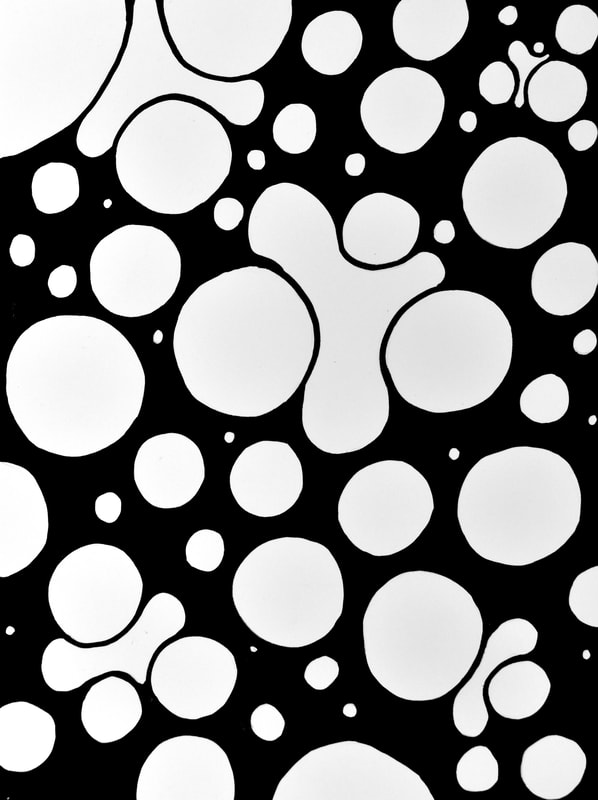
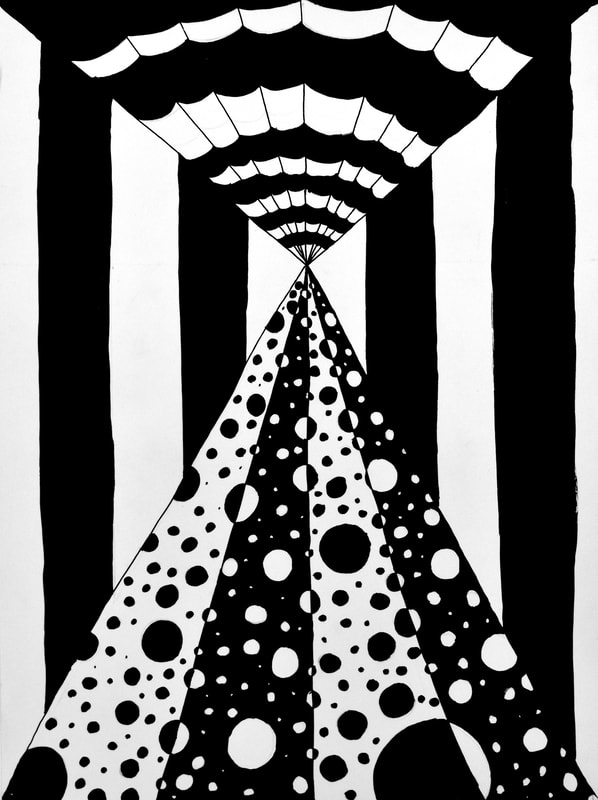
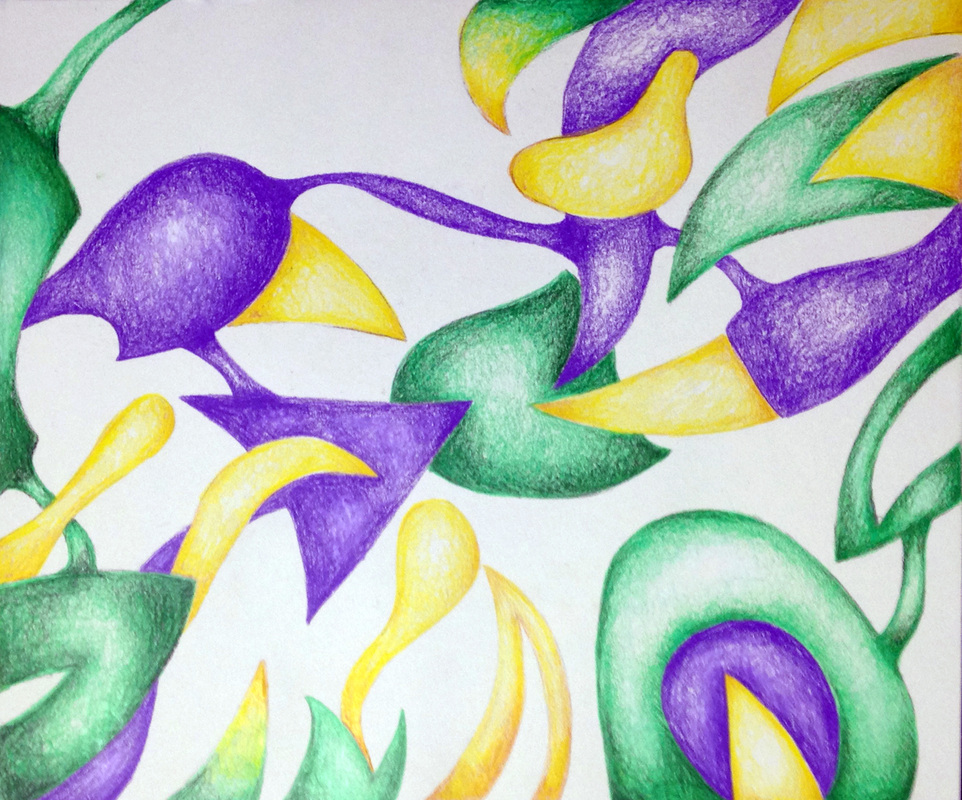
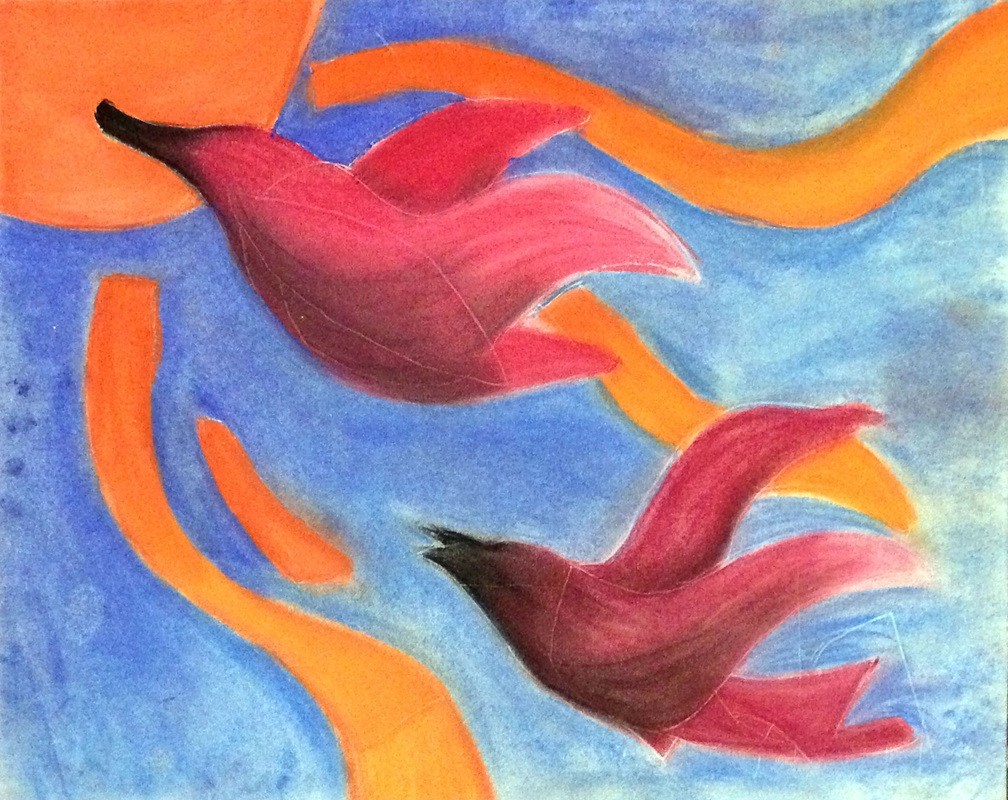
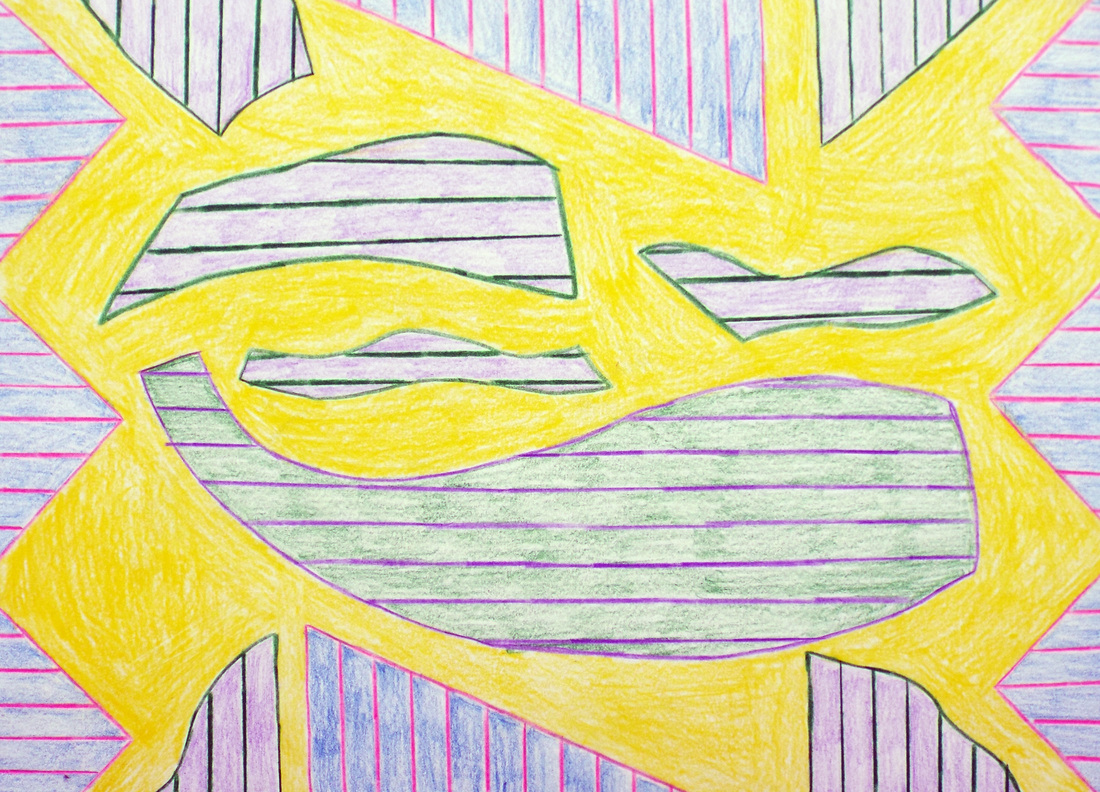
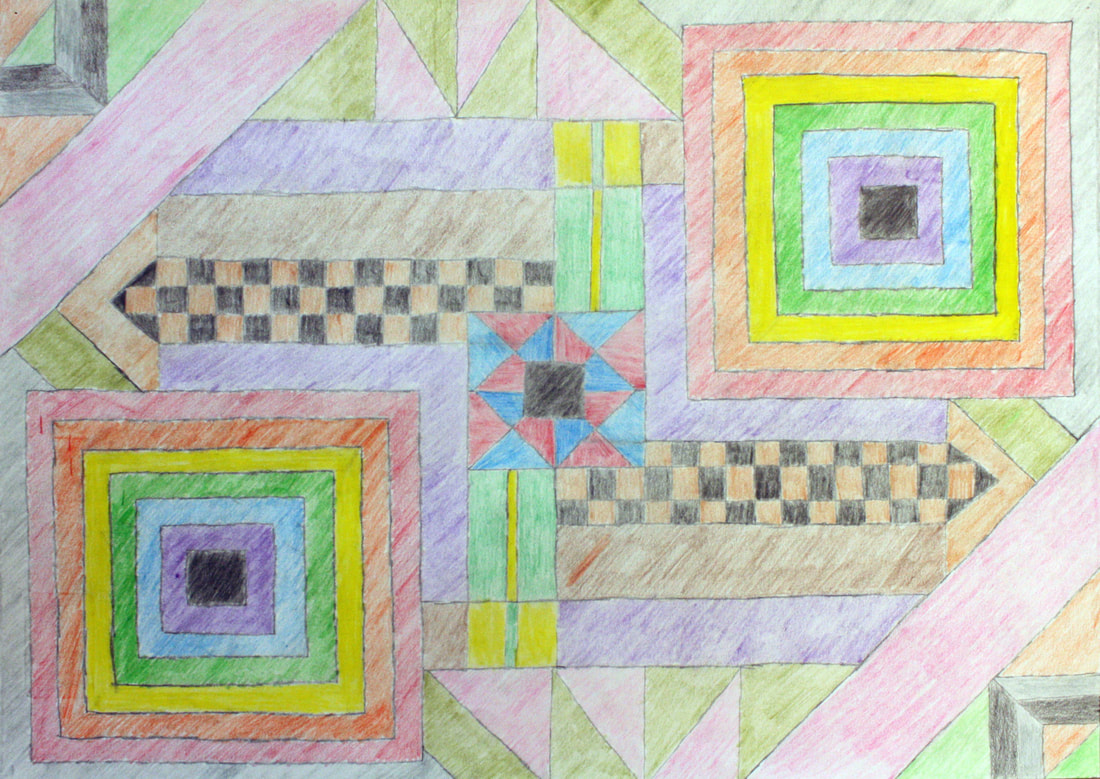
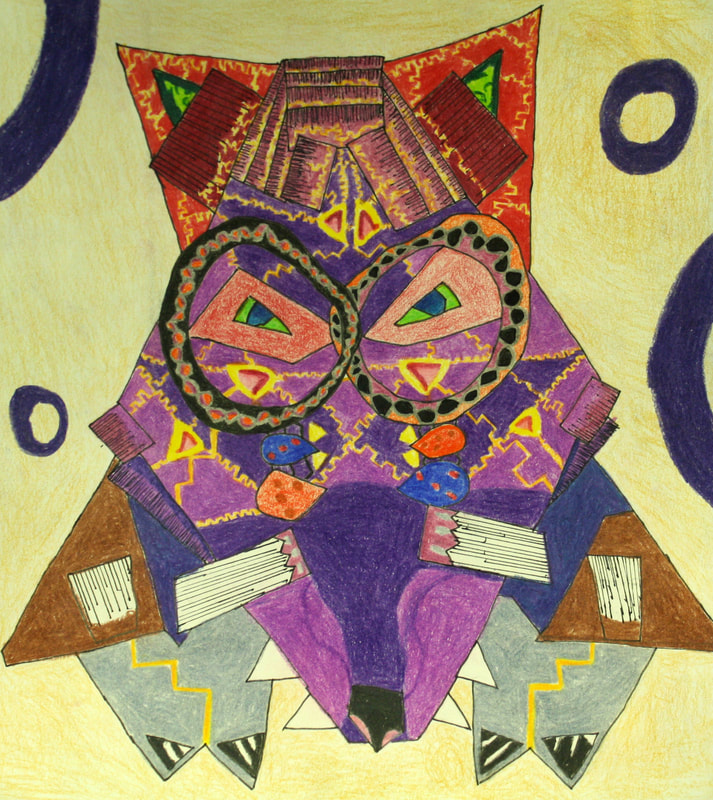
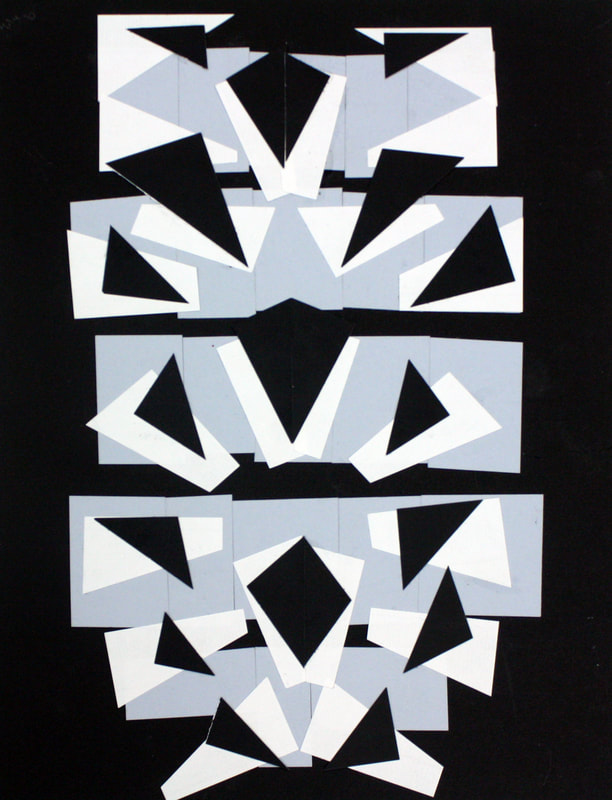
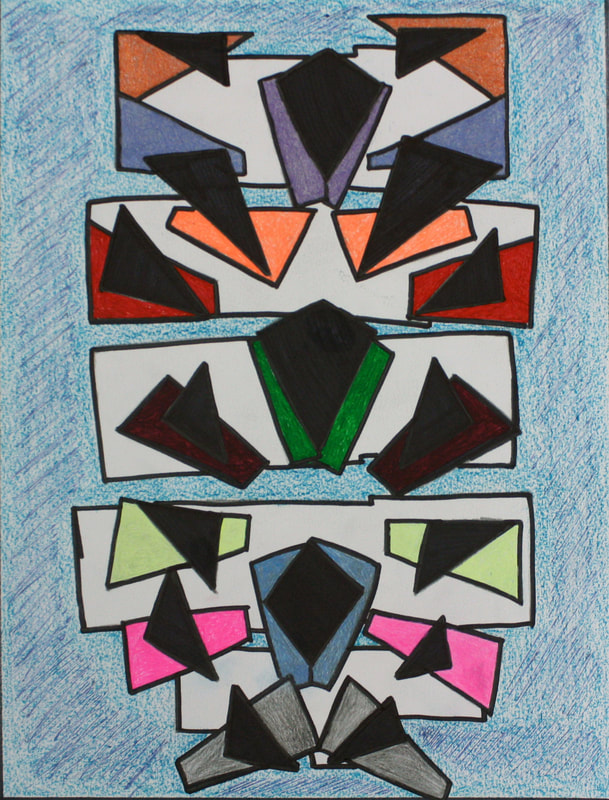
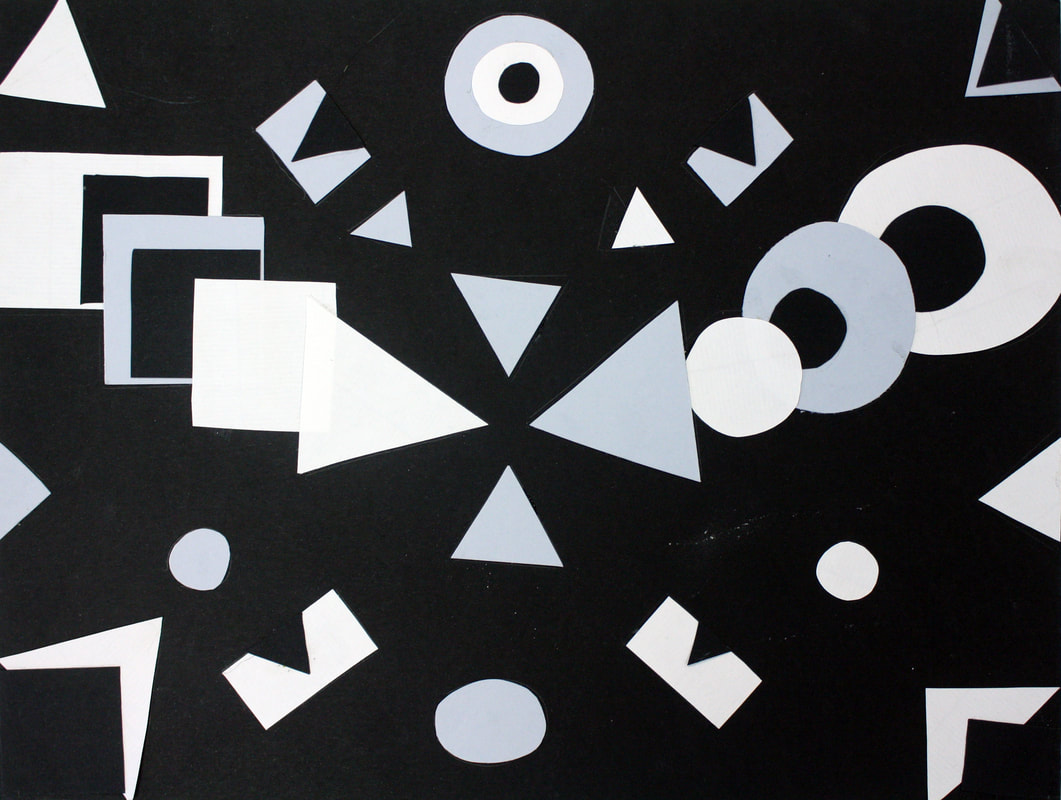
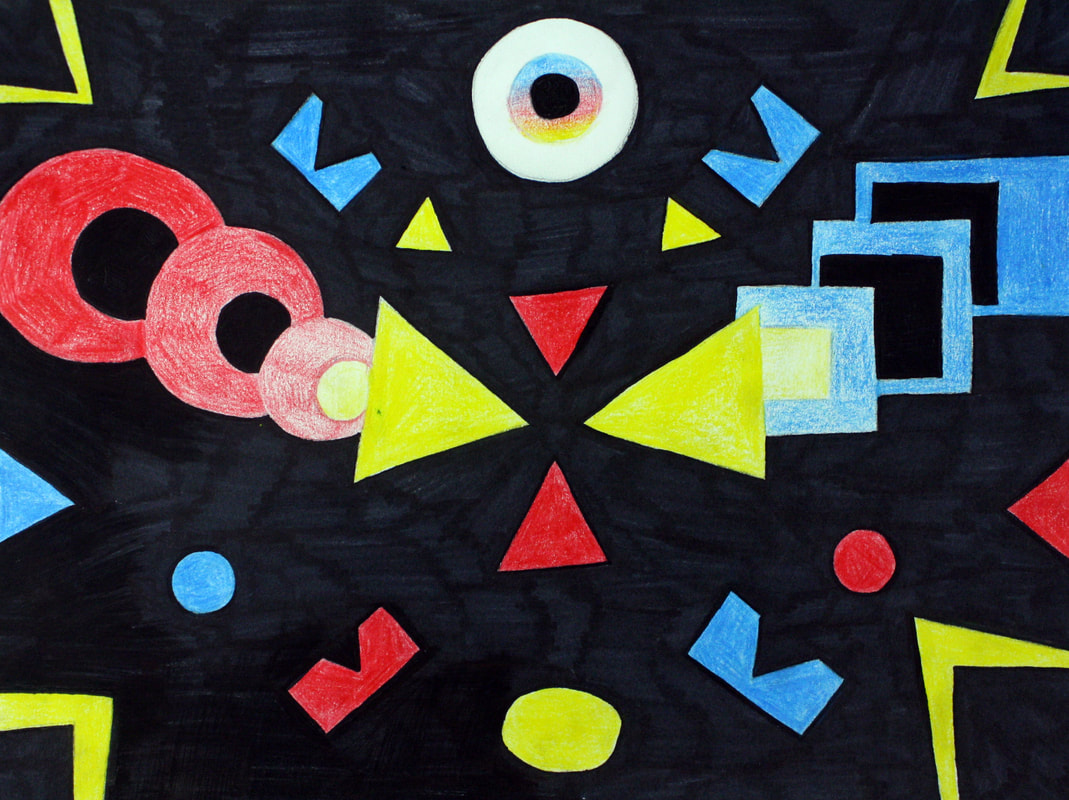
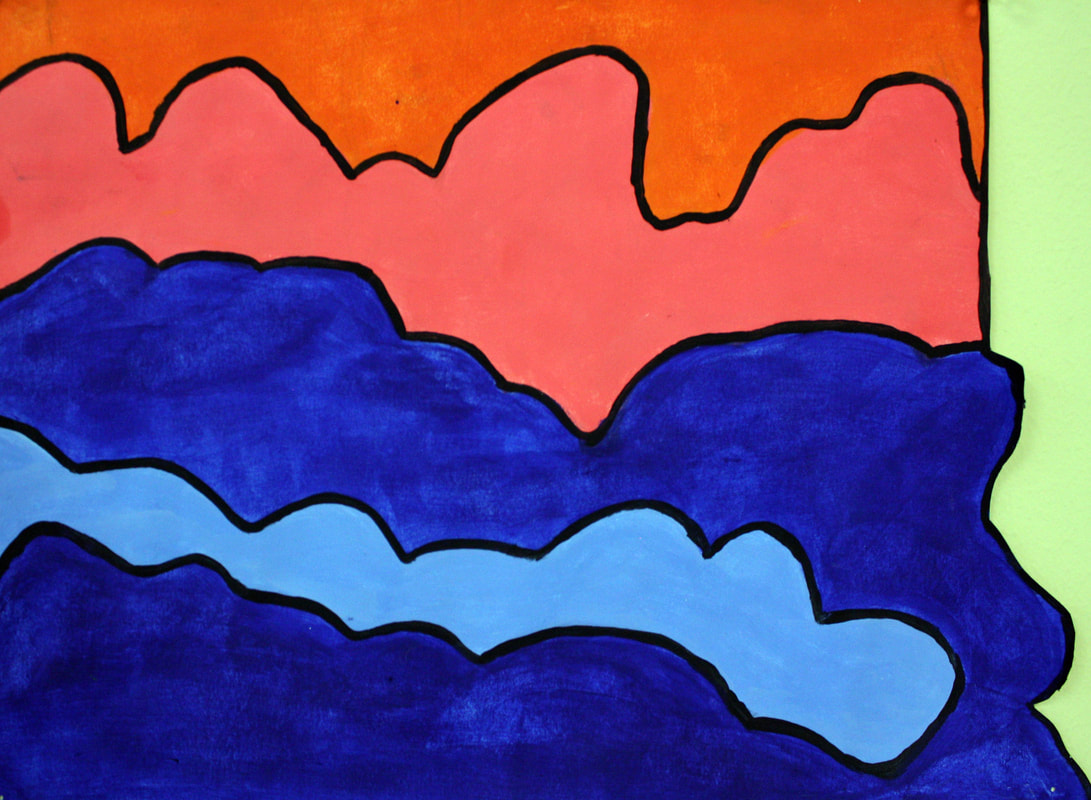
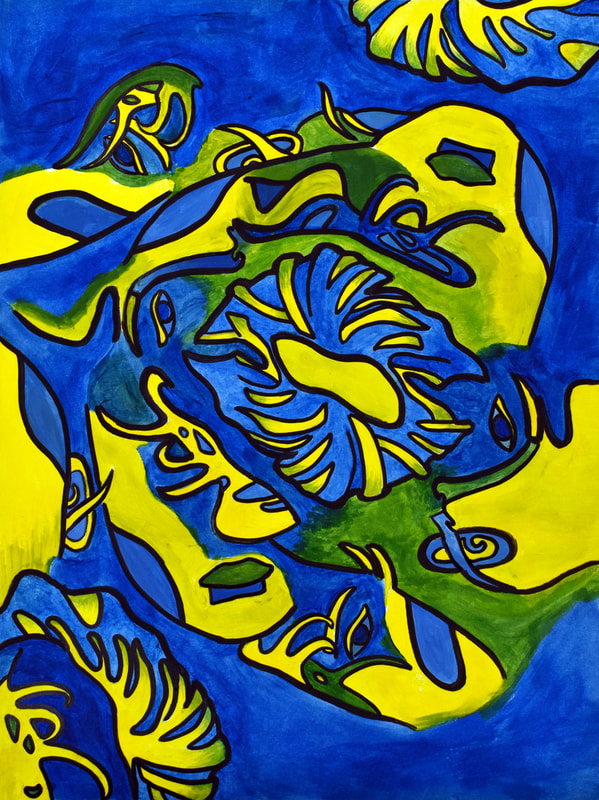
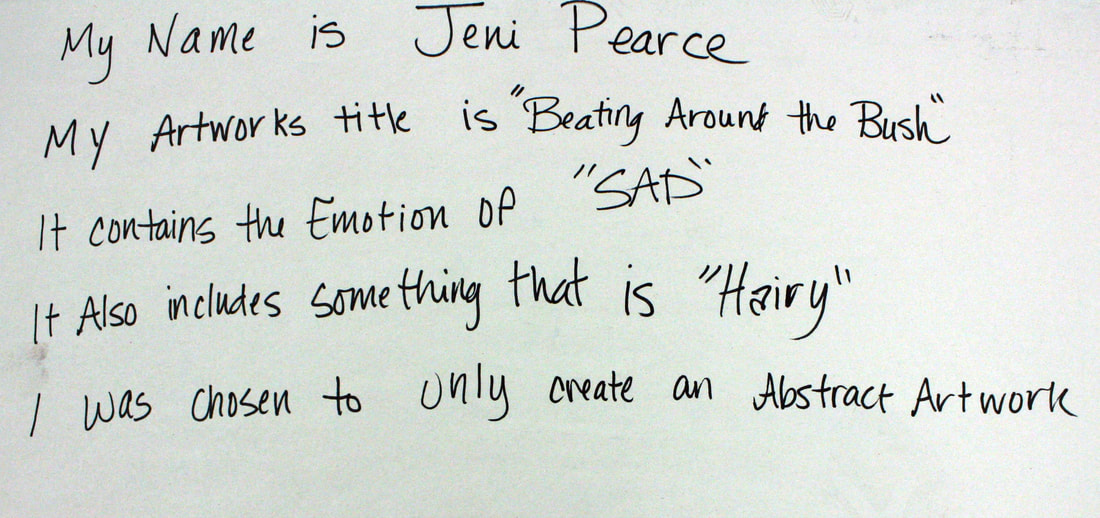
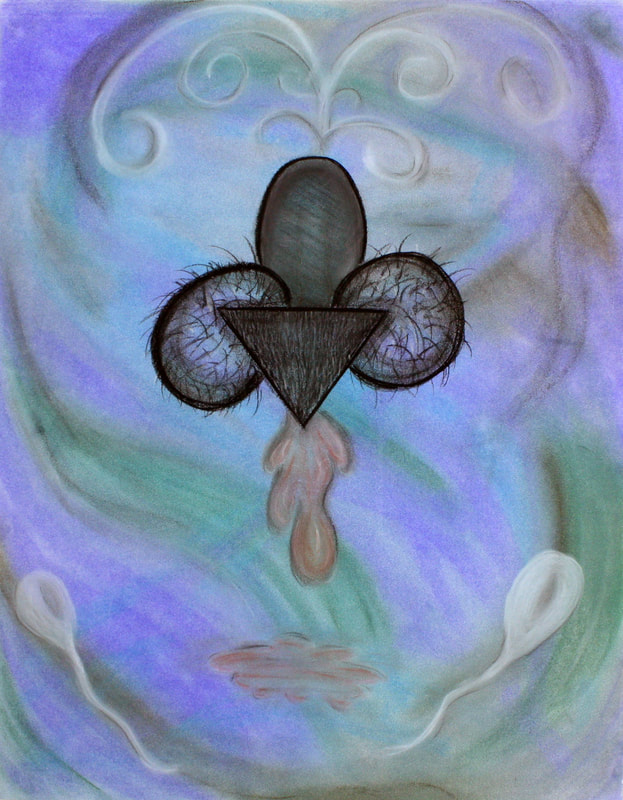
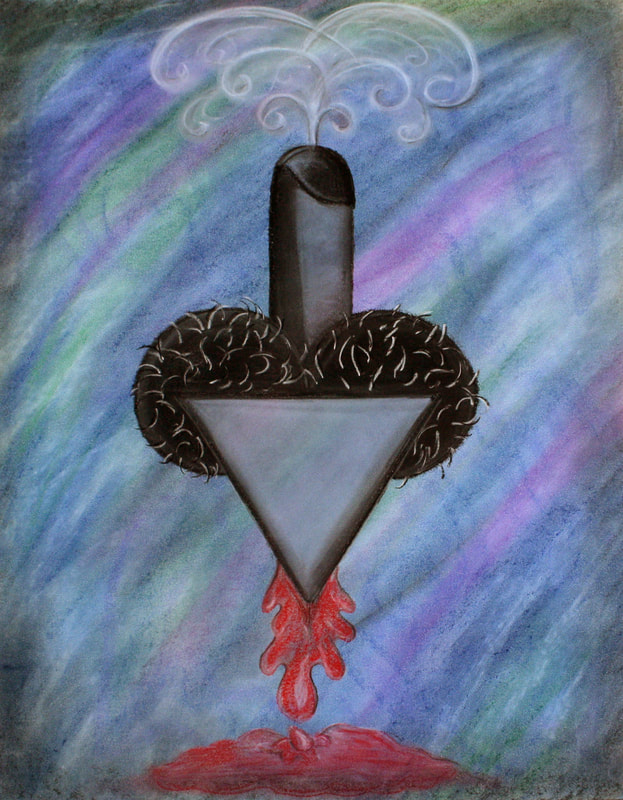
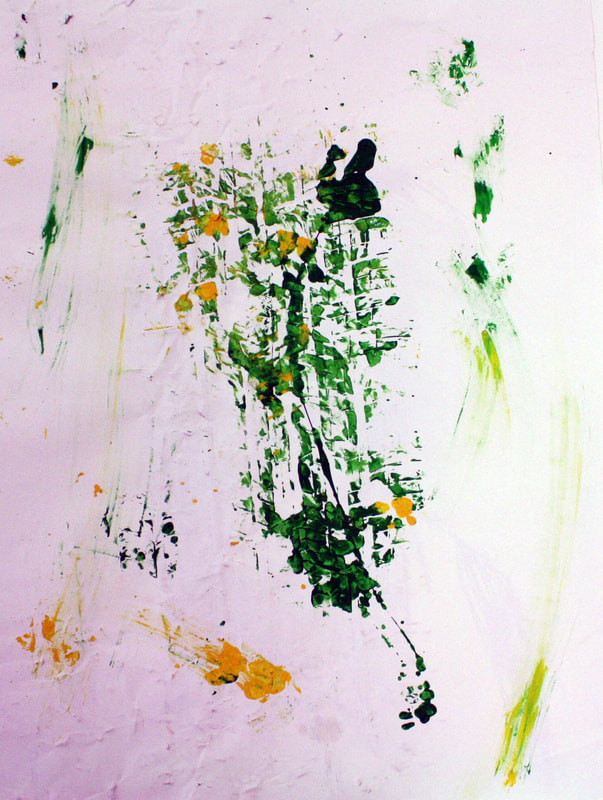
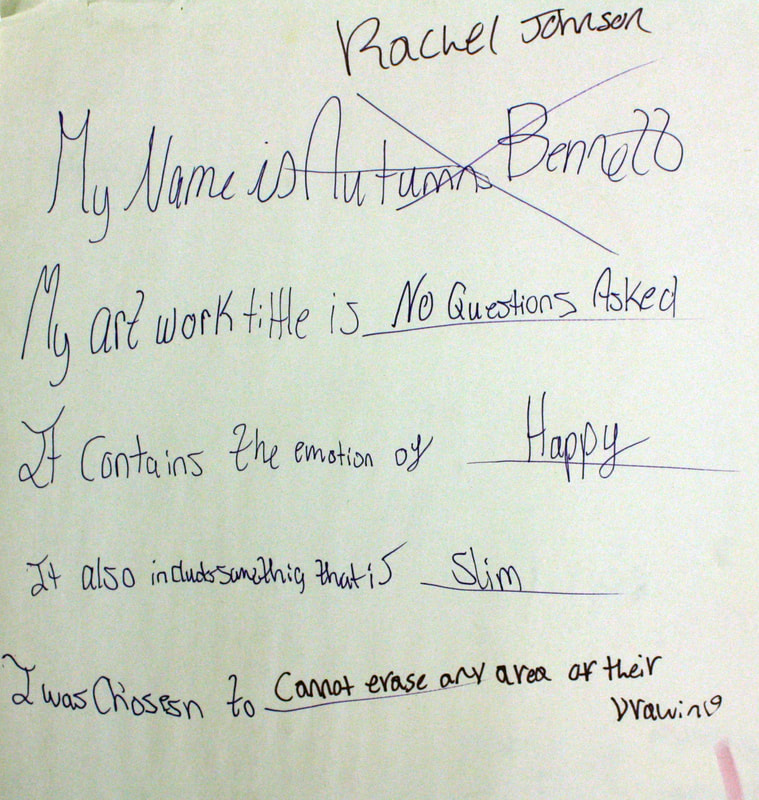
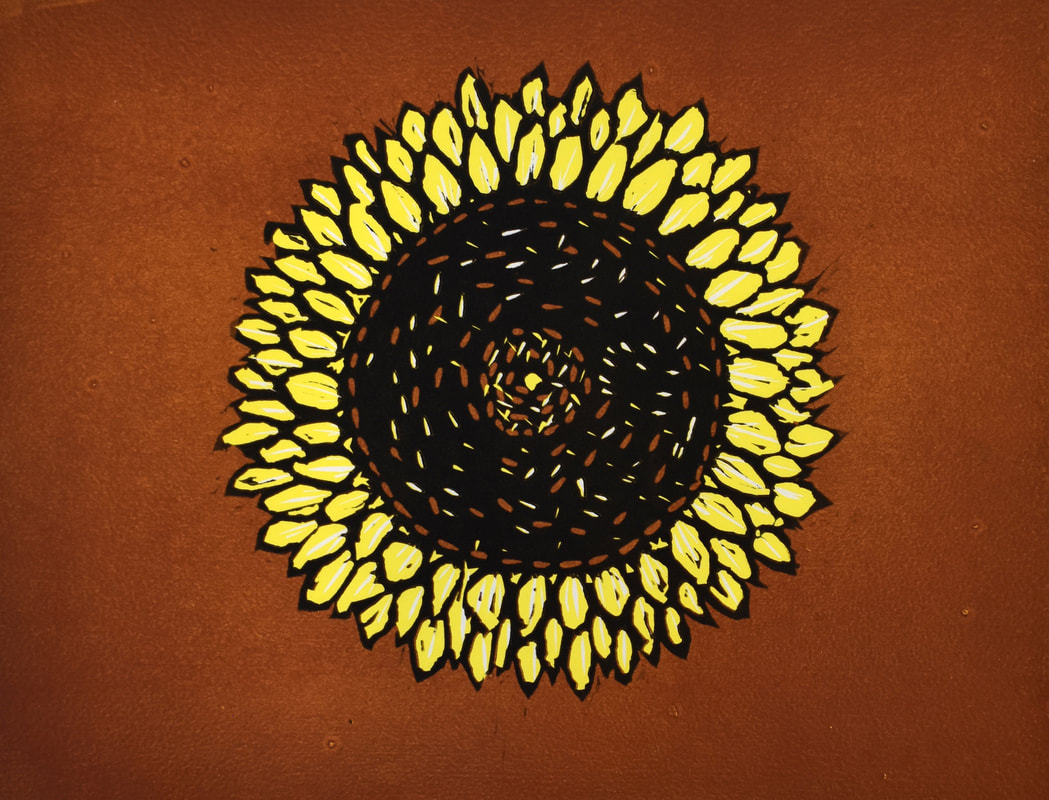
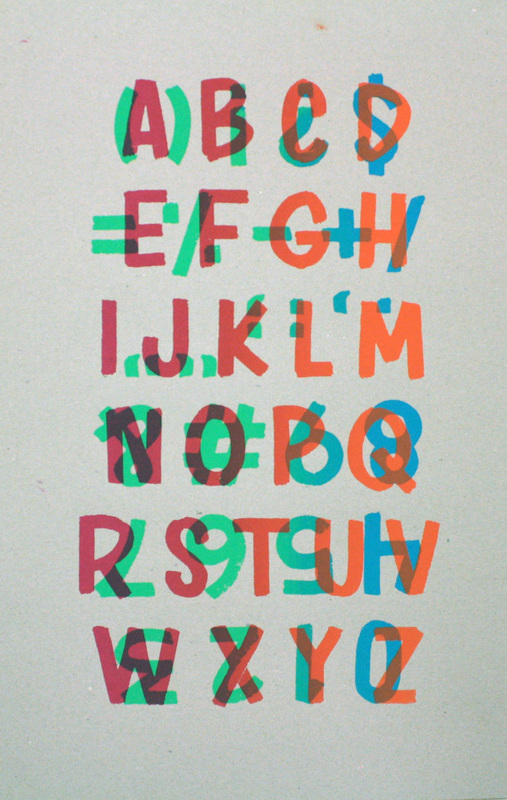
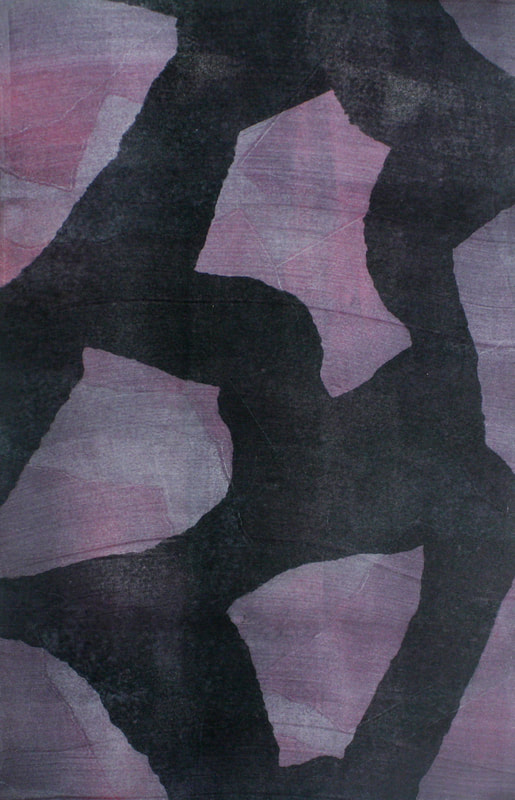
Shapes Project - The Shapes Project begins with students viewing a lecture on the Elements and Principles. Afterwards, they are shown visual examples of compositions created using negative and positive shapes, various examples of types of shapes (geometric and organic), and they are lastly shown how shapes comprise all compositions. They are then tasked with creating three compositions, one using solely geometric shapes, one using solely organic shapes, and the last combines both categories of shapes. One composition must be a "happy" emotion, one must be a "sad" emotion, and the third emotion is their choice. They are then critiqued on the use of Elements and Principles in their compositions, their use of shape in the compositions, how well the composition conveys the emotion they chose, and their cleanliness and use of craft in the compositions.

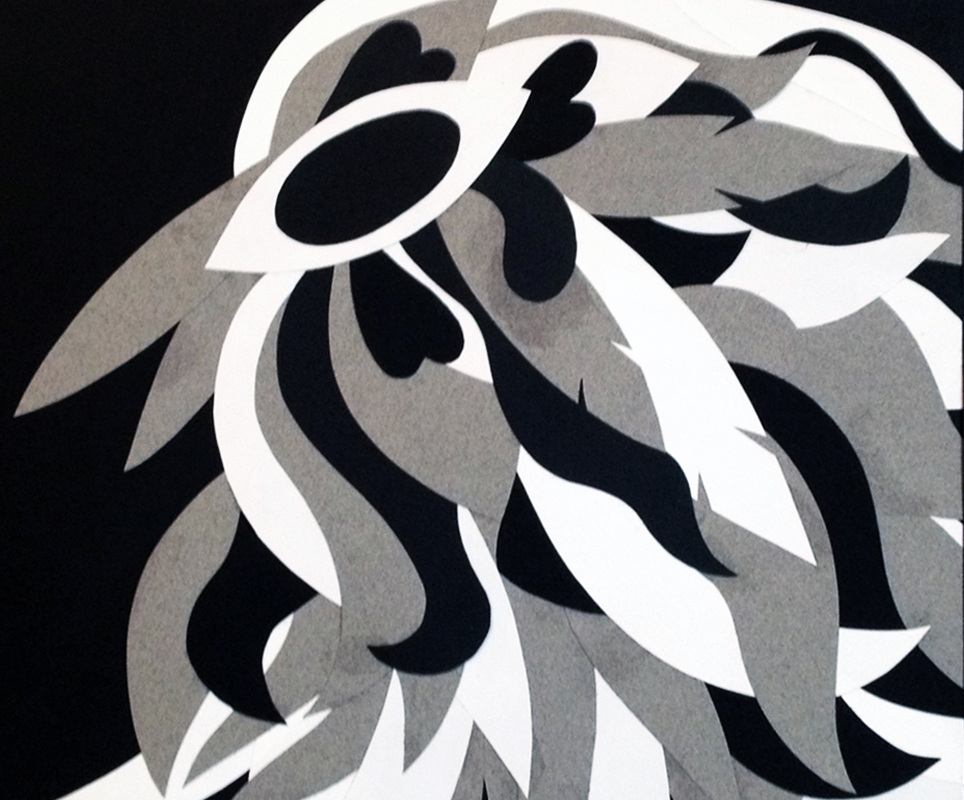
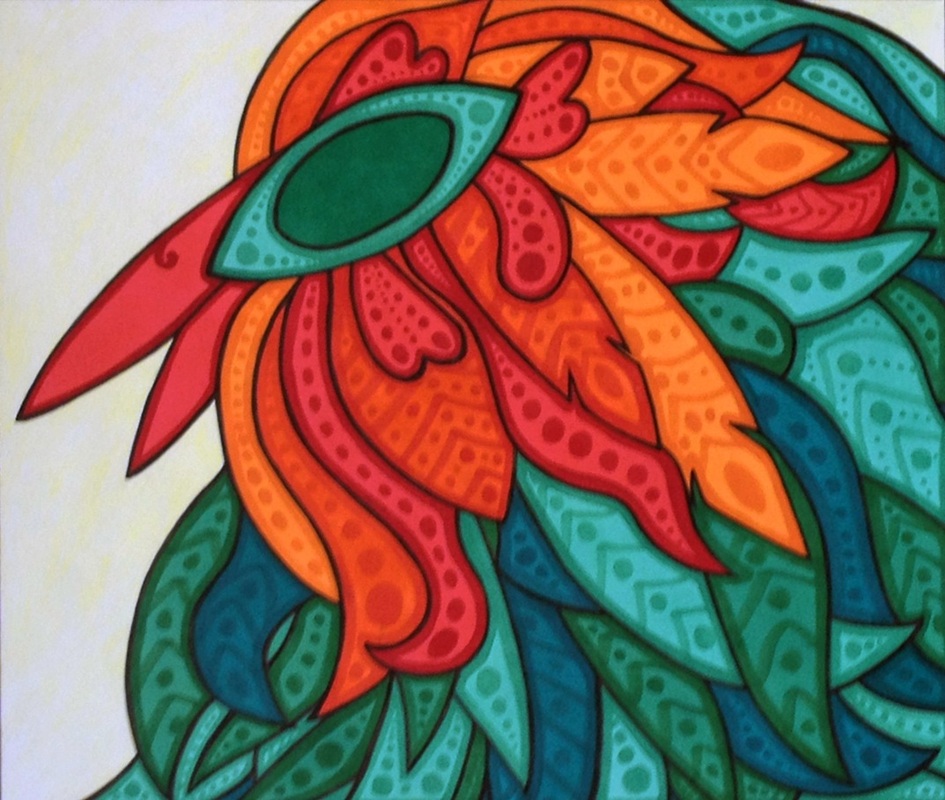
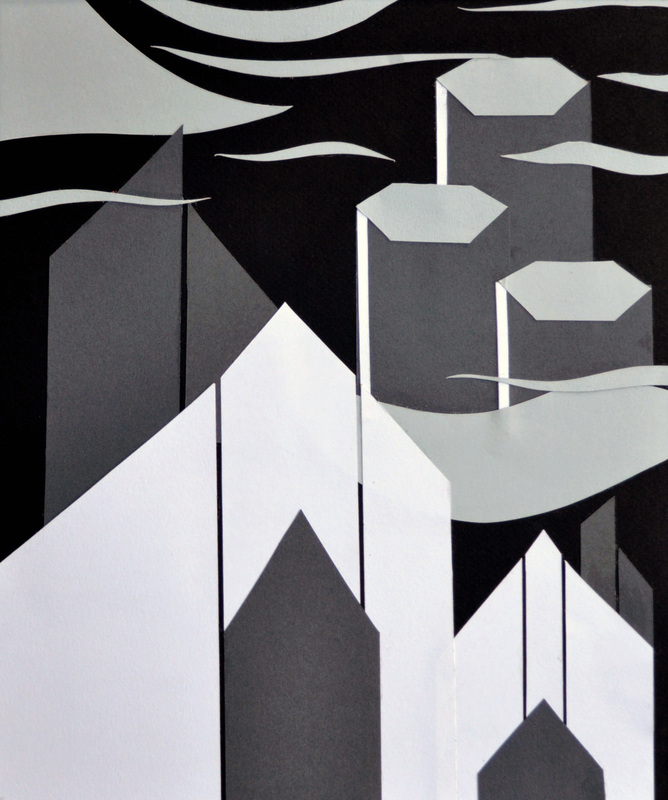
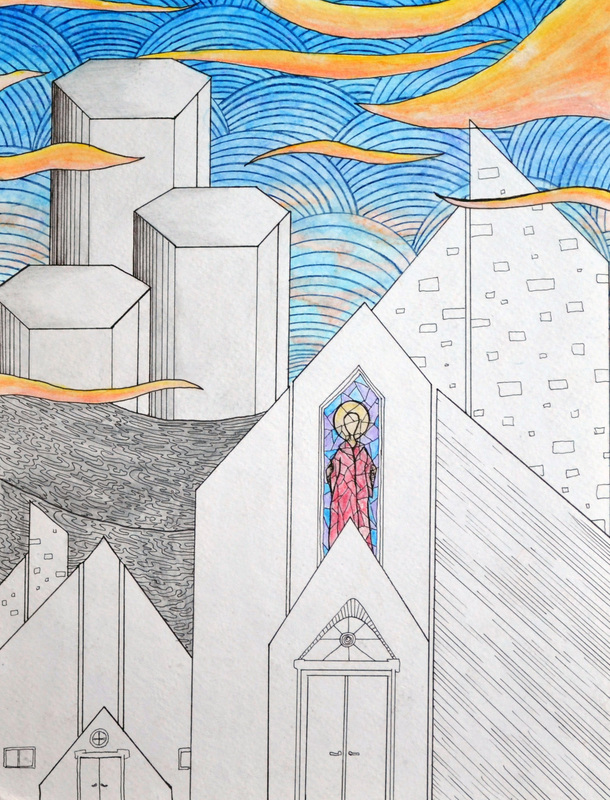
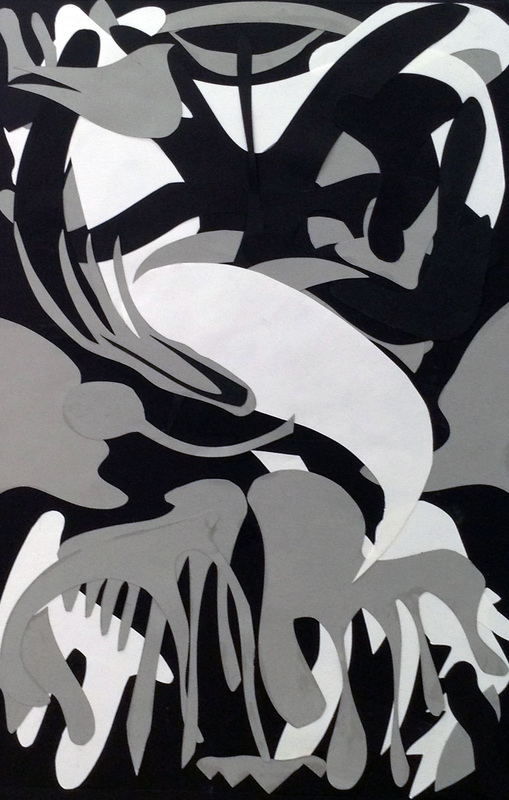
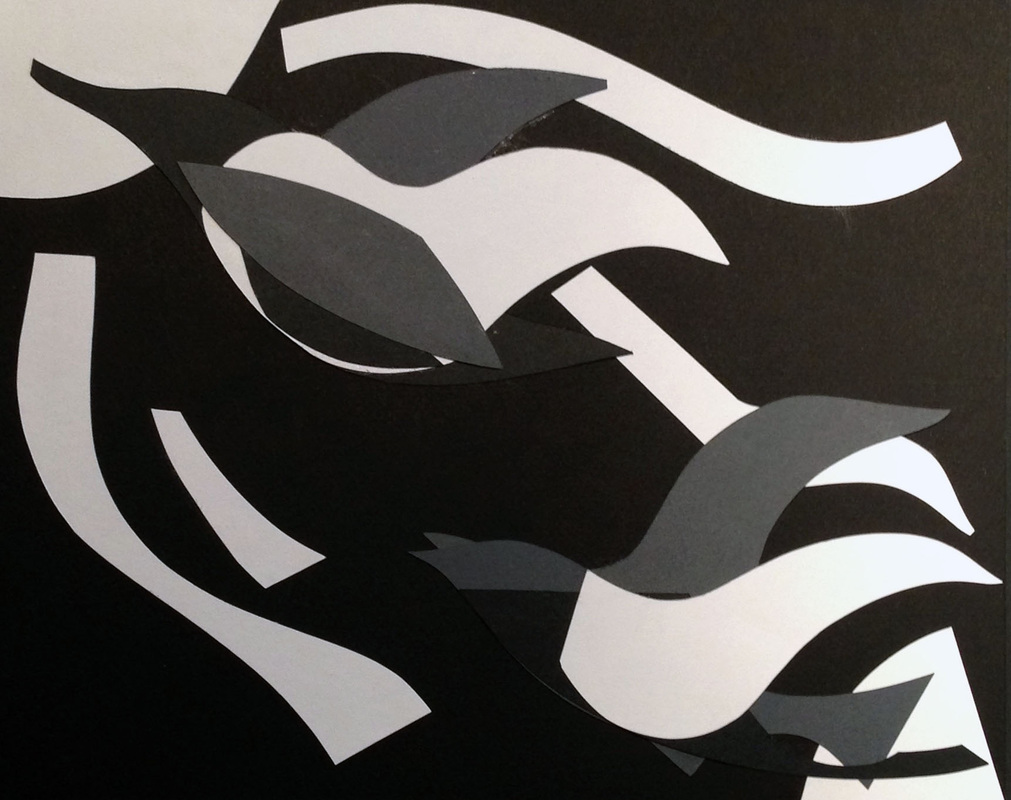
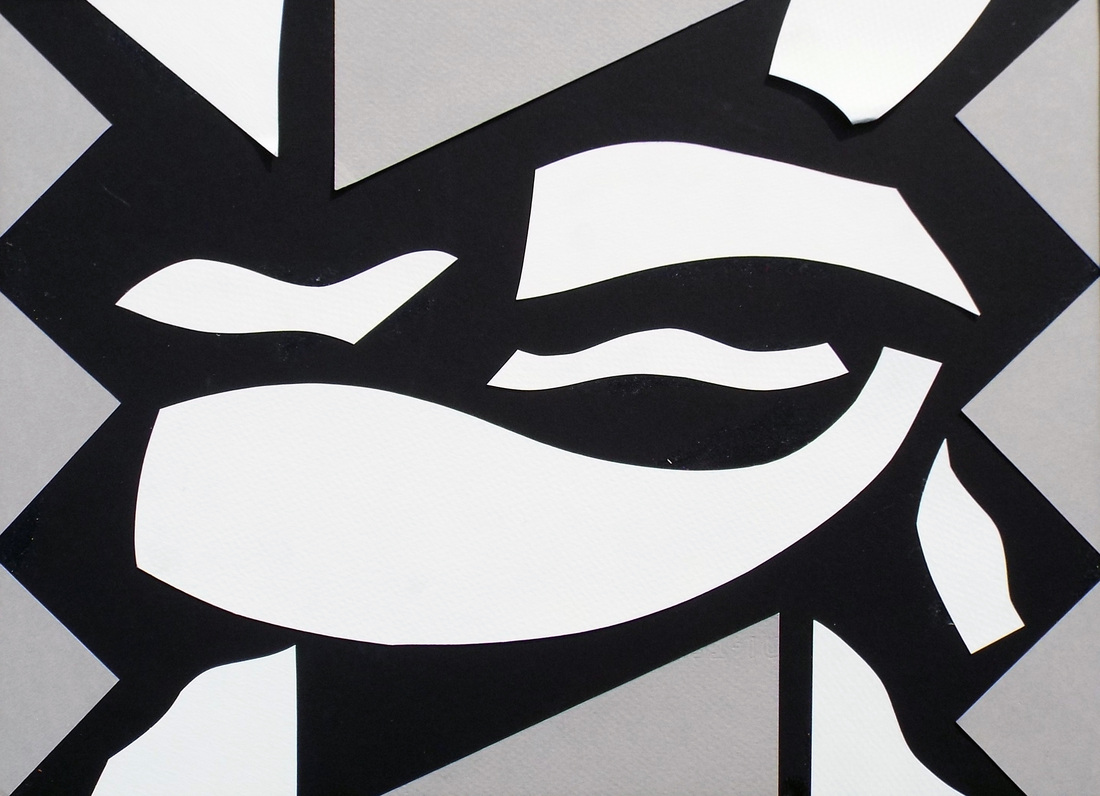
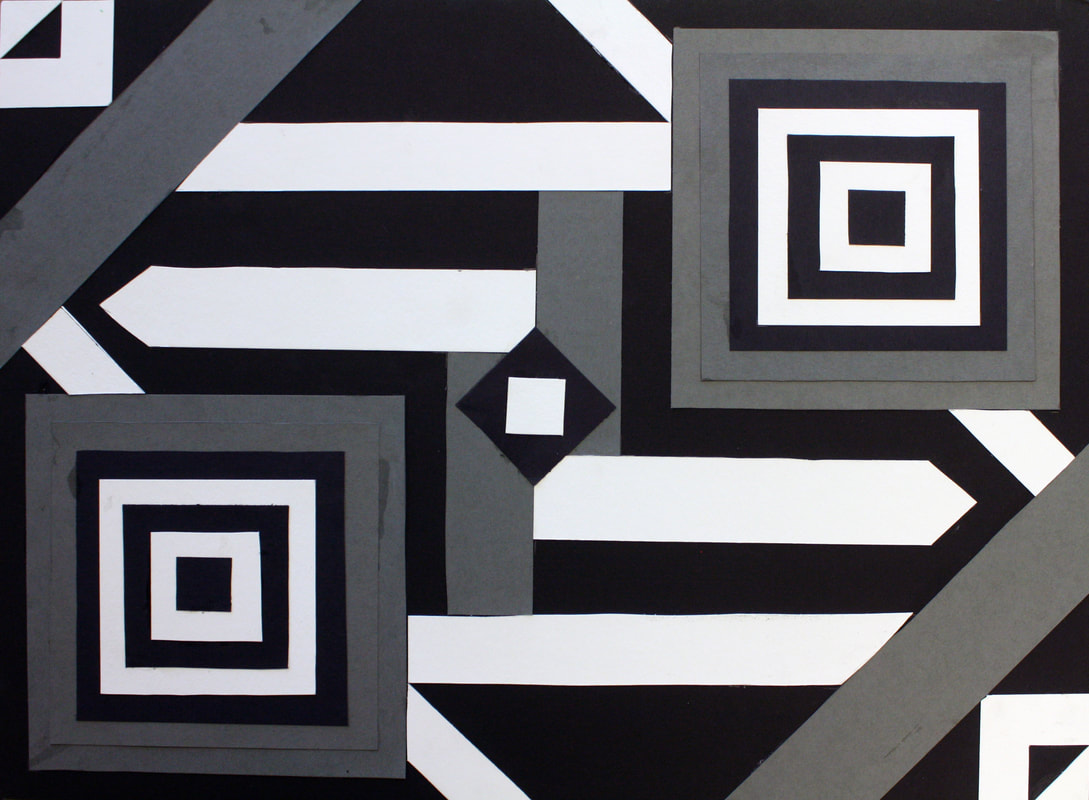
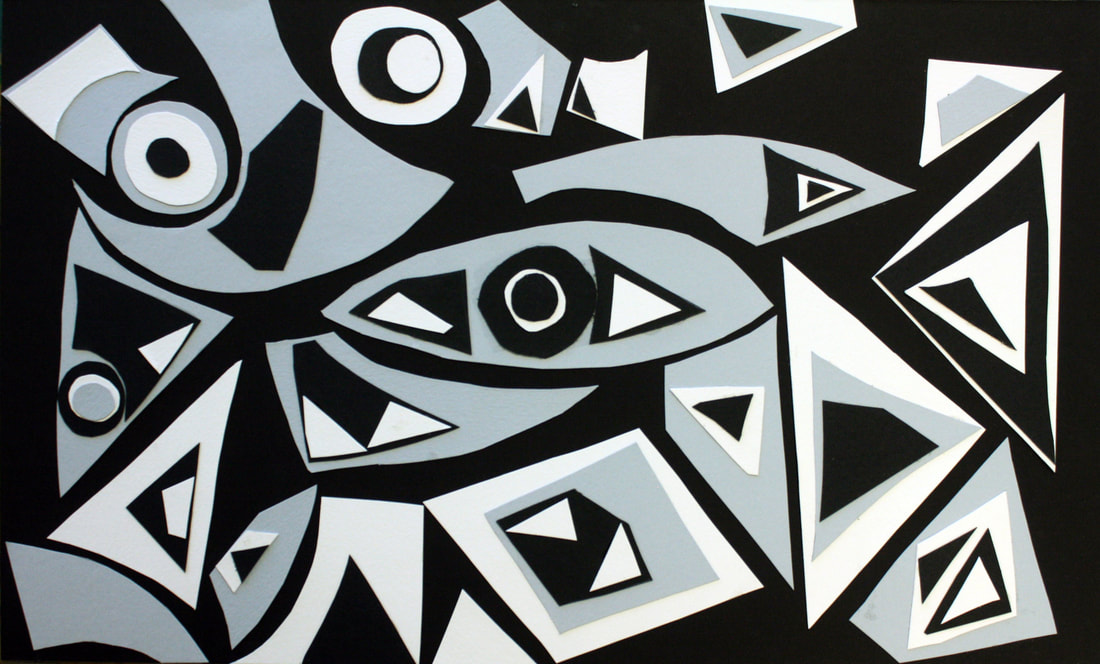
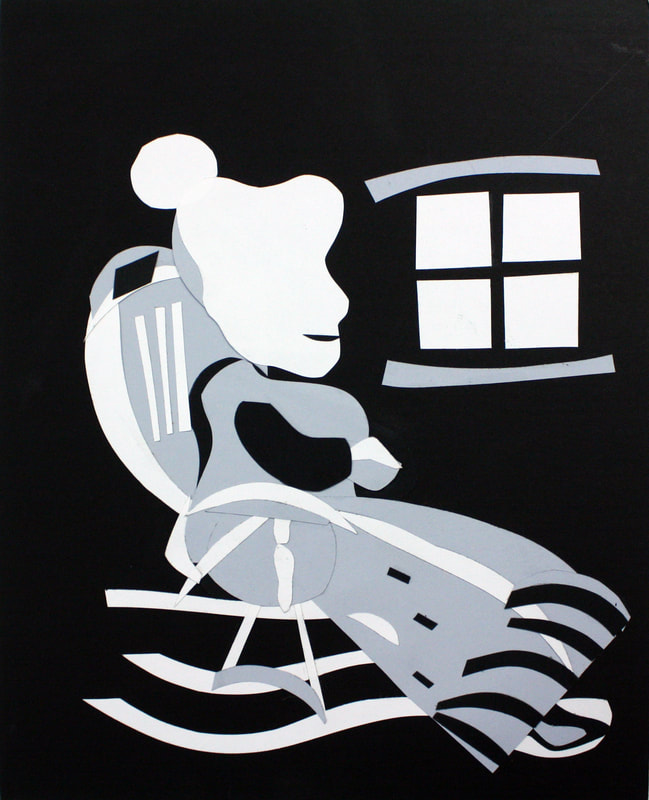
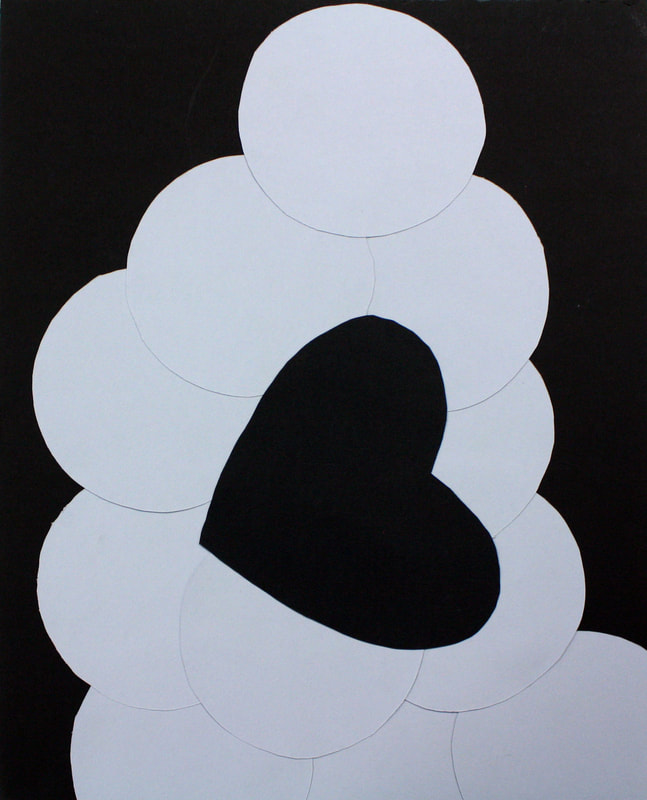
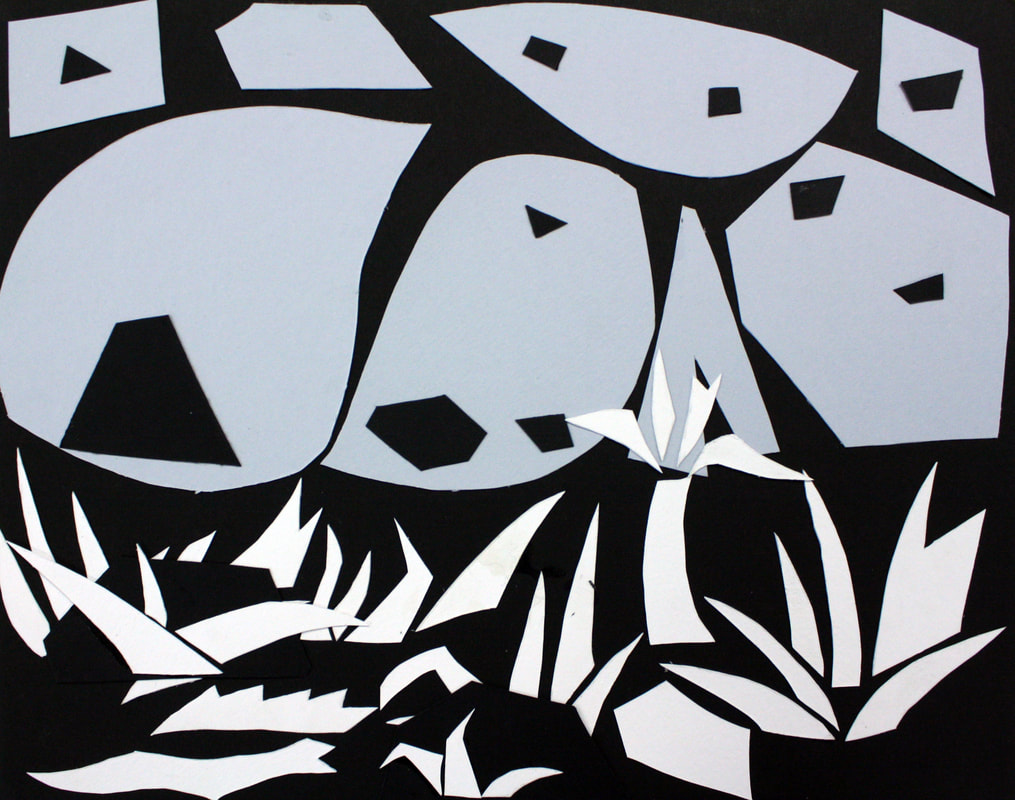
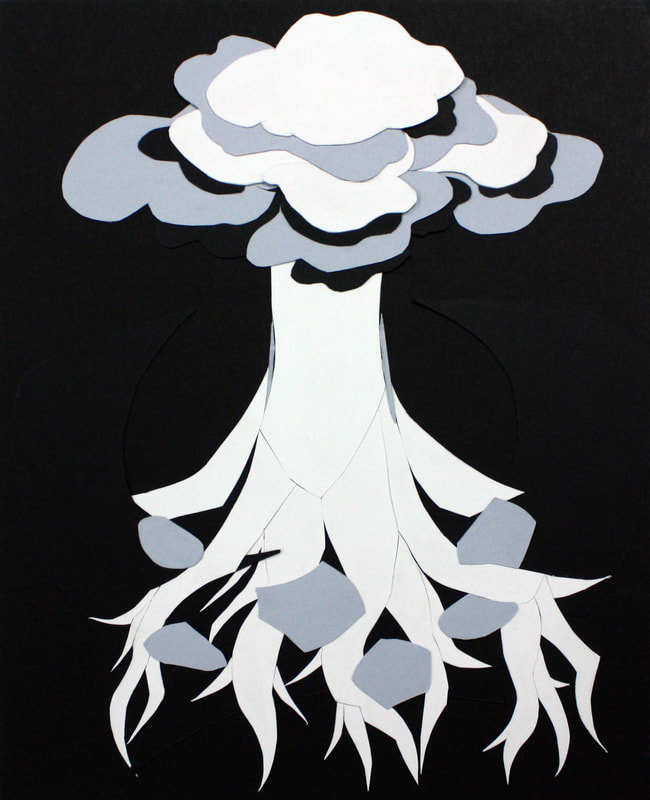
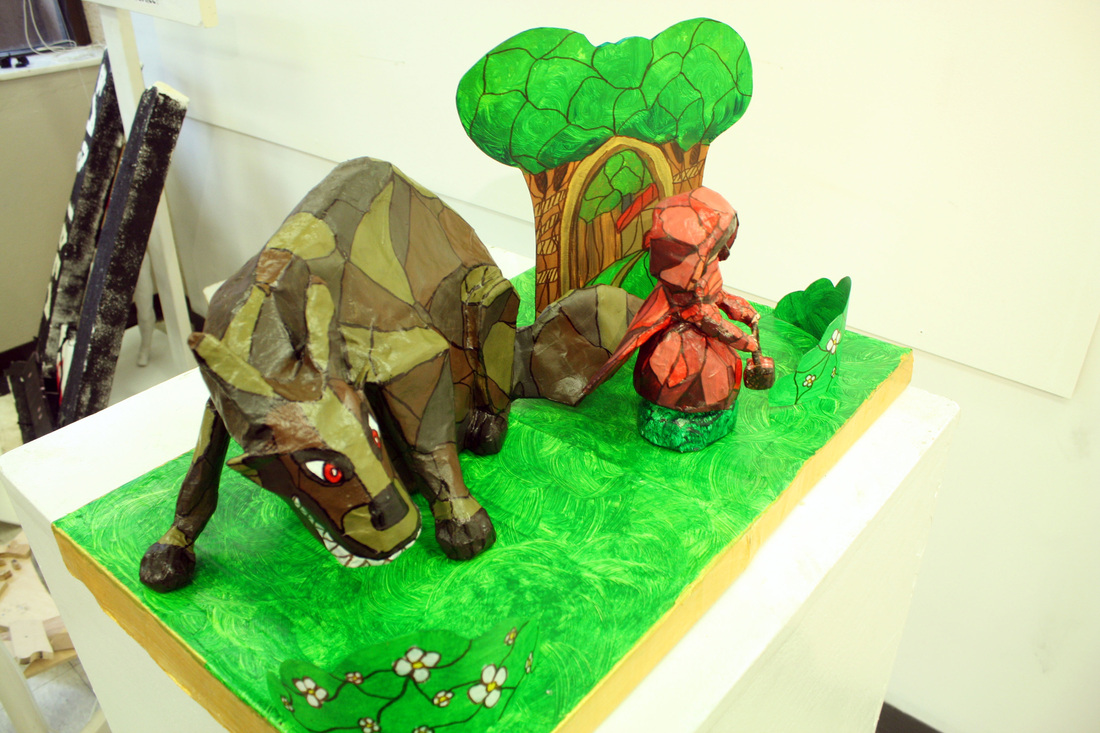
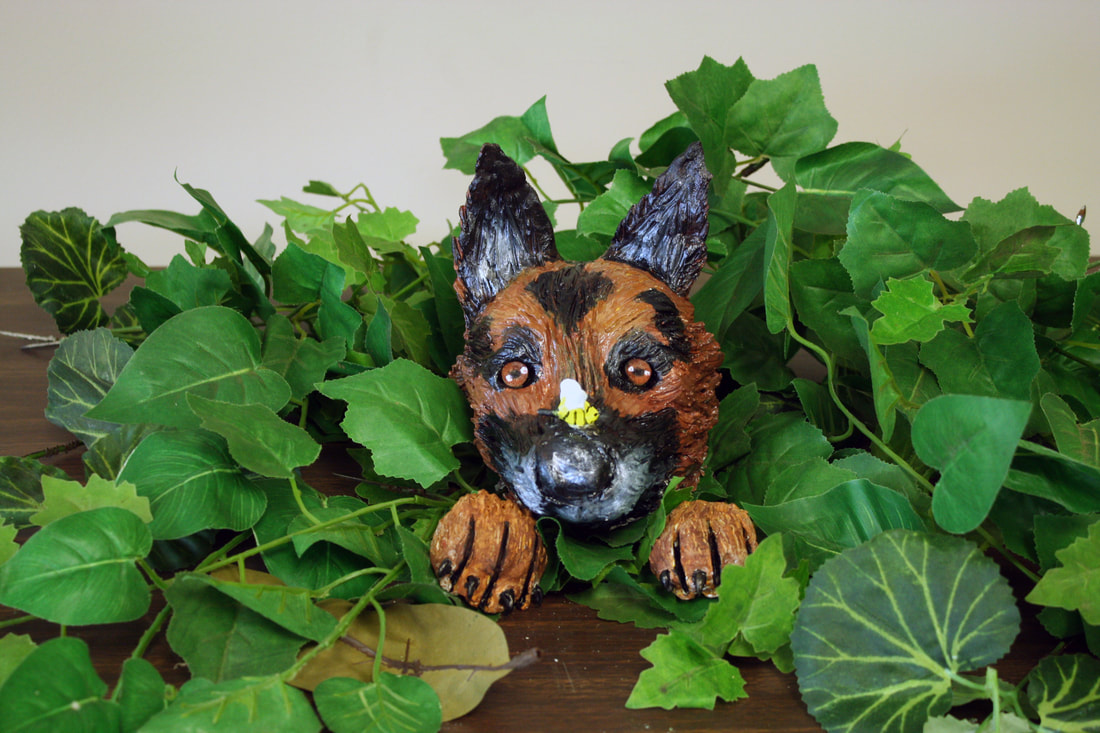
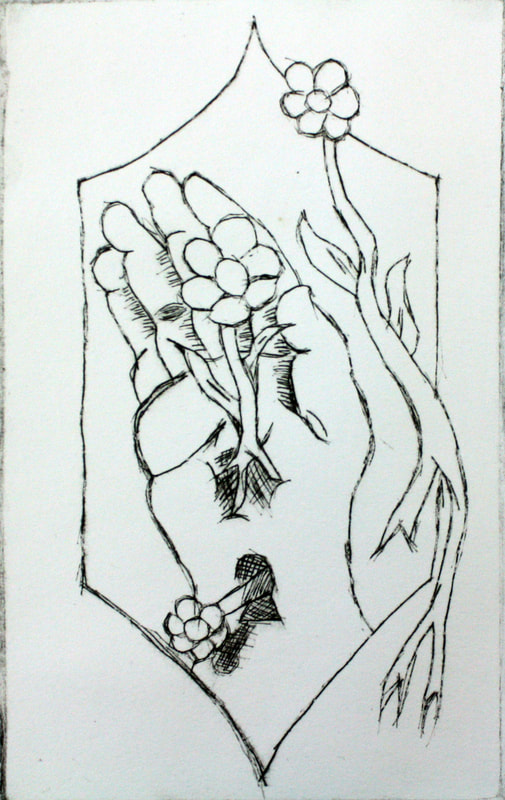
Perfection Project - The Perfection Project begins with students seeing a demo on cutting paper with a blade. Afterwards, they are told the first phase is to cut fifty paper forms out of black, gray, or white paper that can be either geometrical, biomorphic, or typography. These forms must be "perfect", meaning no blemishes along the edges or on the pieces. The second phase begins next, wherein they place these forms on paper by gluing them, but the image must be a balanced composition. They then place a paper mat over the image, to get comfortable with measuring and cutting out mats for their art later. The last phase, the students, using tracing paper, trace the cut paper image and it's window and transfer that upon a surface they want to work on. They then are free to choose the medium along with whatever they would like to create, as long as it's inside of the shapes they've created. The process teaches the student formal elements, as well as paper skills with cutting tools and mat practice, and also teaches them about image-making.


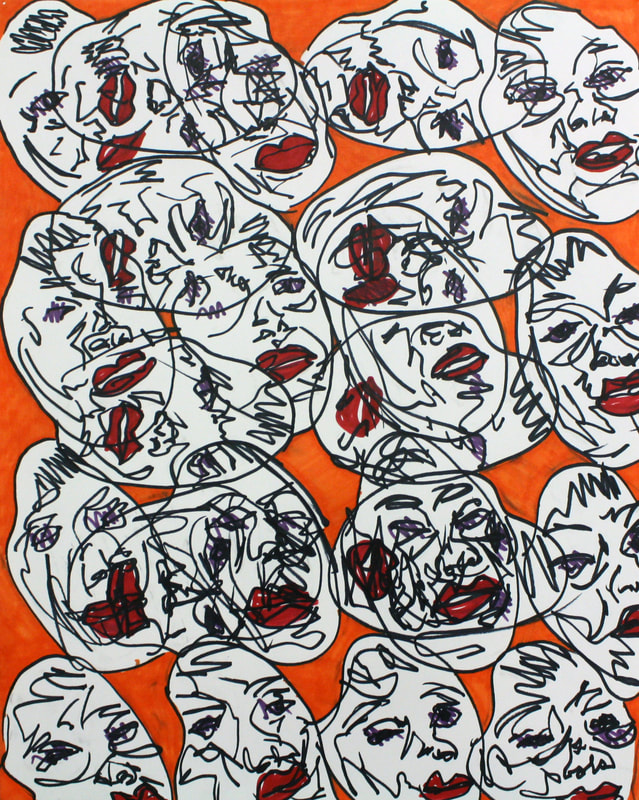
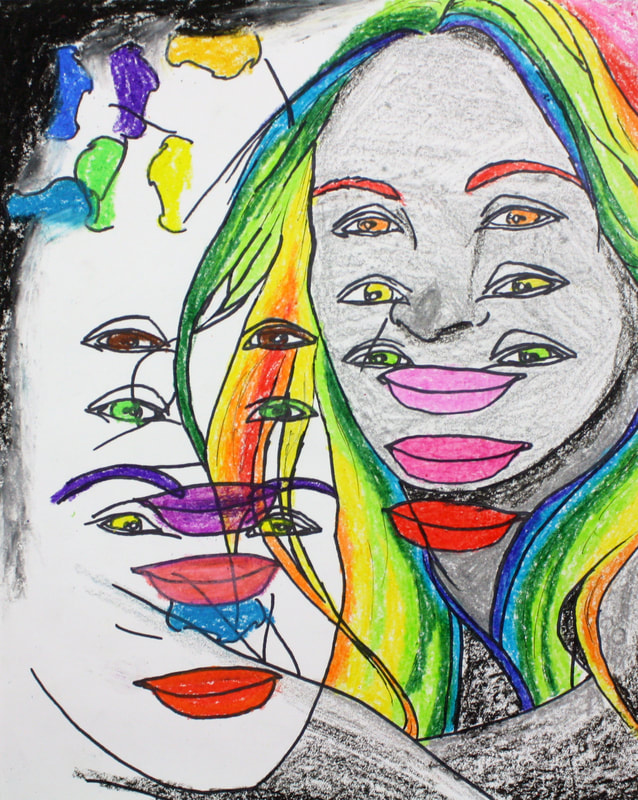
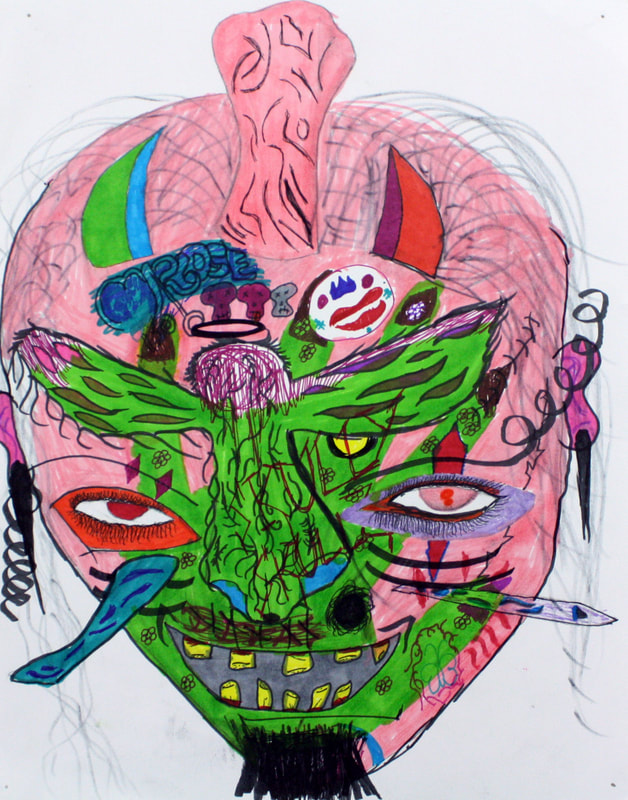
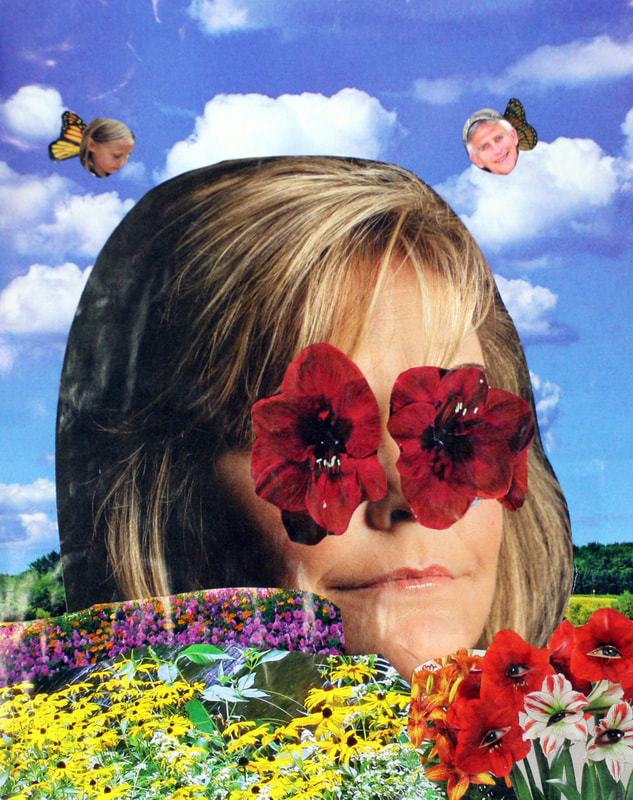
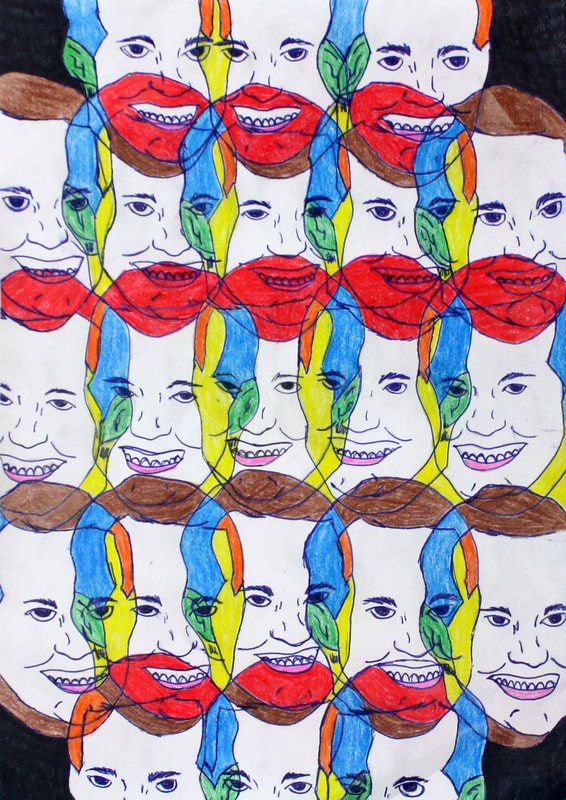
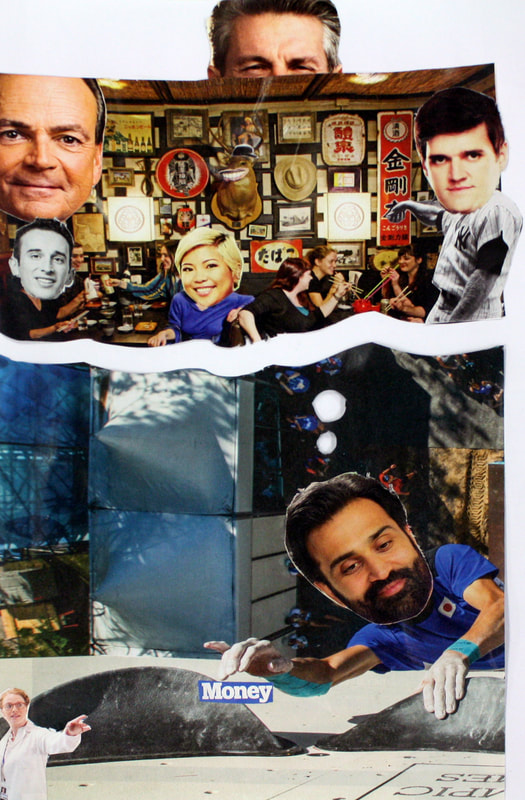
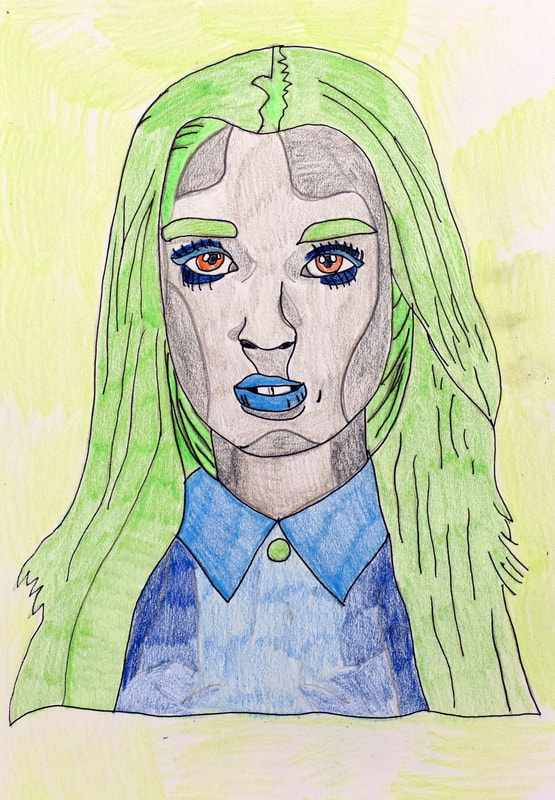
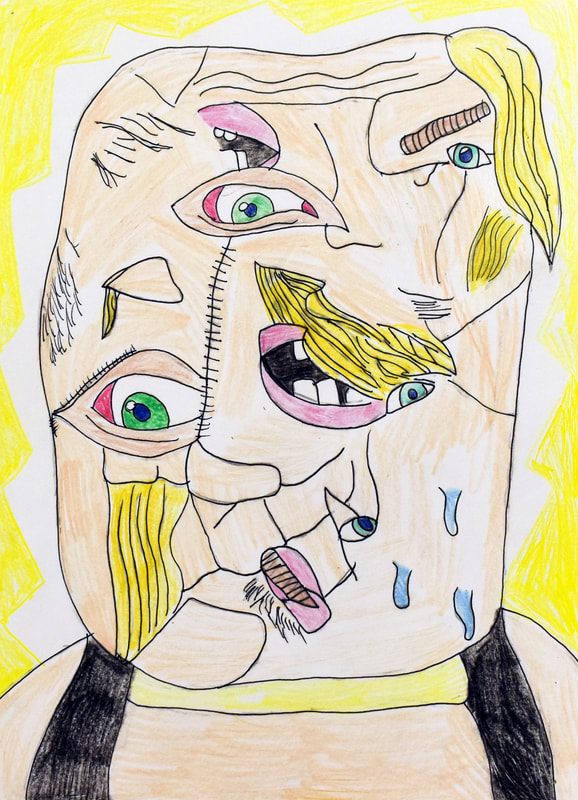
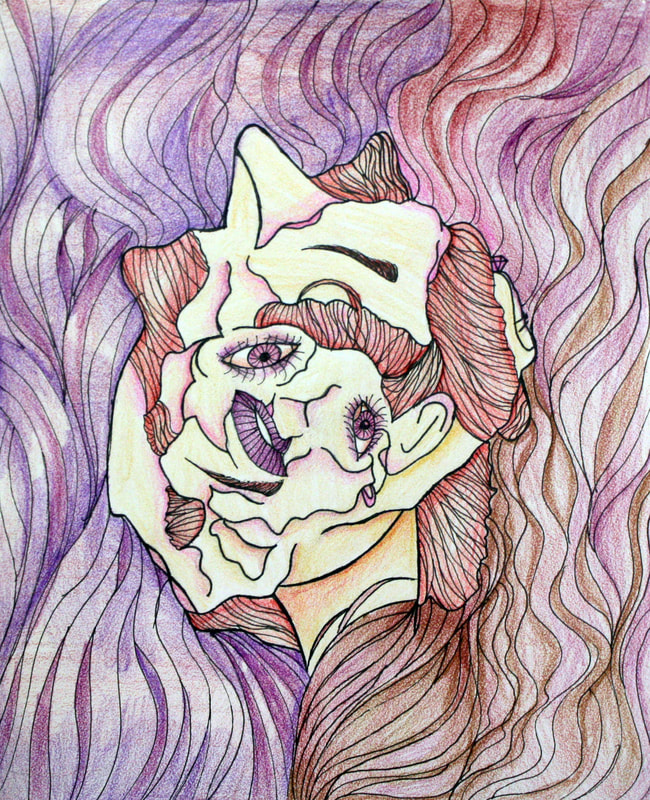
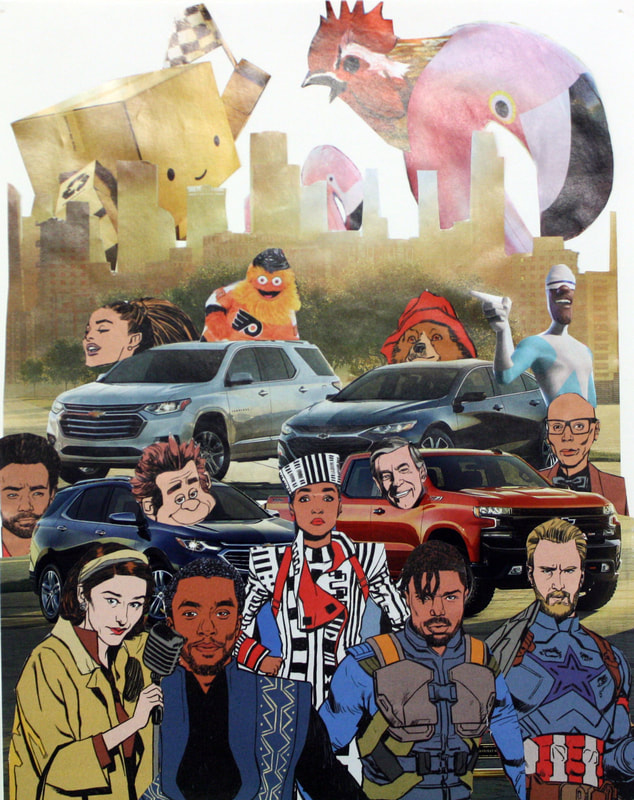
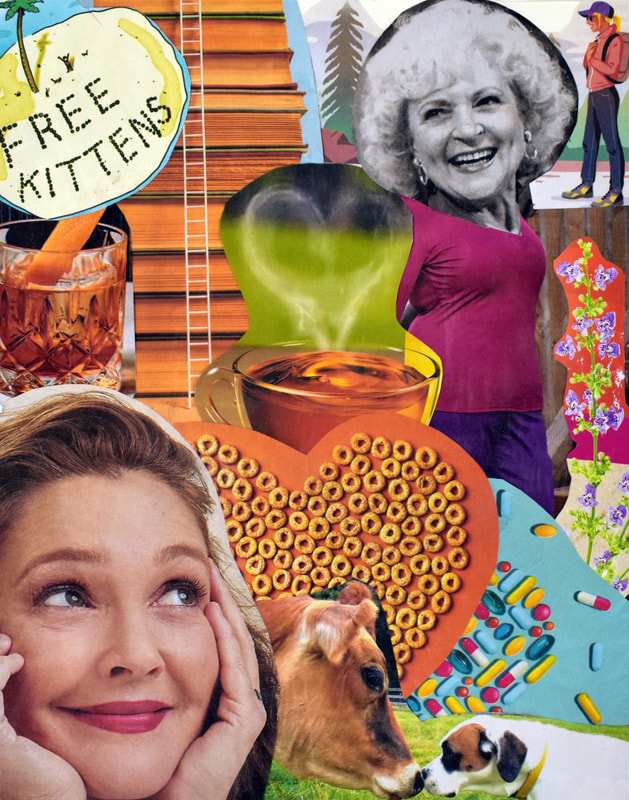
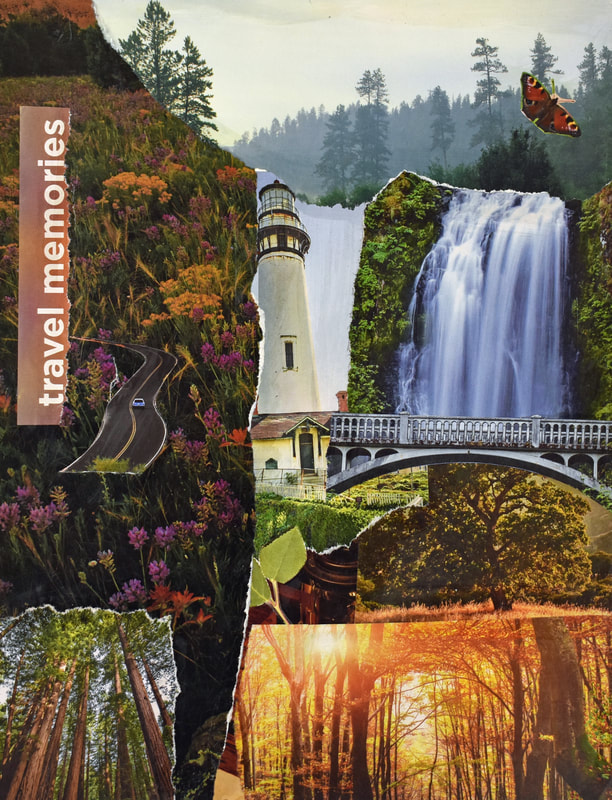
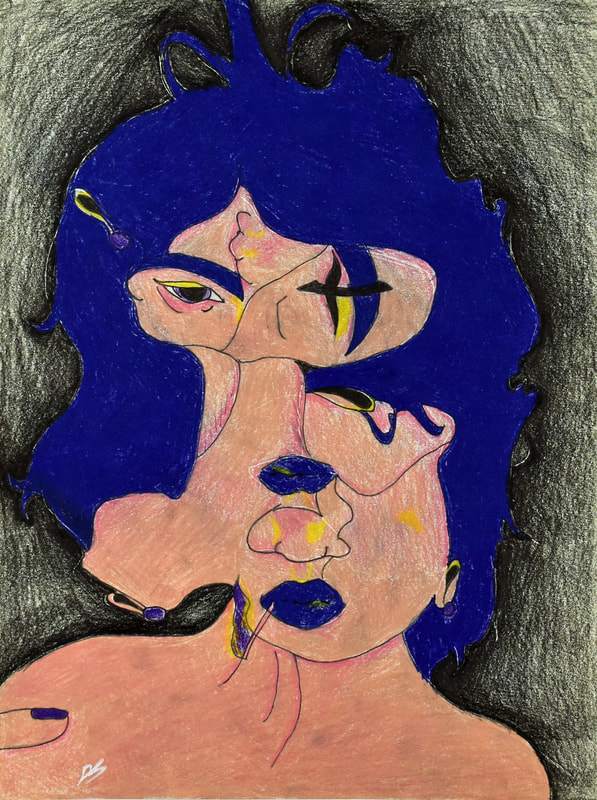
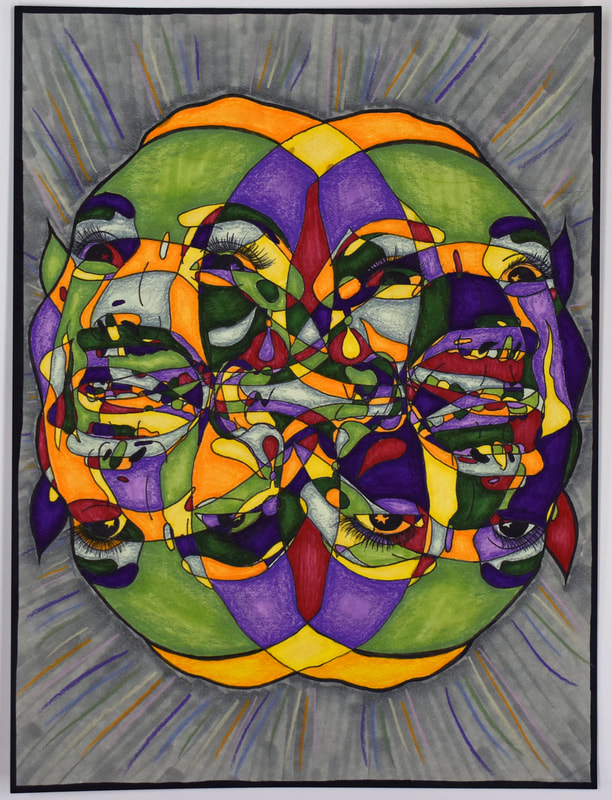
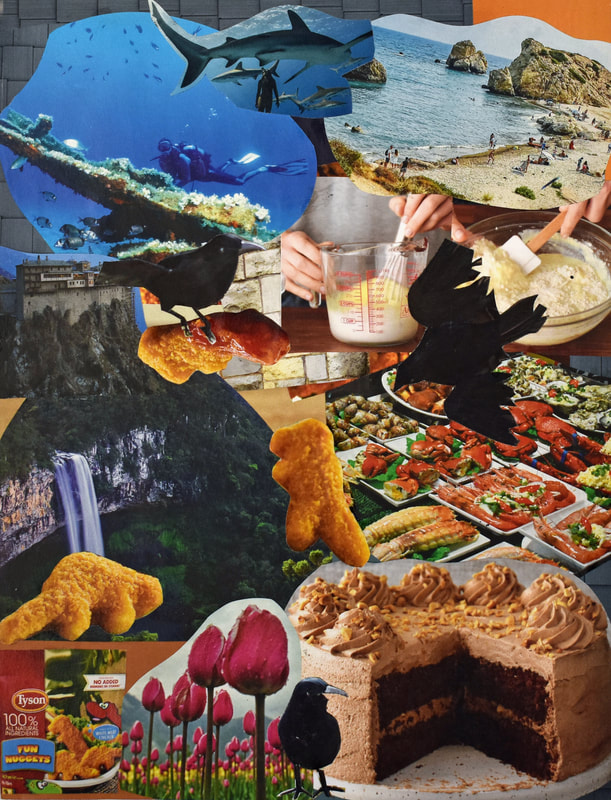
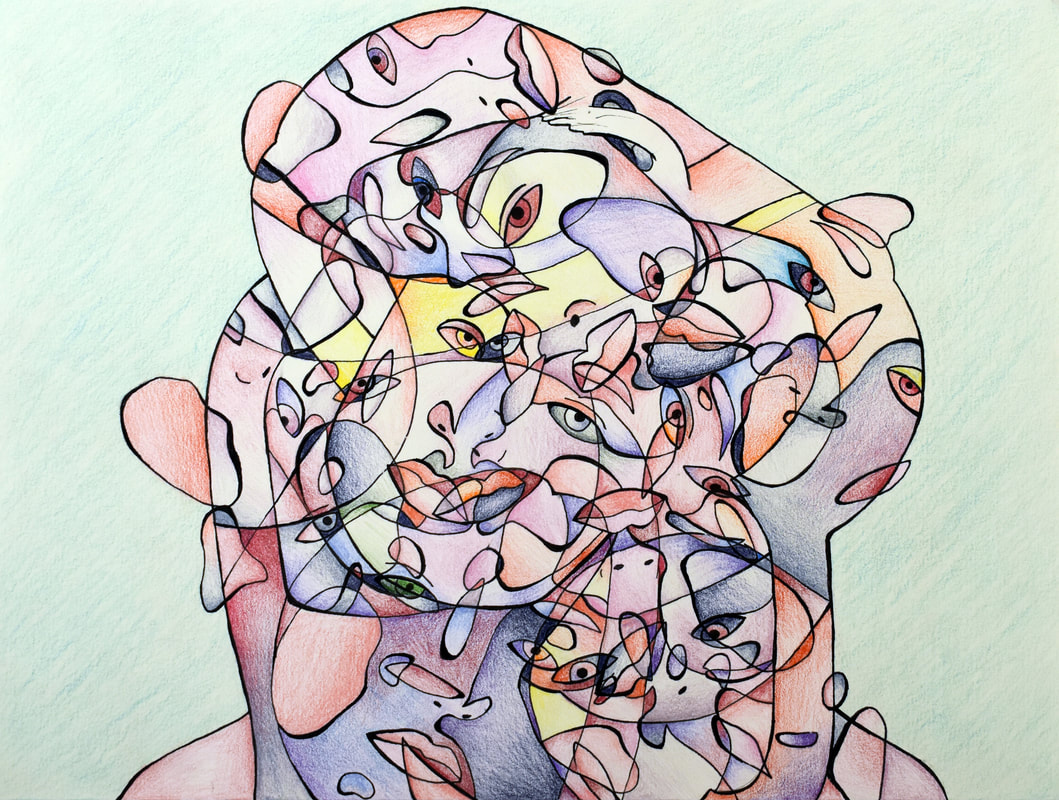
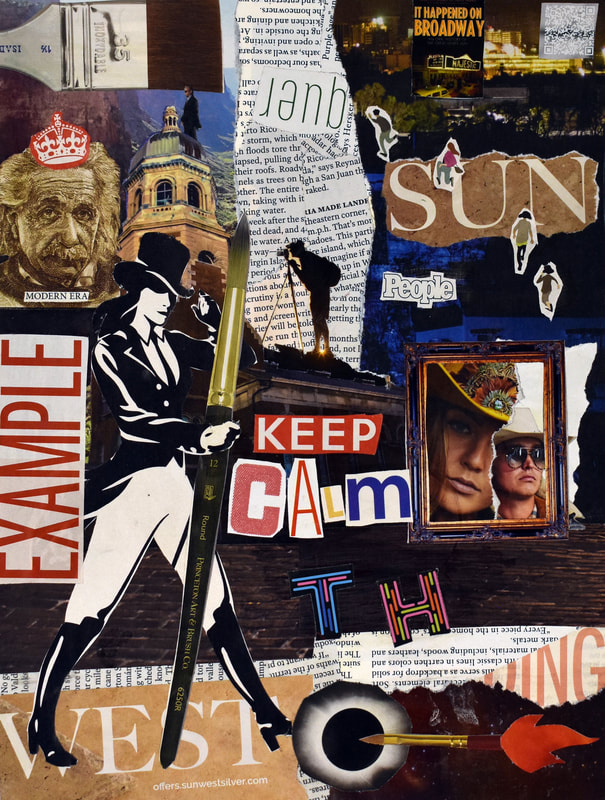
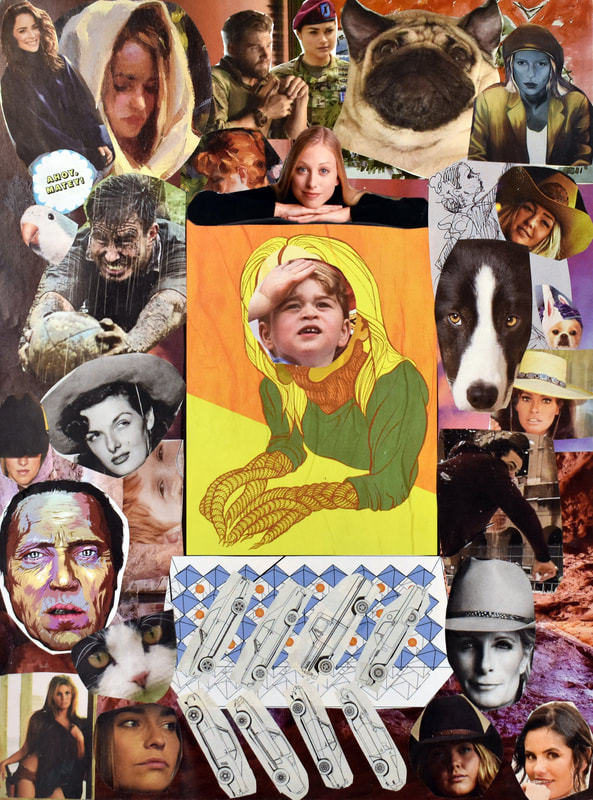
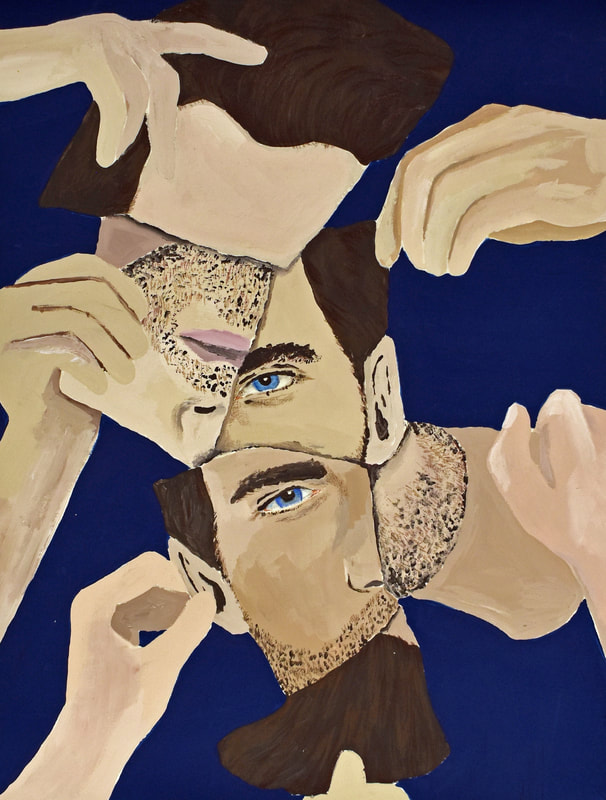
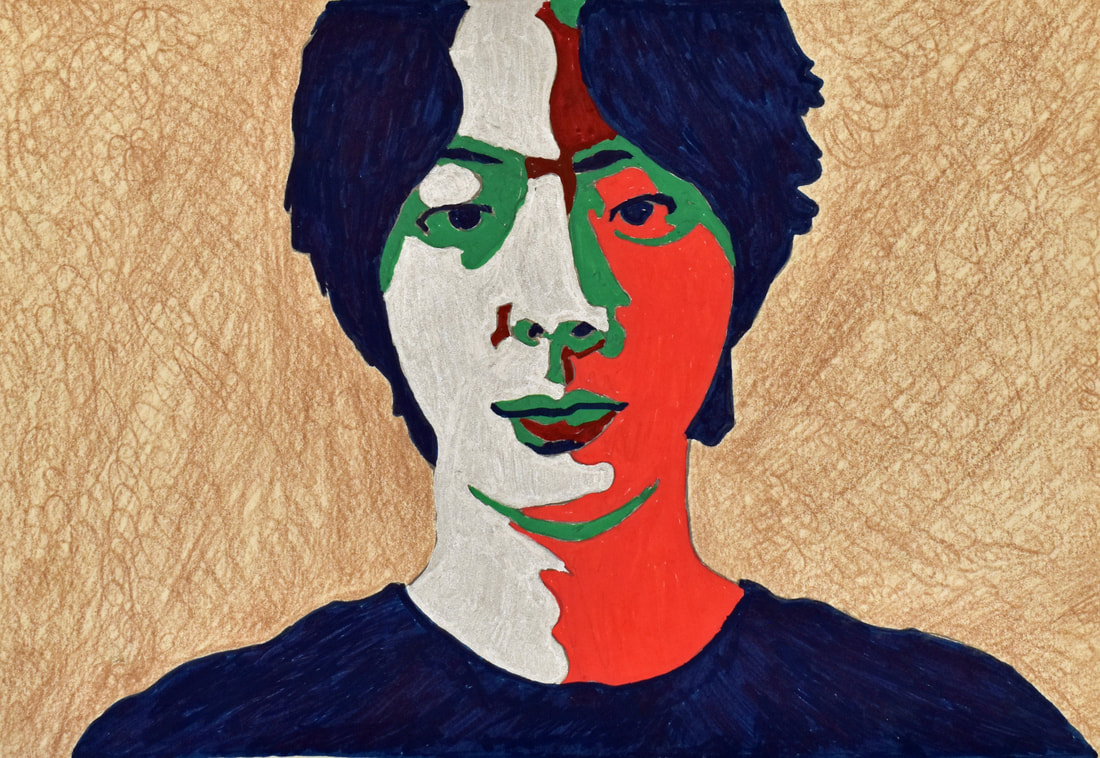
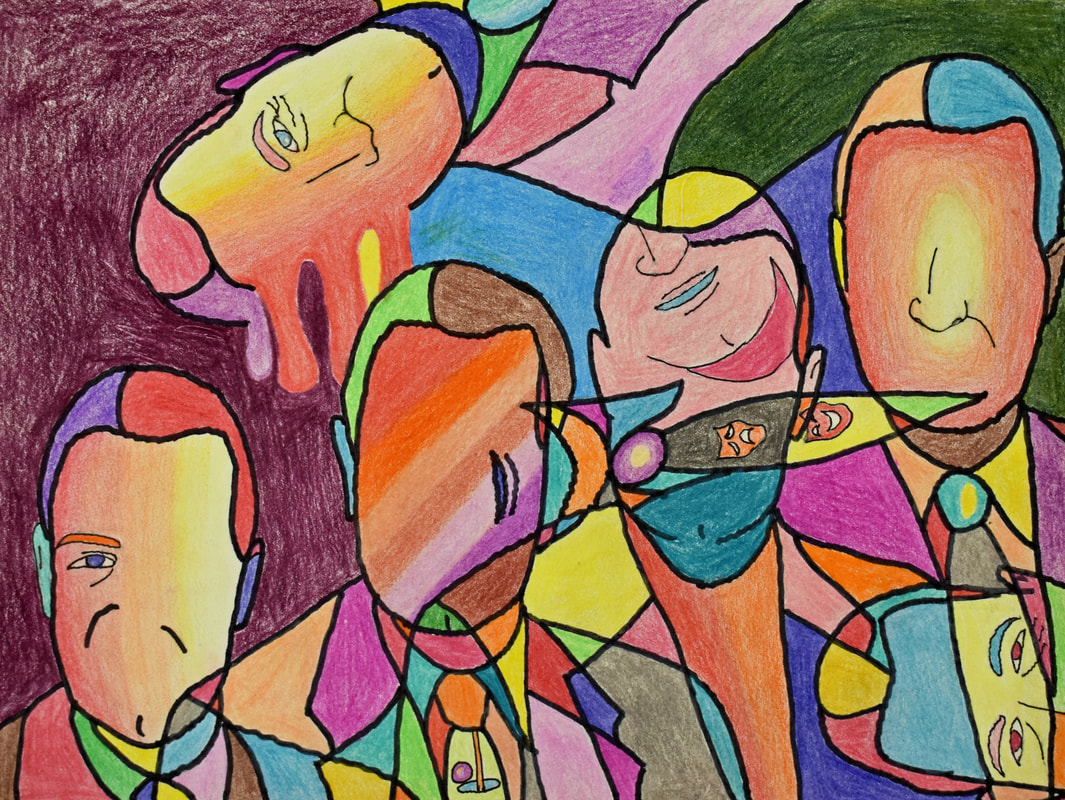
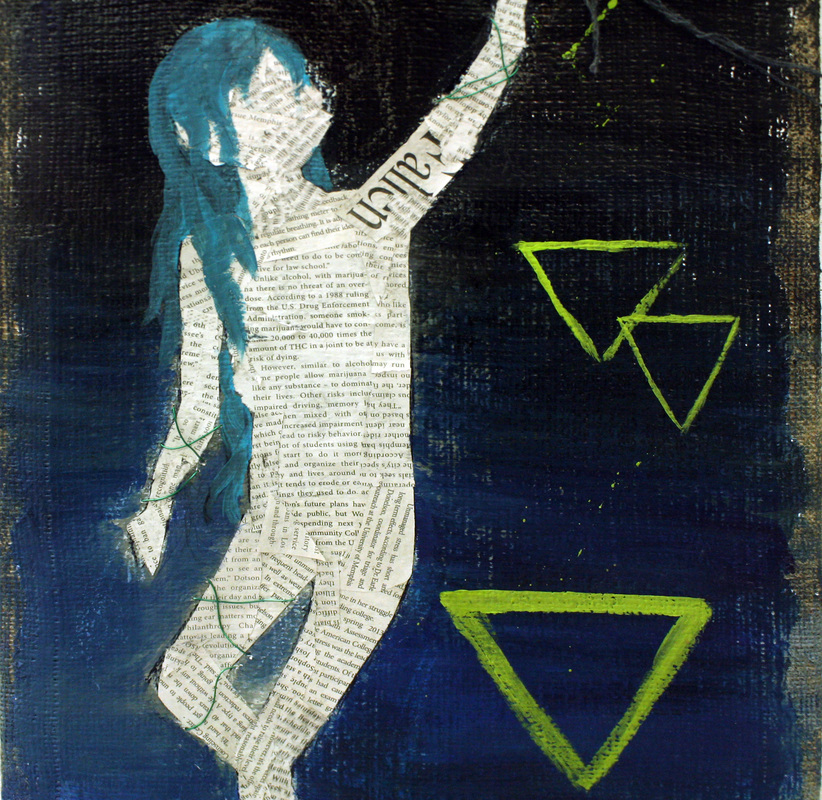
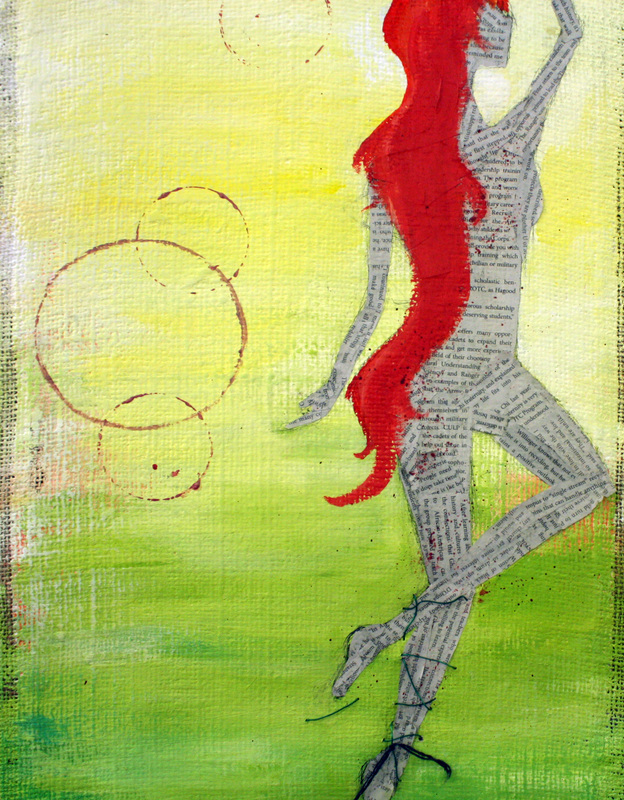
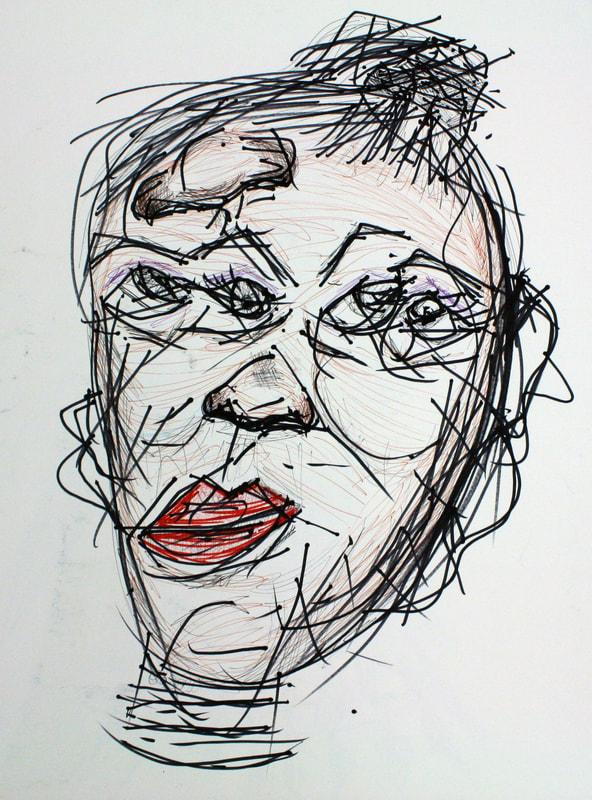
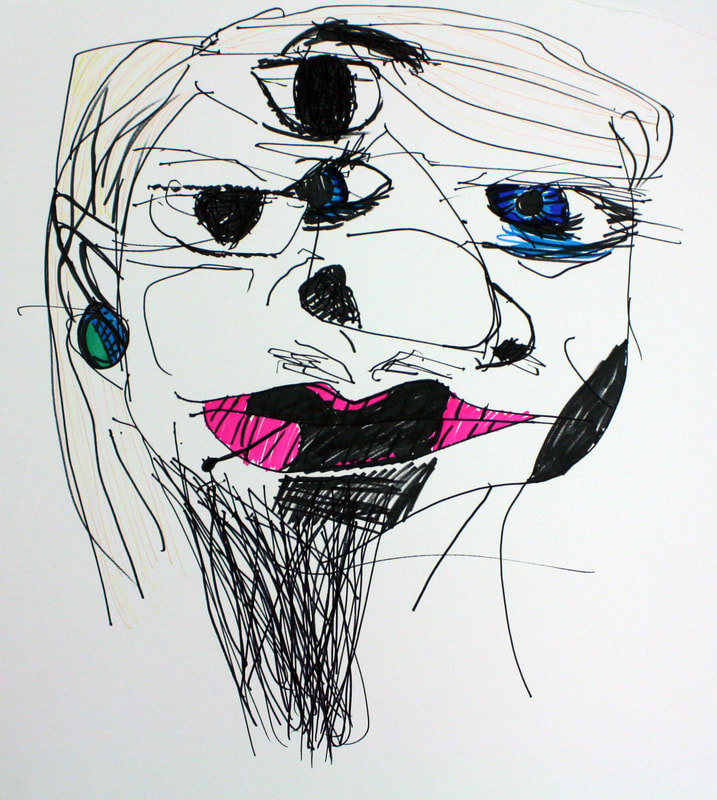
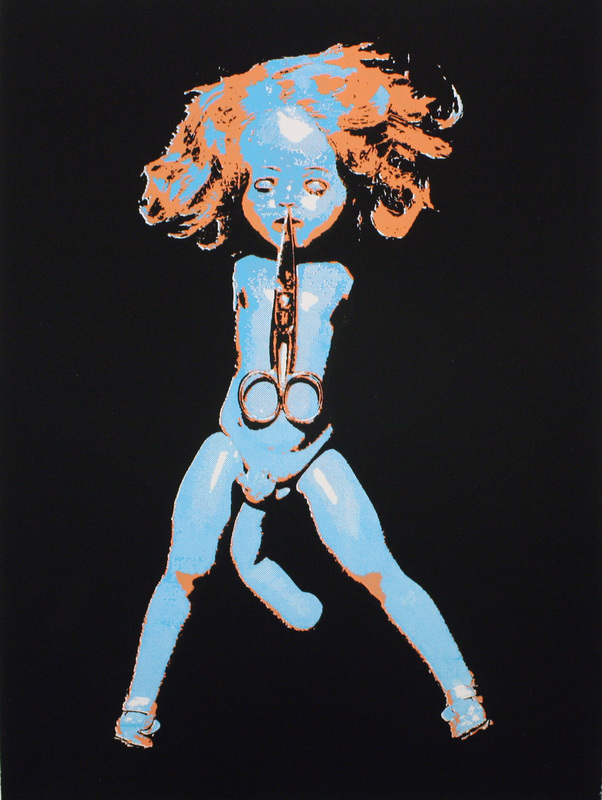
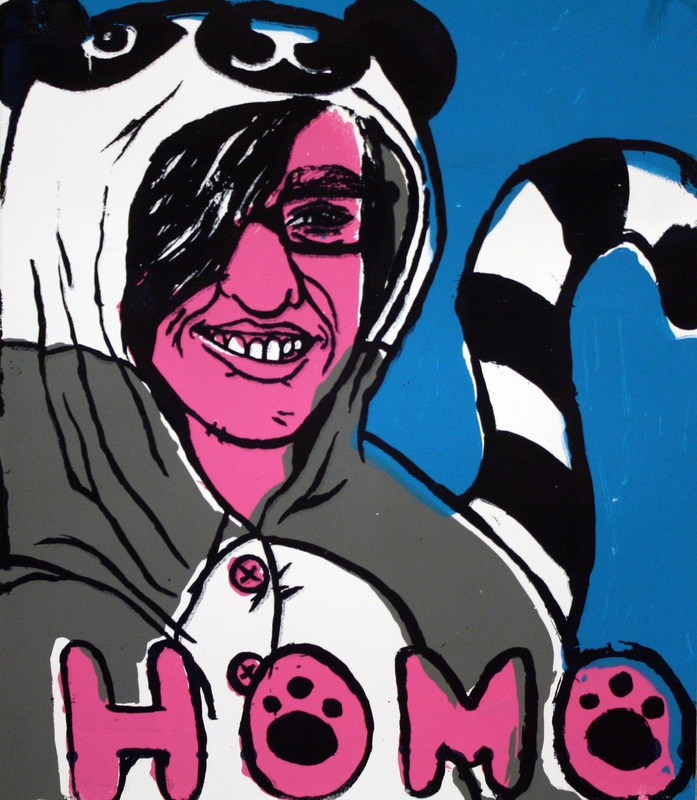
Multiples Project - The Multiples Project begins with students being assigned to bring magazines to class. They are then asked to cut out various advertisements and portraits from the magazine. The next class meeting they are handed a paper with various instructions for the four different phases of this assignment. Phase I asks the student to copy a magazine portrait then use colors found in an advertisement to fill in the faces details to create a balanced and unified portrait. Phase II asks the student to take a magazine portrait, cut and slice it, and then put it together to create an "ugly" face. This face is then copied onto paper again and finished in the medium of the students choosing. The third phase asks the student to take a portrait from the magazine and layer it until the face is abstracted. The final phase is to take the leftover images and create a balanced and unified collage. The various phases teach the students color theory, familiarity with various mediums, various elements and principles such as balance and unity, and experimentation in various ways to create different forms of art from the simplest of images.

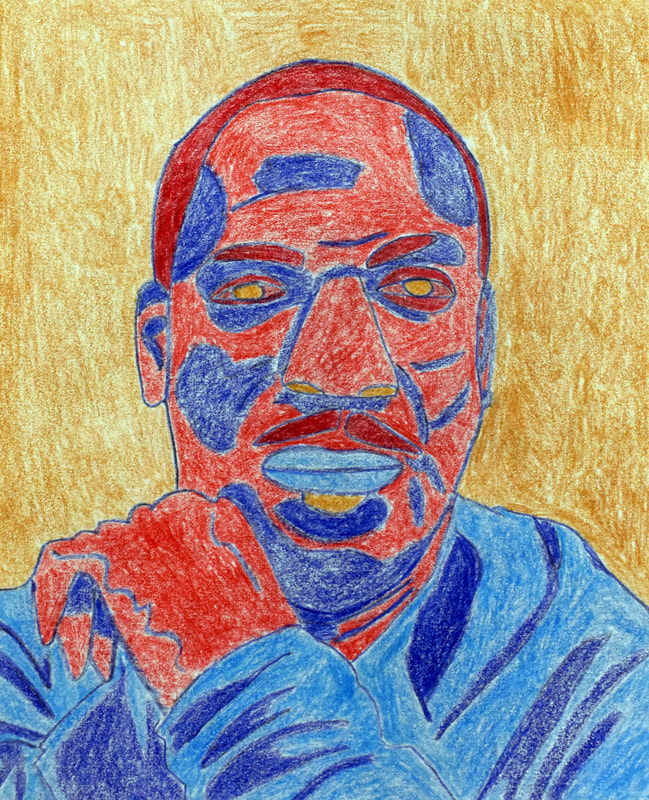


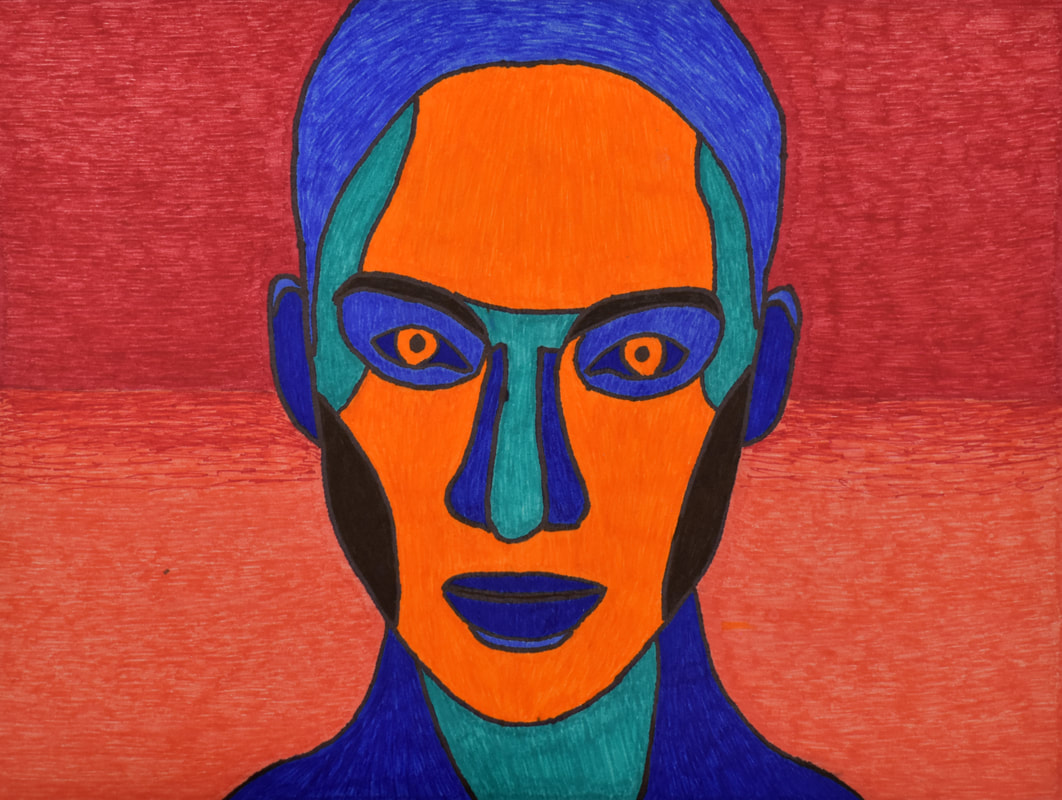
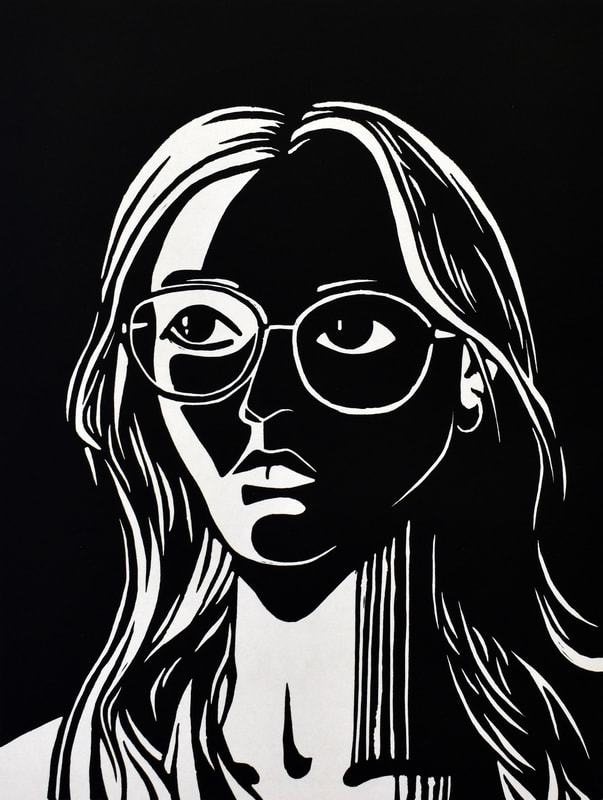
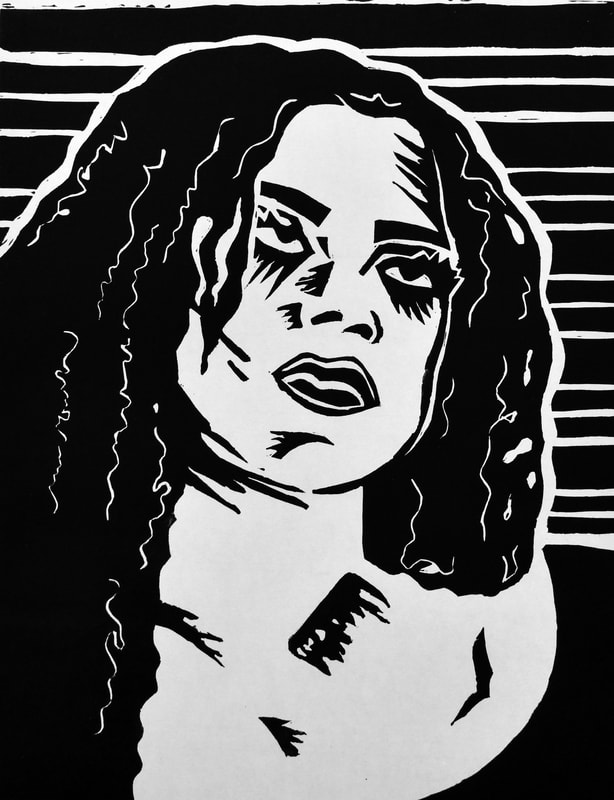
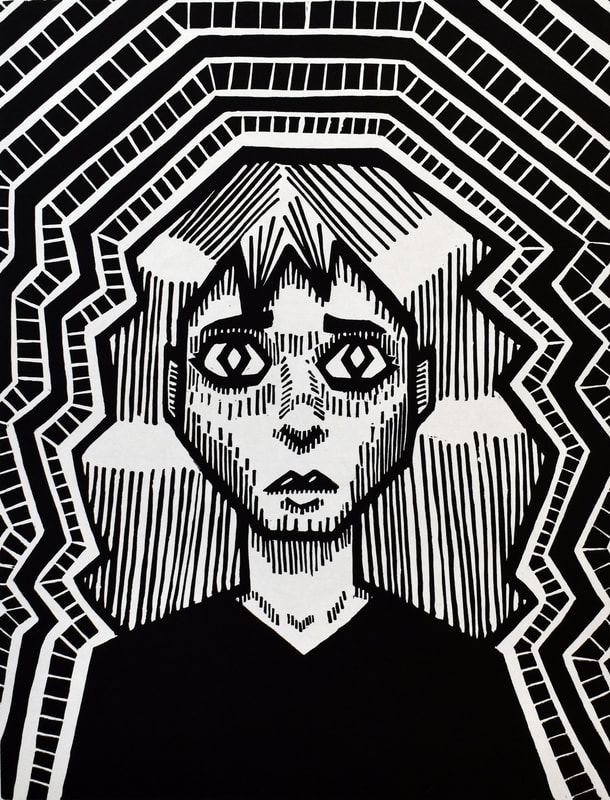
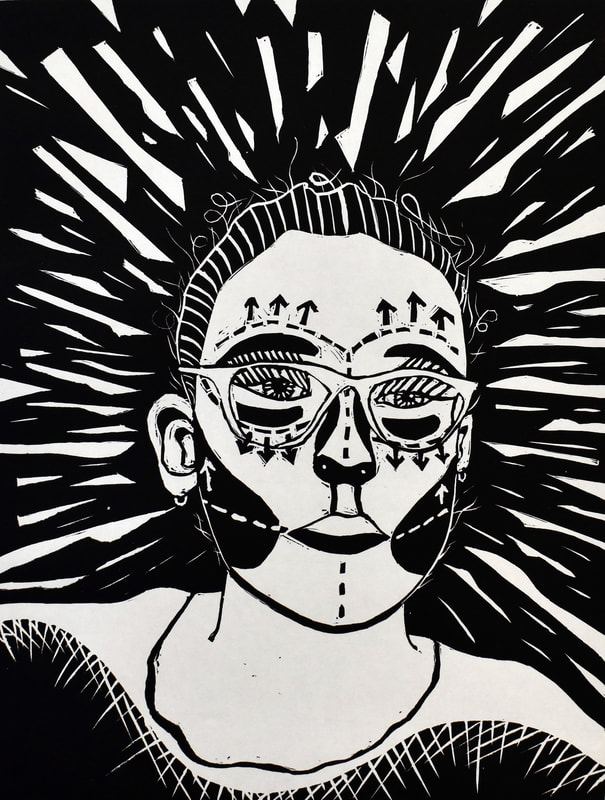
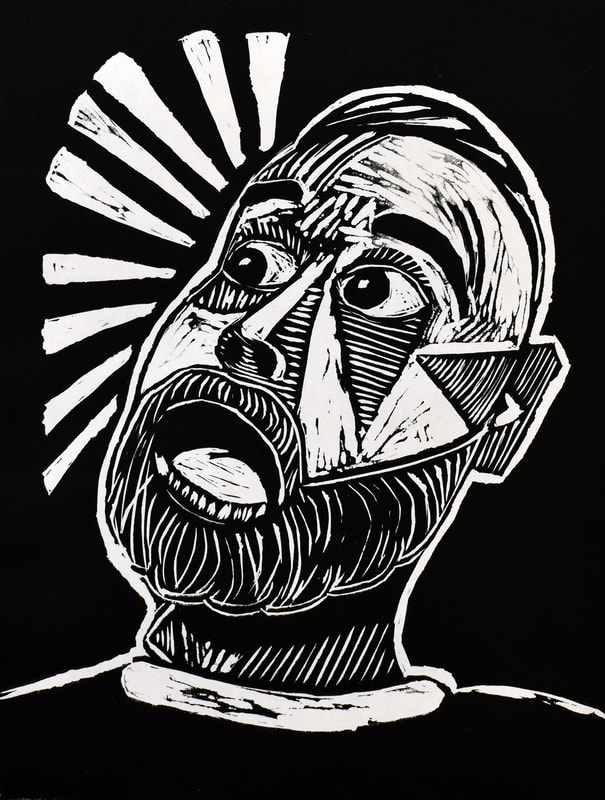
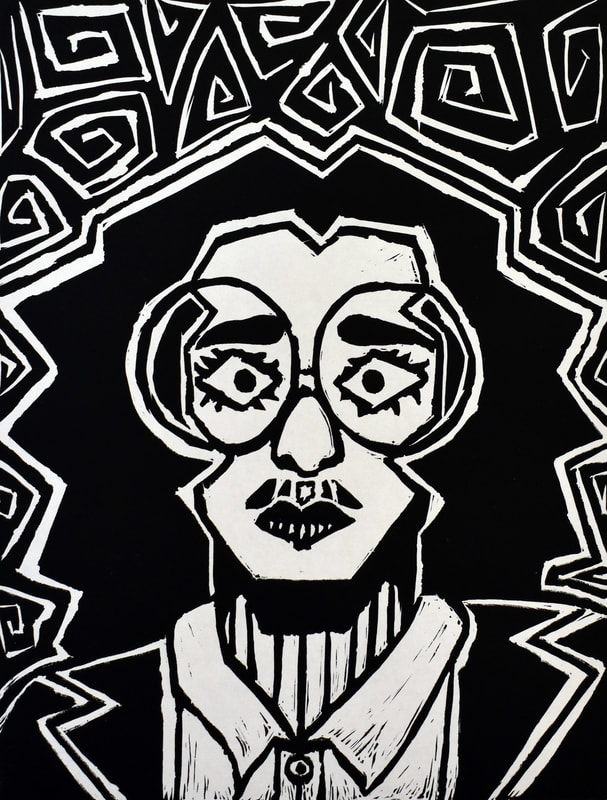
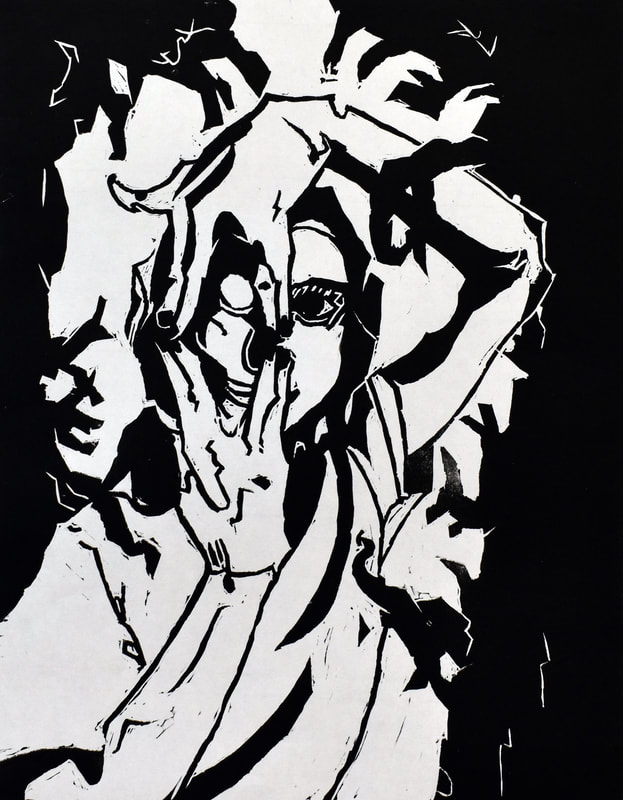
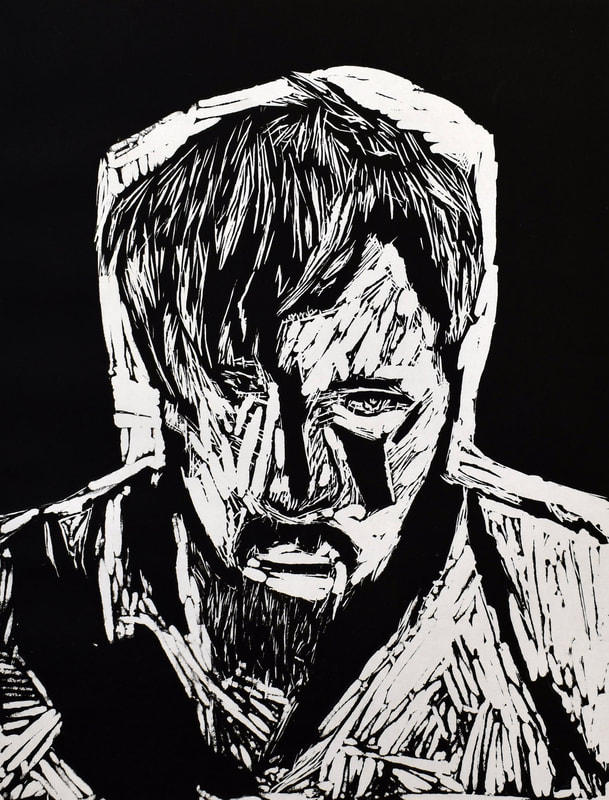
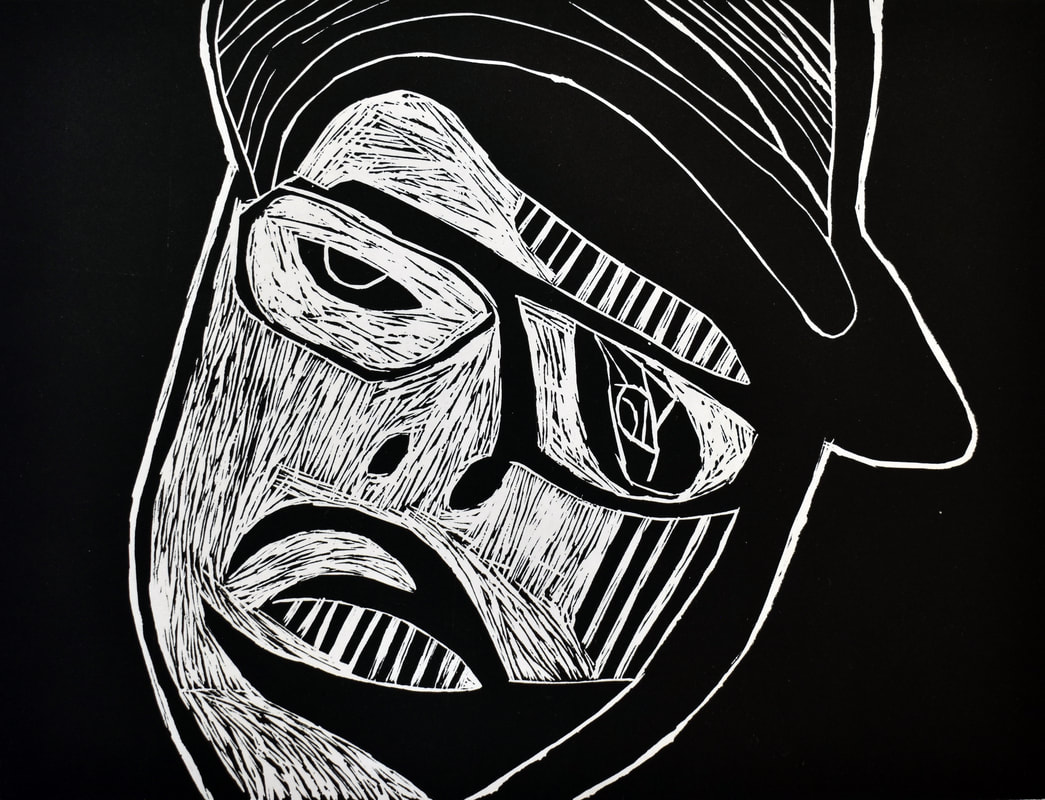
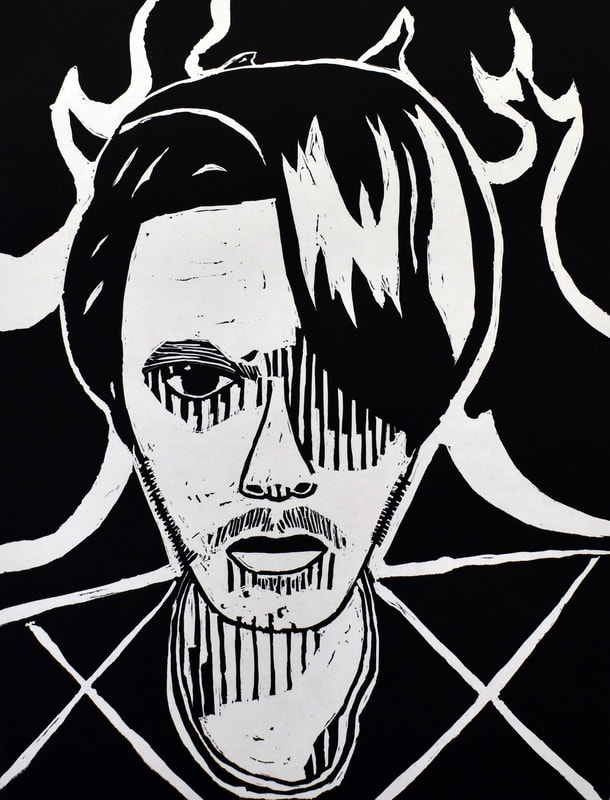
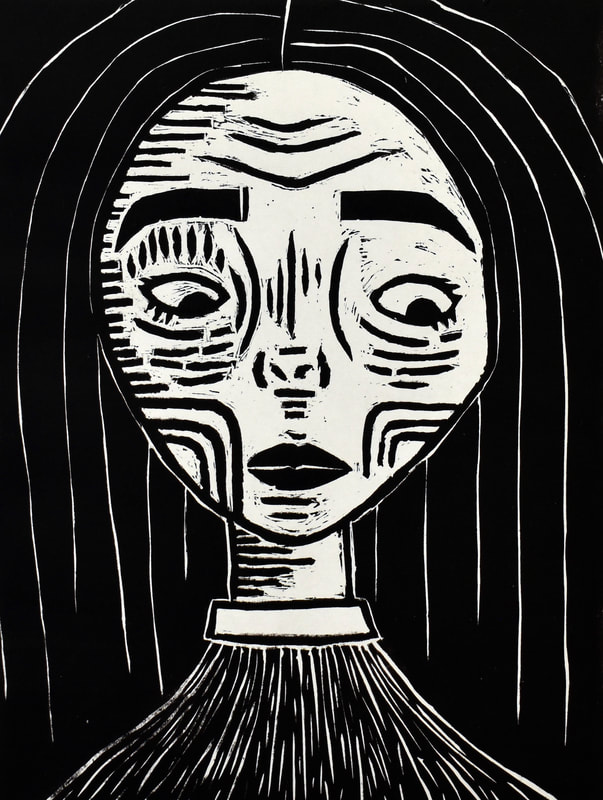
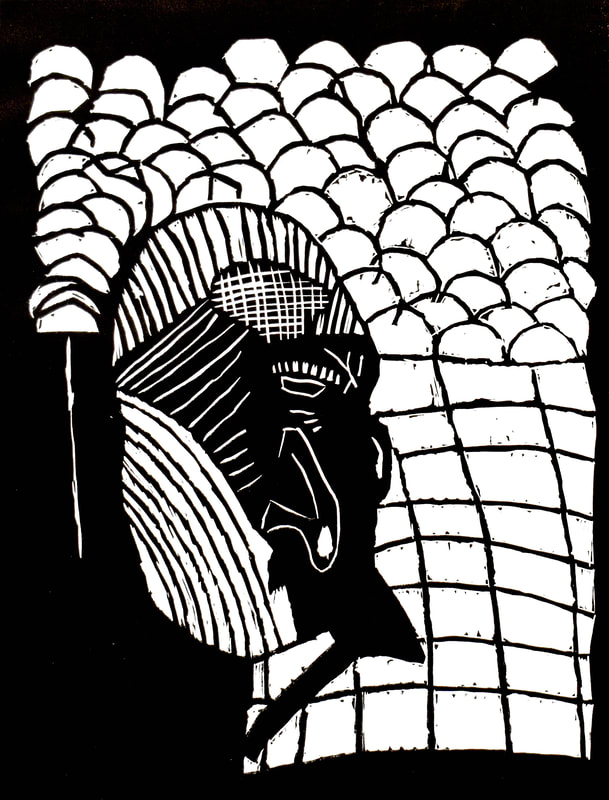
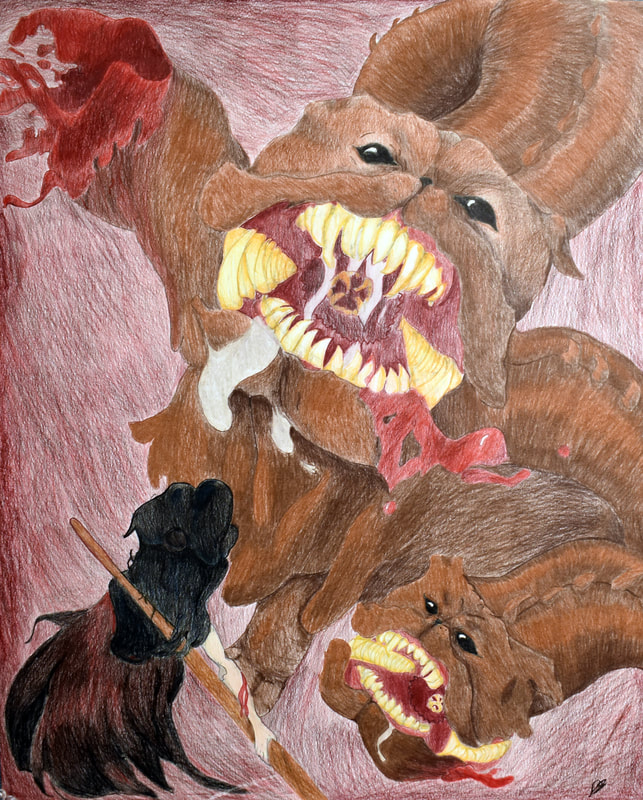
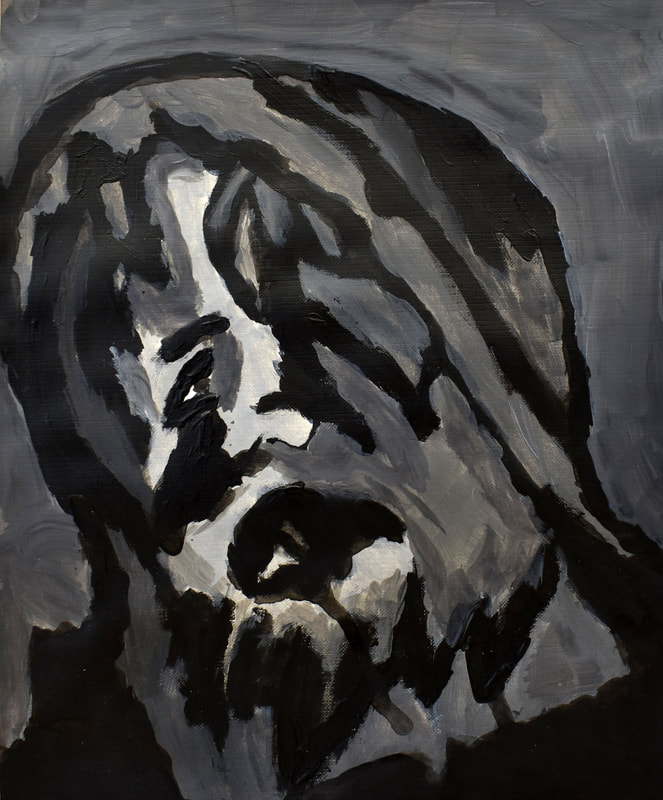
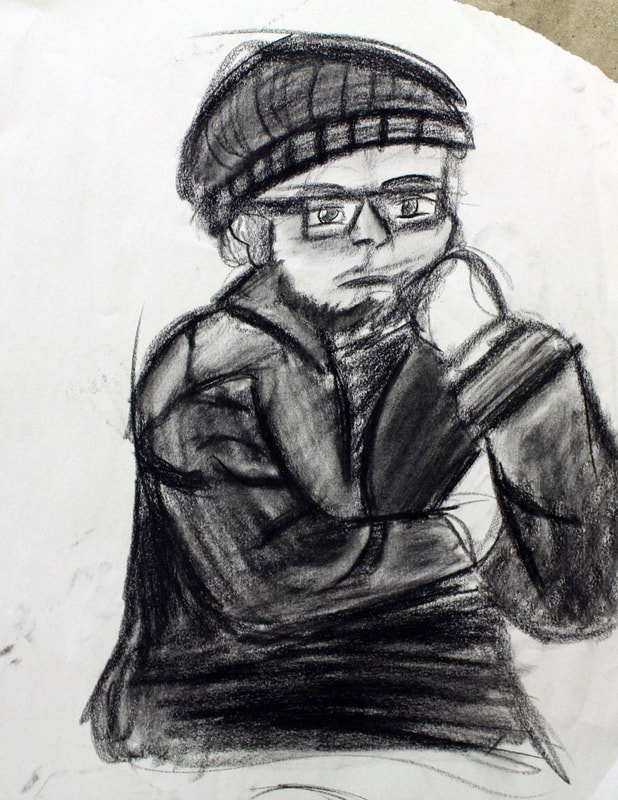
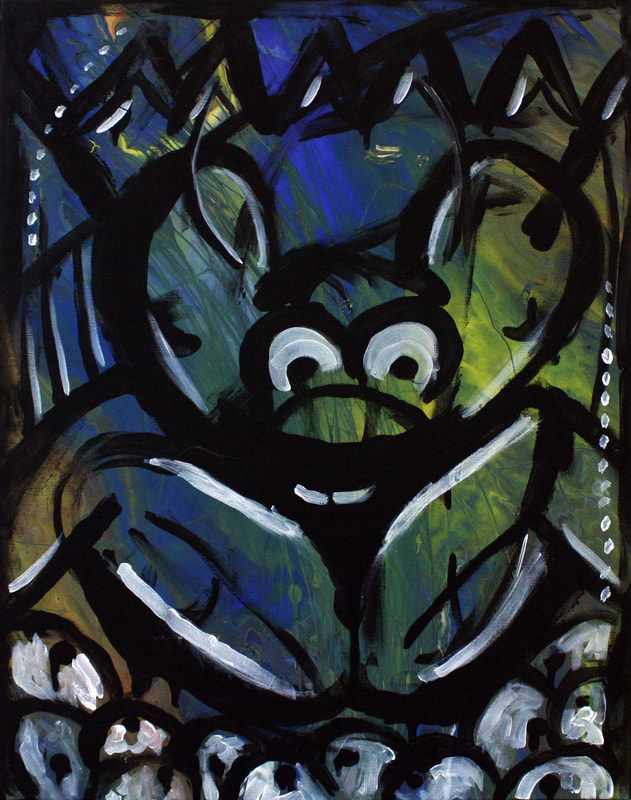
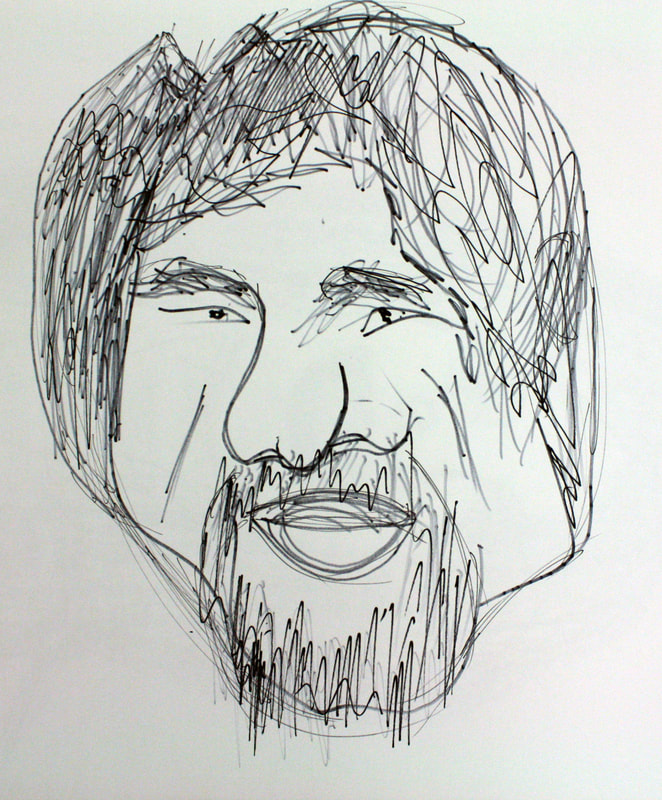
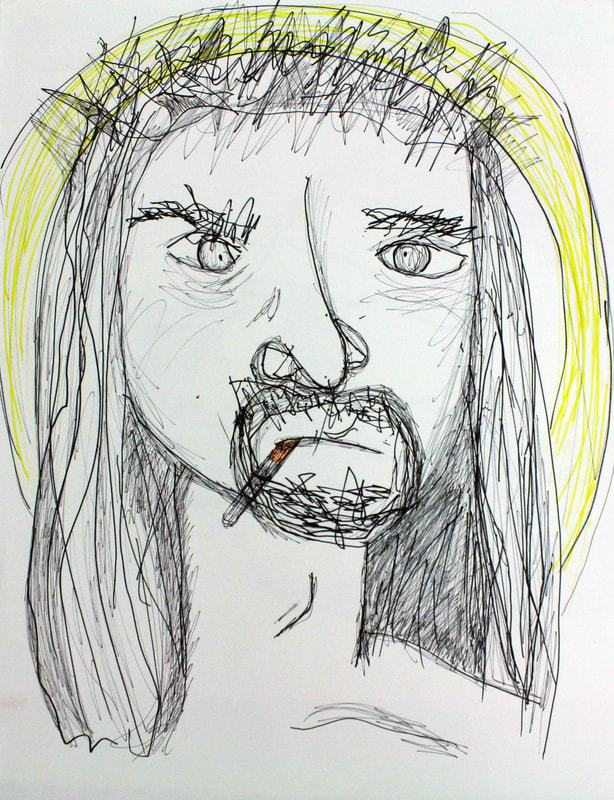
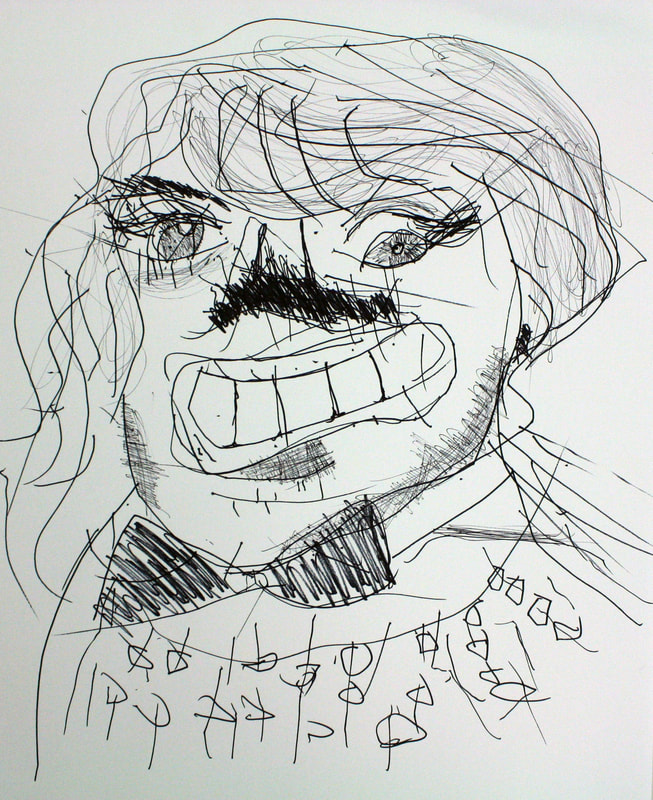
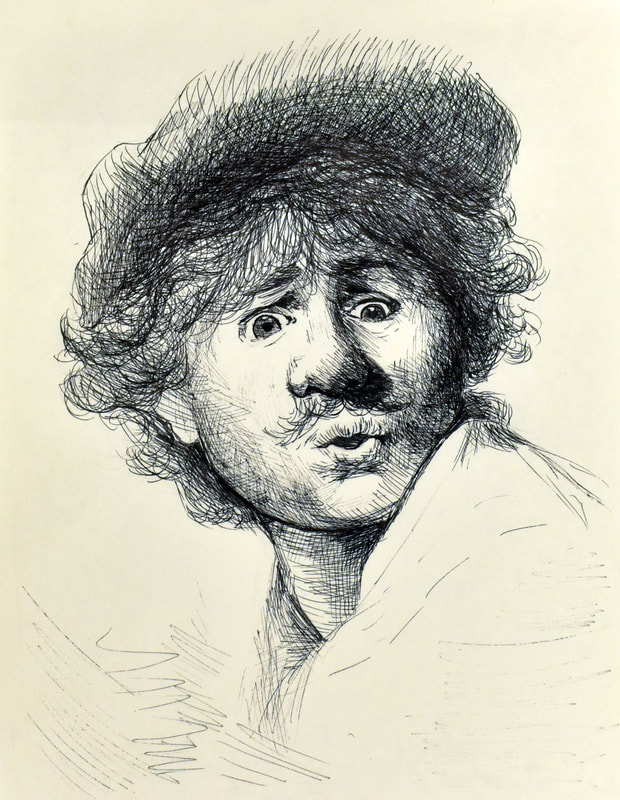
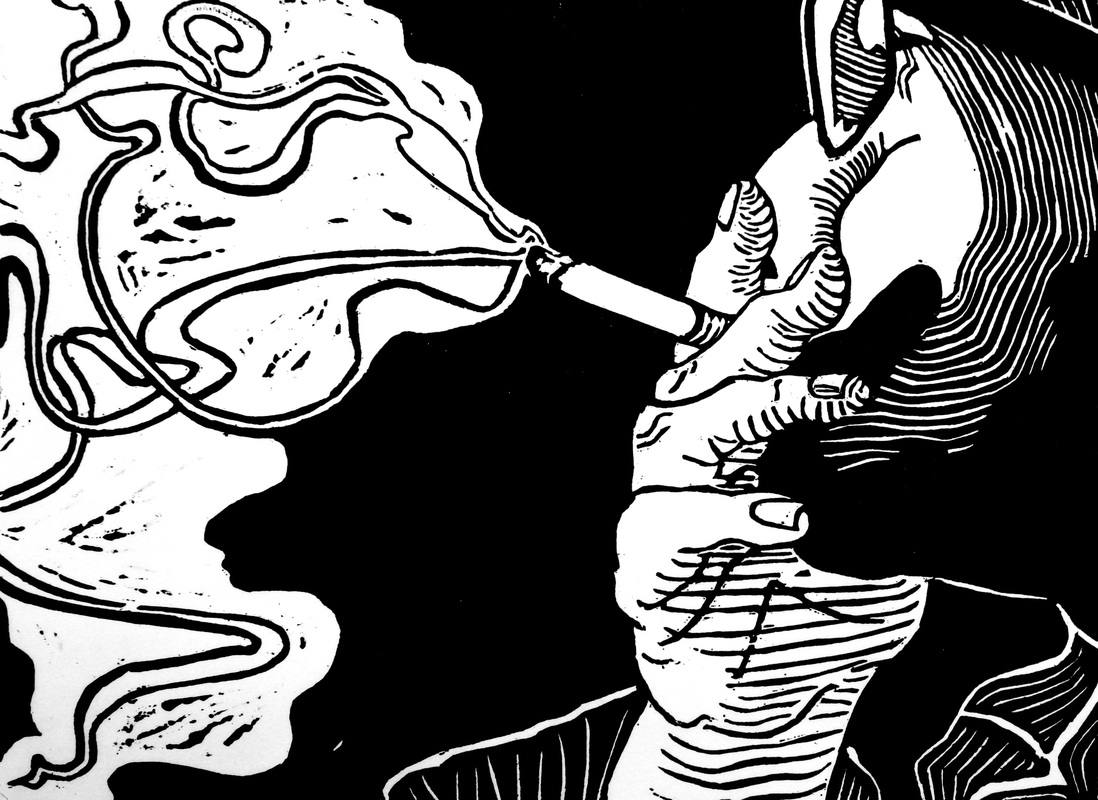
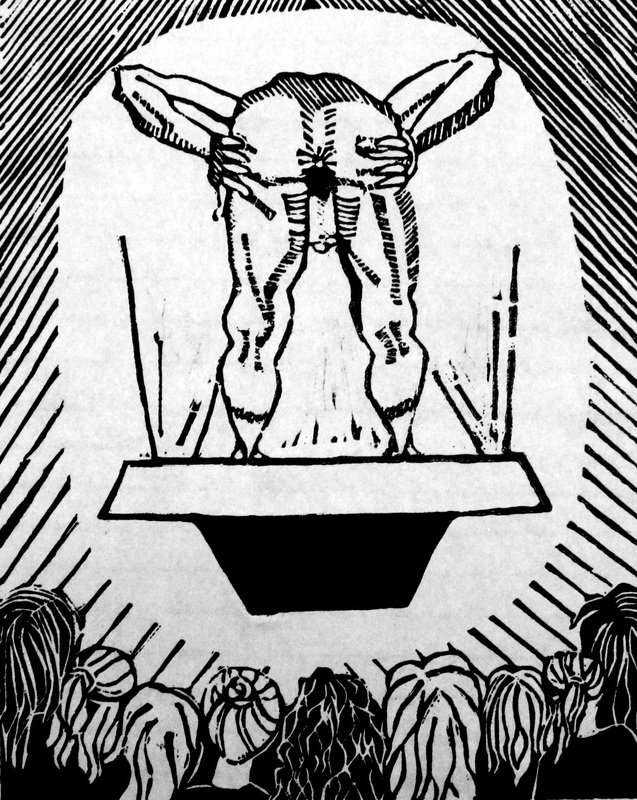
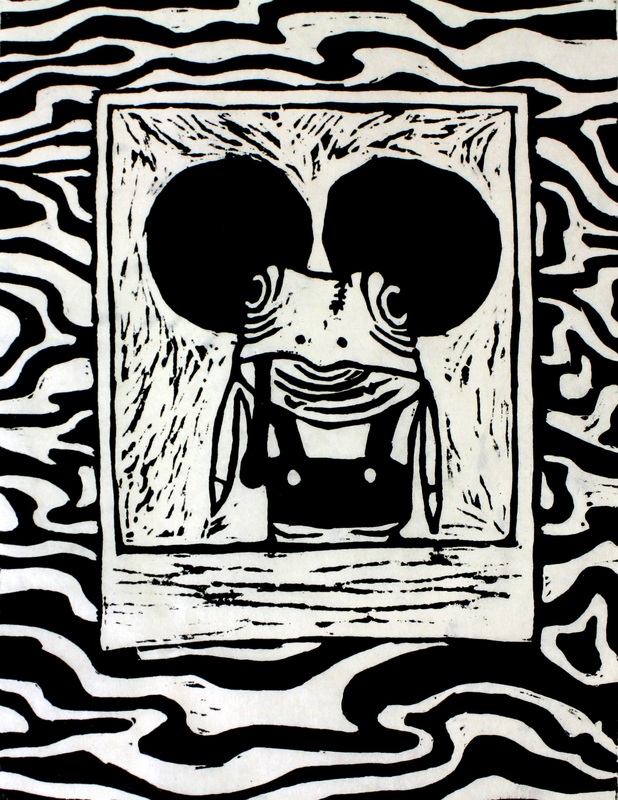
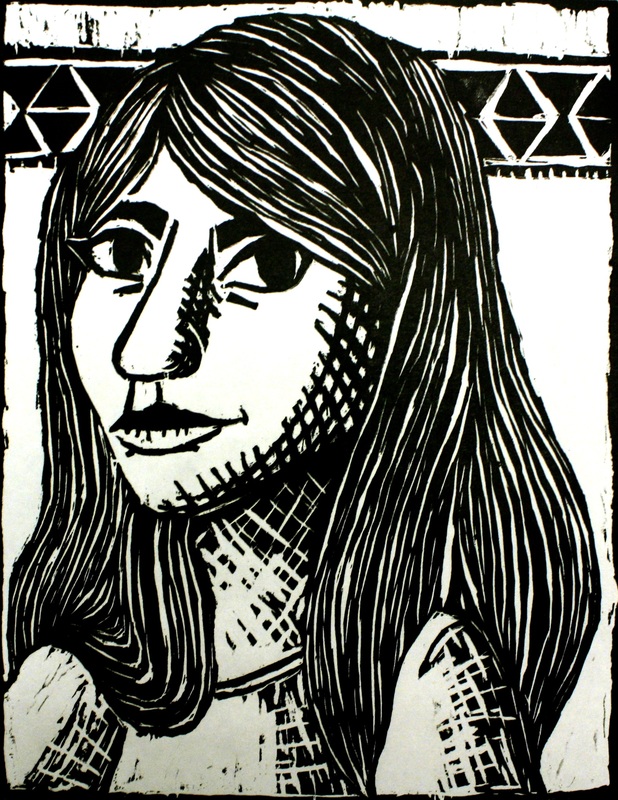
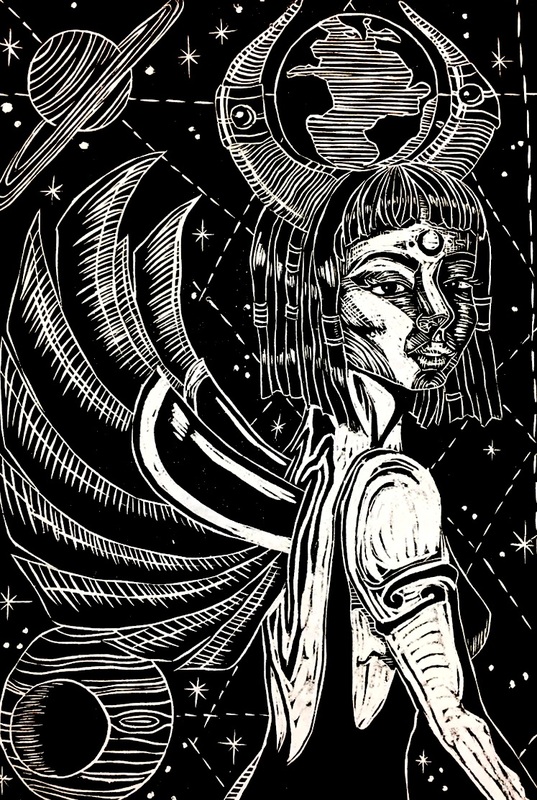
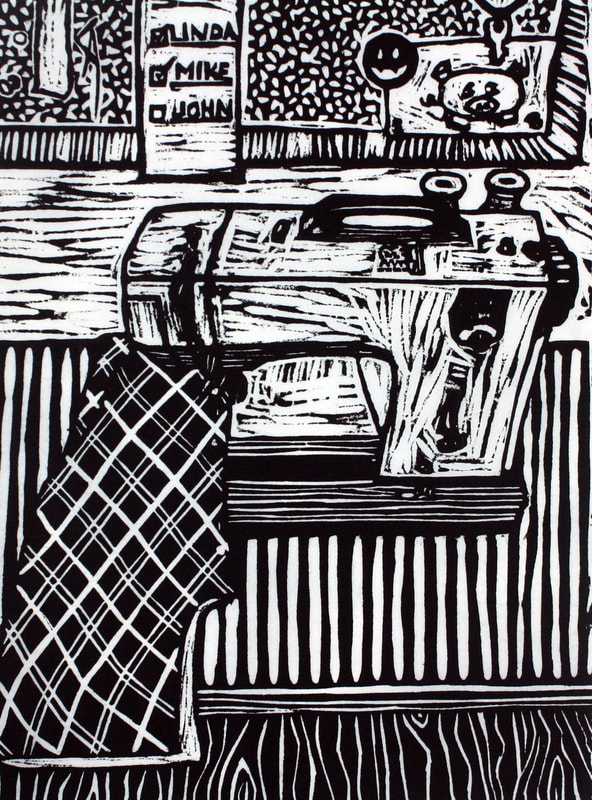
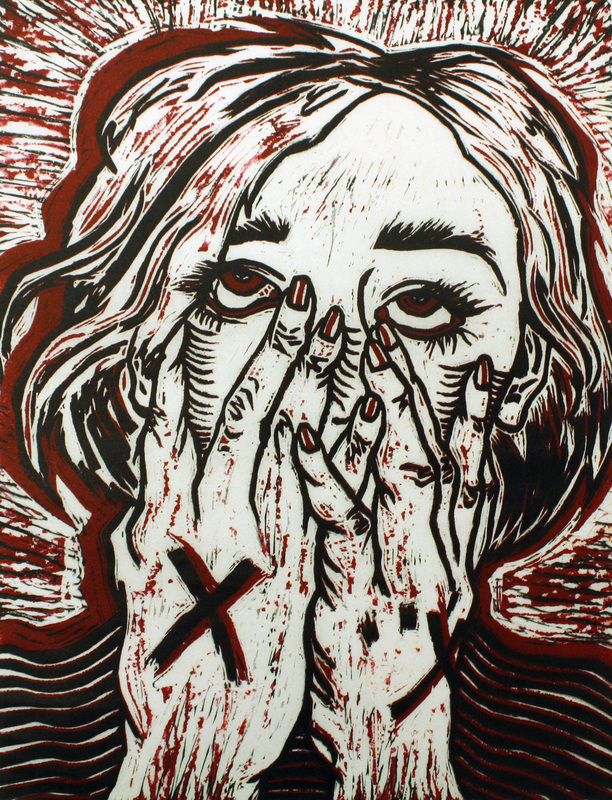
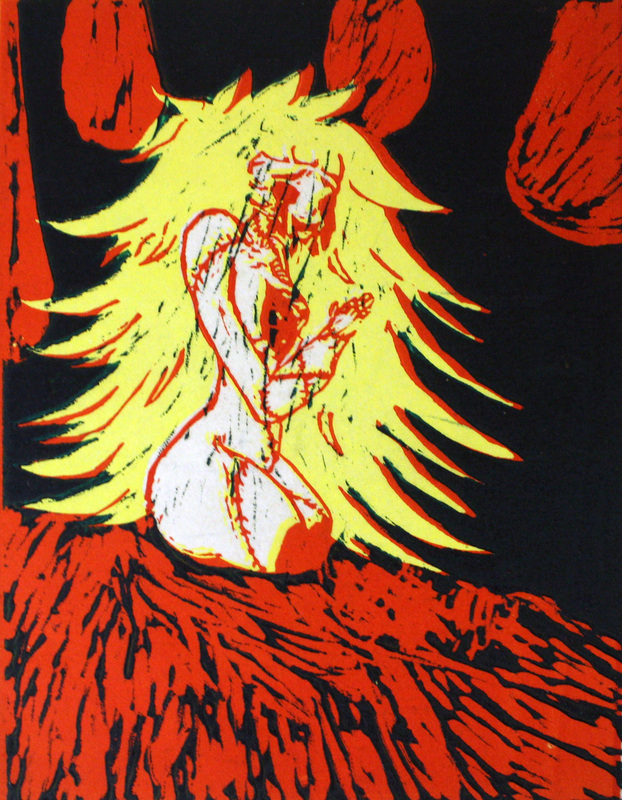
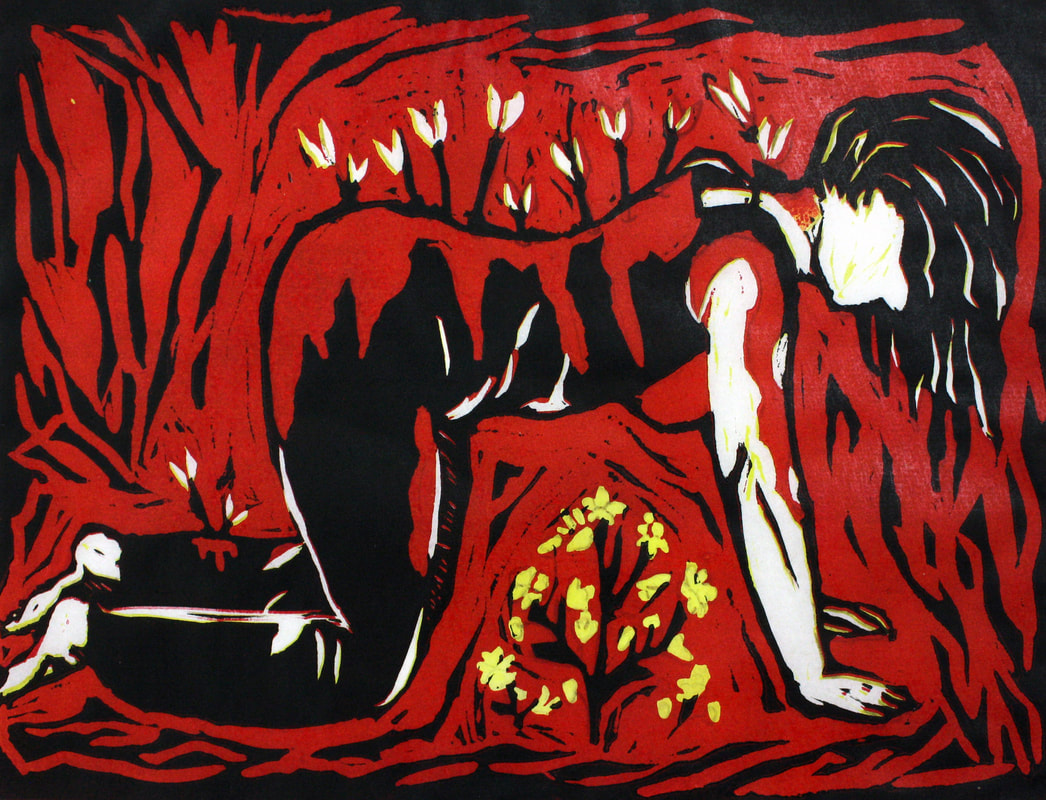
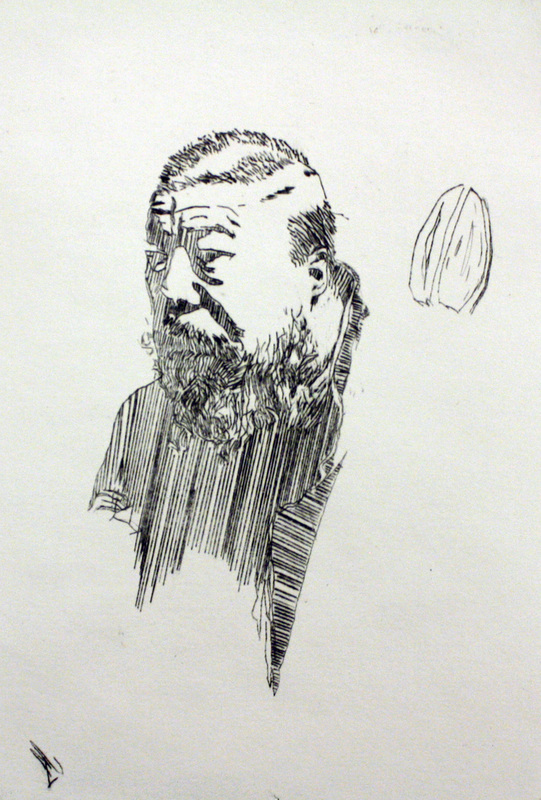
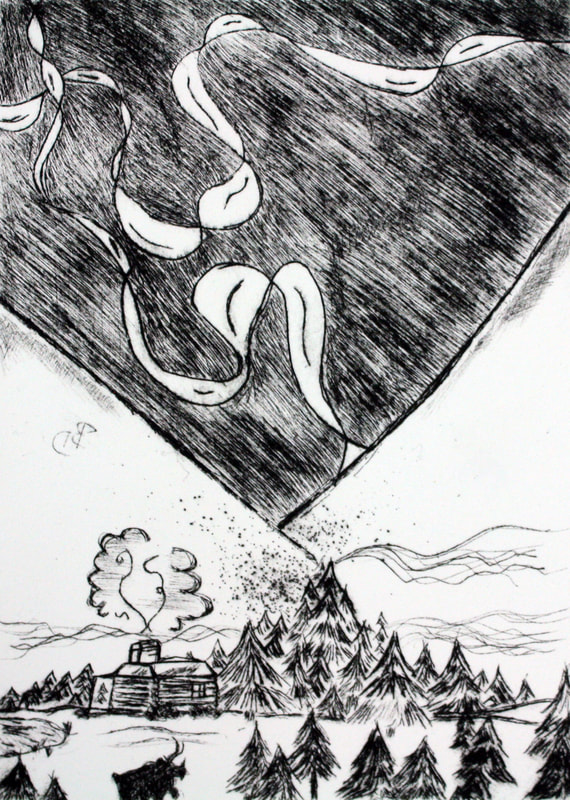
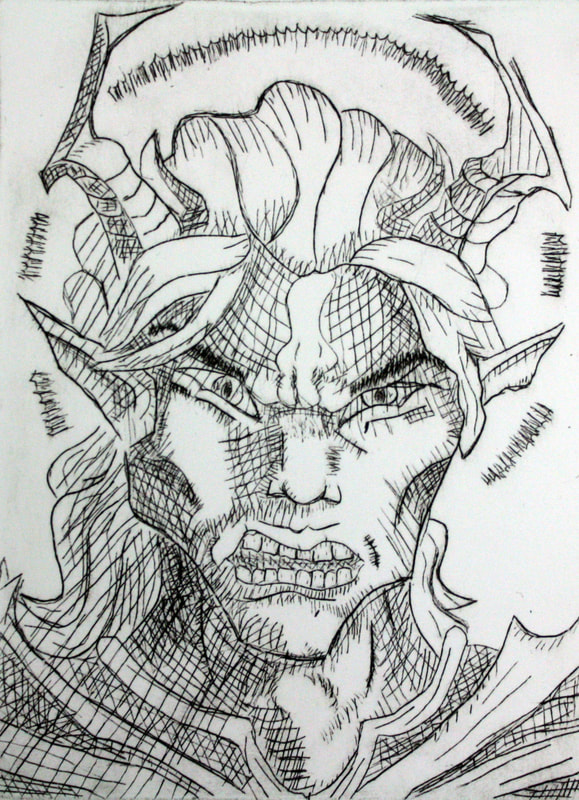
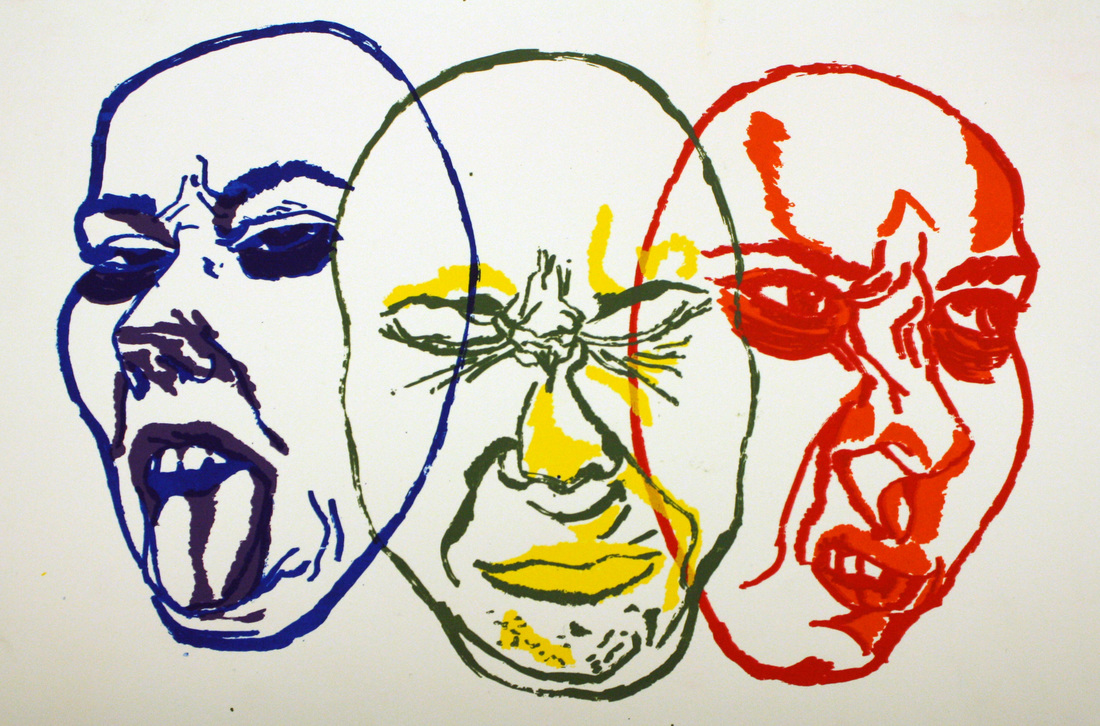
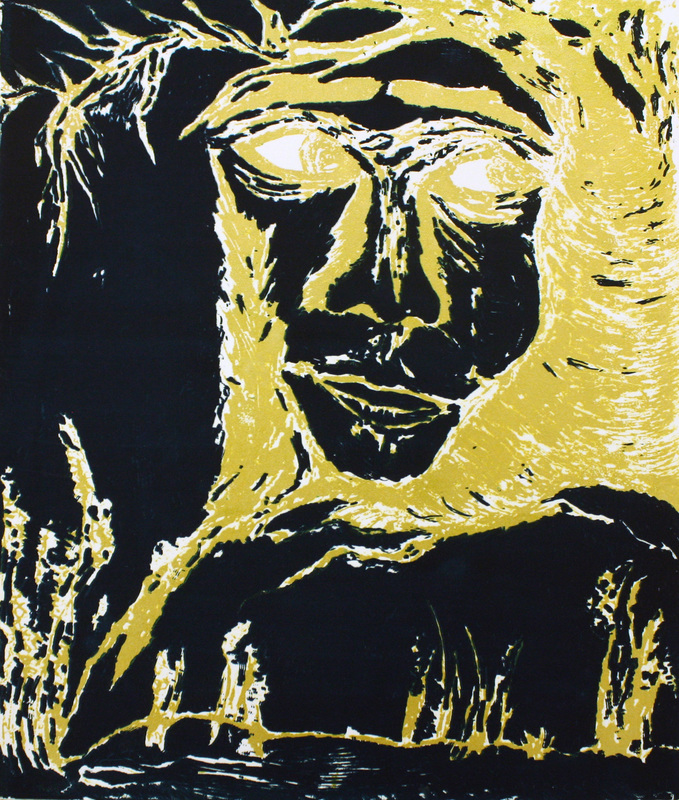
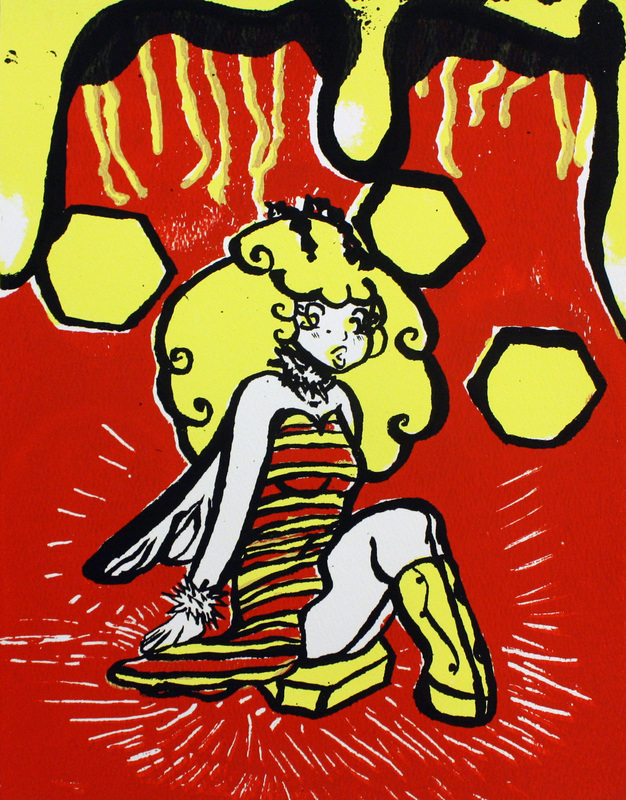
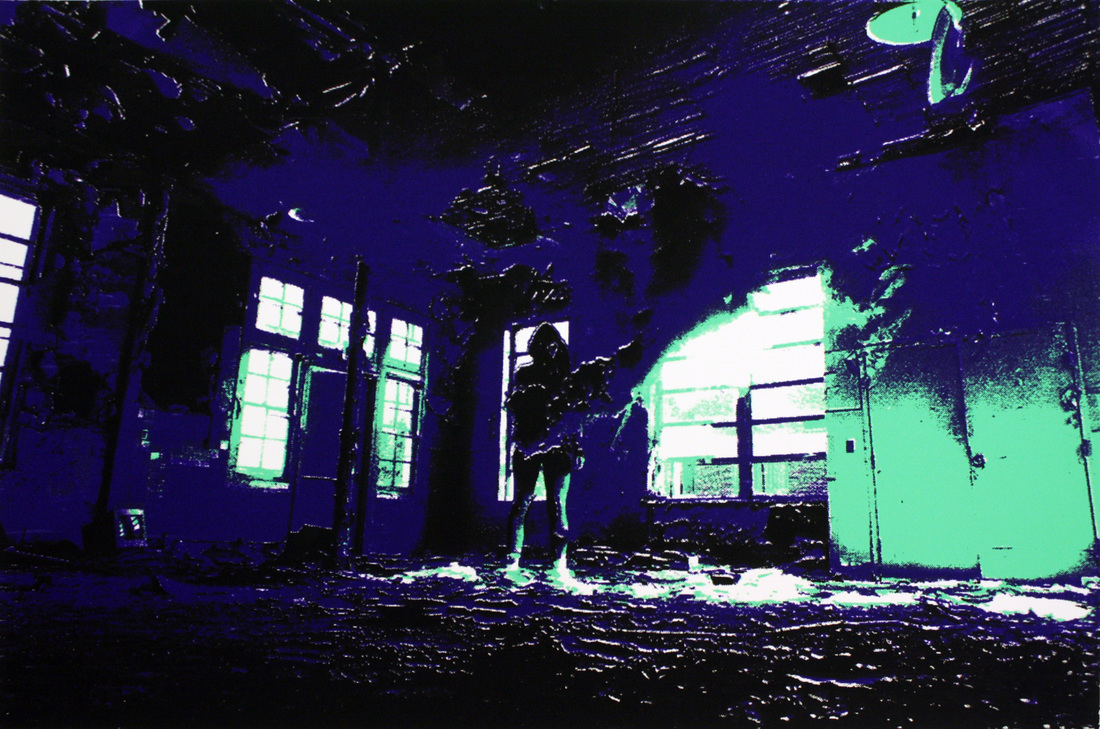
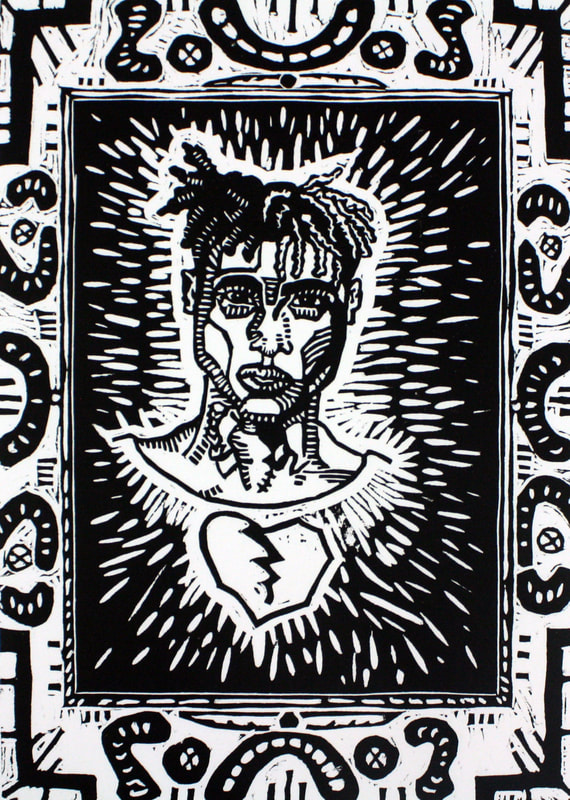
German Expressionism Project - The German Expressionism projects starts with a lecture on German Expressionism, the artists involved, and the prints they created. The lecture then continues into relief printmaking, carving techniques, tool safety, the printing process, press safety, and editioning prints. Afterwards, students must take two to three German Expressionist self-portrait photographs in black and white. They then use these to help create two finalized sketches using German Expressionistic techniques (such as intense monochromatic value) to create emotional portraits. The students then transfer these to linoleum blocks, carve their blocks, and print a small three to five print edition.


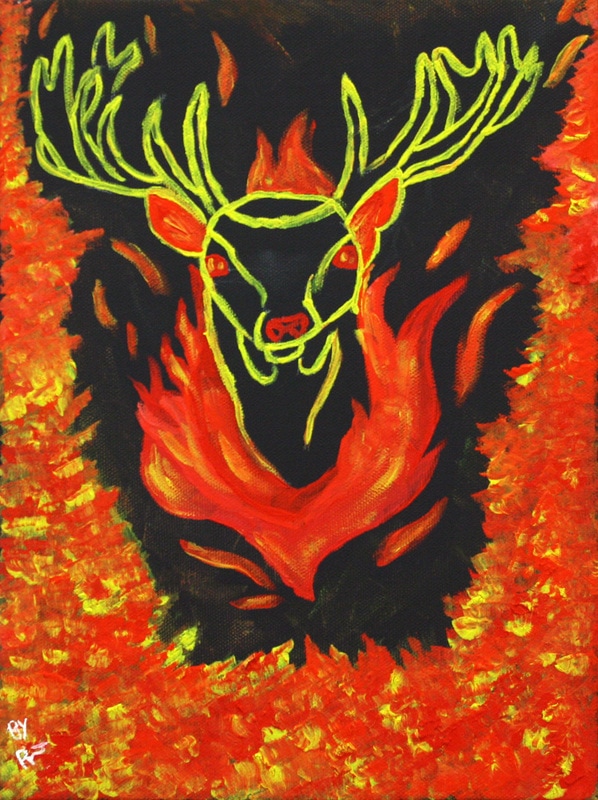
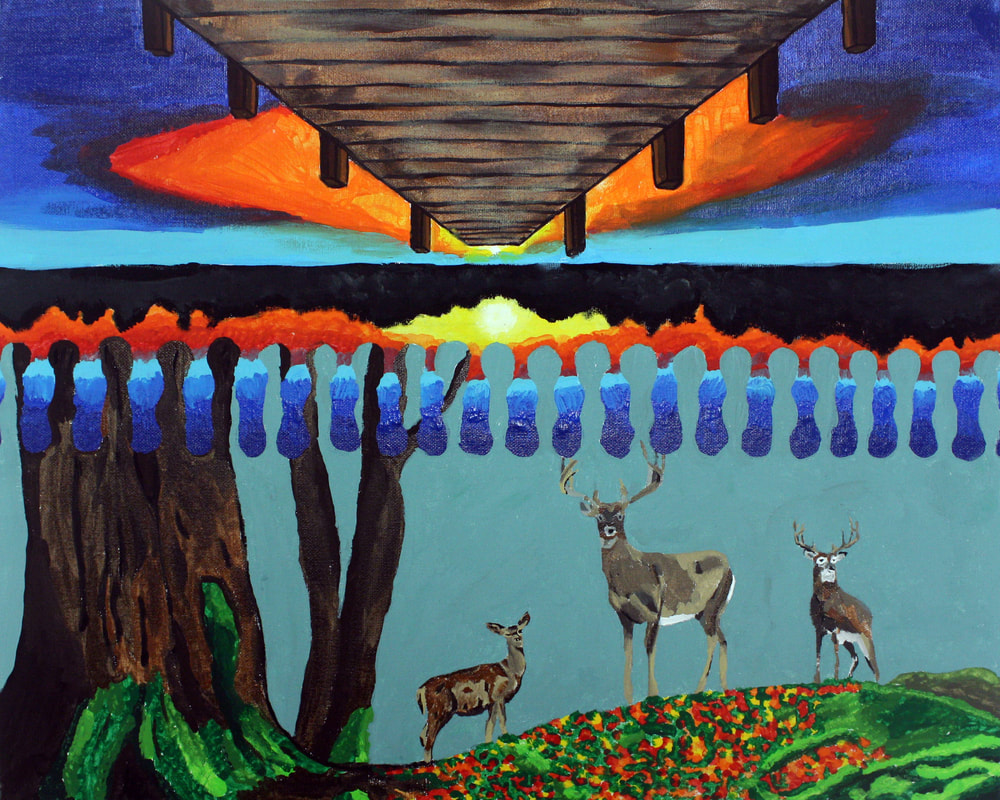
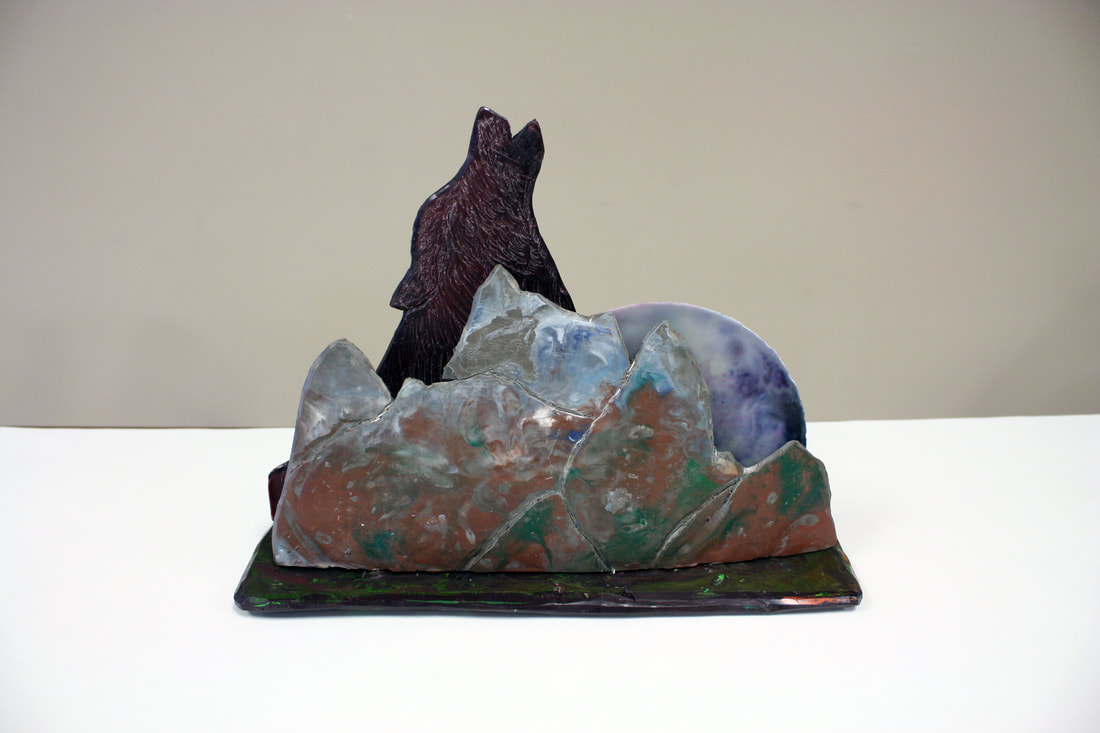
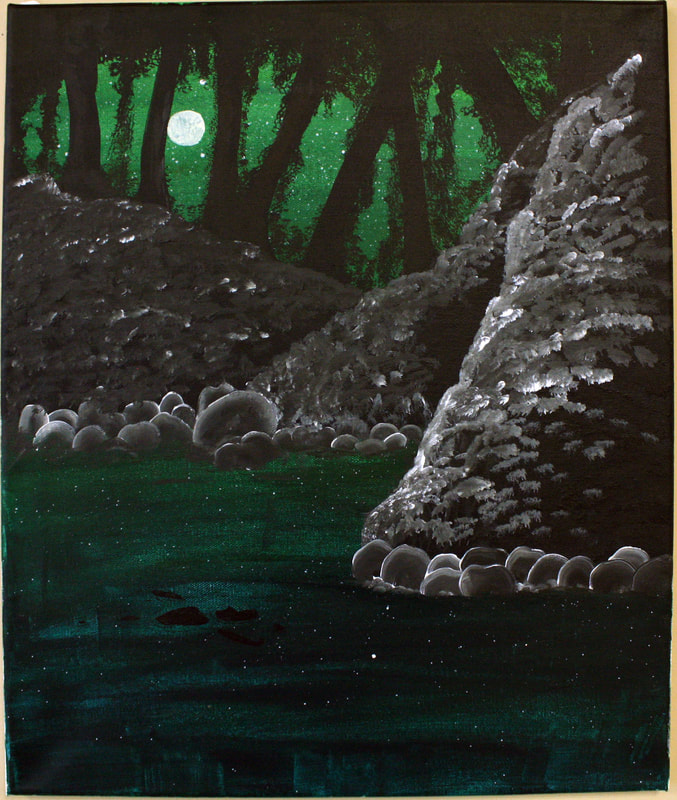
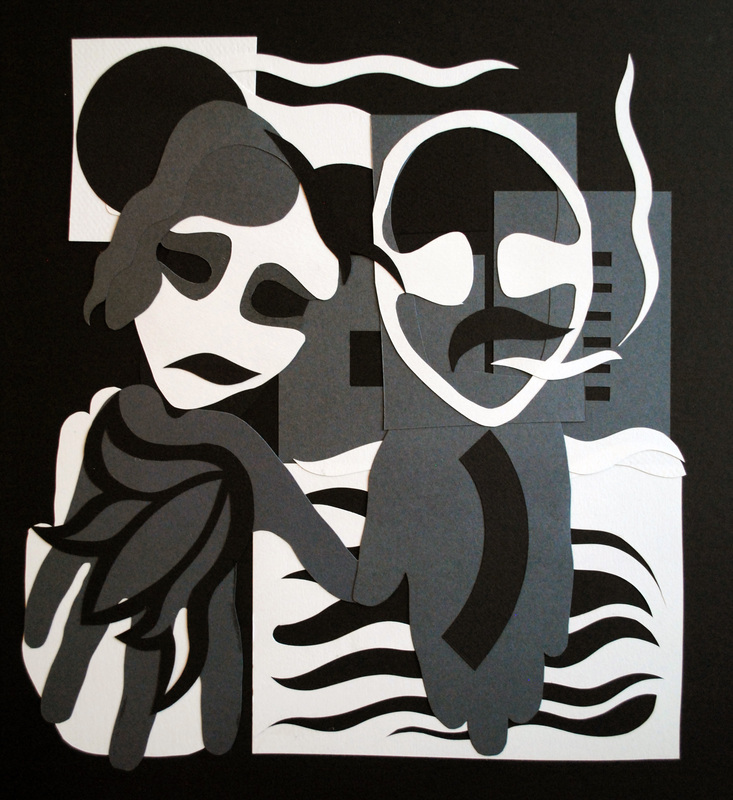
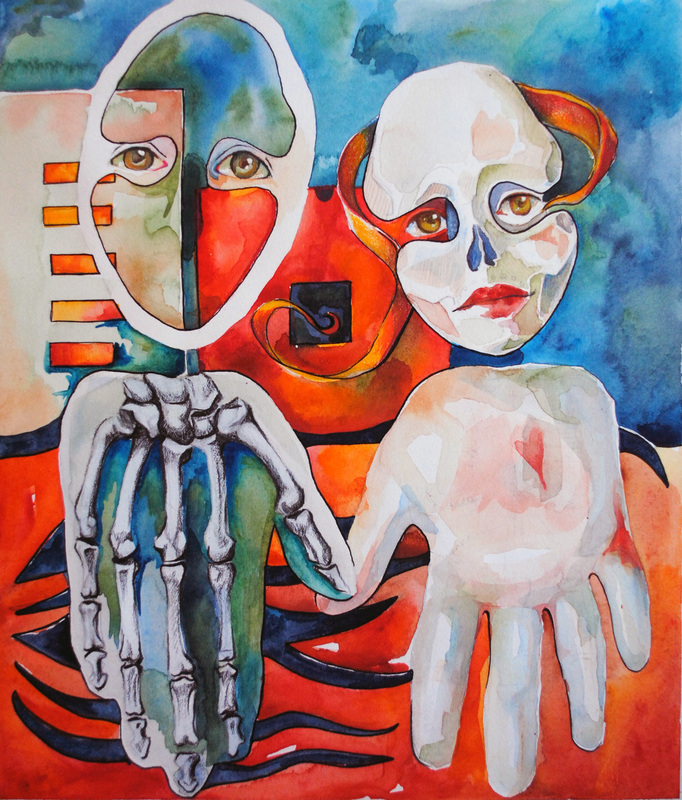
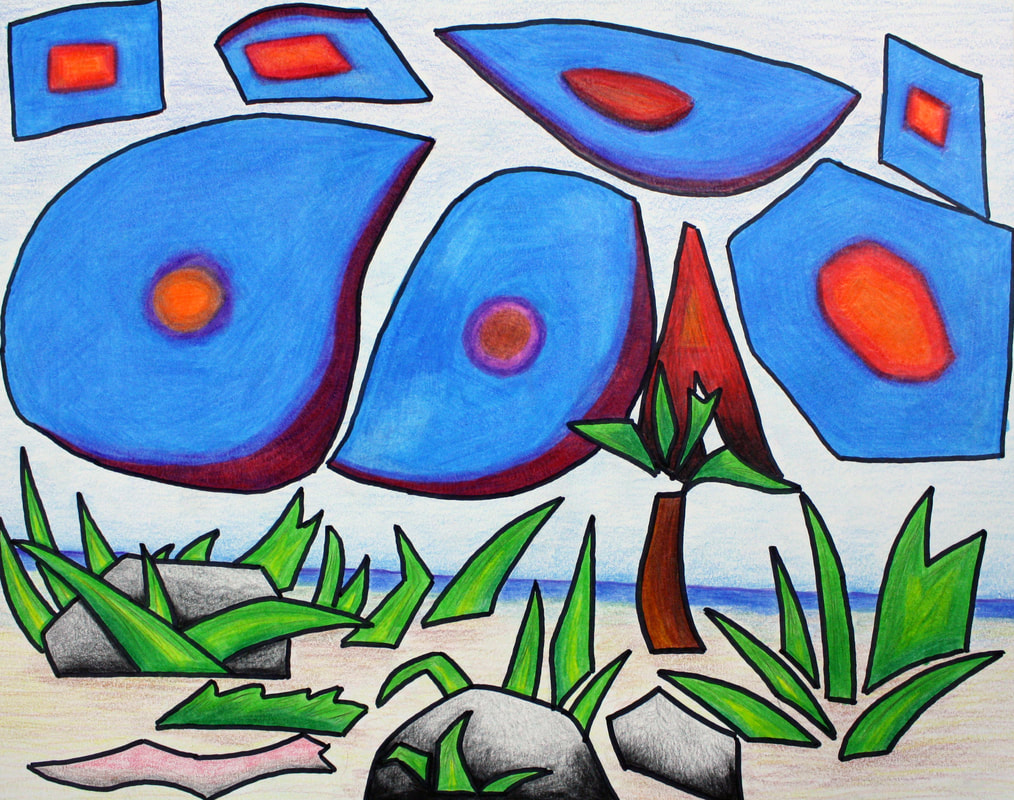
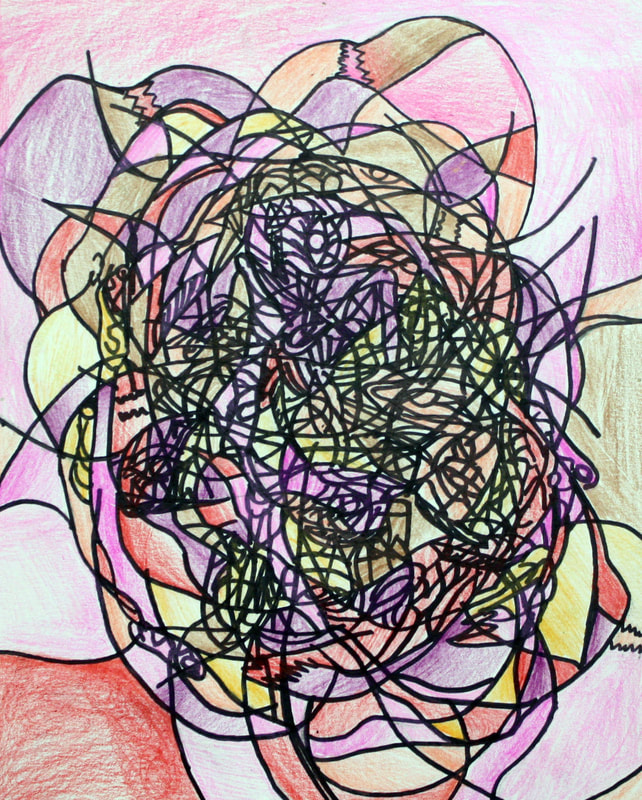
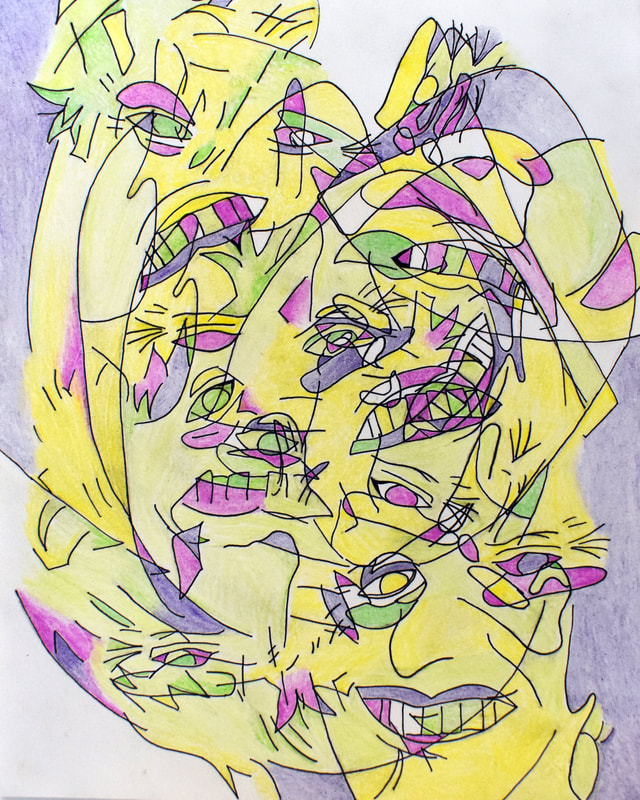
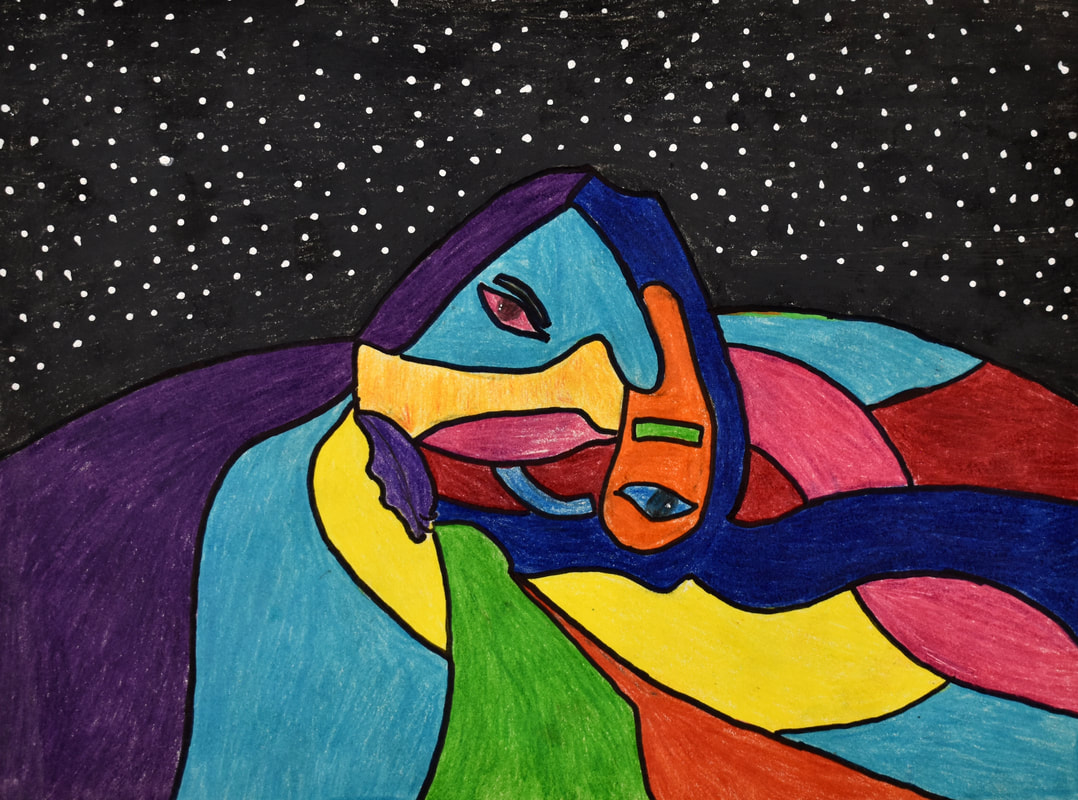
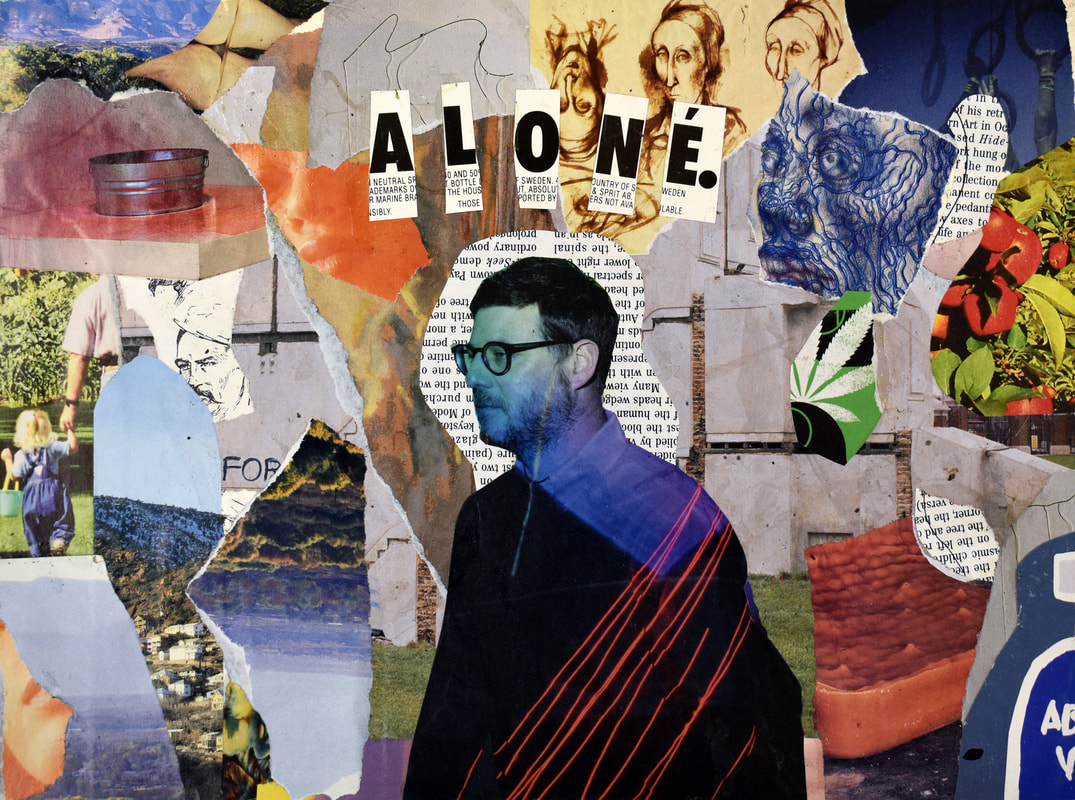
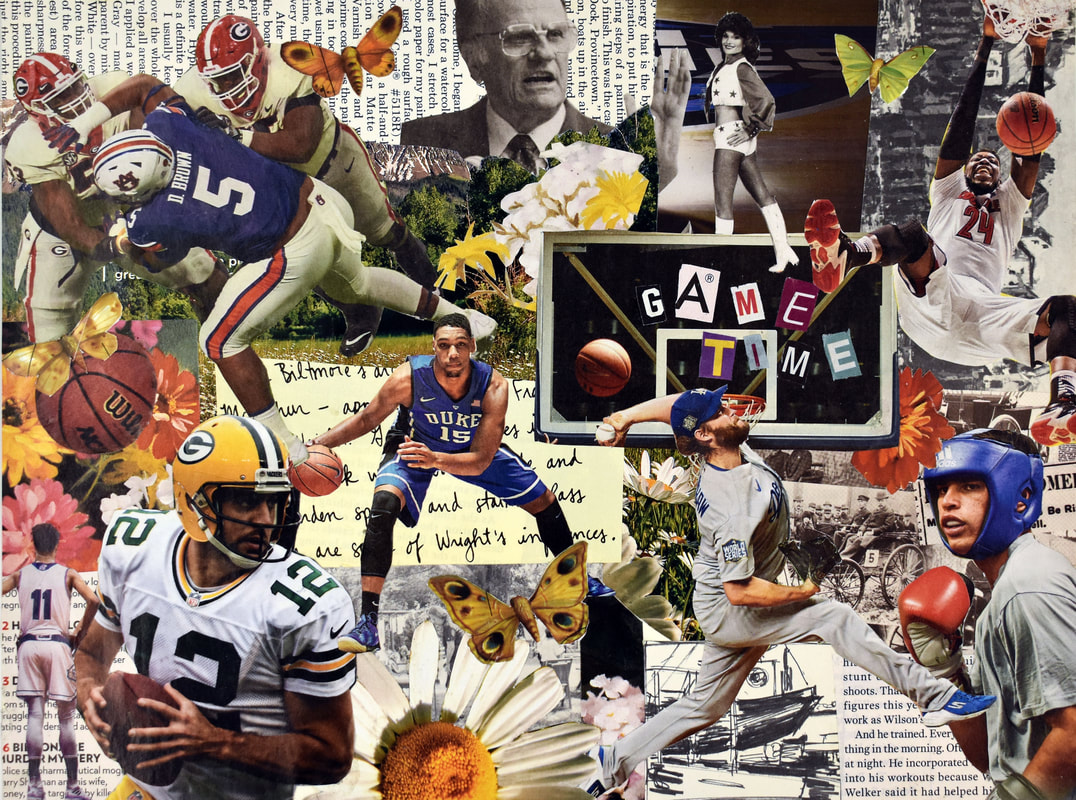
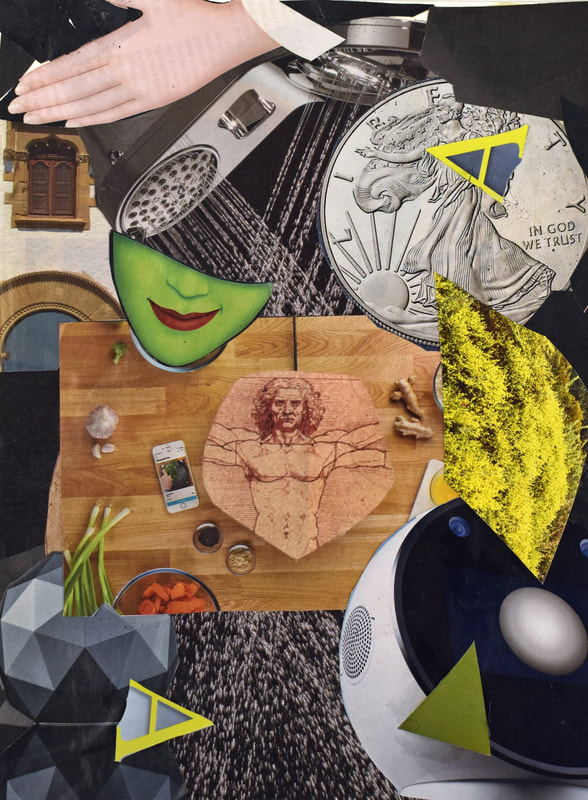
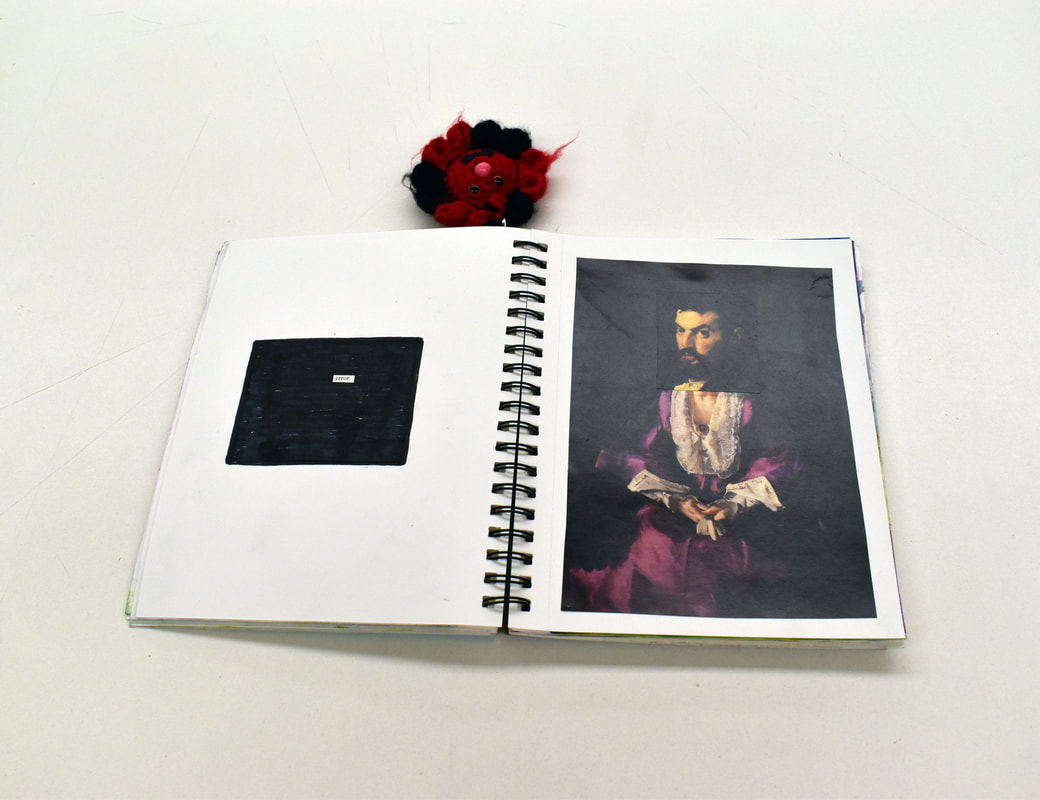
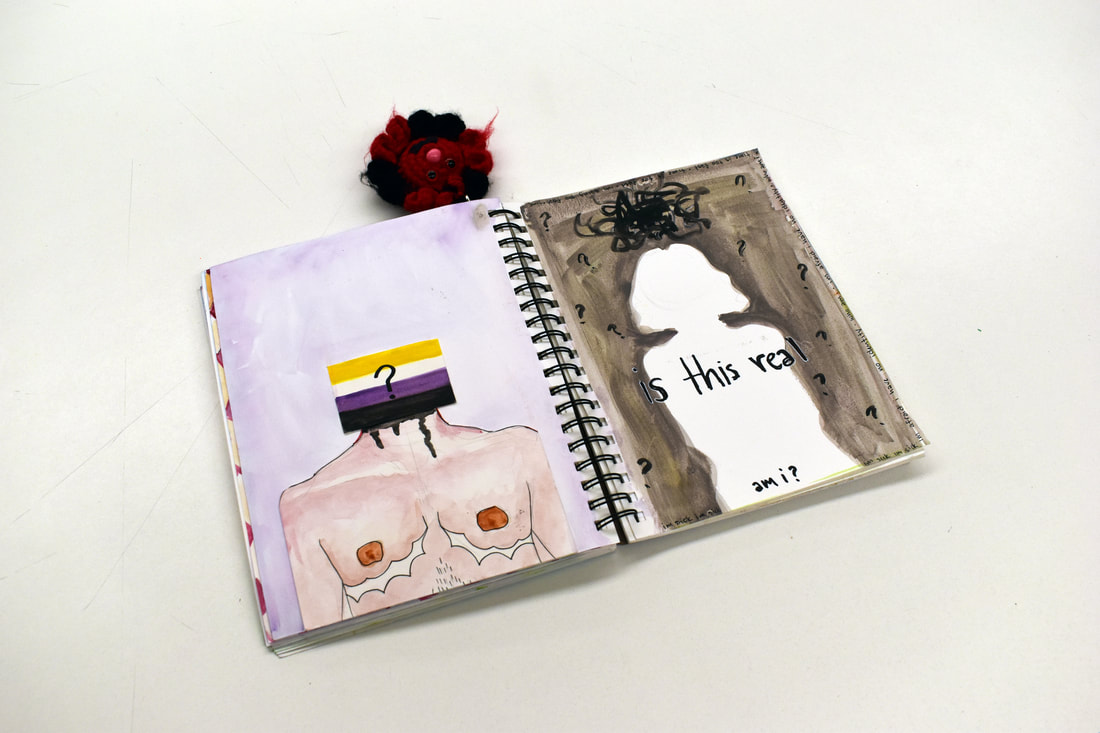
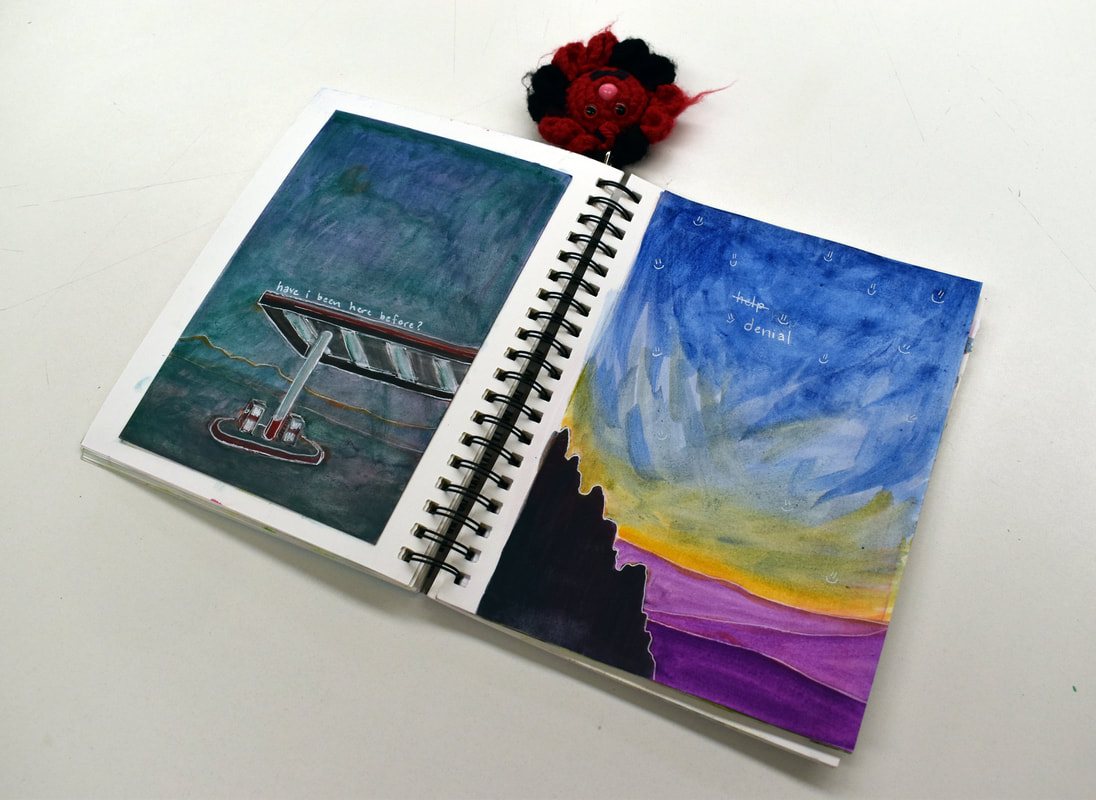
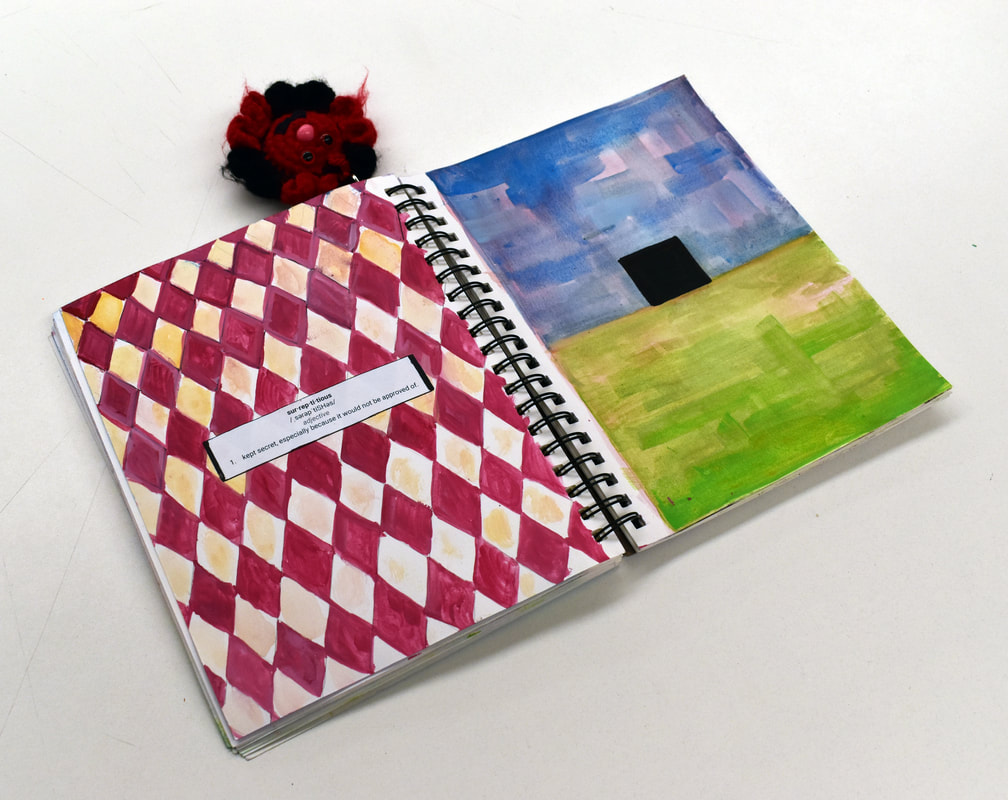
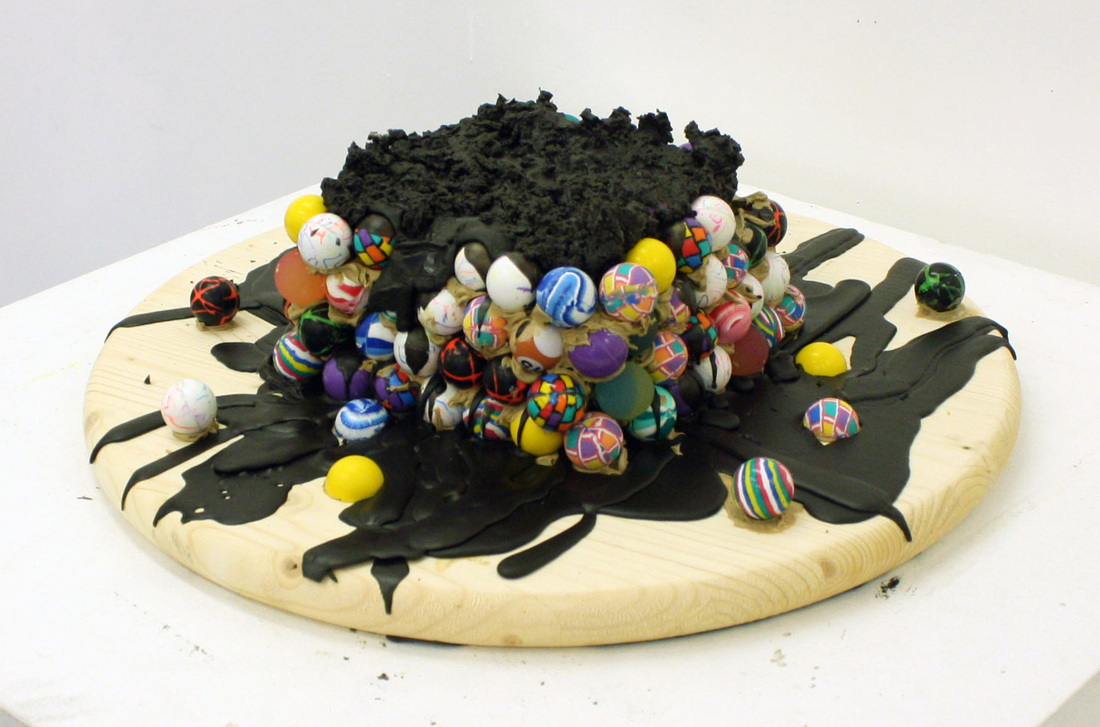
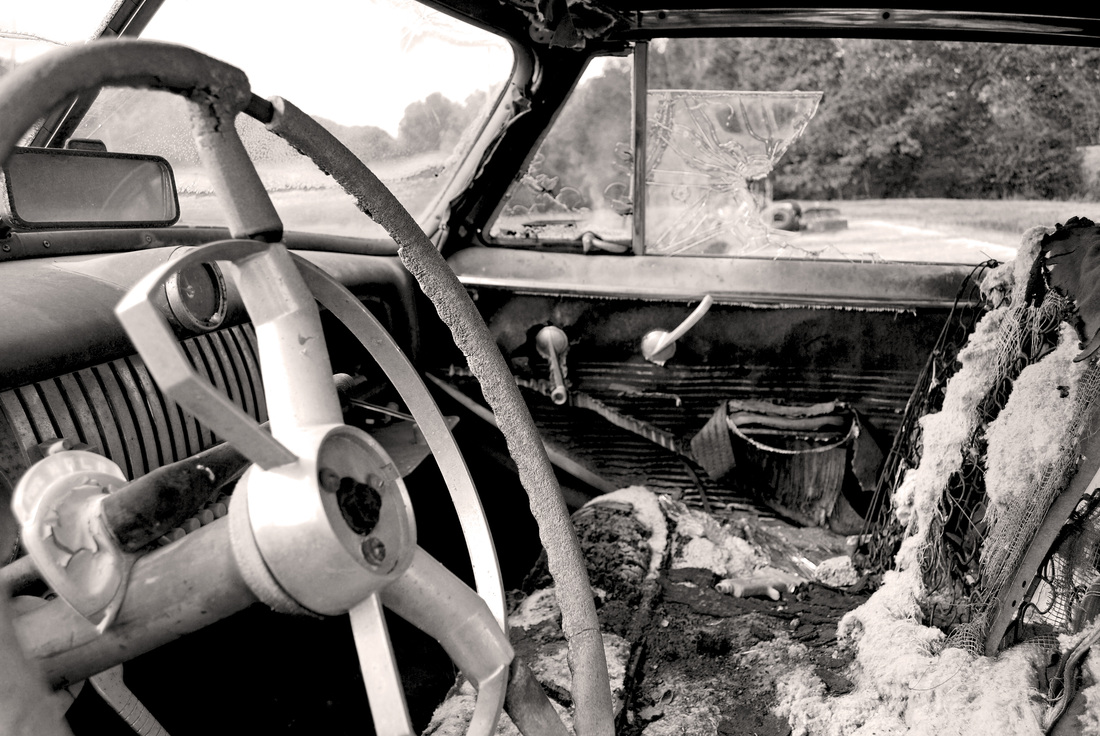
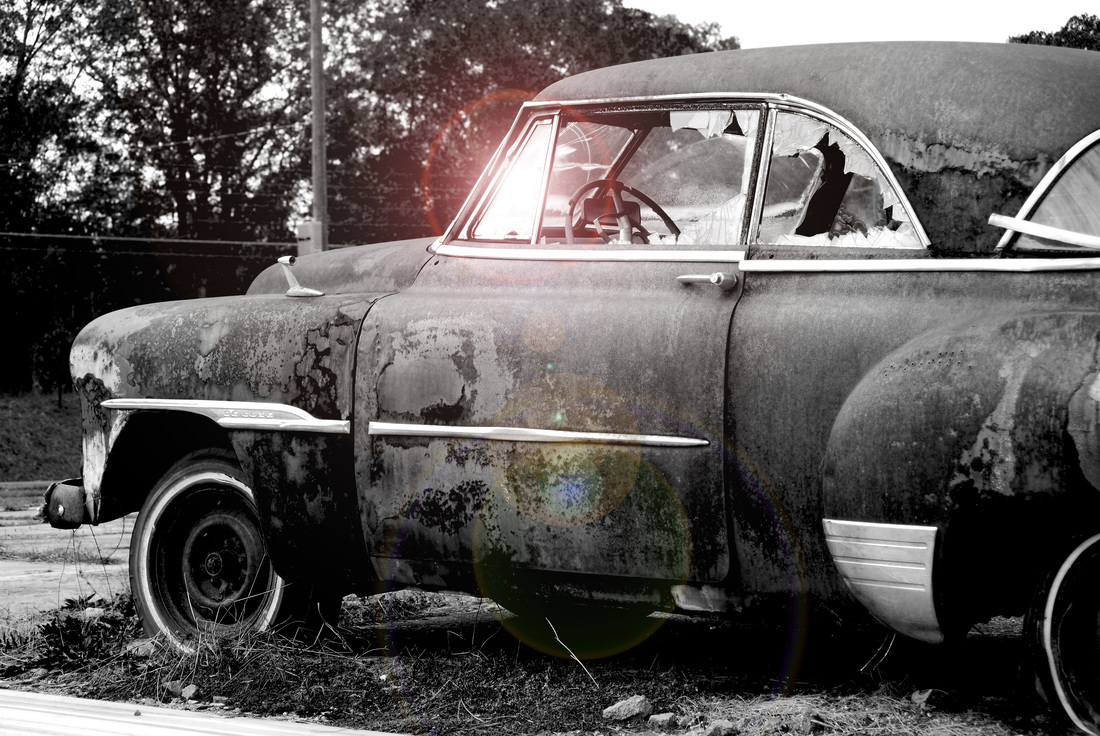
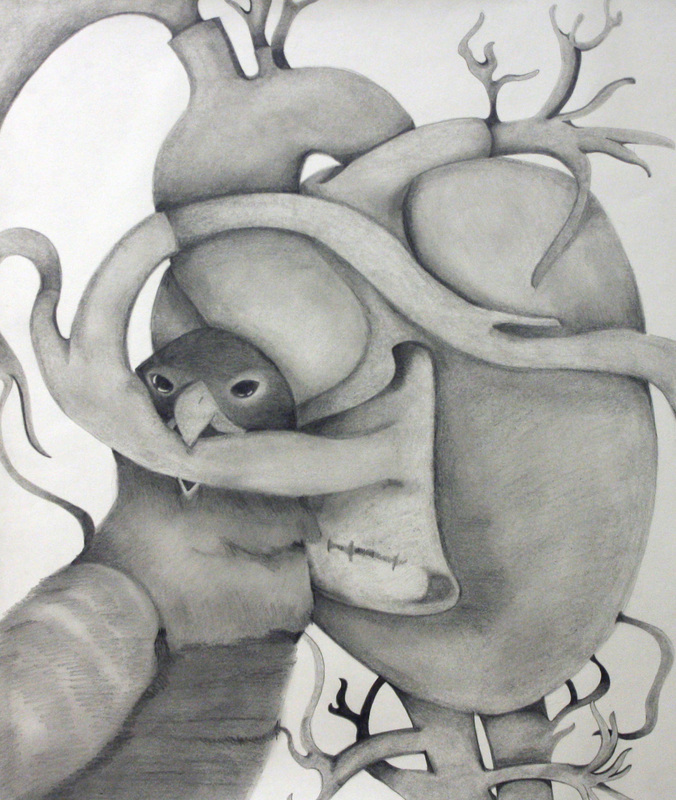
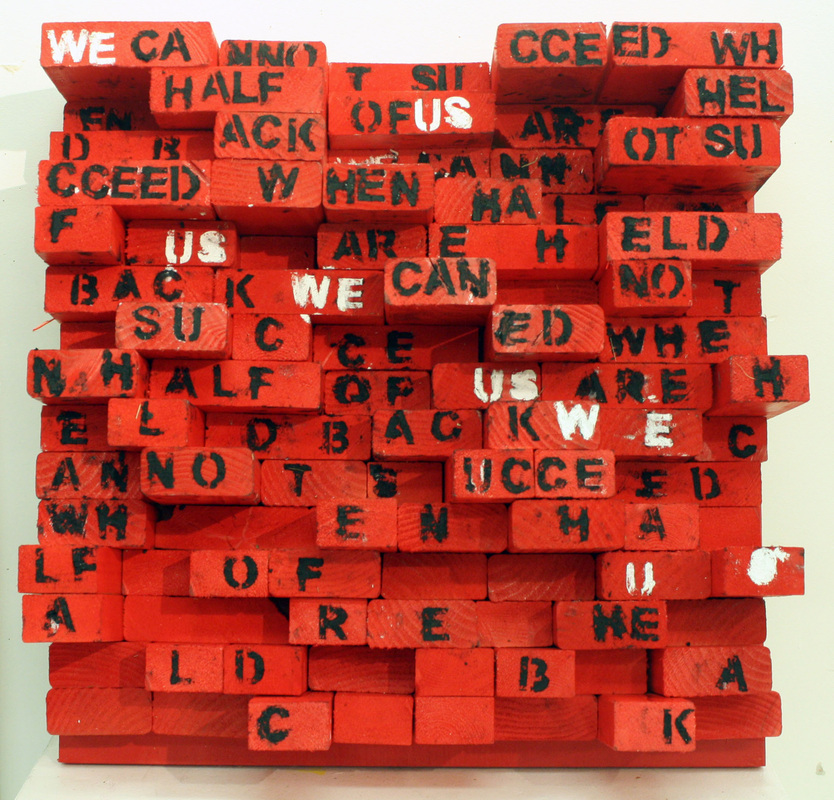
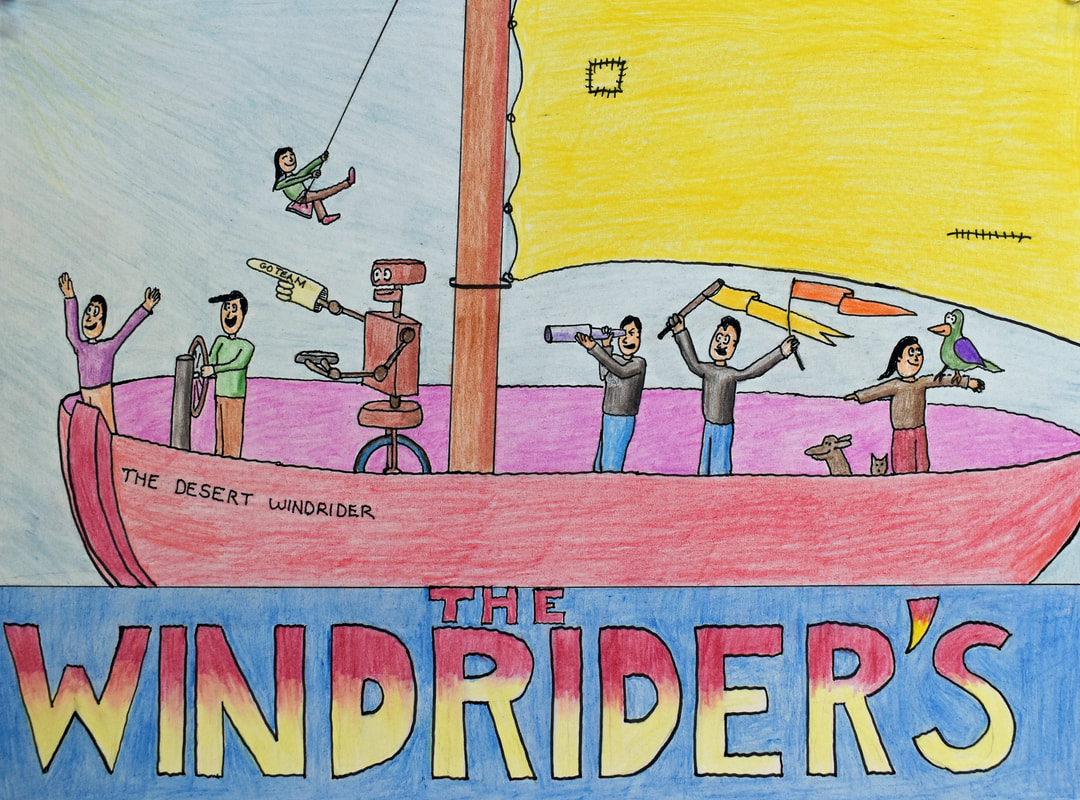
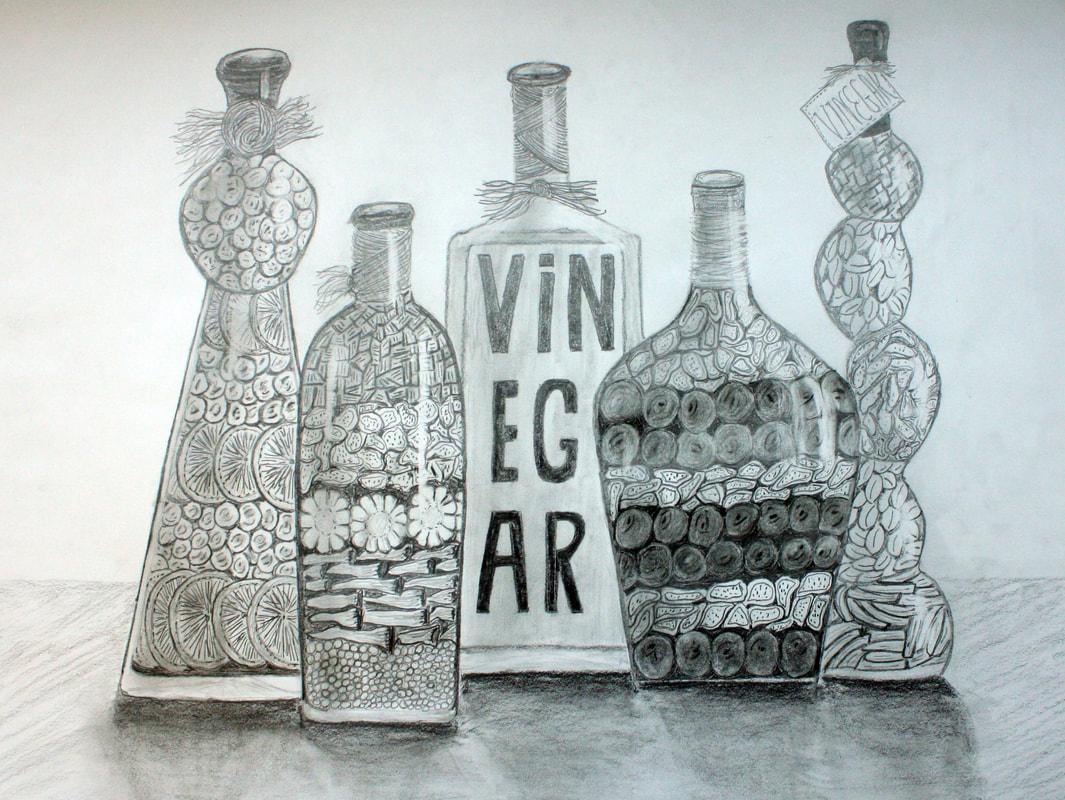
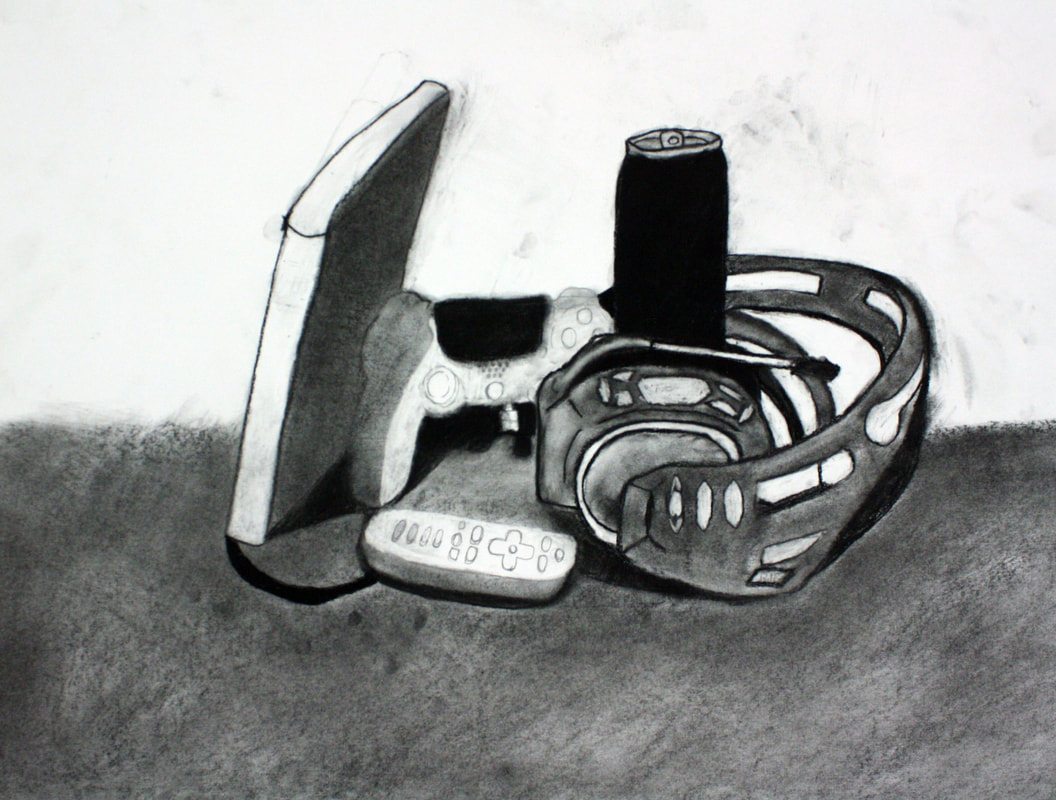
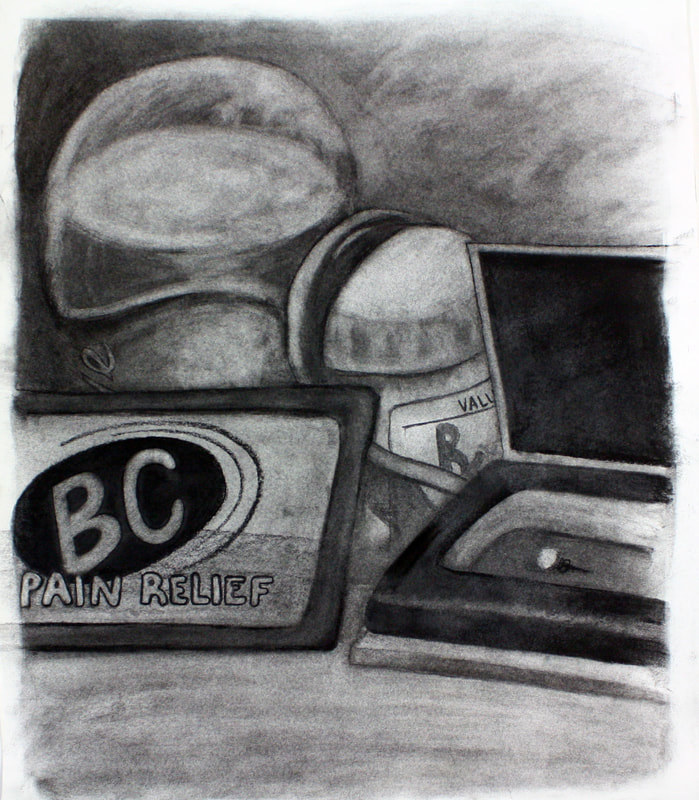
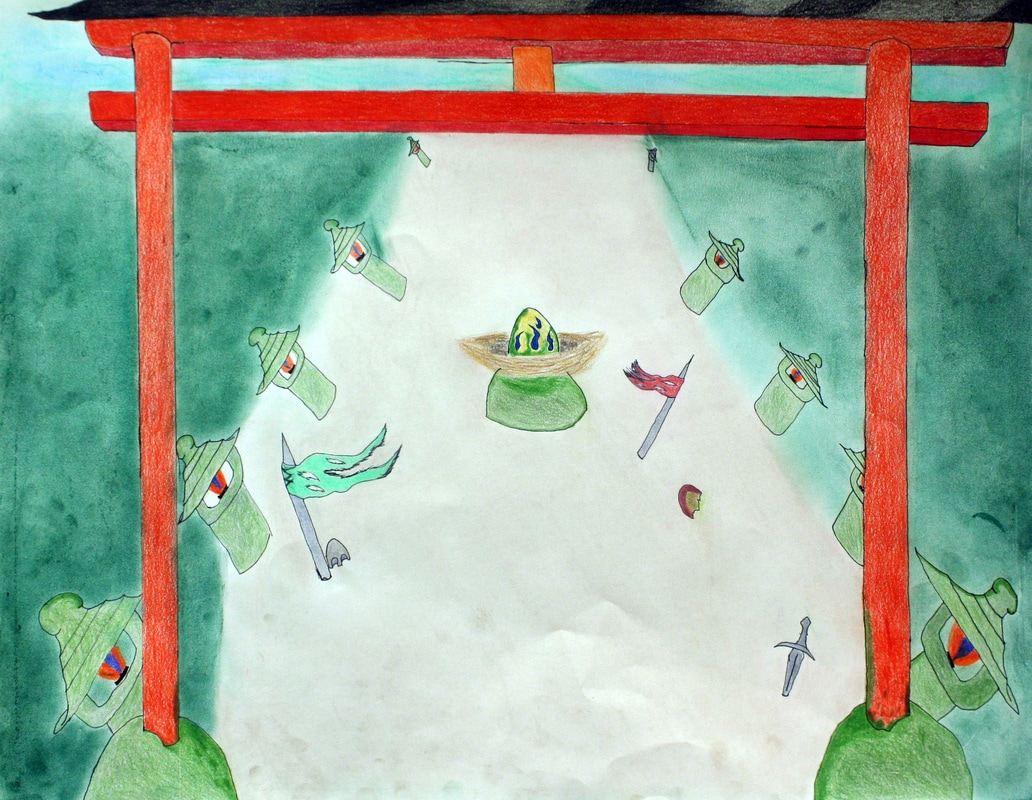
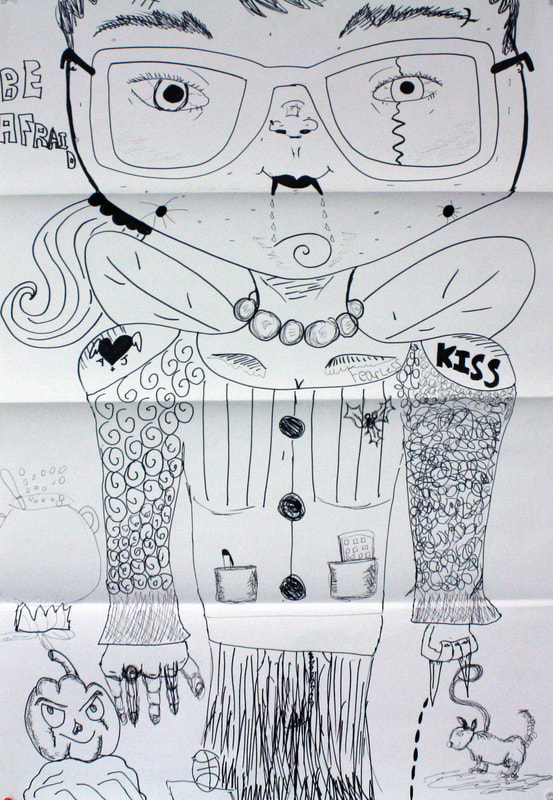
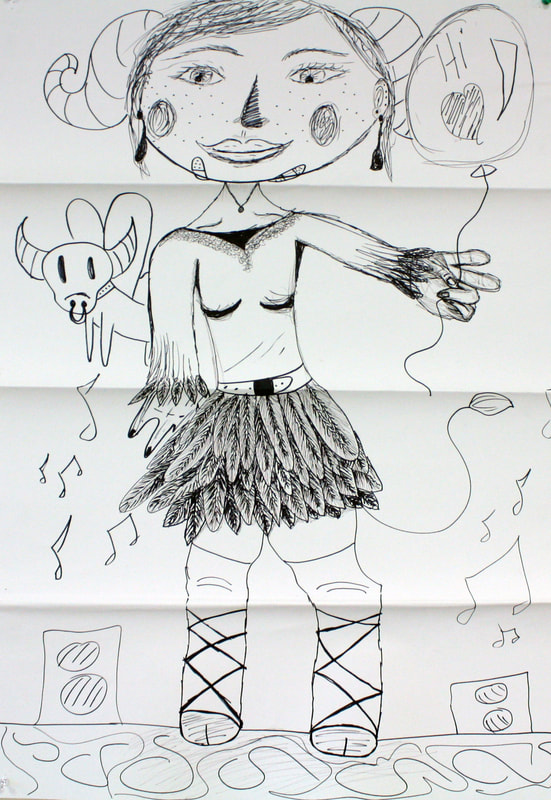
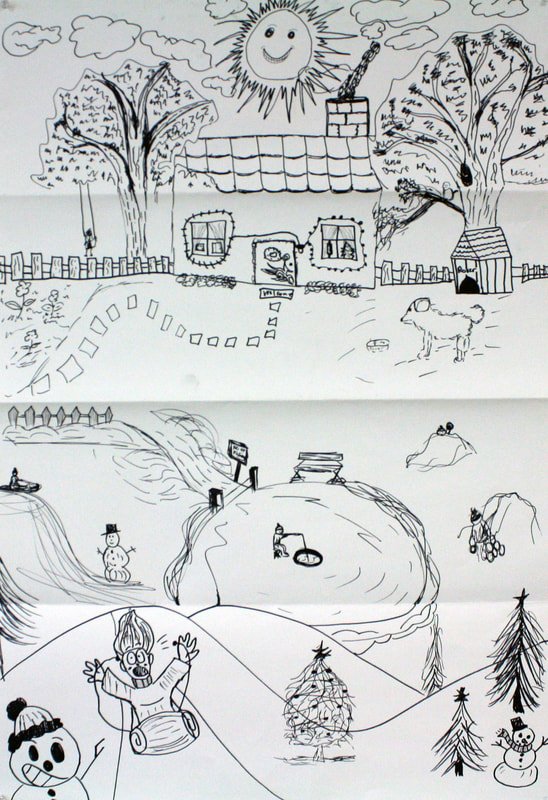
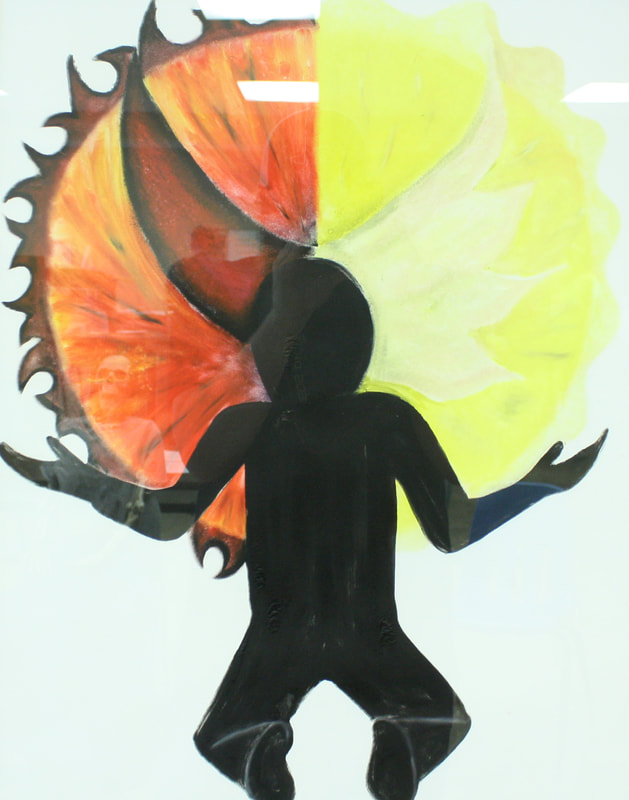
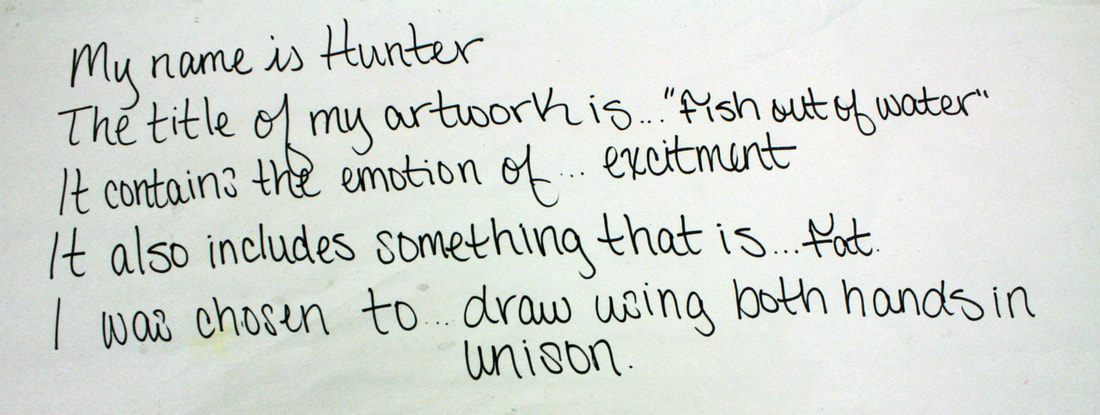
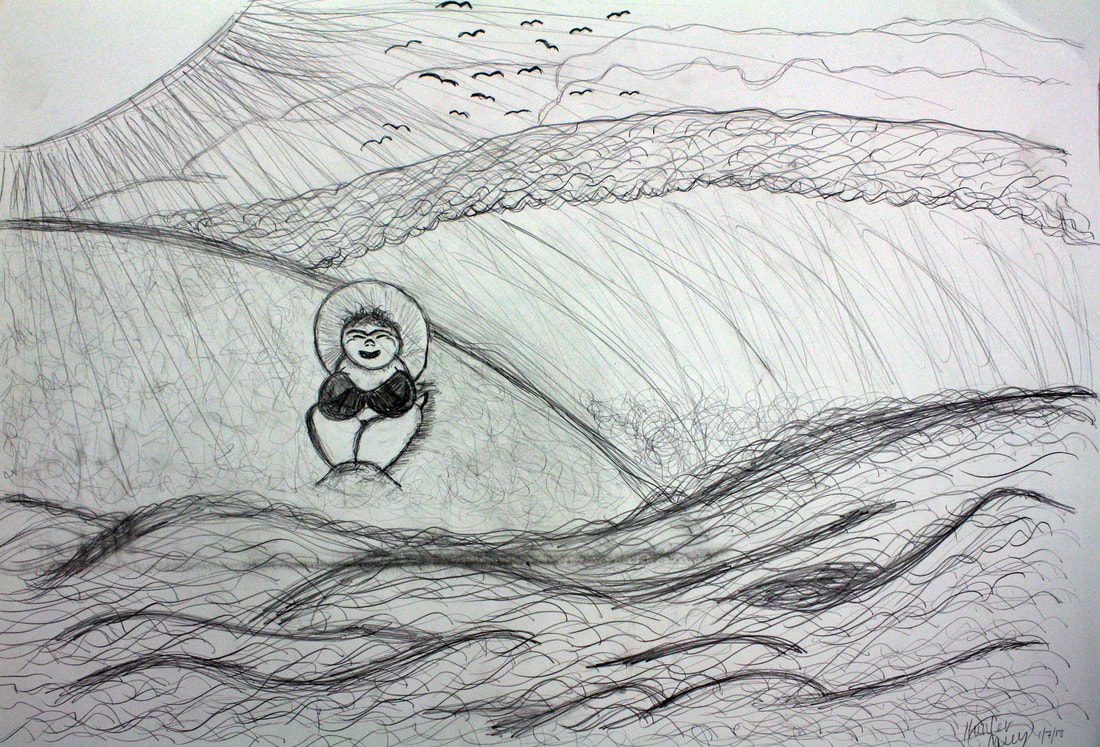
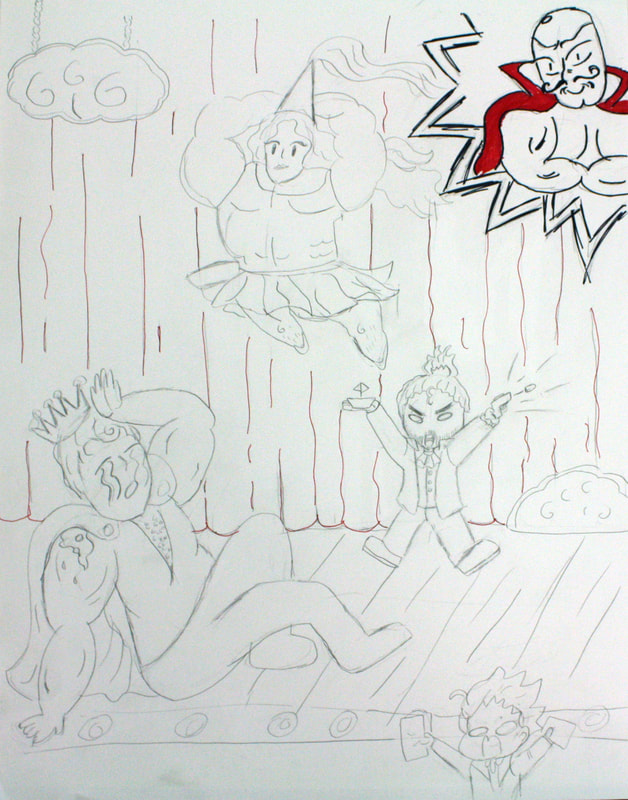
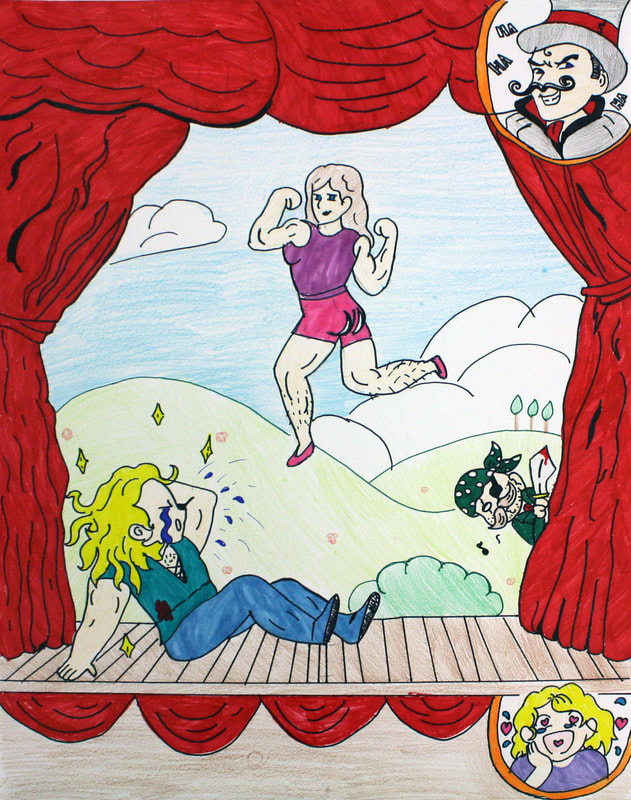
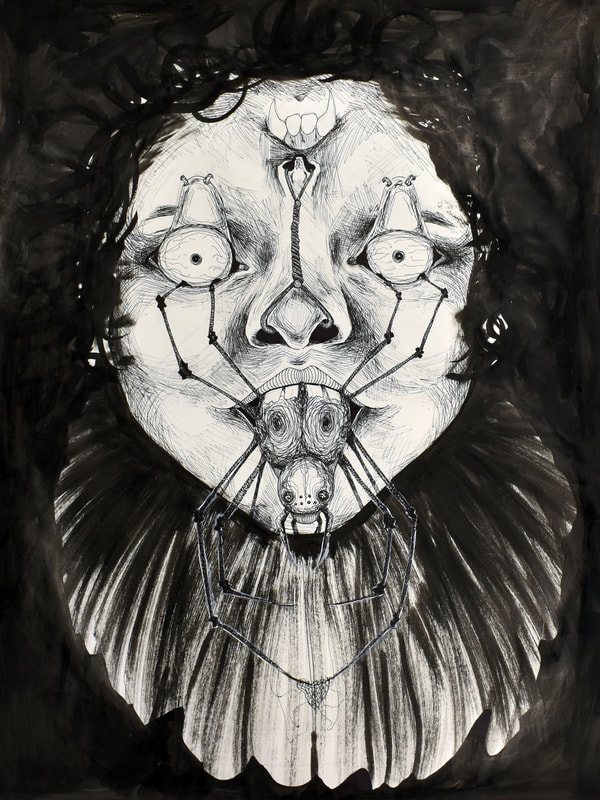
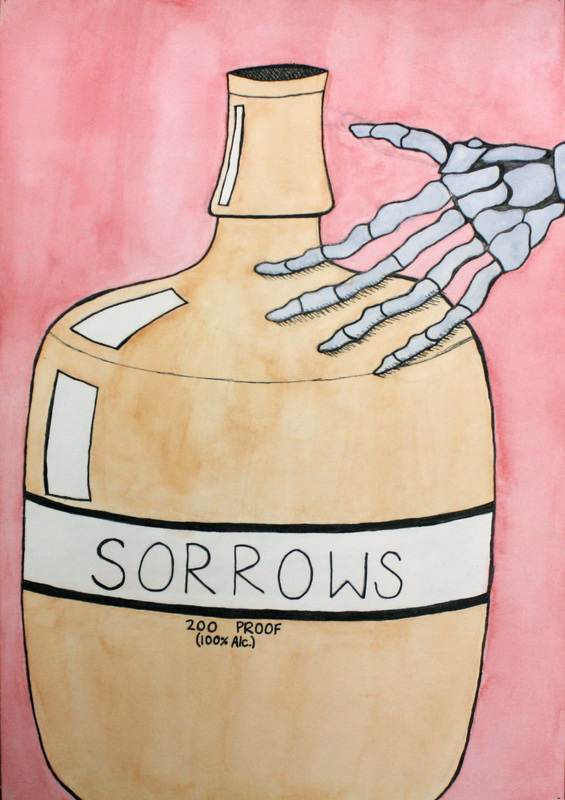
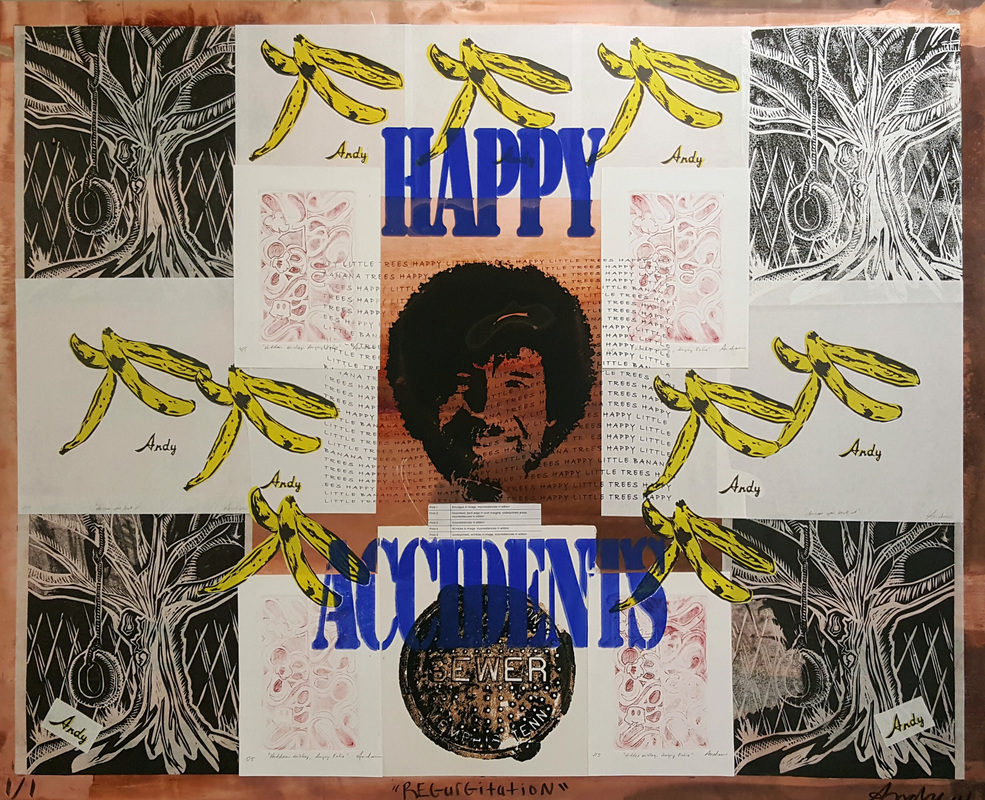
Fused Interest Project - The Fused Interest project starts with giving the students homework. The homework consists of defining the word "concept" and also listing twenty of their interests. In class, we go over the different definitions of "concept" then we discuss what that word means. Afterwards, each student lists his or her interests and the class speaks on how they can combine two of those interests into various concepts using different mediums. They then work on their ideas and create an artwork using any medium they choose.
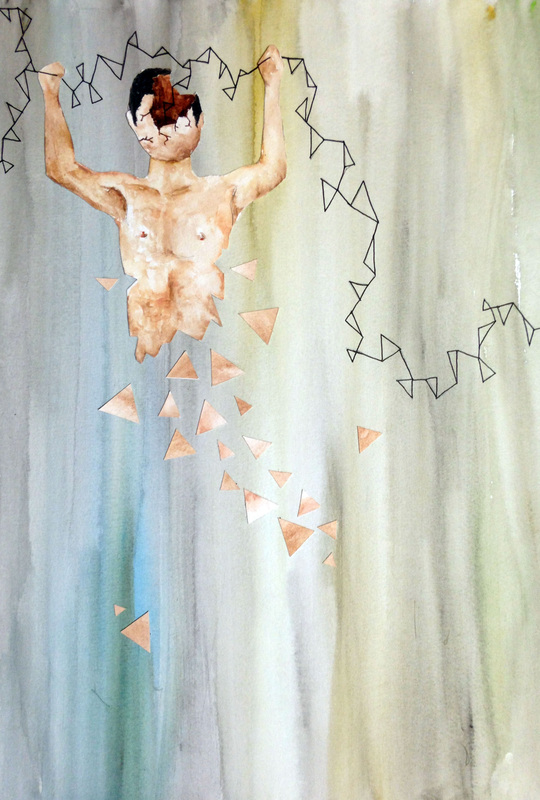
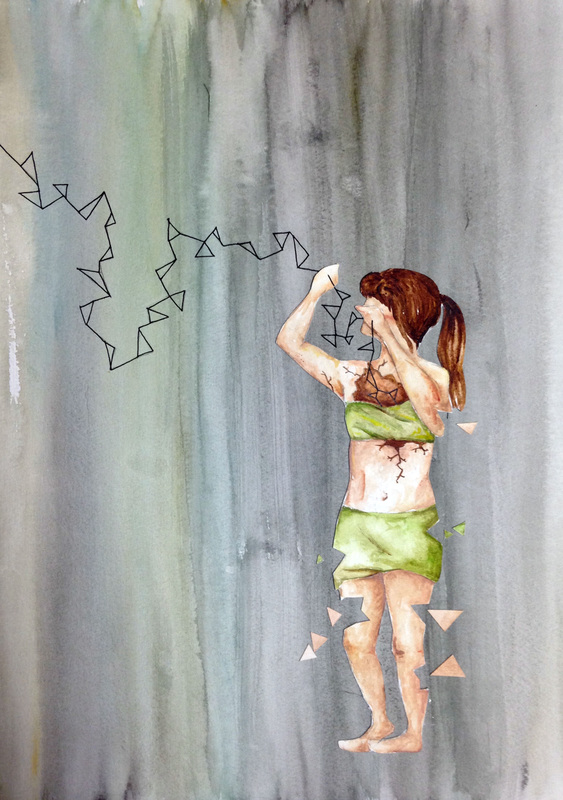


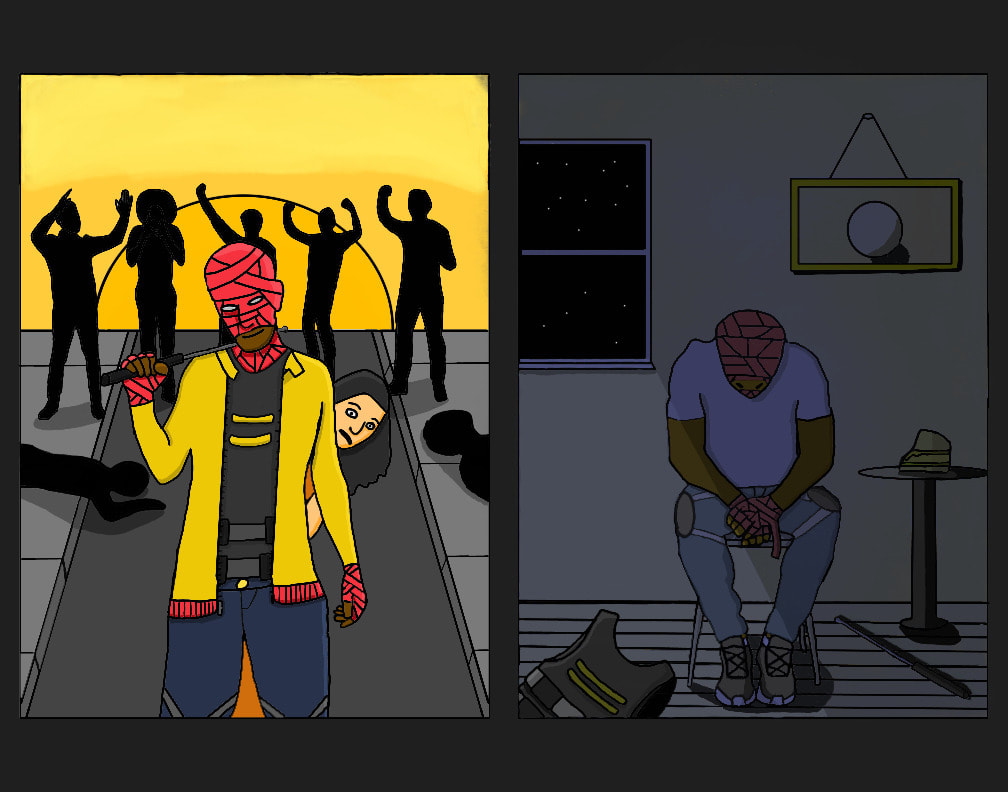


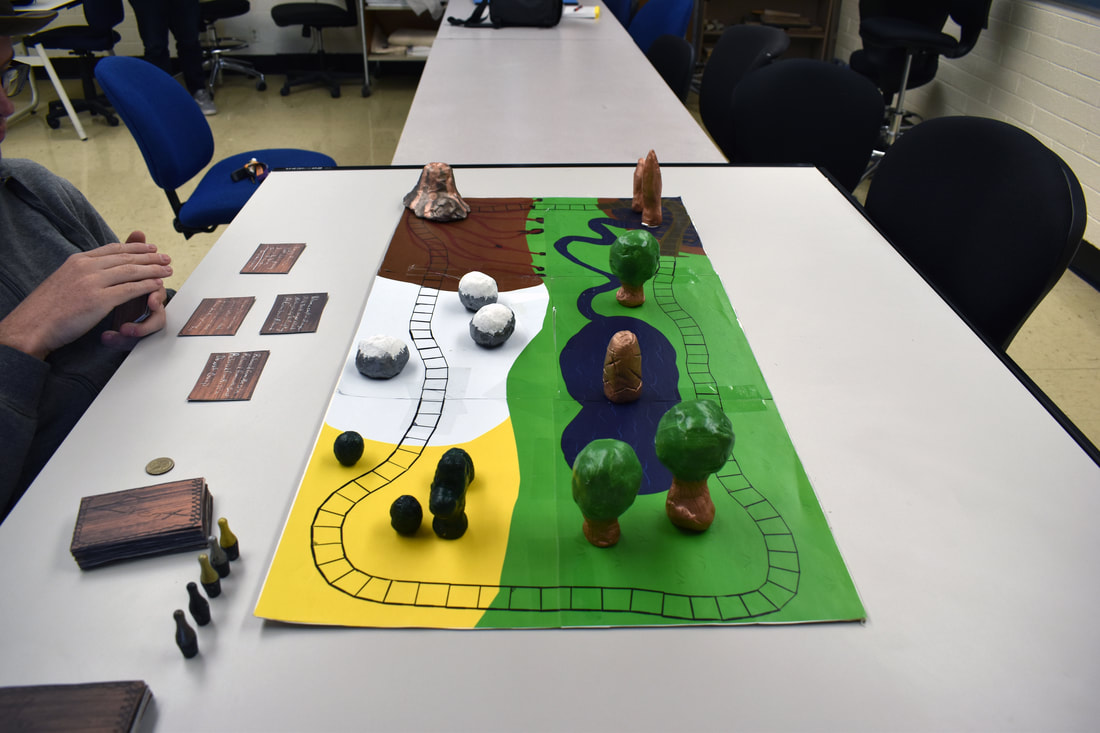
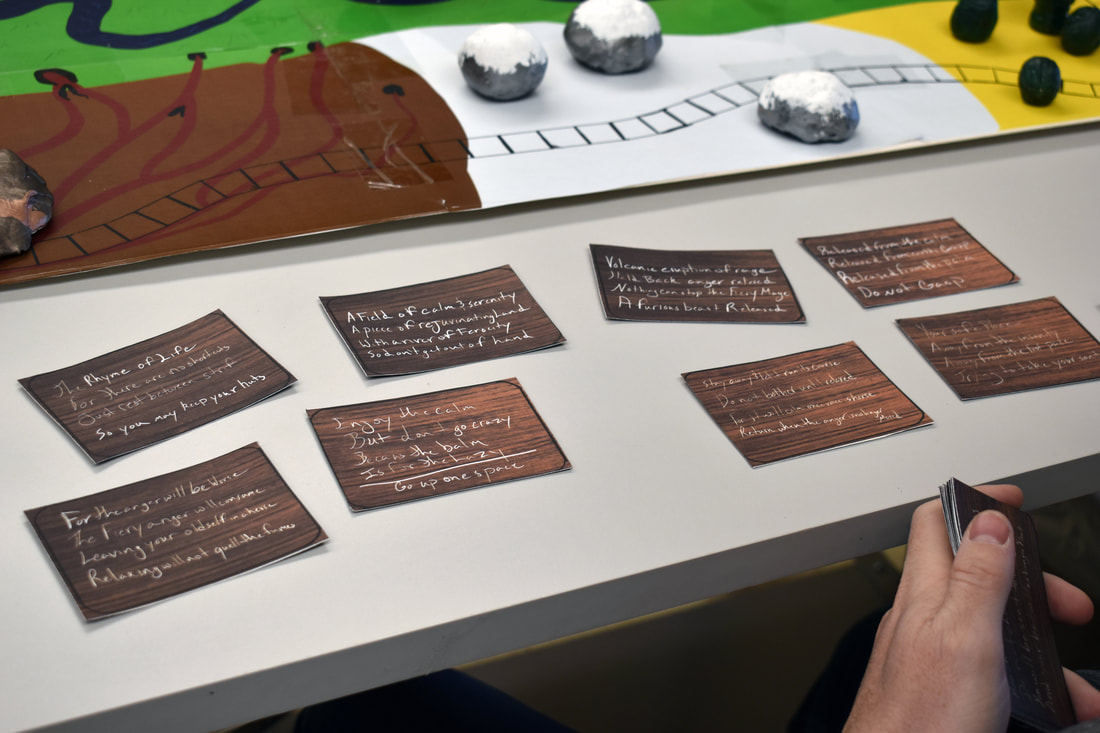
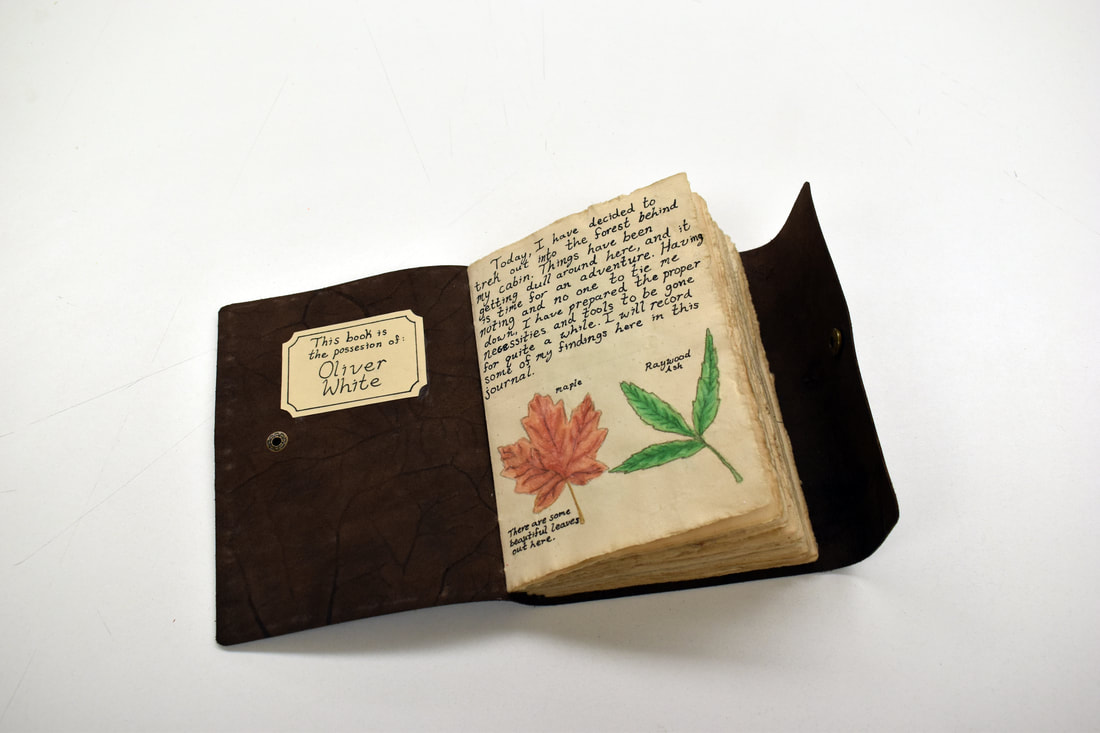
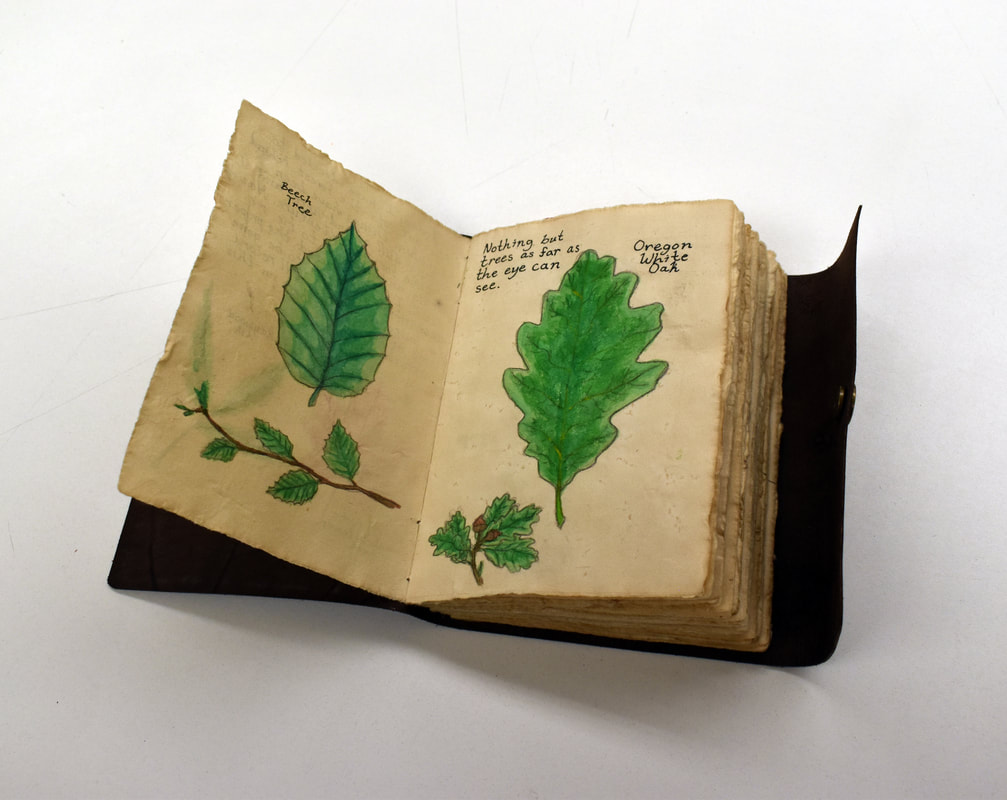


Continue Project - The Continue Project occurs directly after the Fused Interest. The students are now tasked with yet again producing an artwork with a conceptual idea. They are allowed to choose two more interests from their list to fuse together to create an idea, or they may create a piece that evokes an emotion. The student also has to forgo the medium they just used for the last project, allowing the ones who experimented the reward of venturing out in their practice, and giving a push to those who haven't taken a step out of their comfort zone yet.

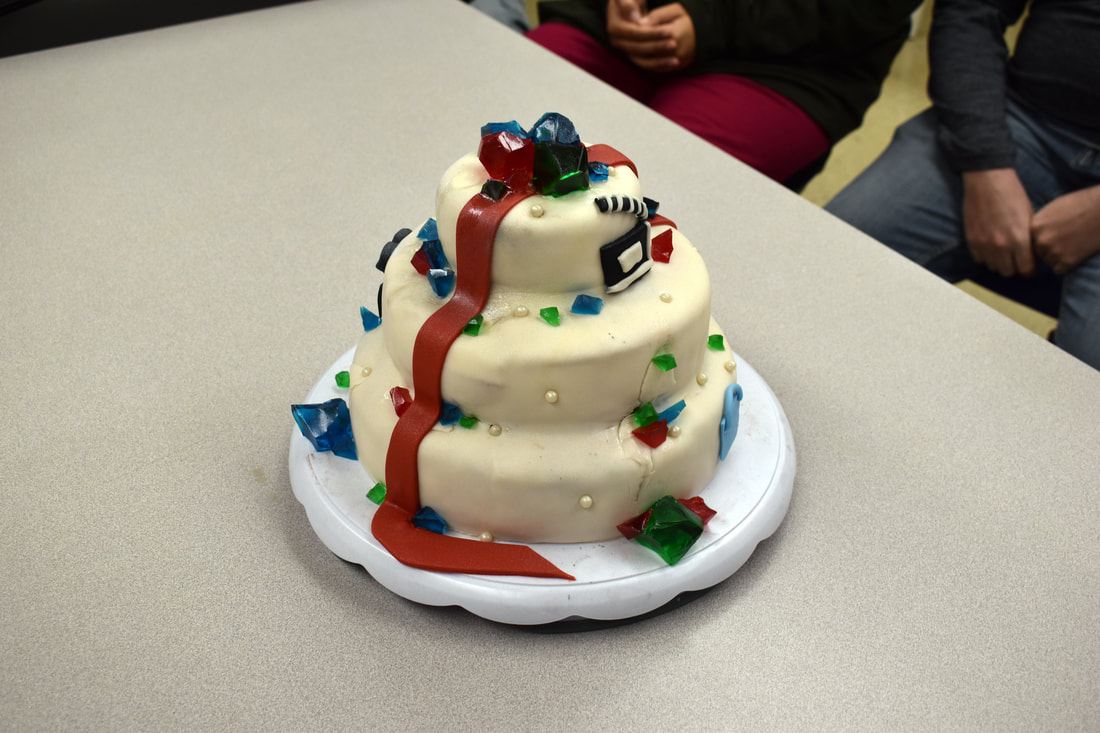
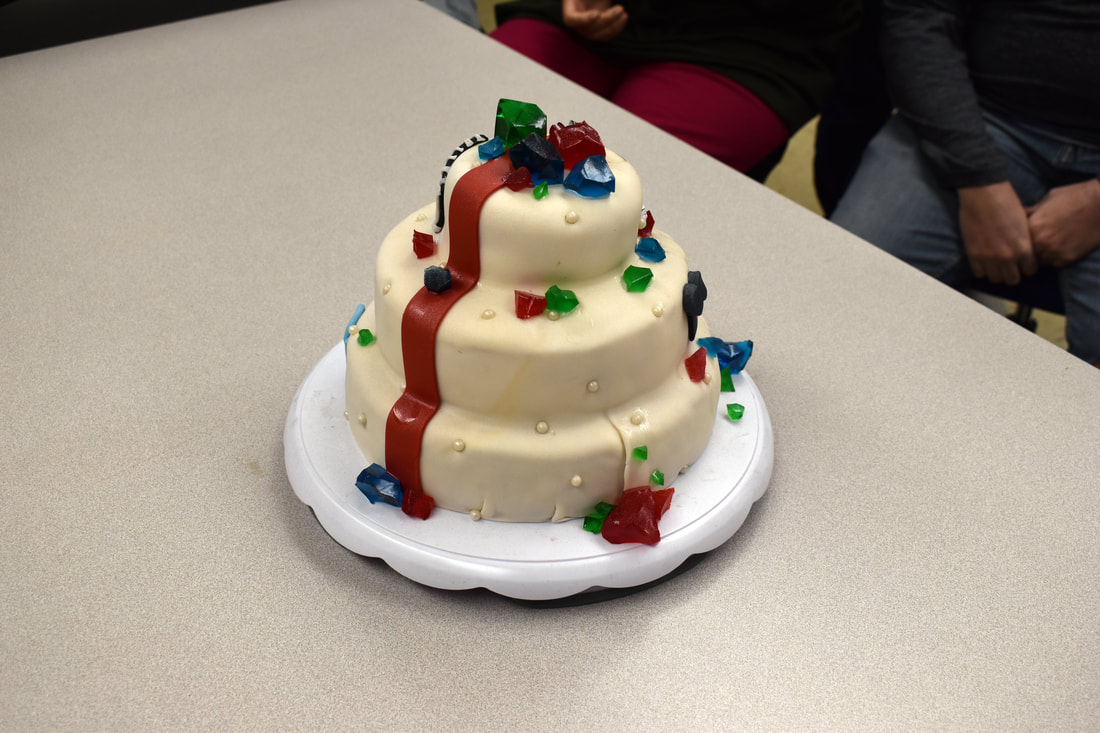
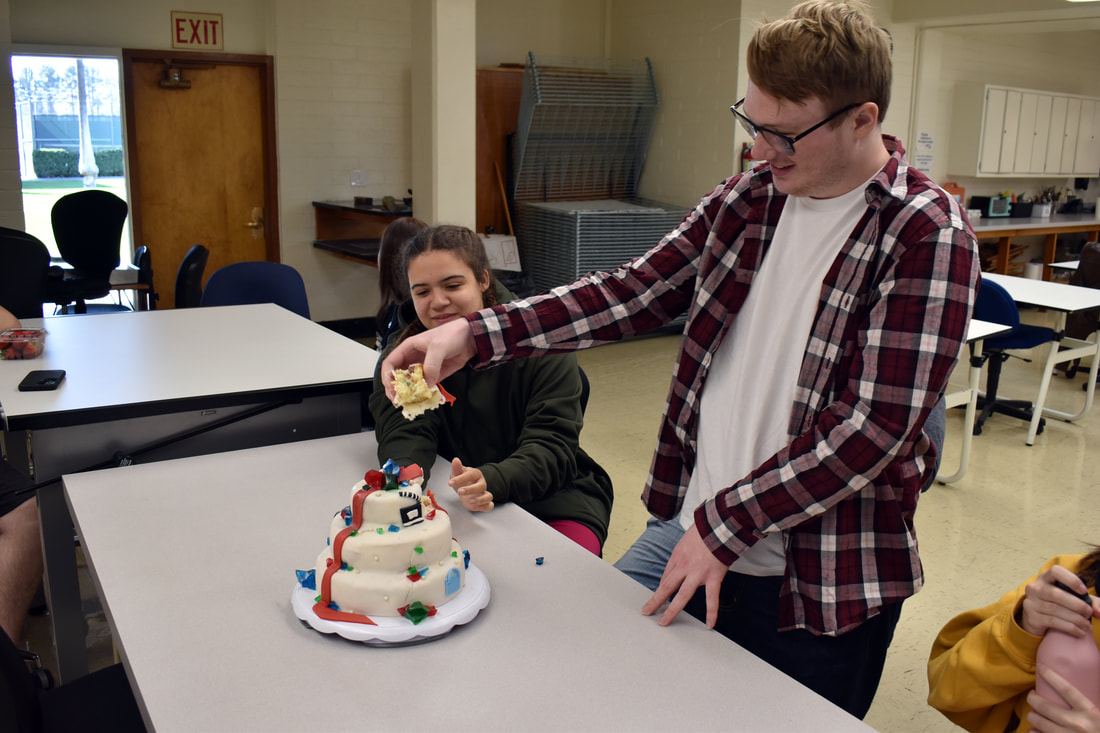
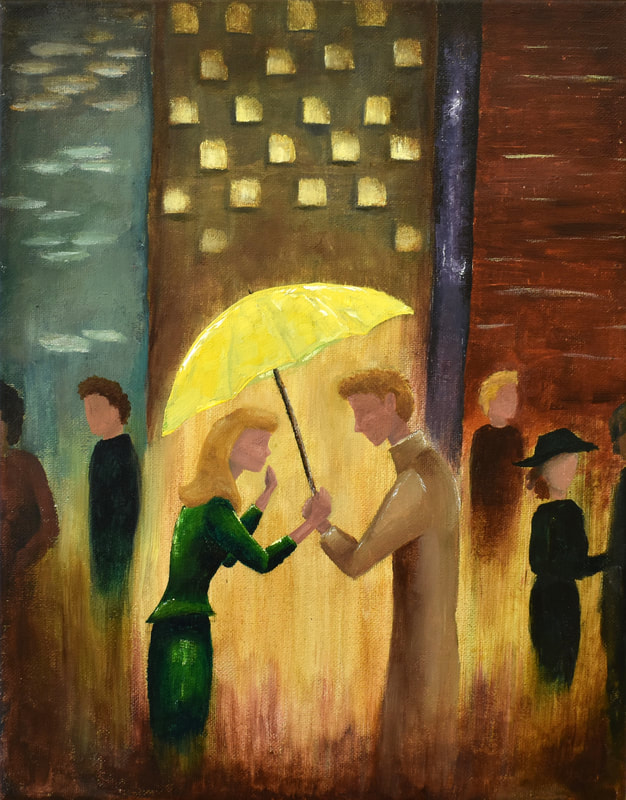
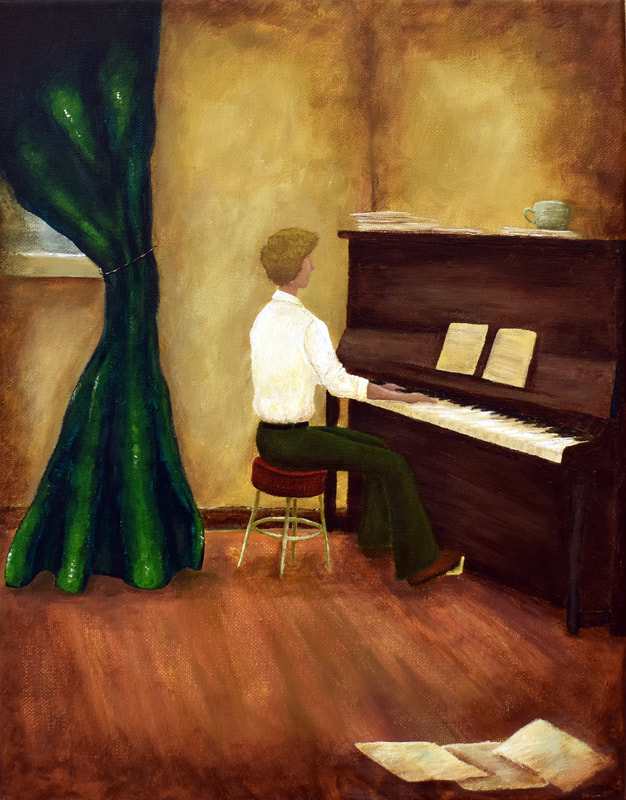
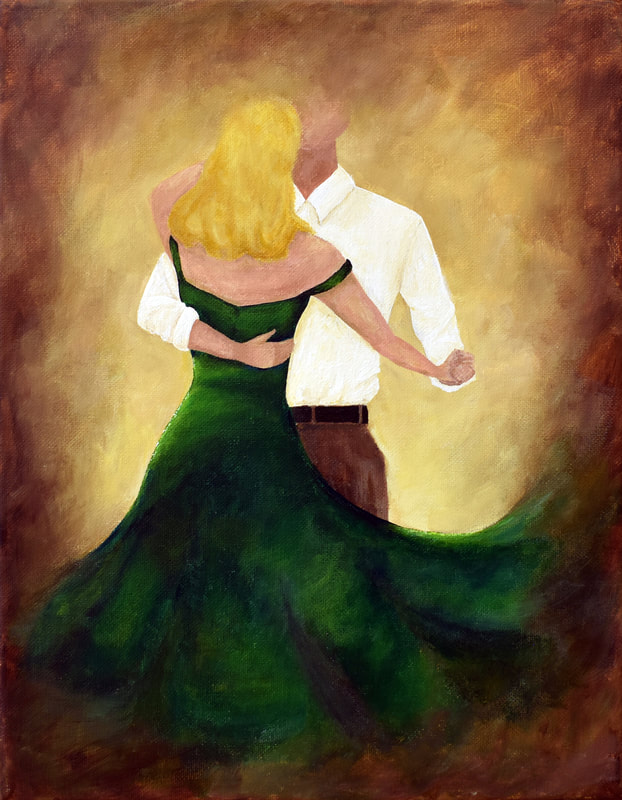
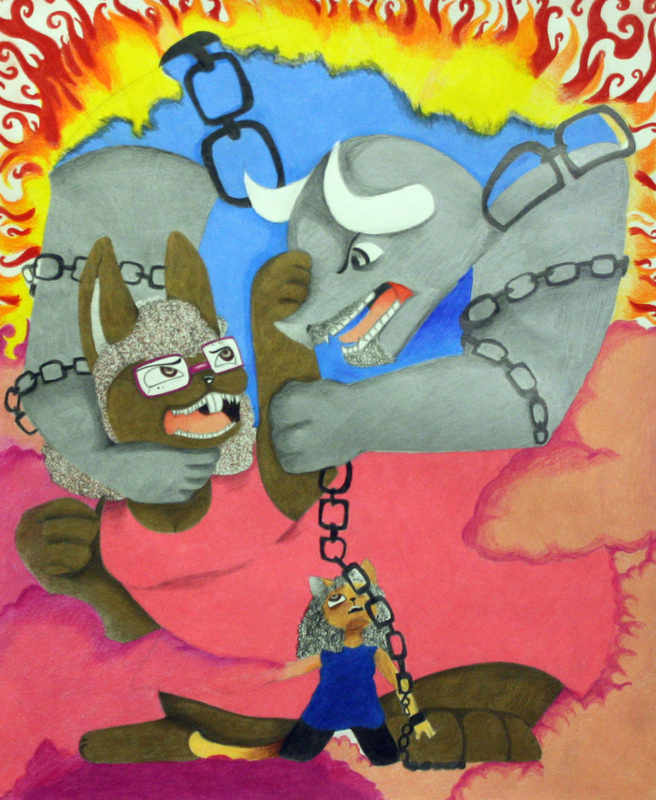
Final Project - The final project allows for the students to use whatever medium they prefer to create a conceptual piece of art purely on their own.
Color and Design
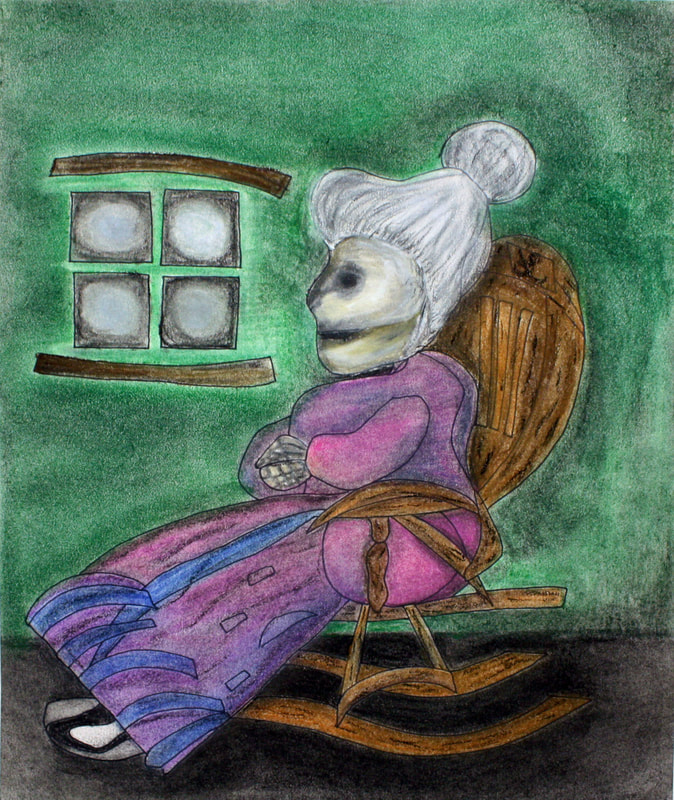
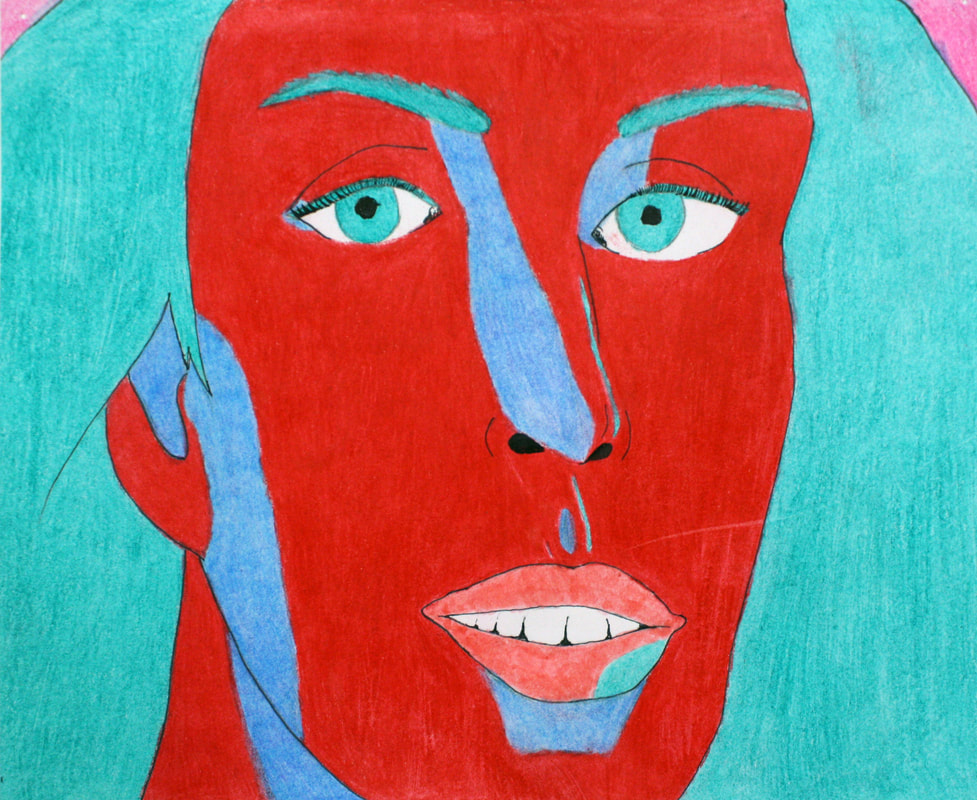
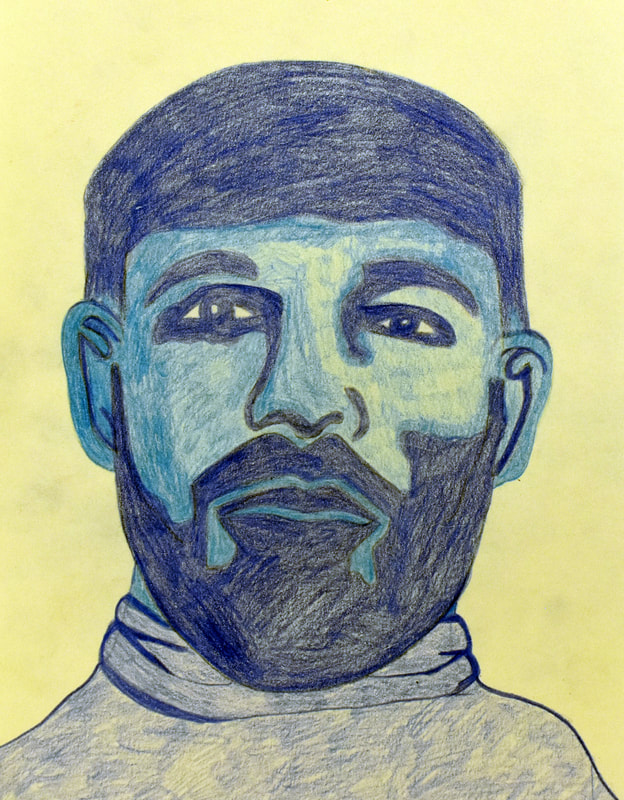
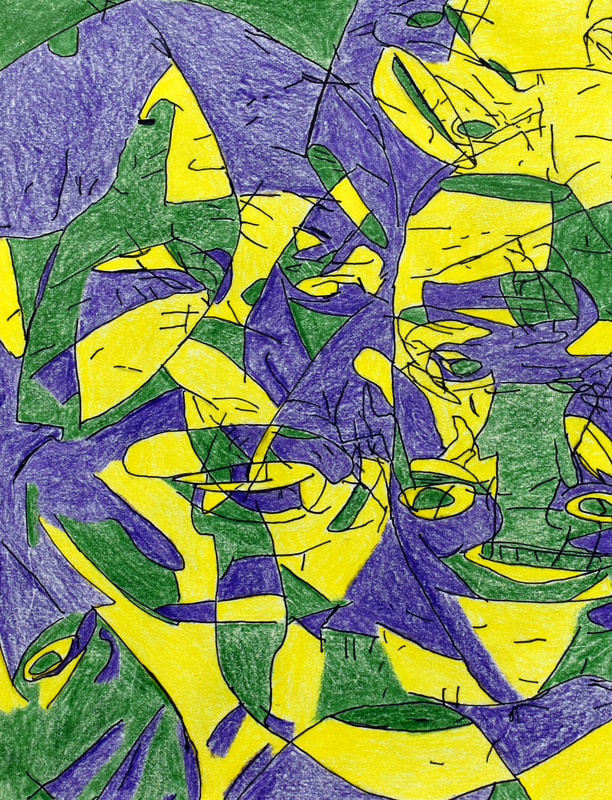
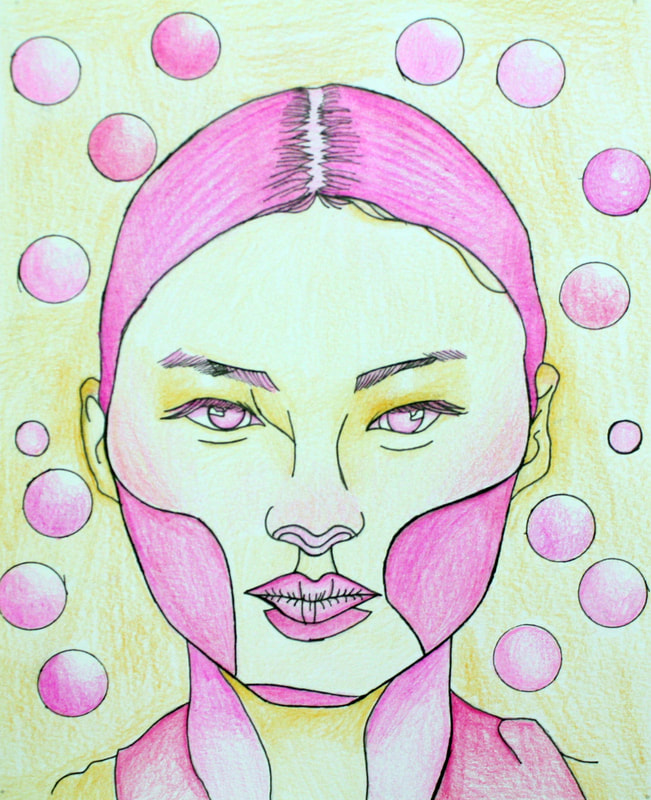
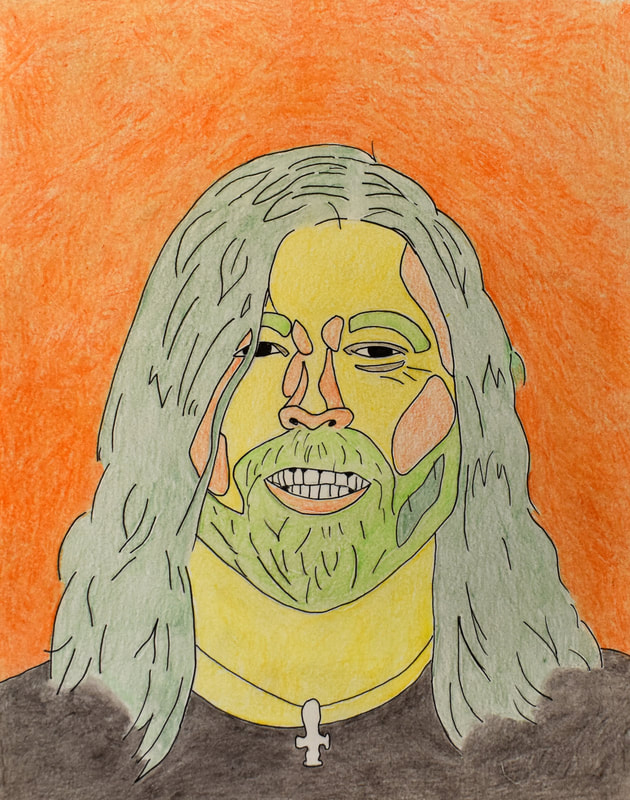
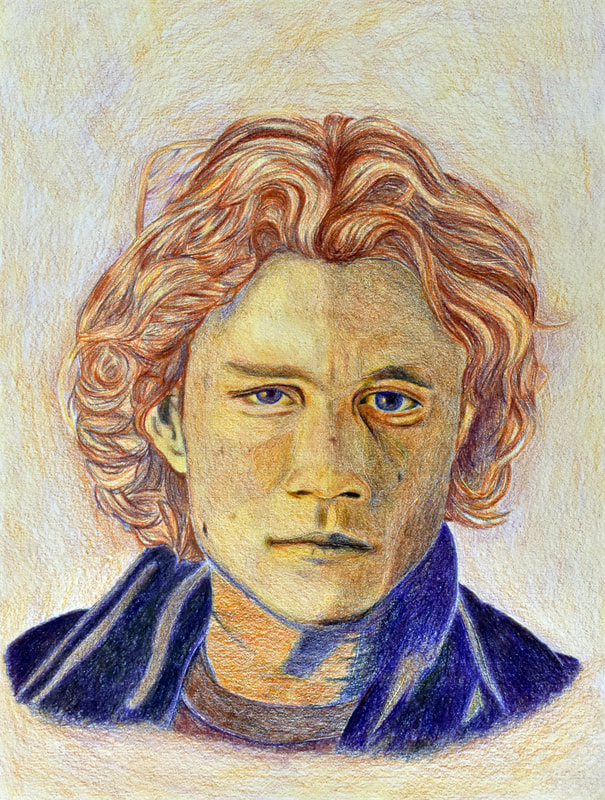
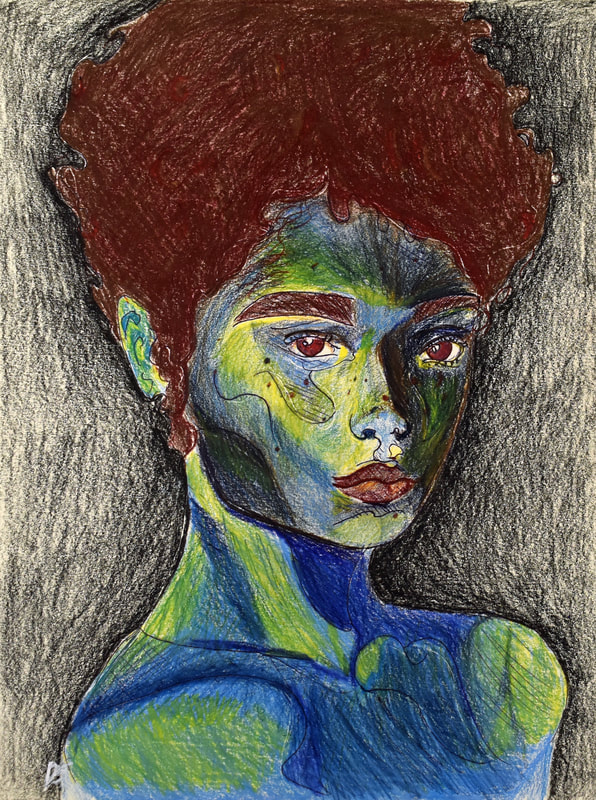
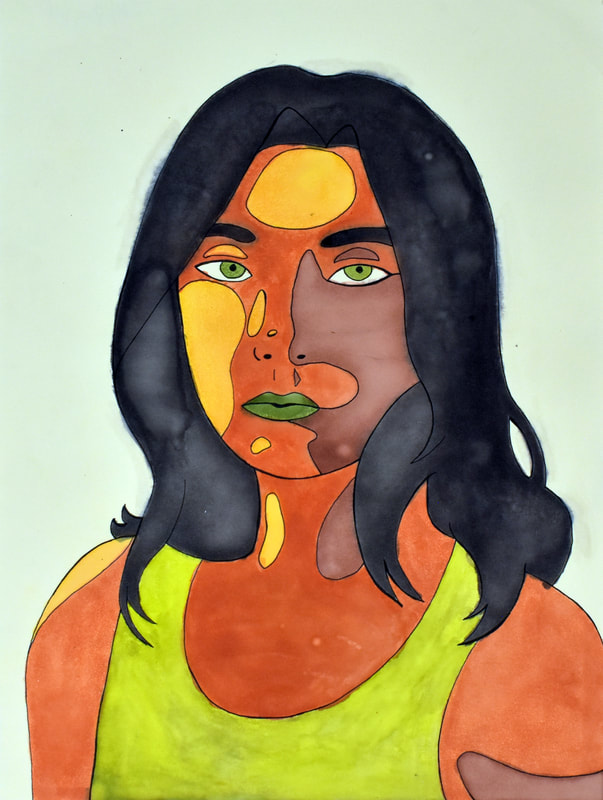
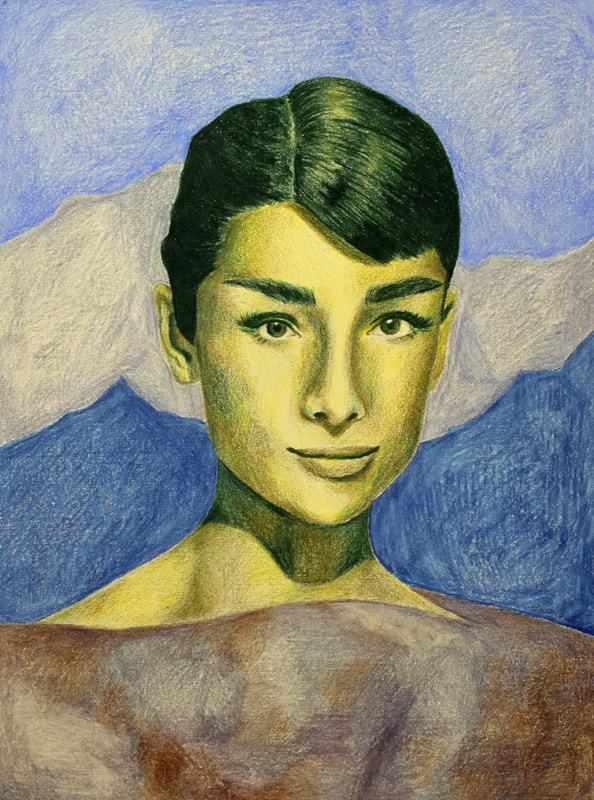
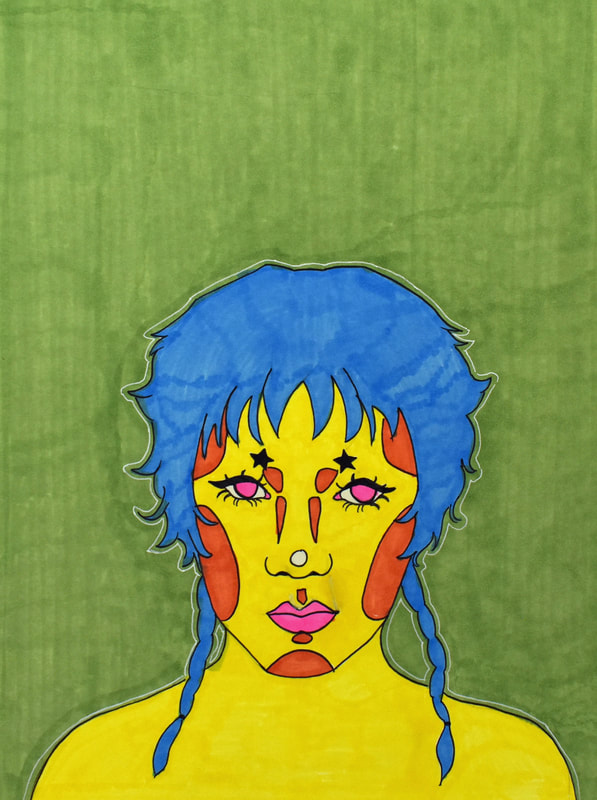
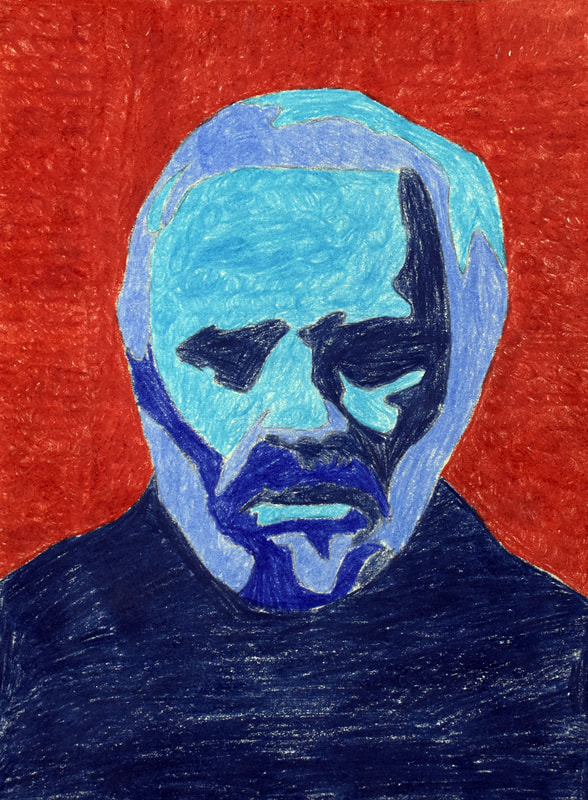
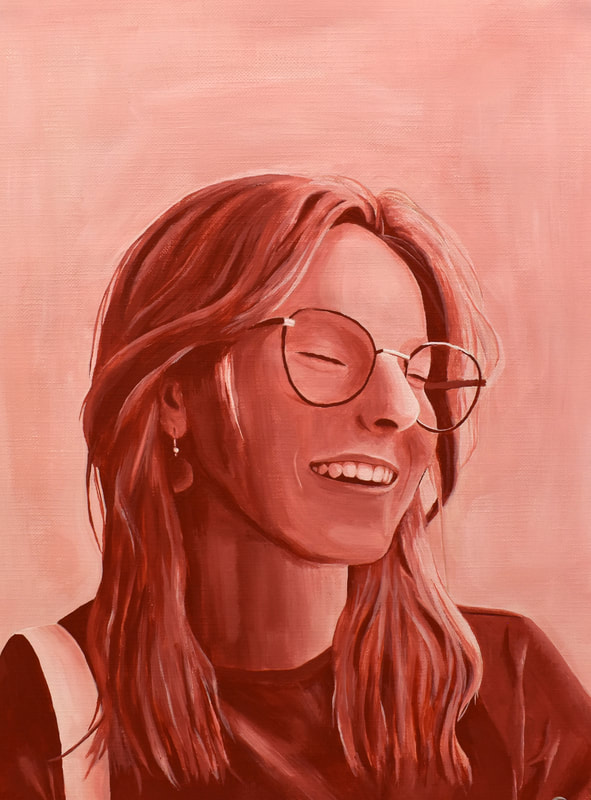
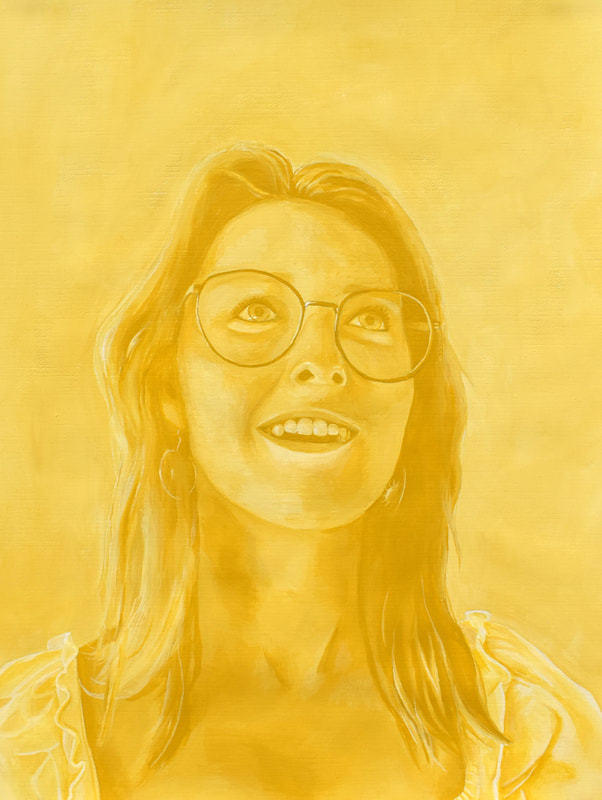
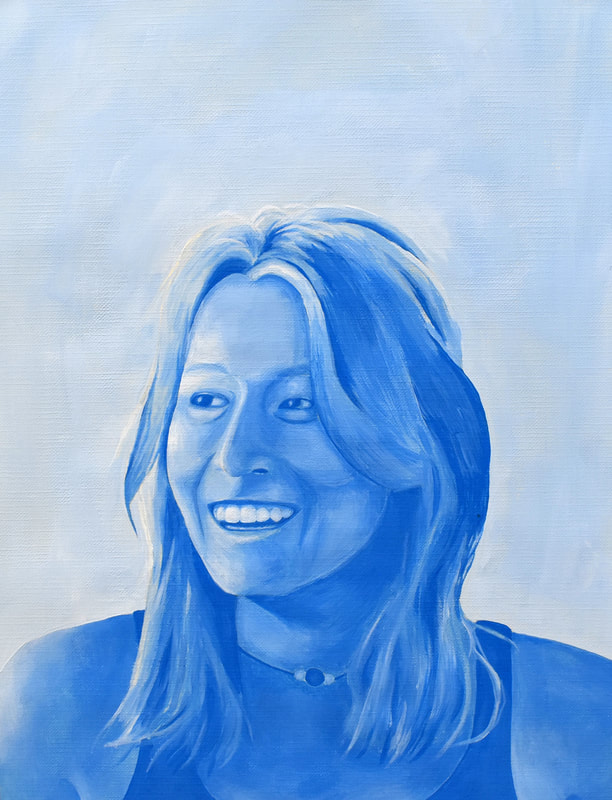
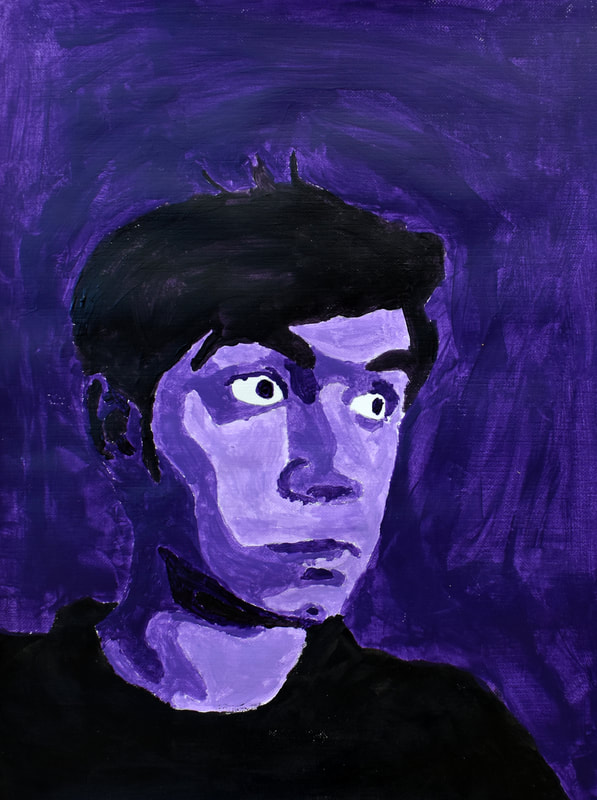
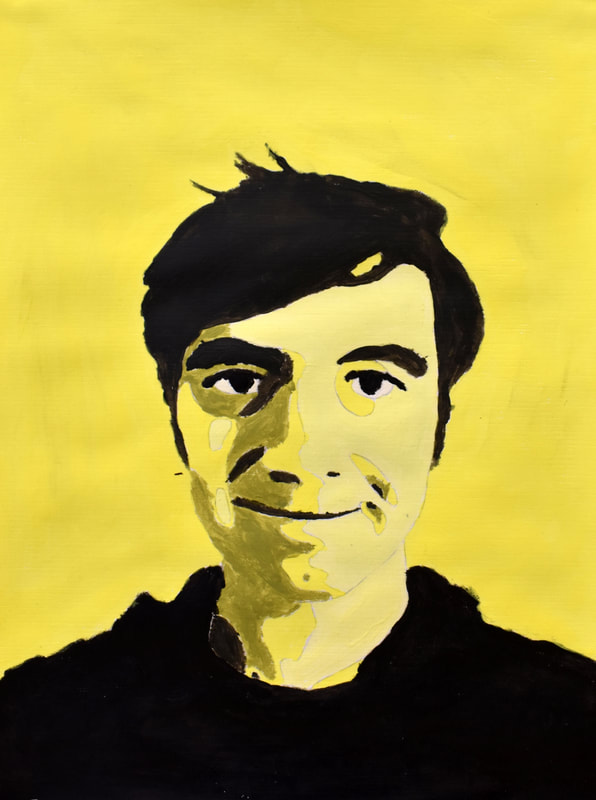
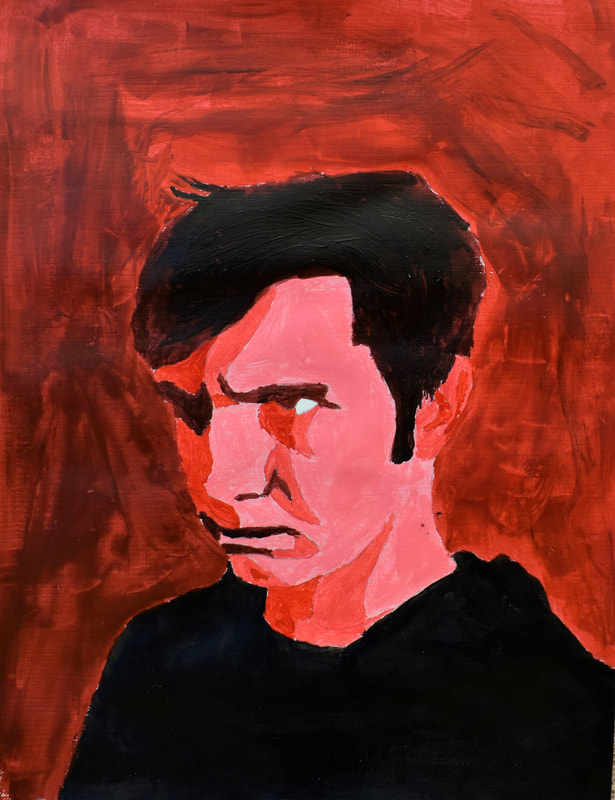
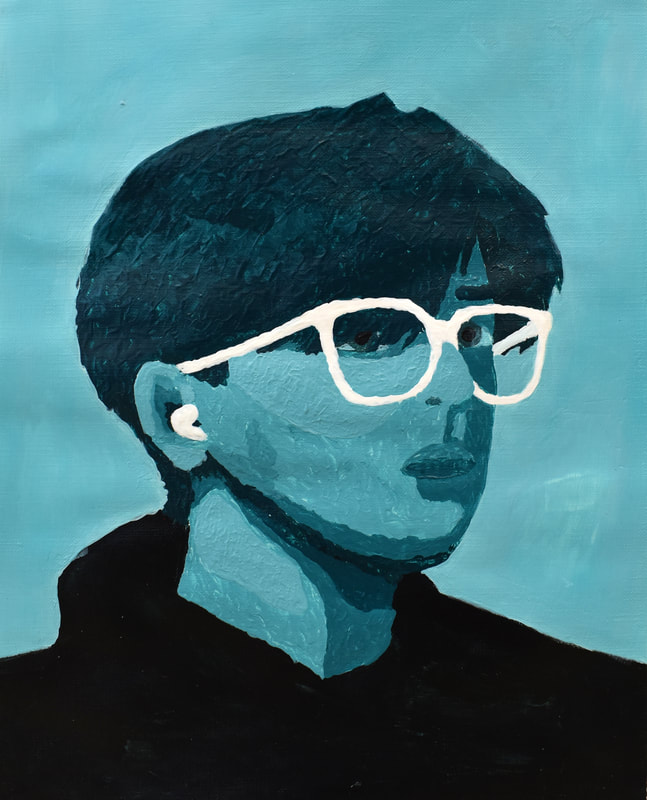
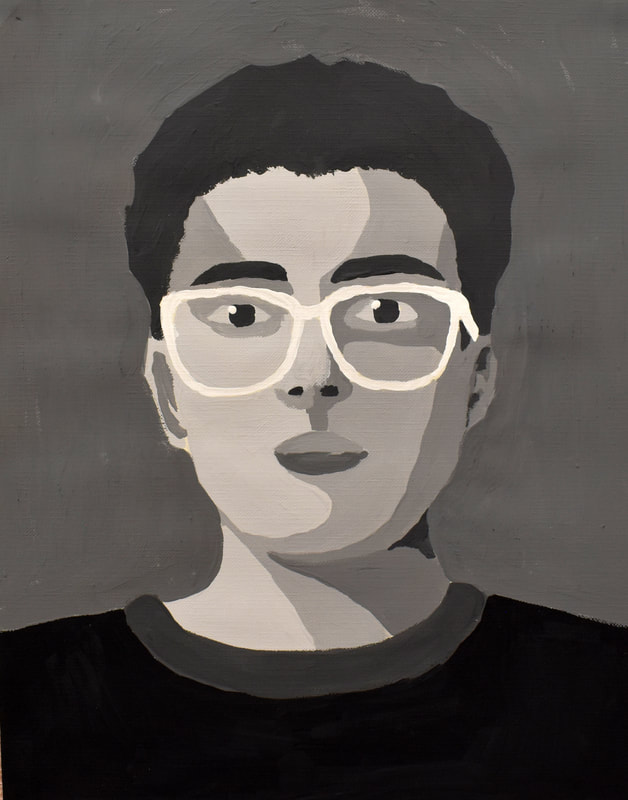
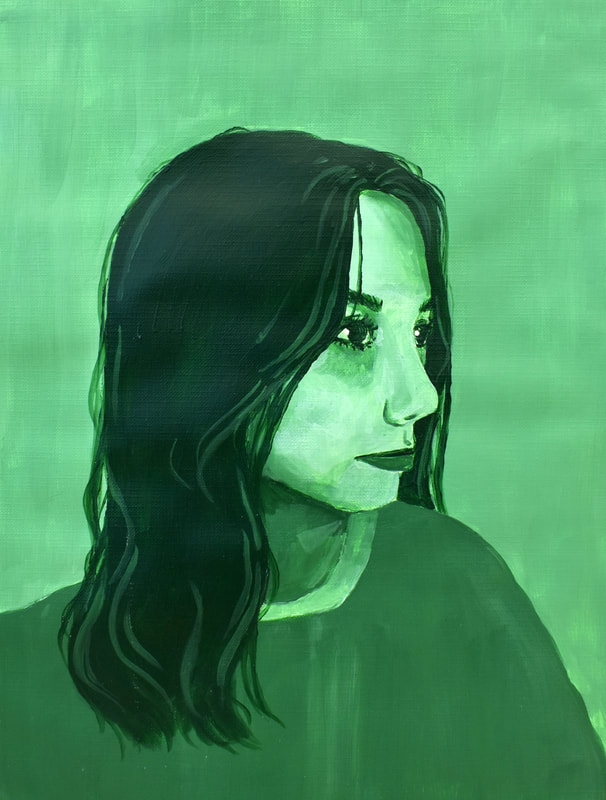
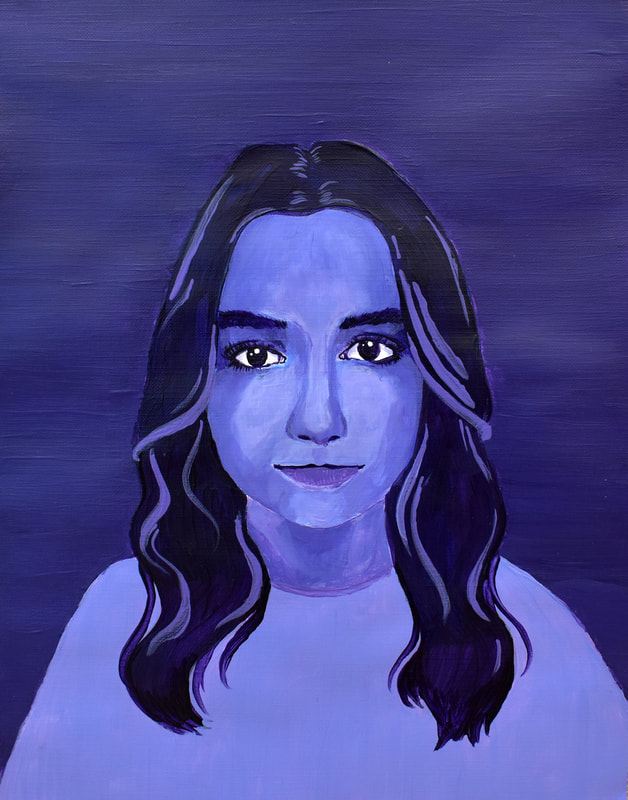
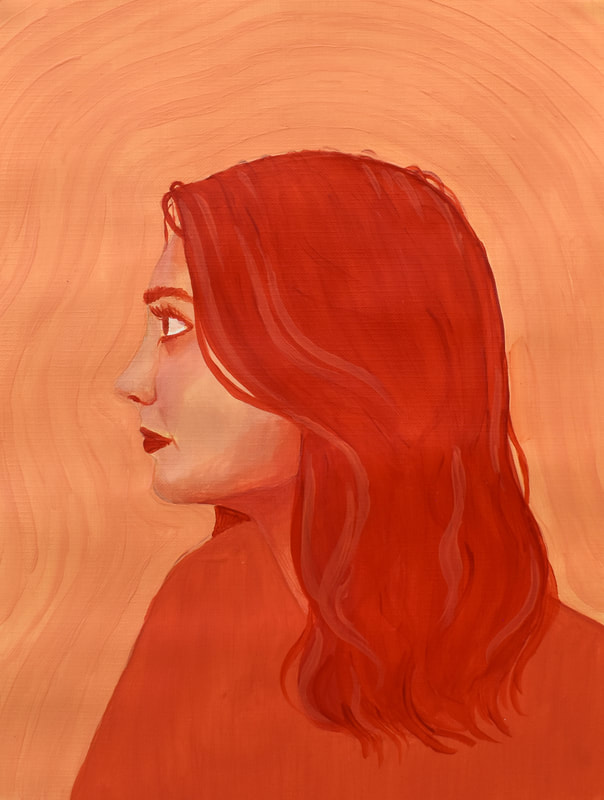
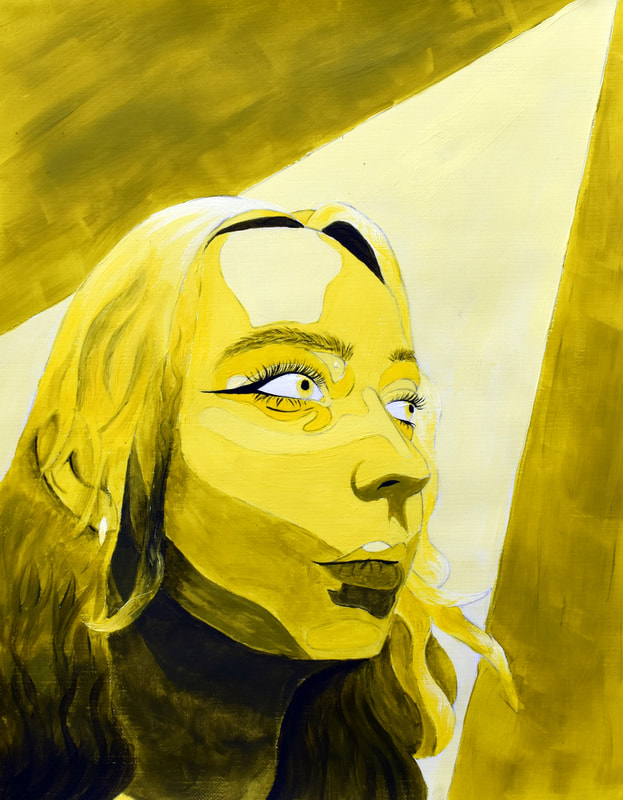
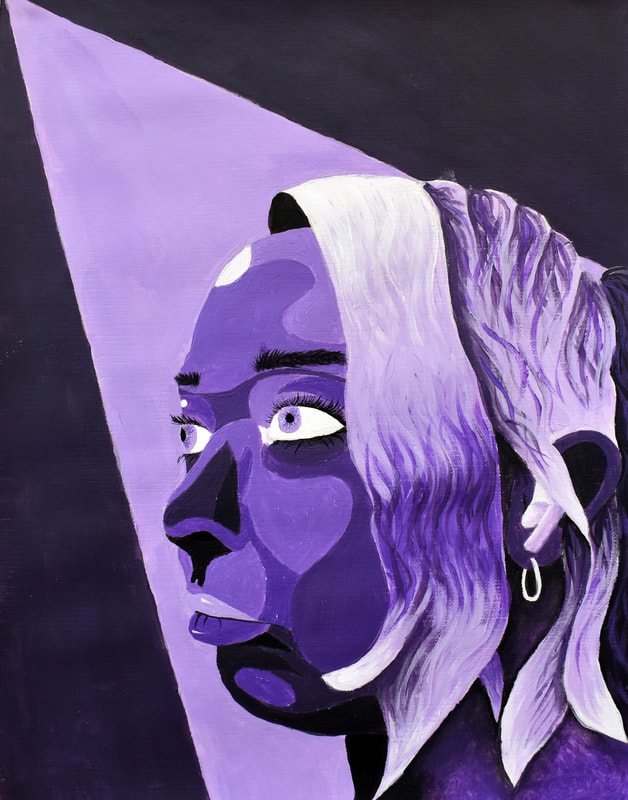
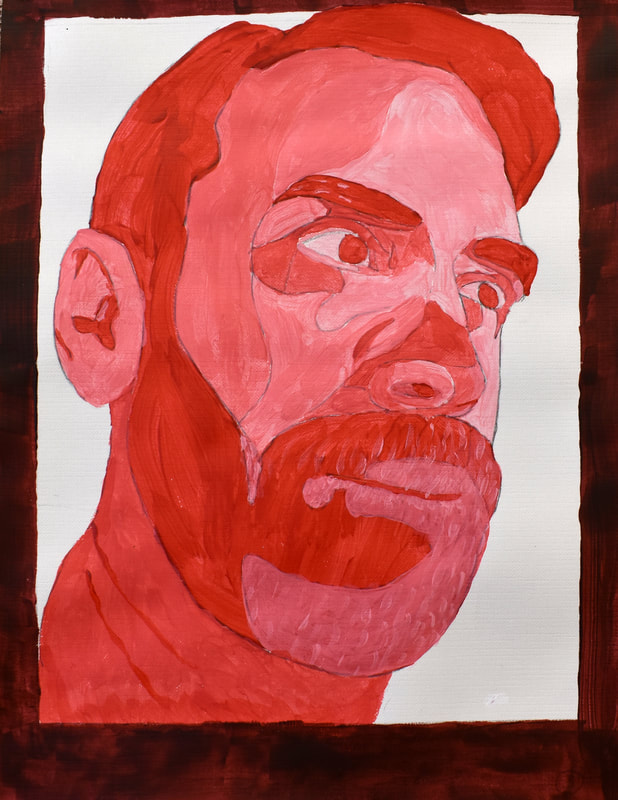
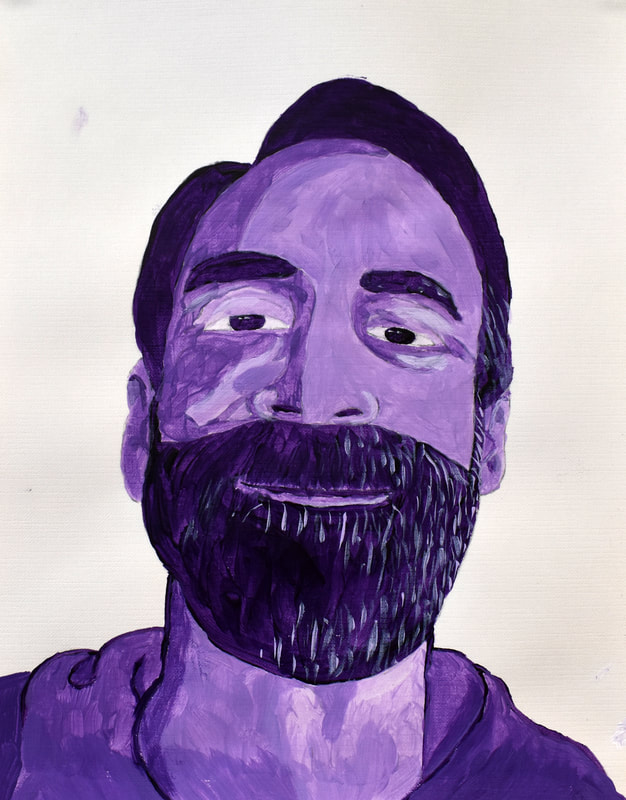
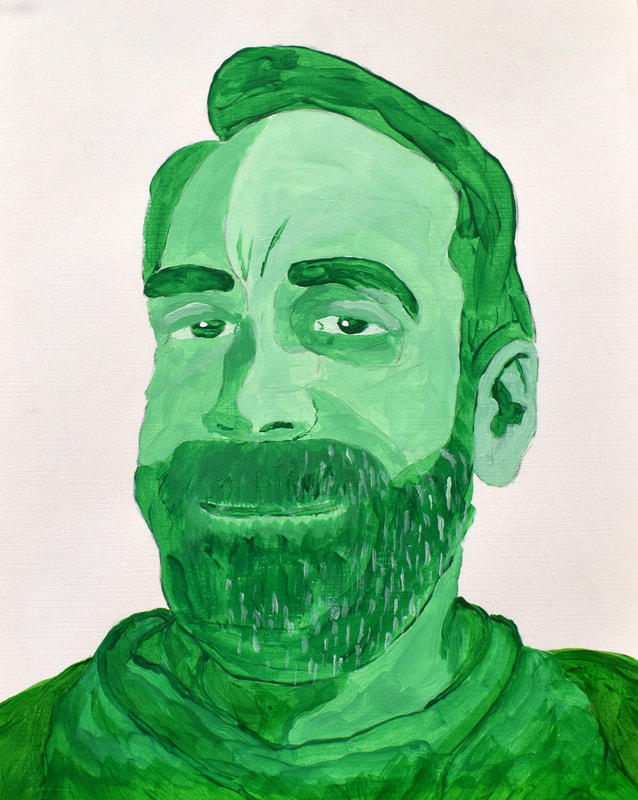
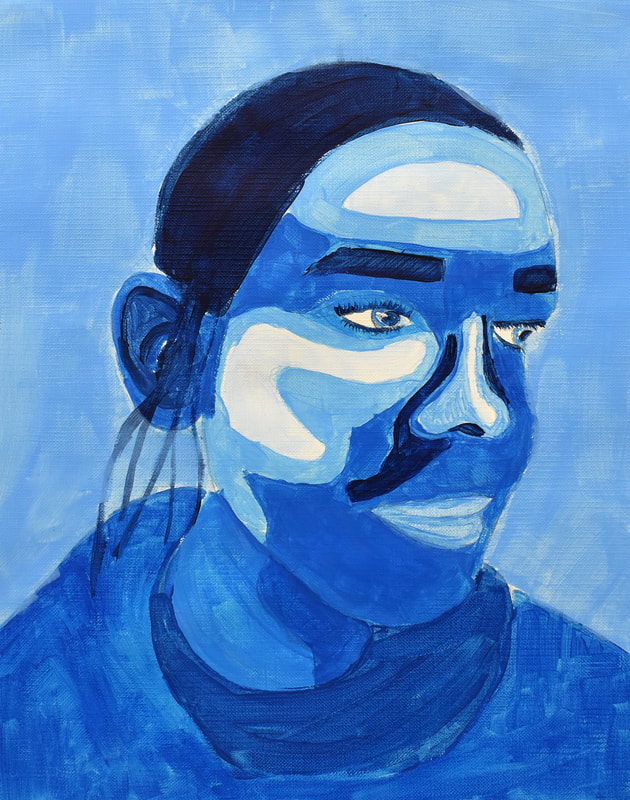
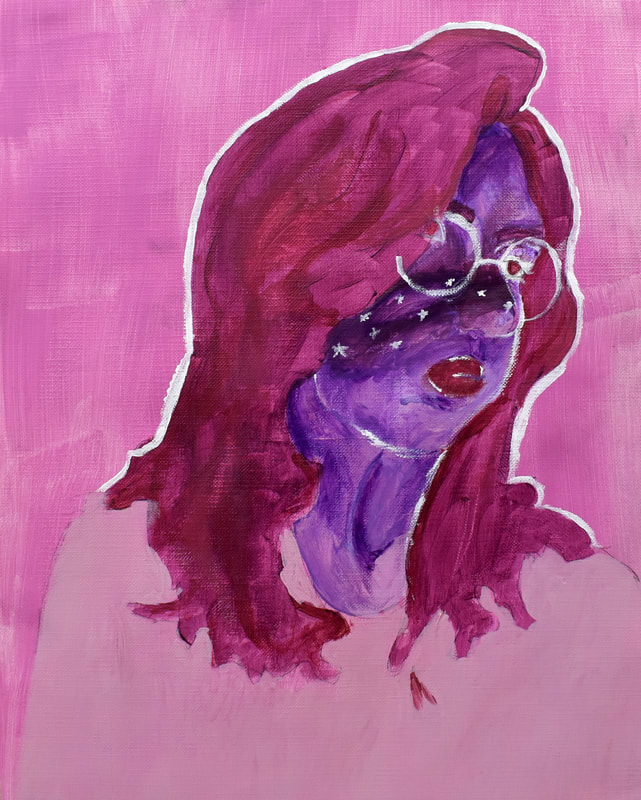
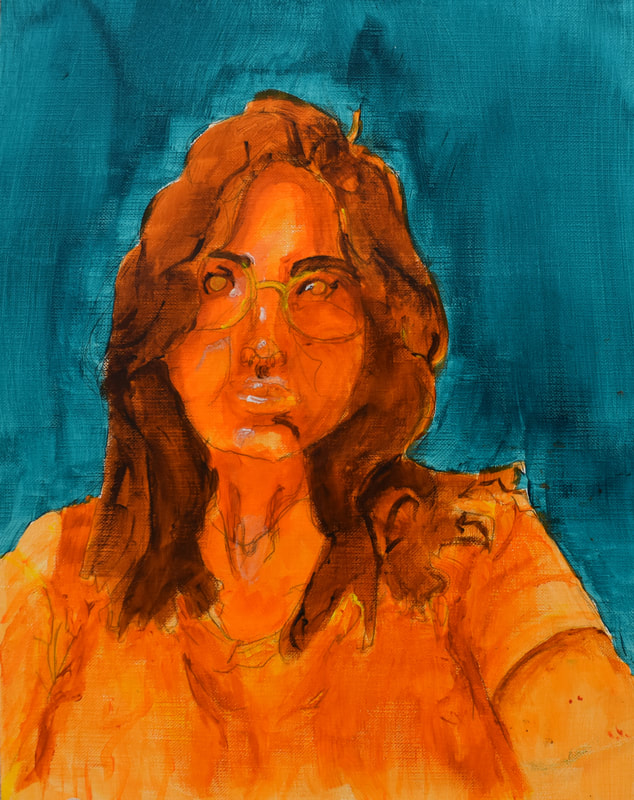
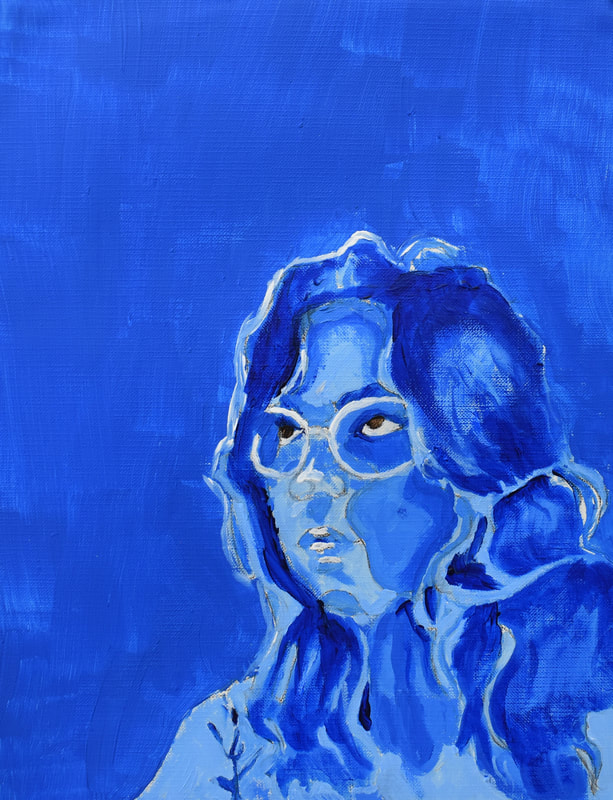
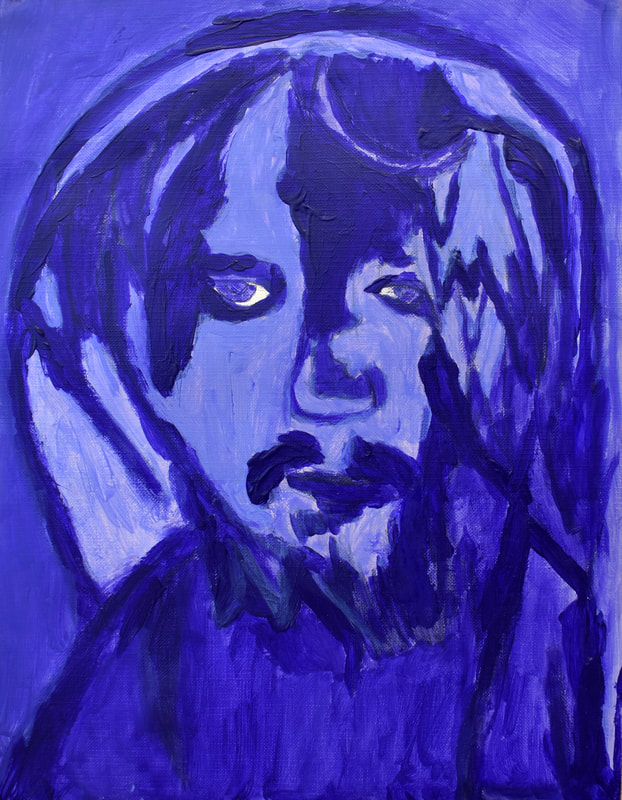
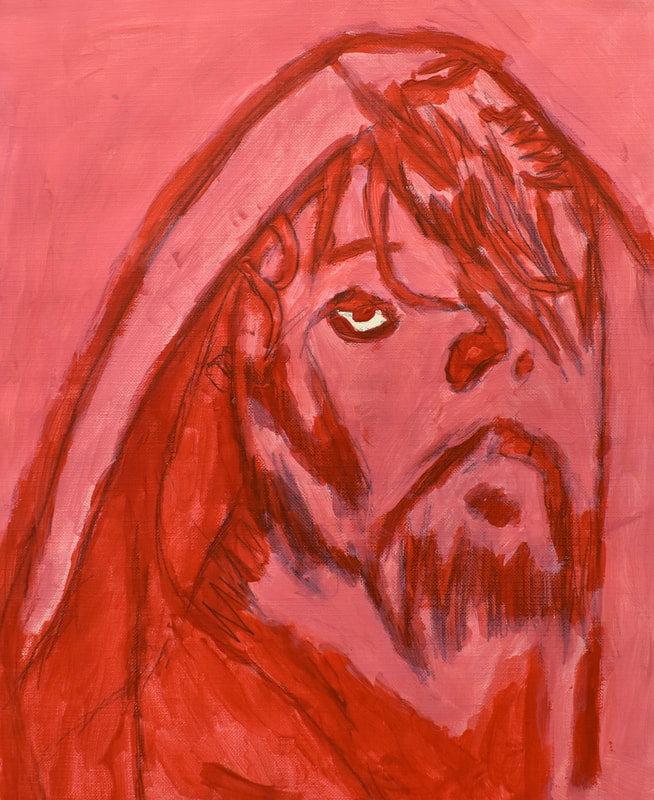
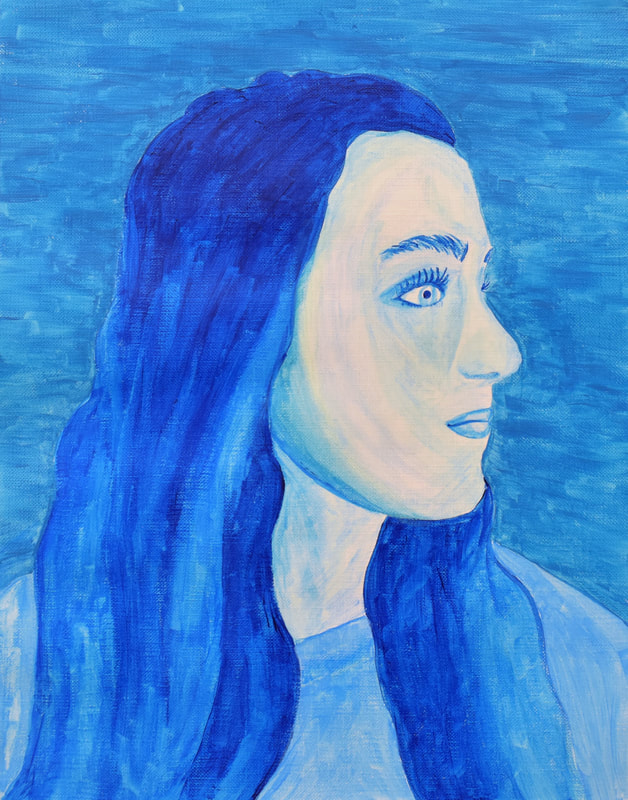
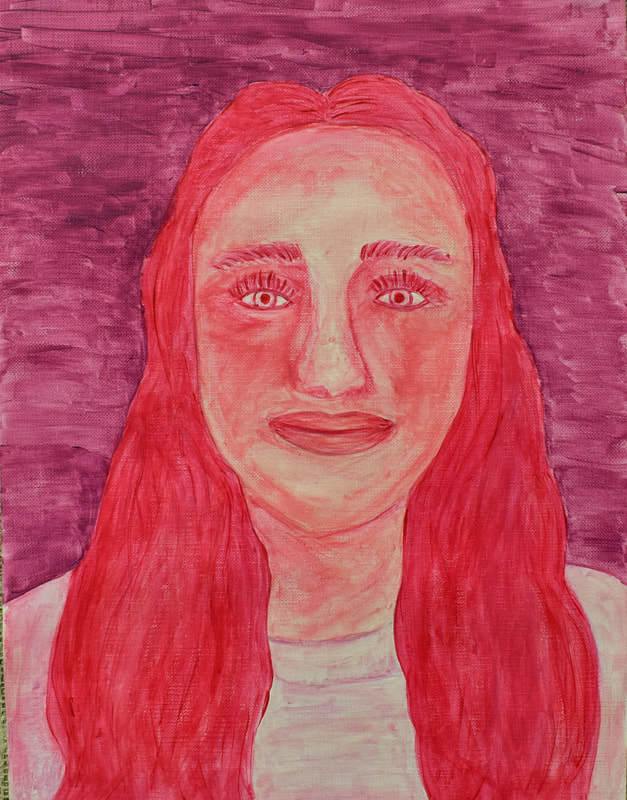
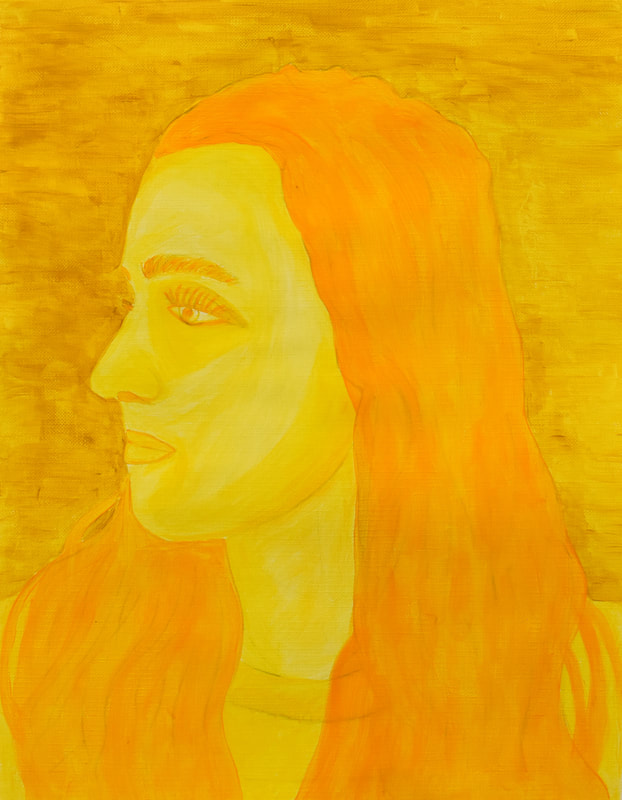
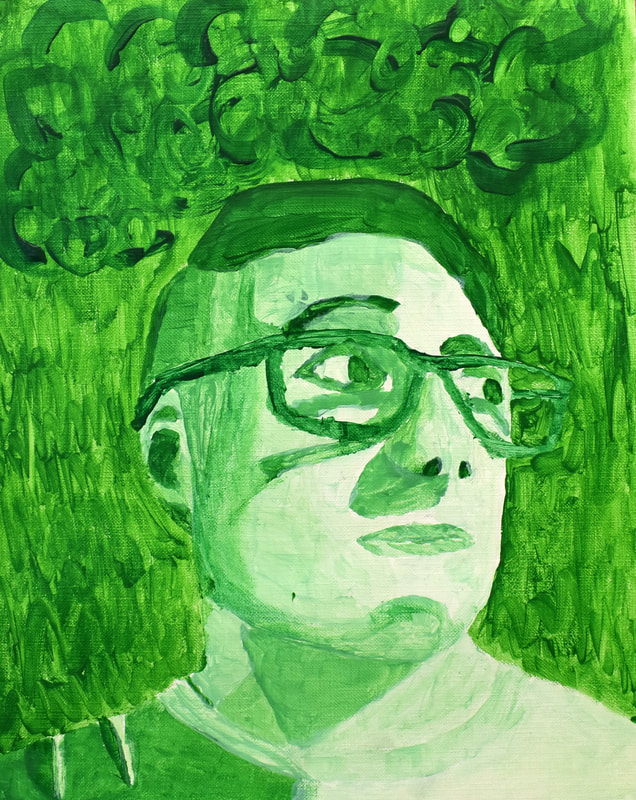
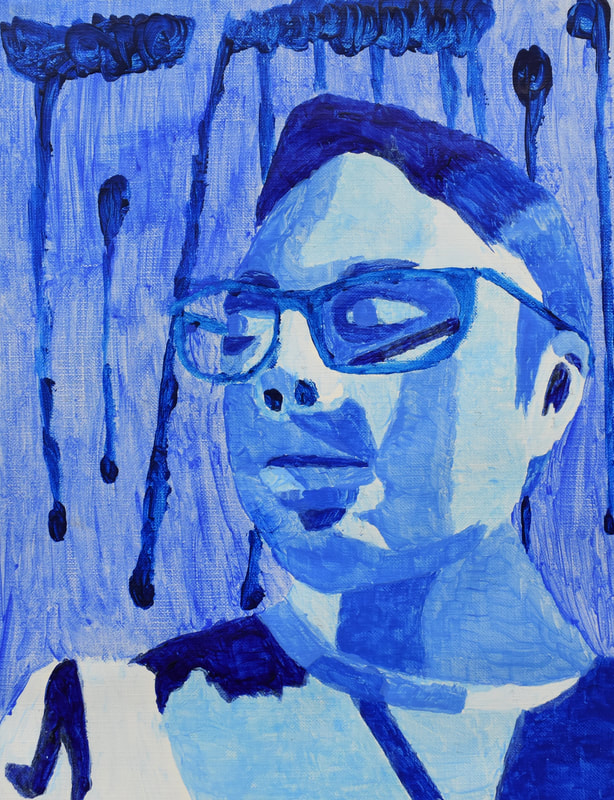
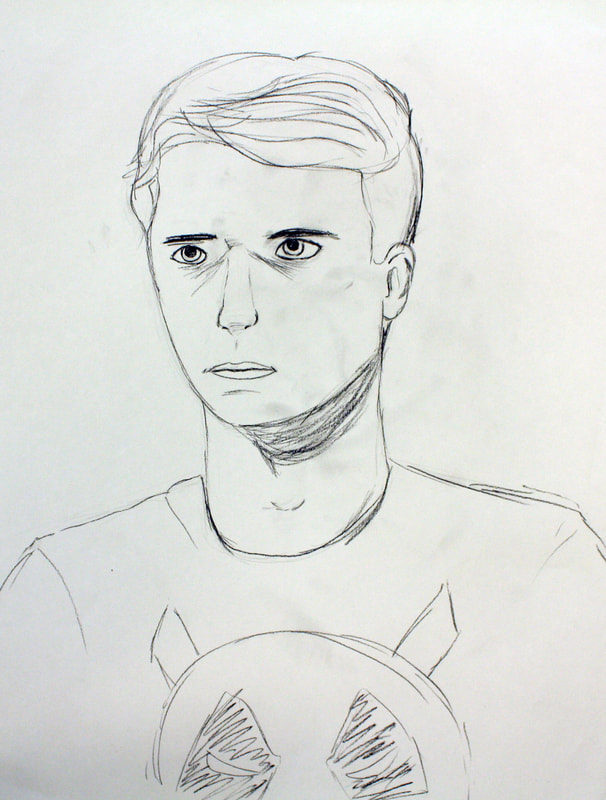
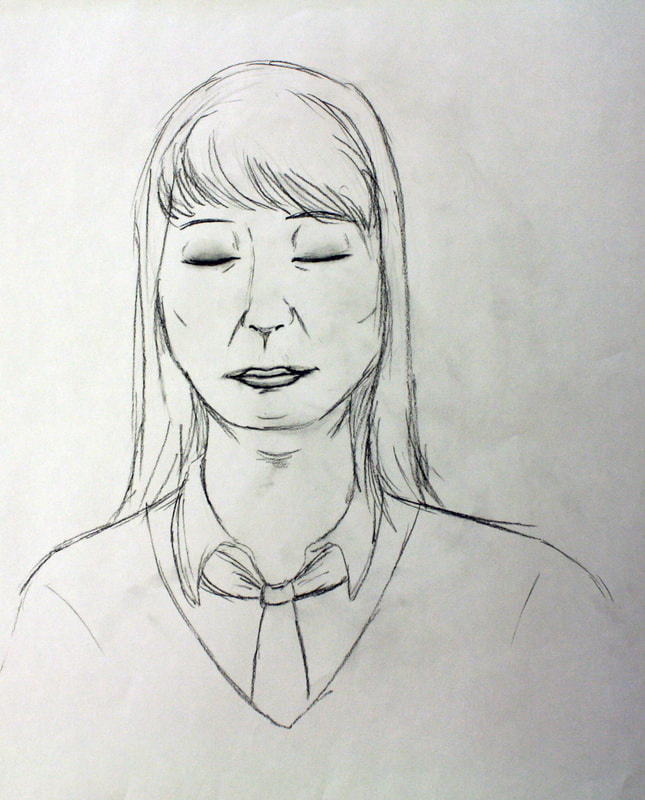
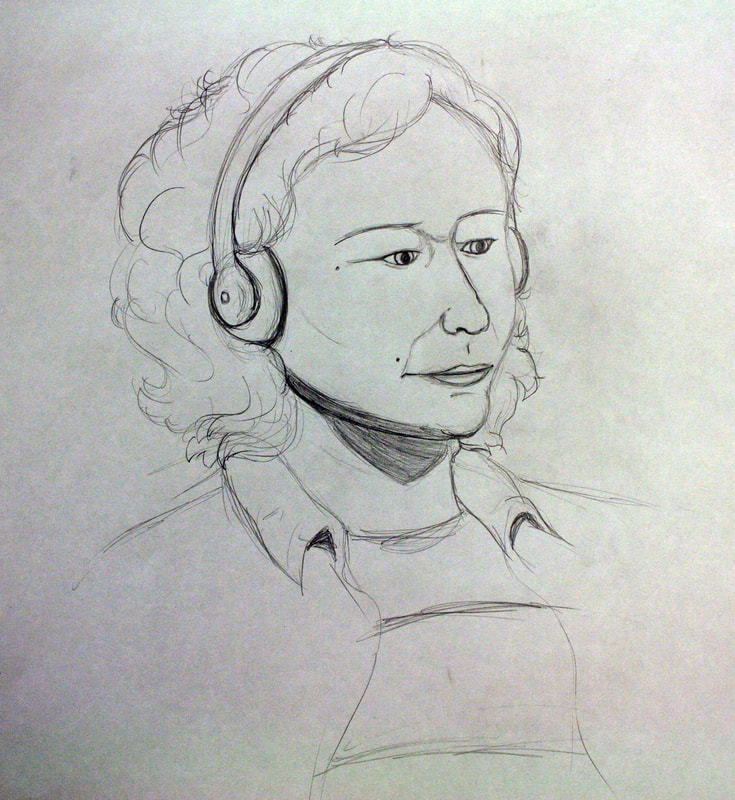
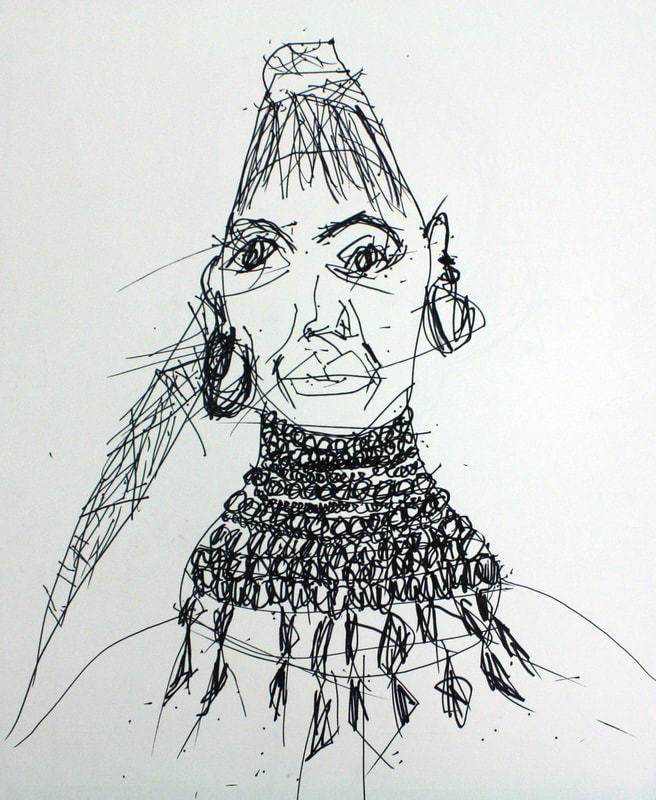
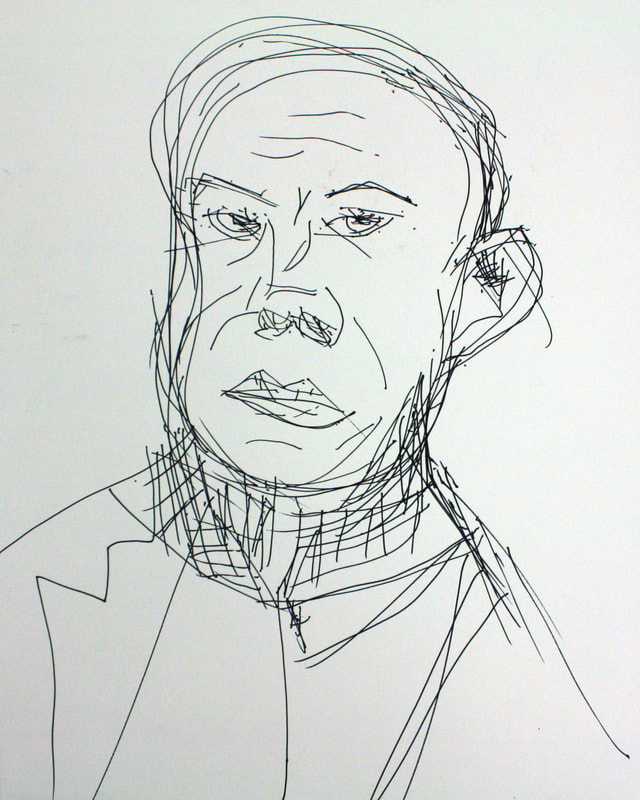
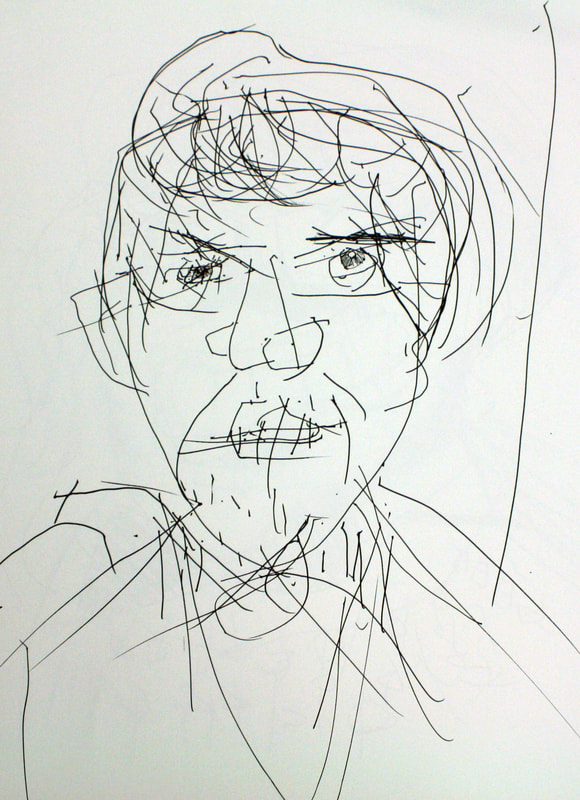
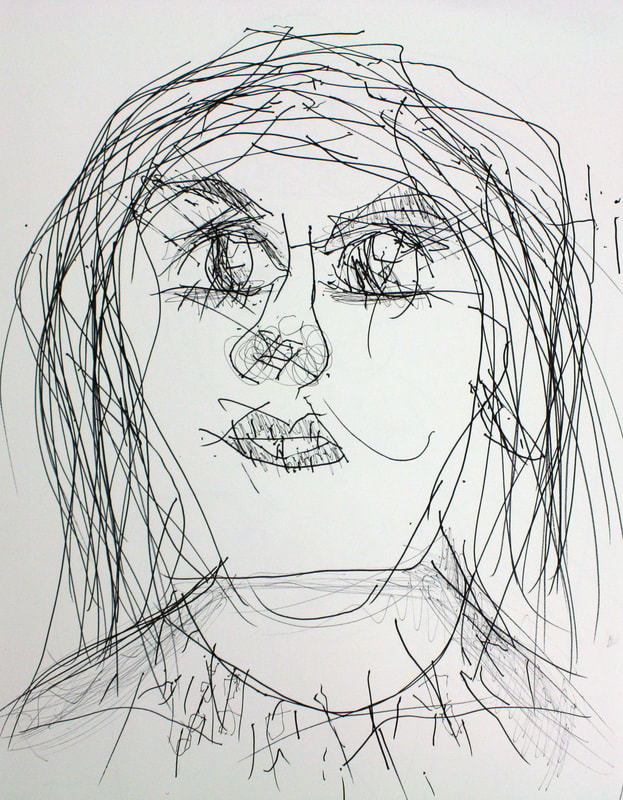
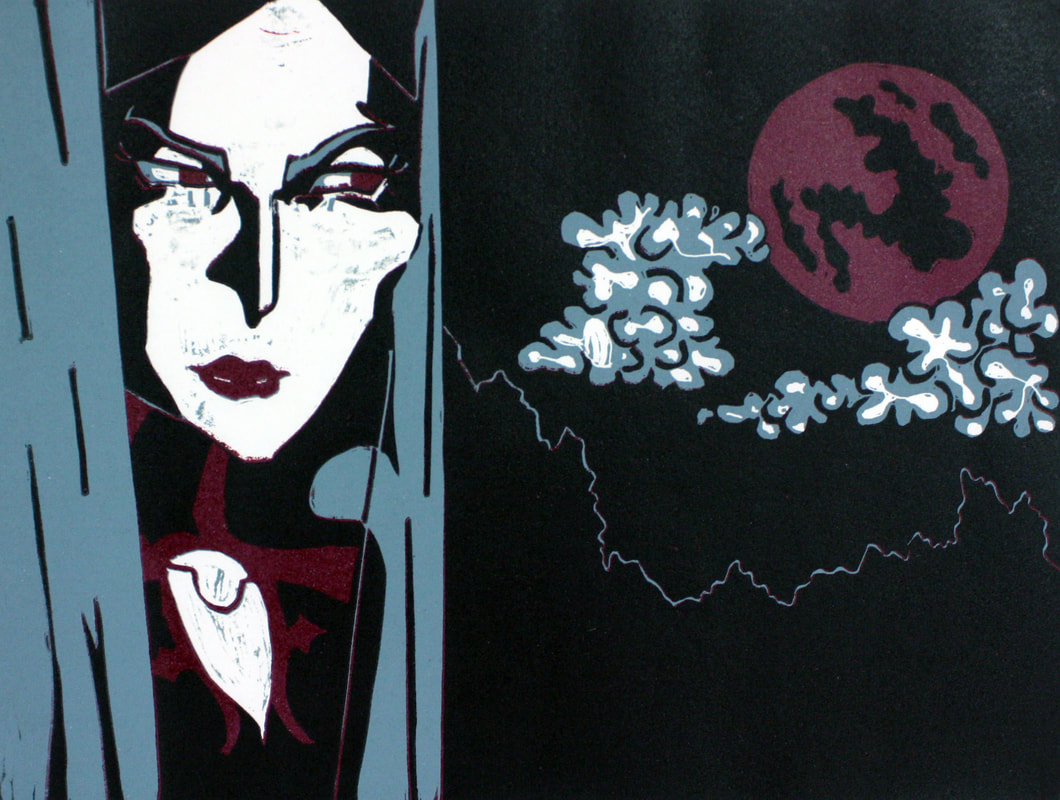
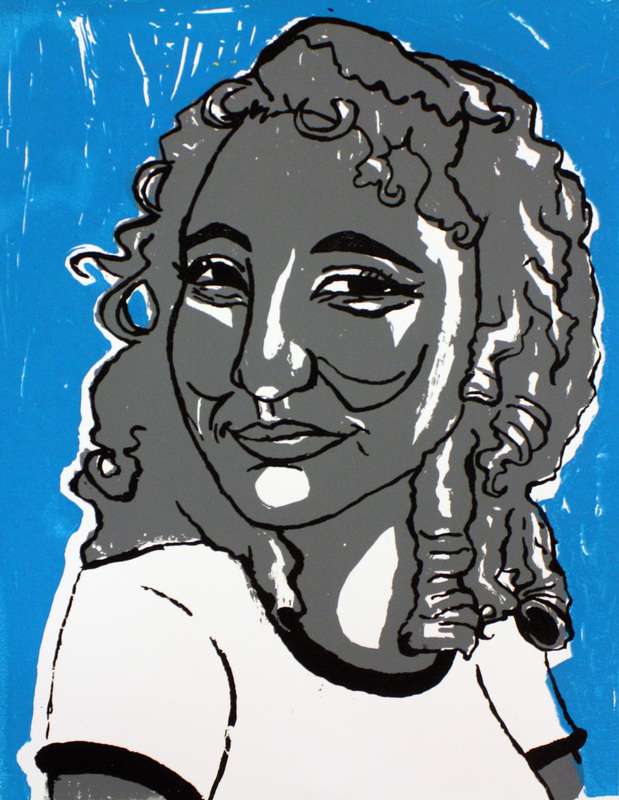
Monochrome Portrait Project - The Monochrome Portrait projects starts with a lecture on the Elements and Principles and Color Theory. The lecture then continues into Monochromatic Colors the Value Scale in Color, and differences in Hue/Saturation of Color. Afterwards, students must take three self-portrait photographs in black and white. They then use these to trace and find the planes of the face on their portraits using tracing paper. After transferring these to their final paper, the students then use acrylic paint to render their faces in a warm monochromatic color, a cool monochromatic color, and their own choice of a third color along with a color wheel for use in the course through the semester.


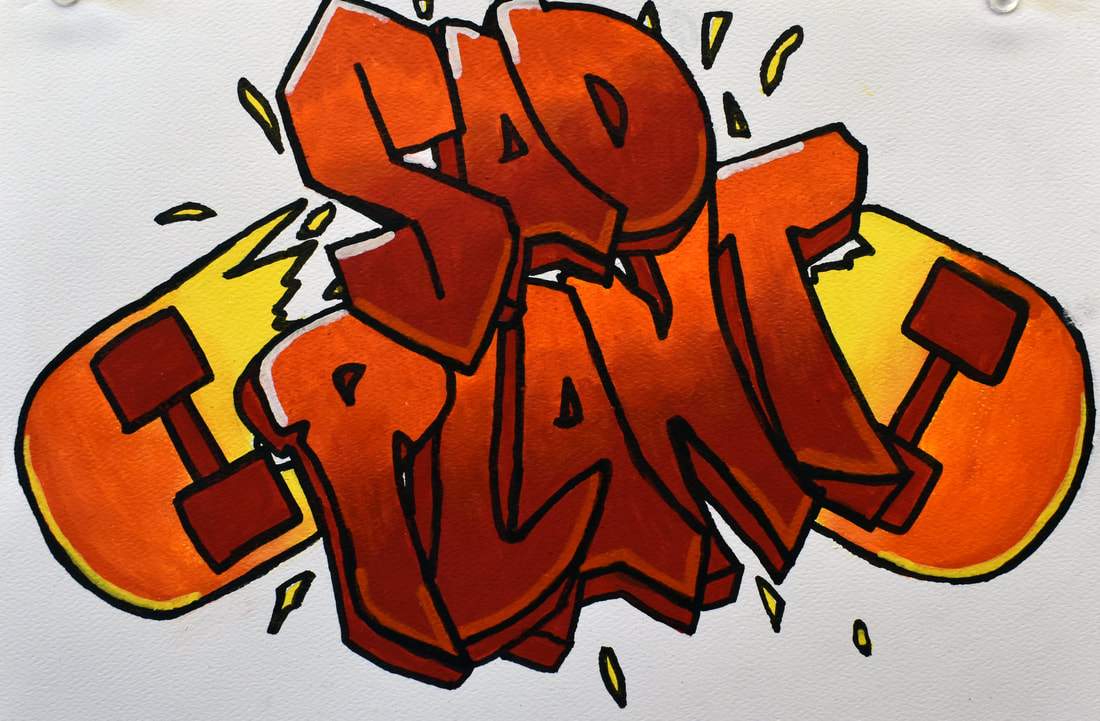
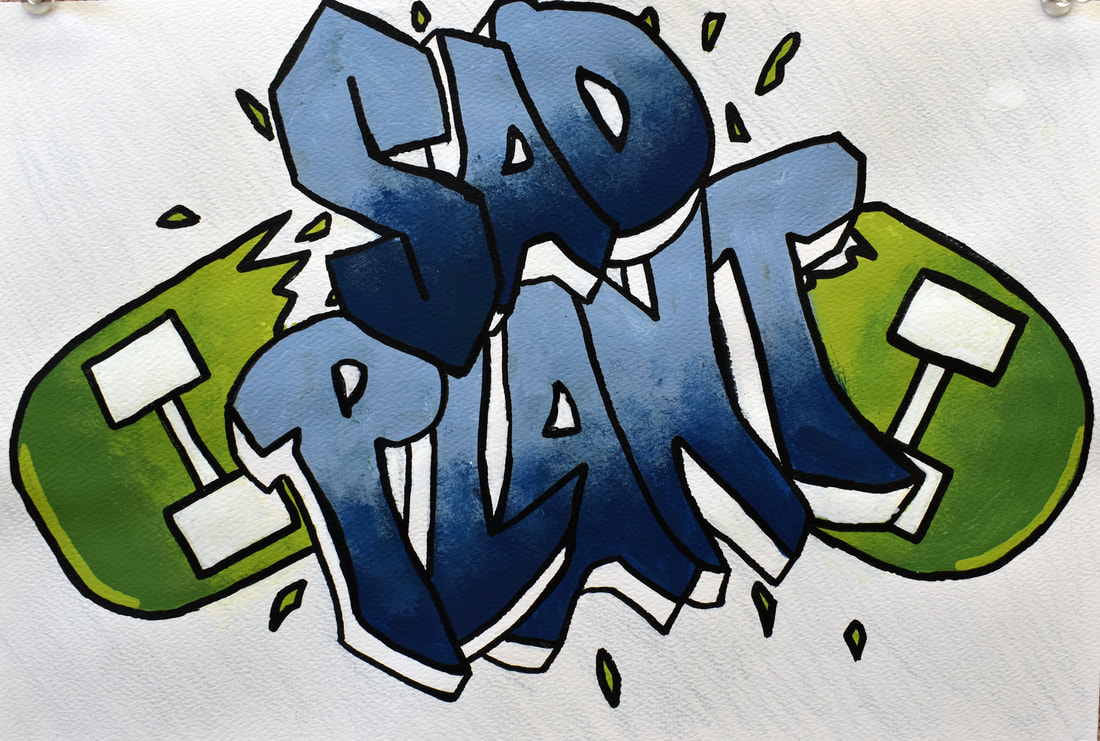
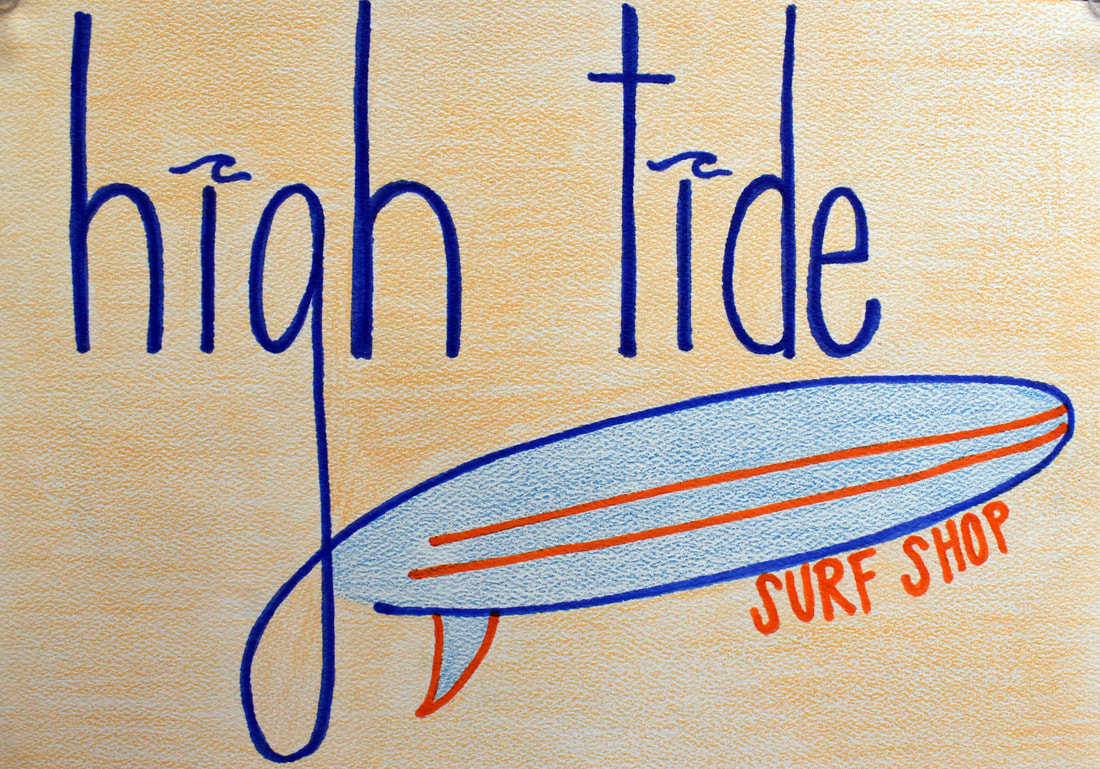
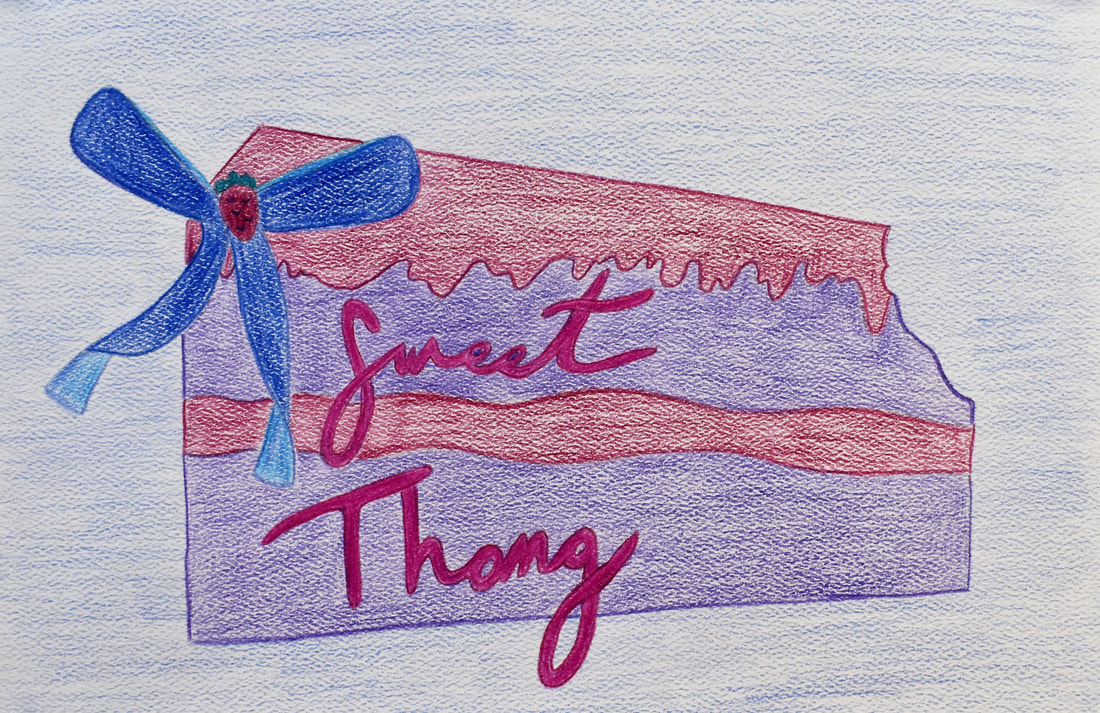
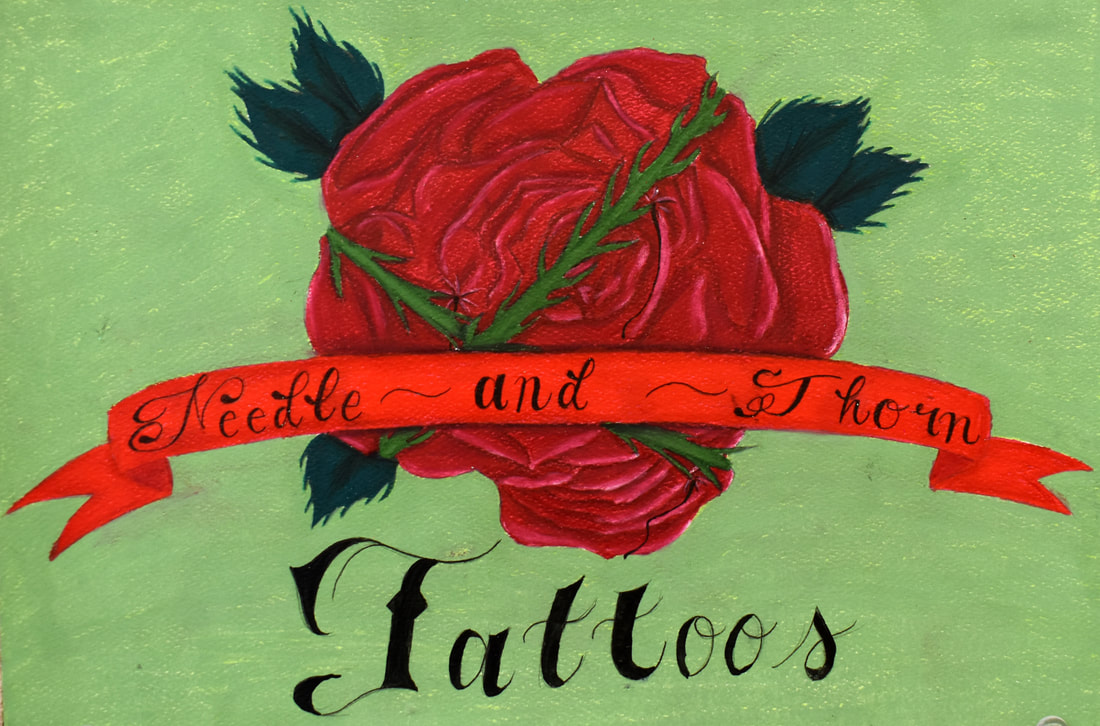
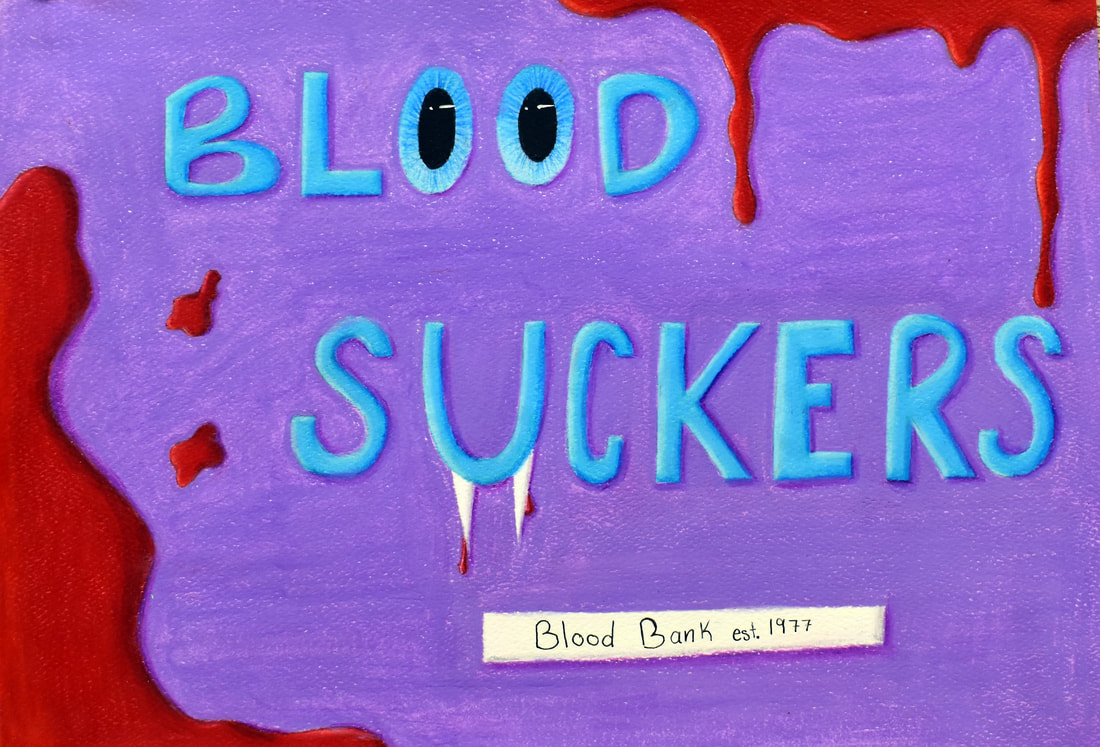
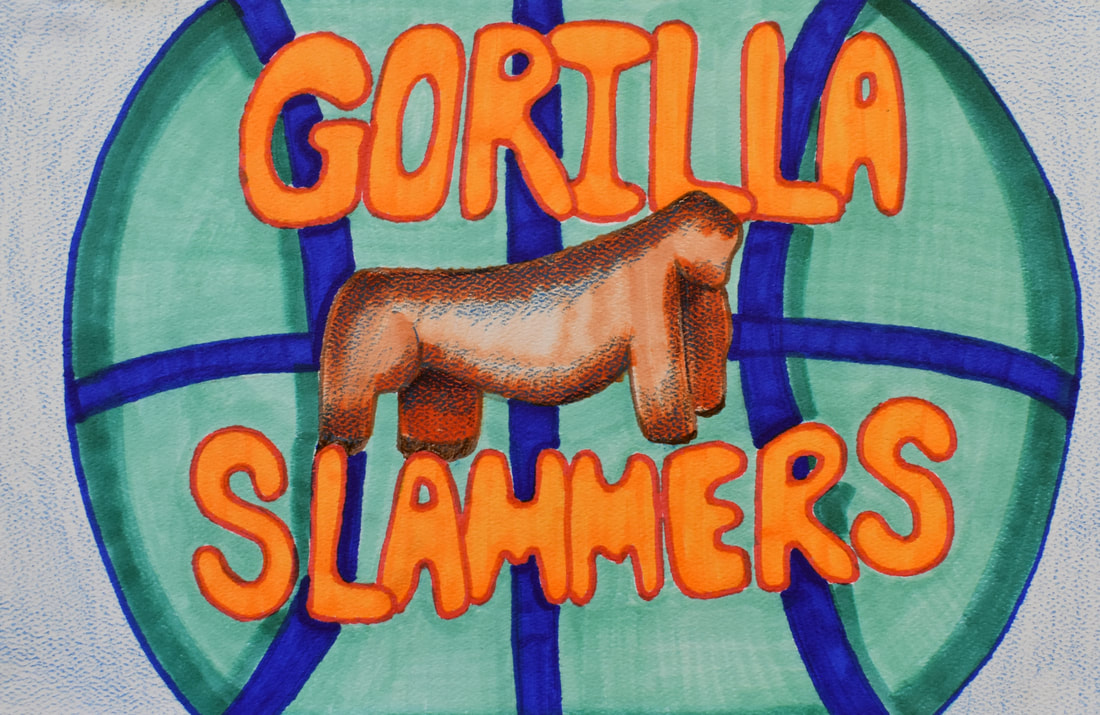
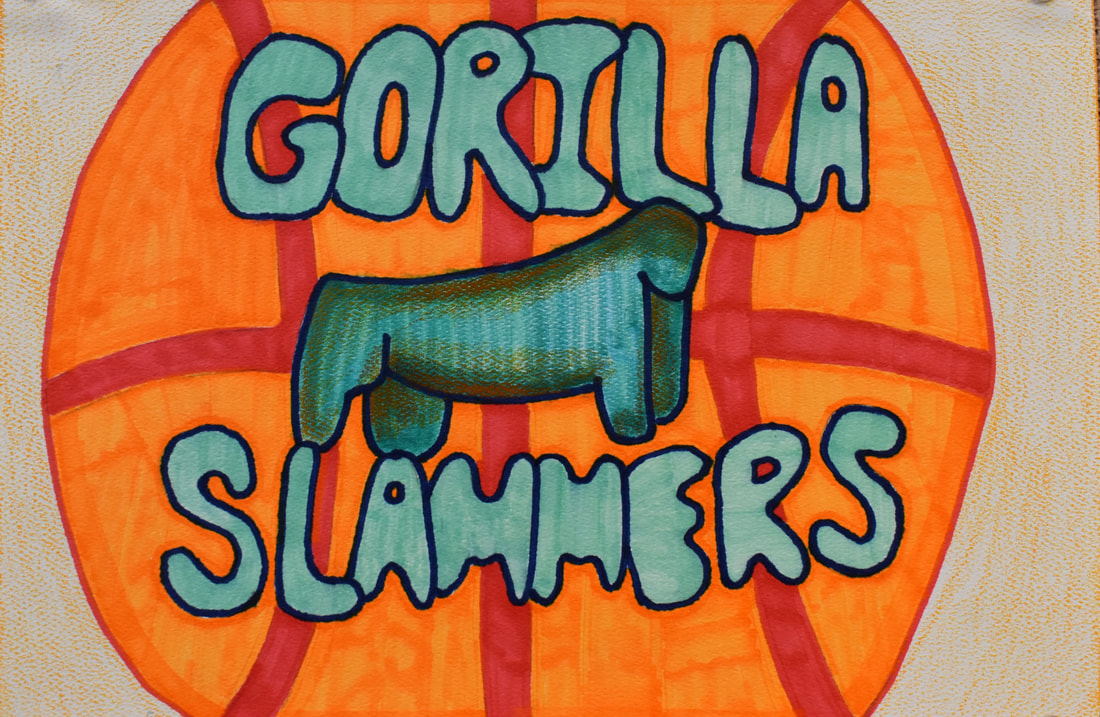
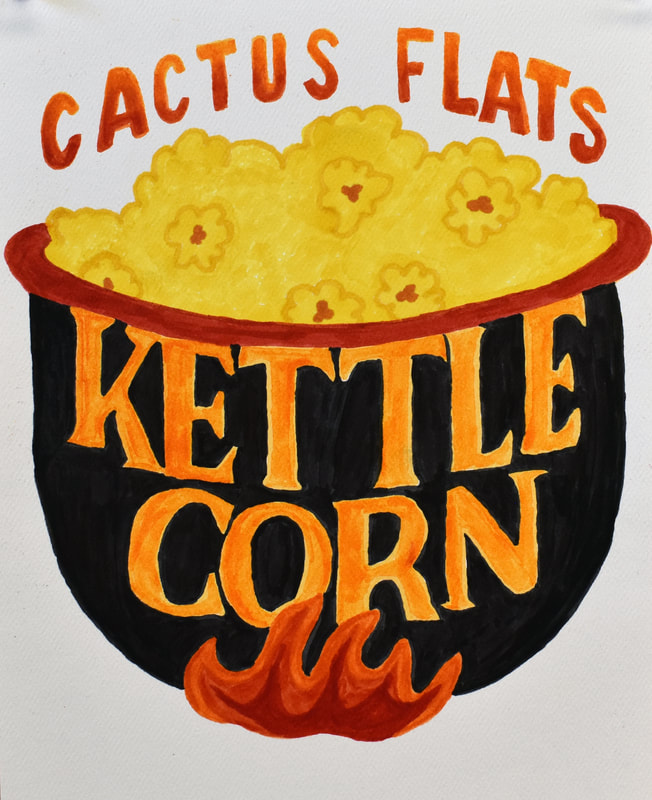
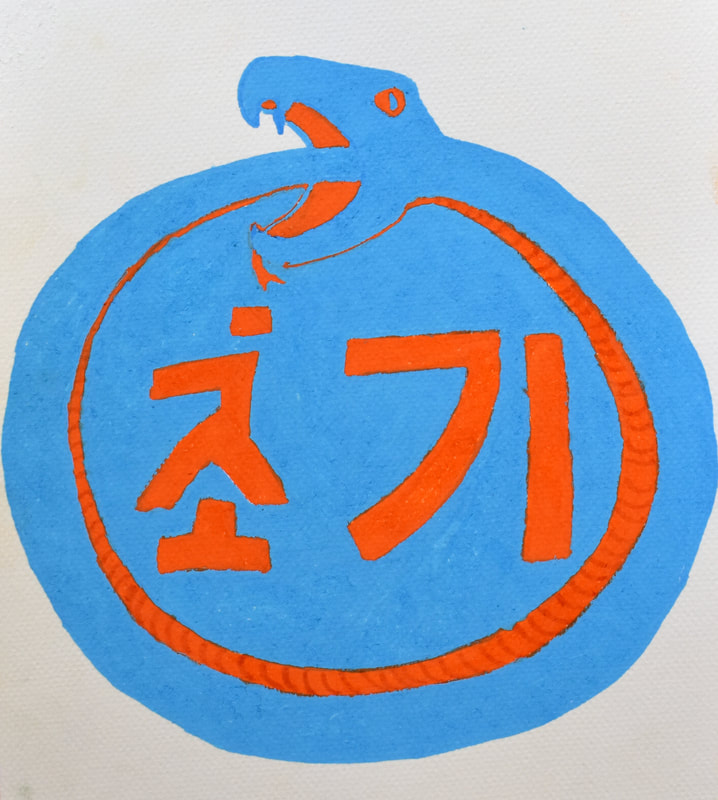
Logo Project - The logo project starts with a lecture on complementary and analogous colors. The lecture then continues into examples of these colors and color theory in business logos.. Afterwards, students sketch ideas for two separate business logos, the first using complementary colors, and the second using analogous. They then transfer these drawings to their final paper. There, they use colored pencils, alcohol-based markers, colored ink, or acrylic paint to create their logos in their finalized format using craft and proficiency in color.


Movie Poster Project - The movie poster project begins with a lecture on triadic color schemes, with examples shown in various forms of movie posters advertising both cheery, happy films (romance, comedy, drama) and then somber, tense films (action, horror, thriller). Afterwards, students sketch ideas for two separate movie posters using warm triadic colors and cool triadic colors. One film must represent a cheery film, whether romance, comedy, or children's movie, and the other will represent a somber film, whether horror, thriller, or dramatic. They then use colored pencils, ink, paint, or markers to create their movie posters in the finalized format using craft and proficiency in color.
Drawing I
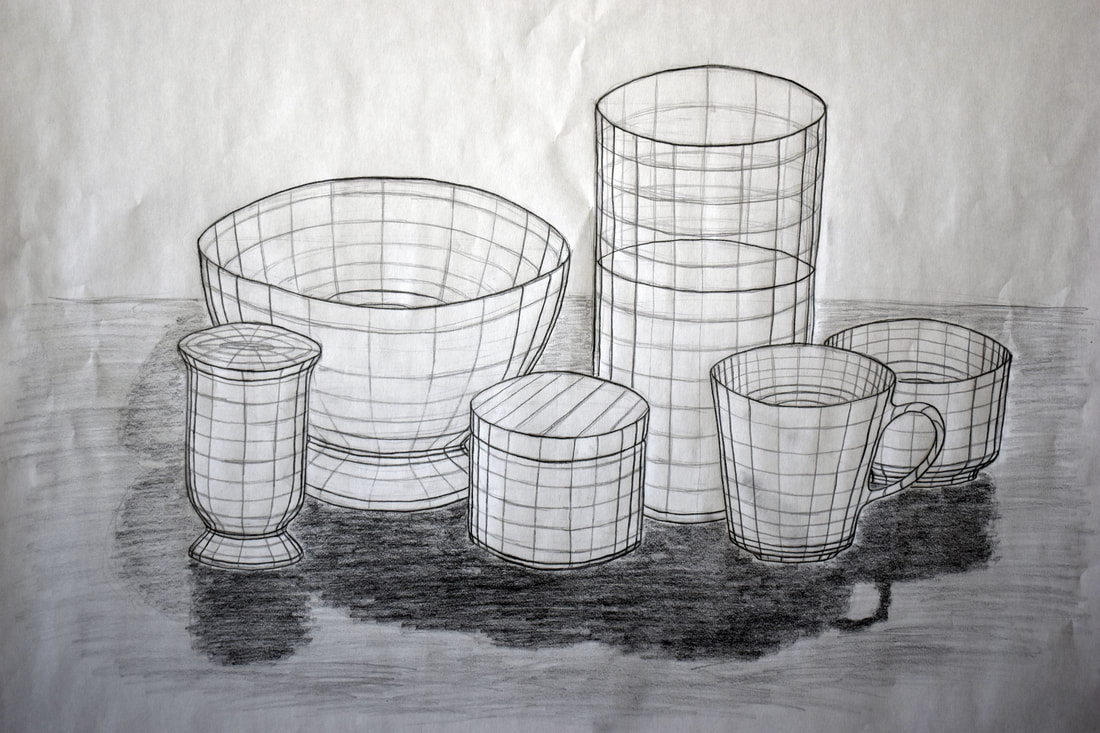
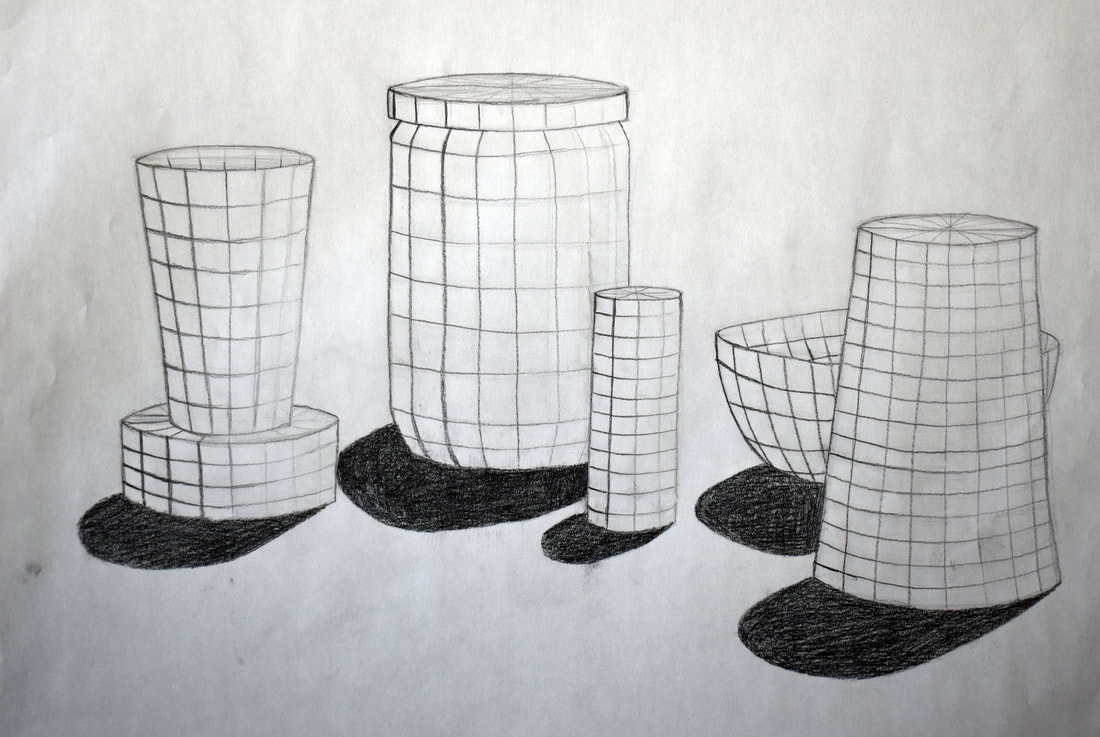
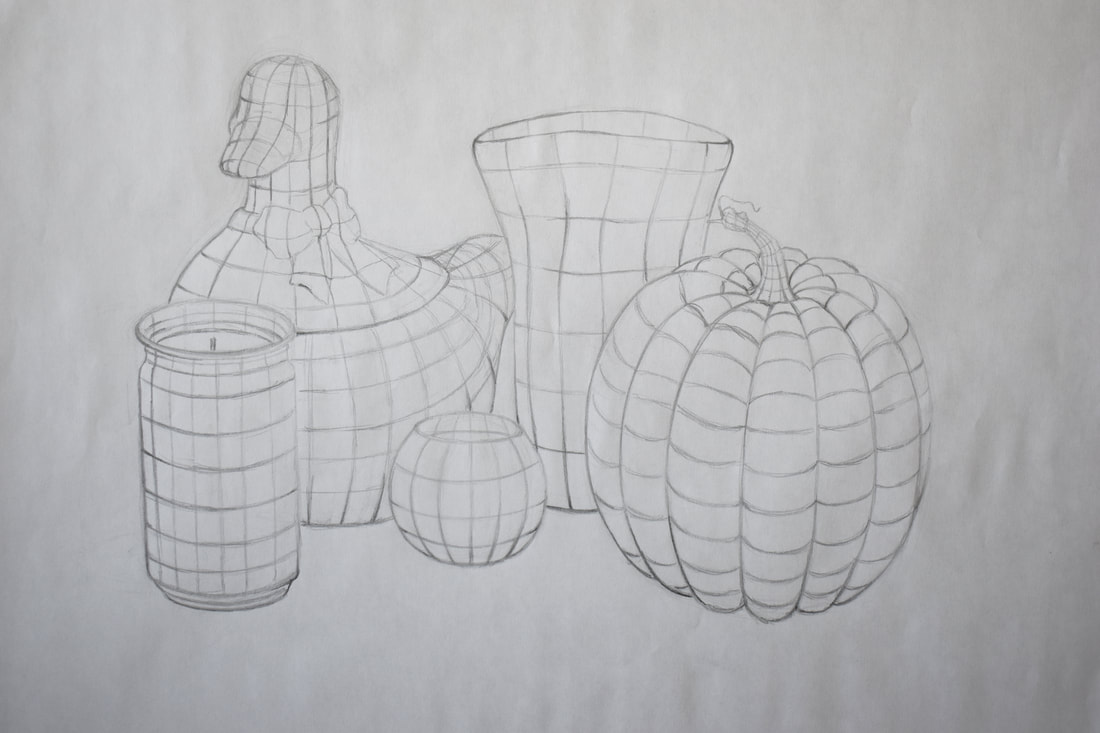
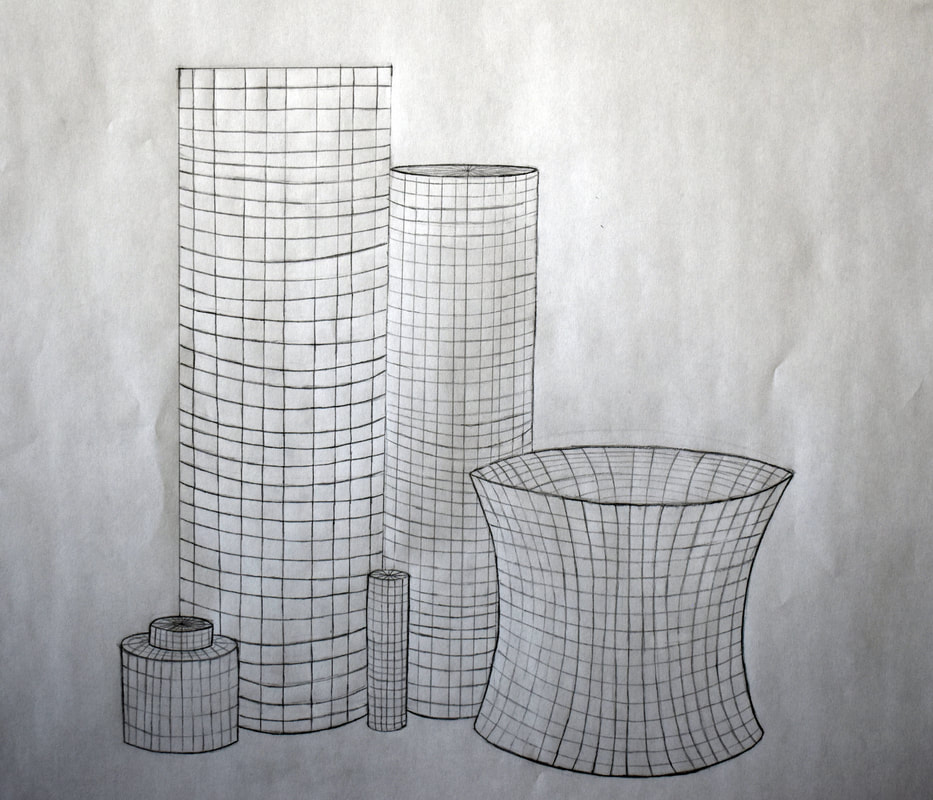
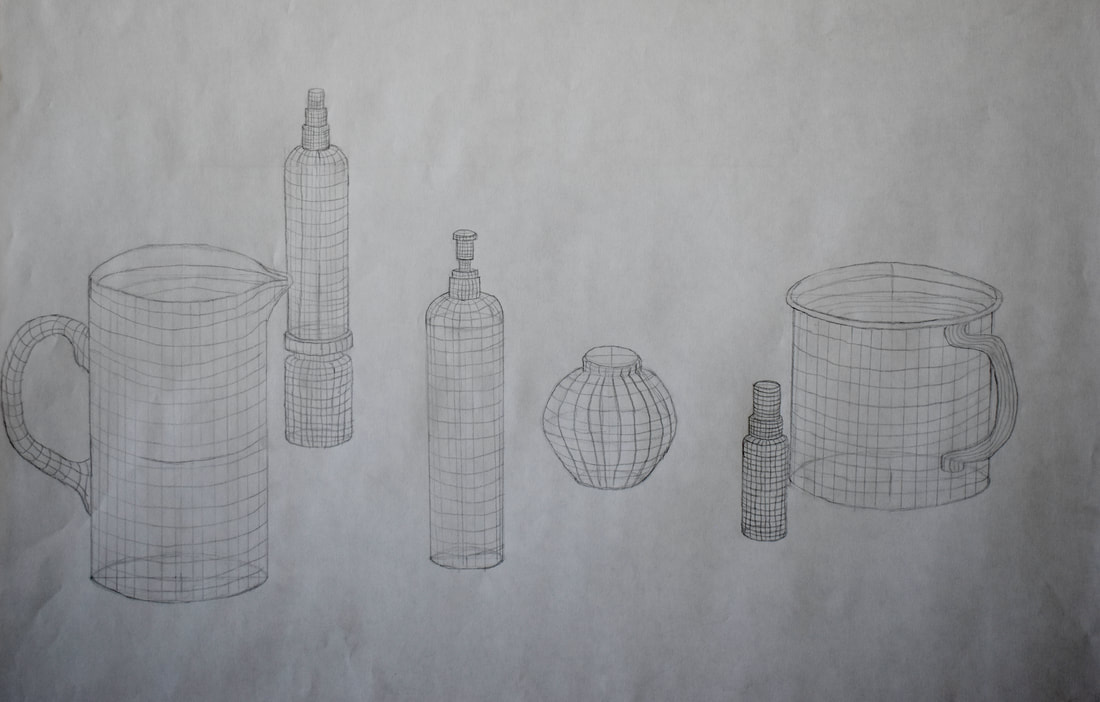
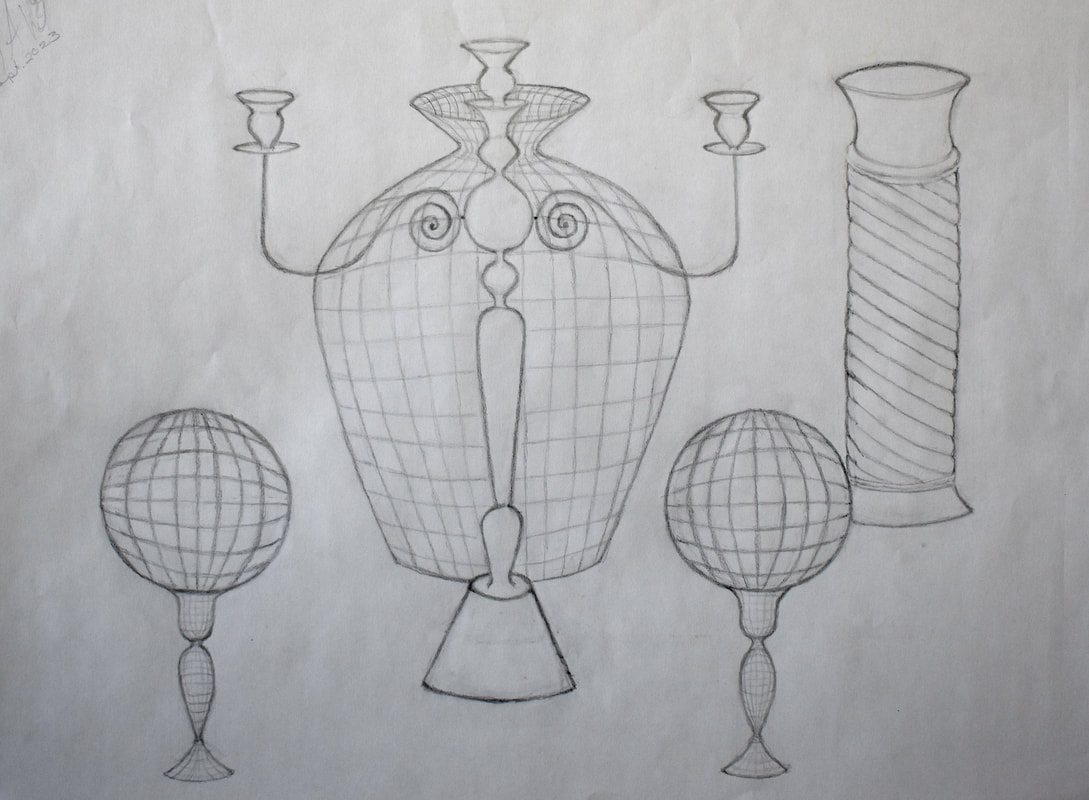
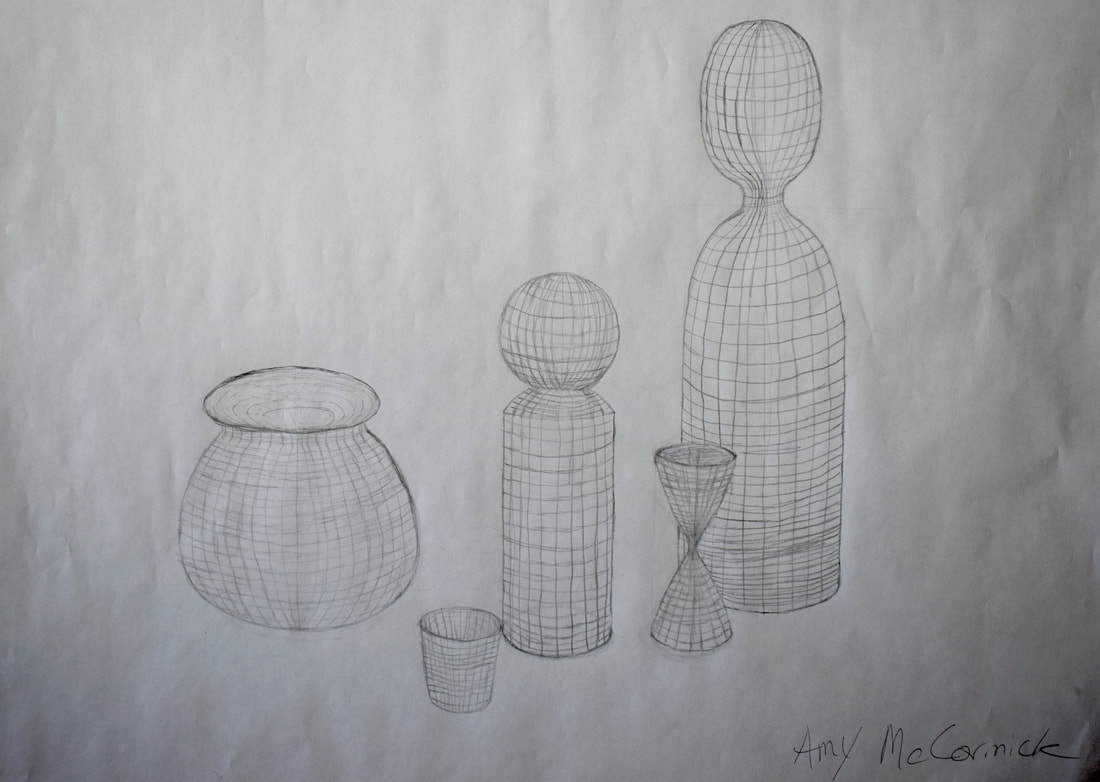
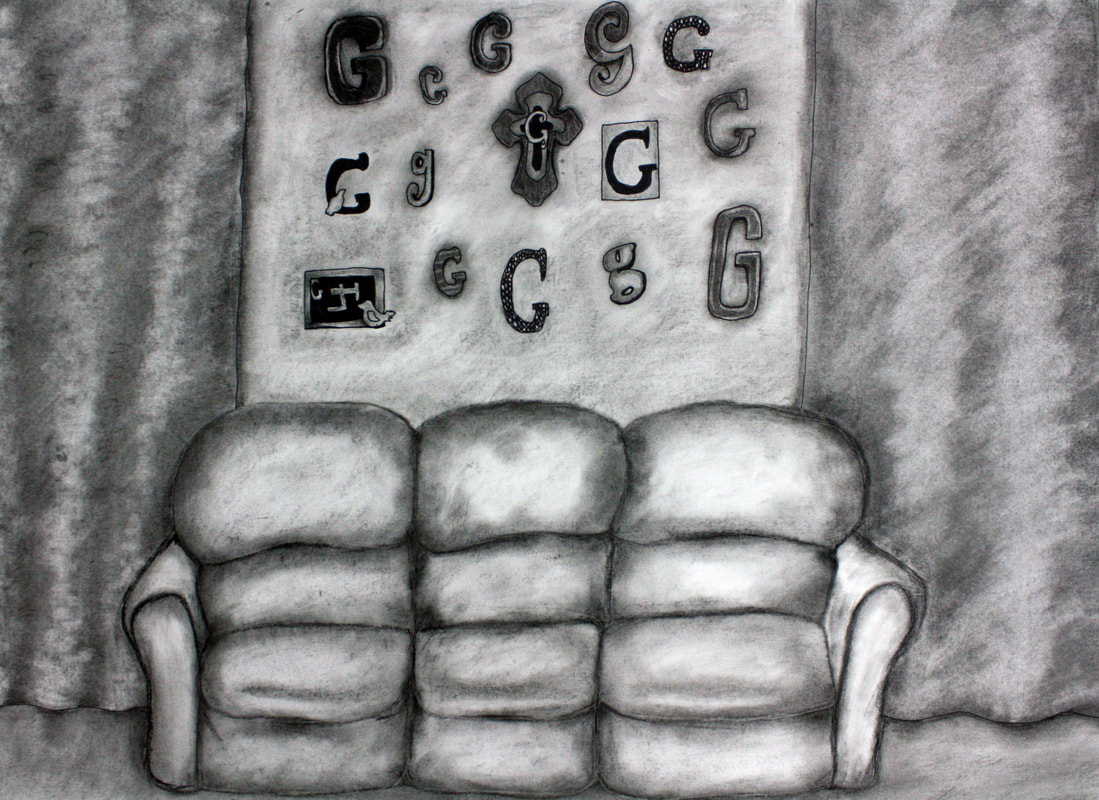
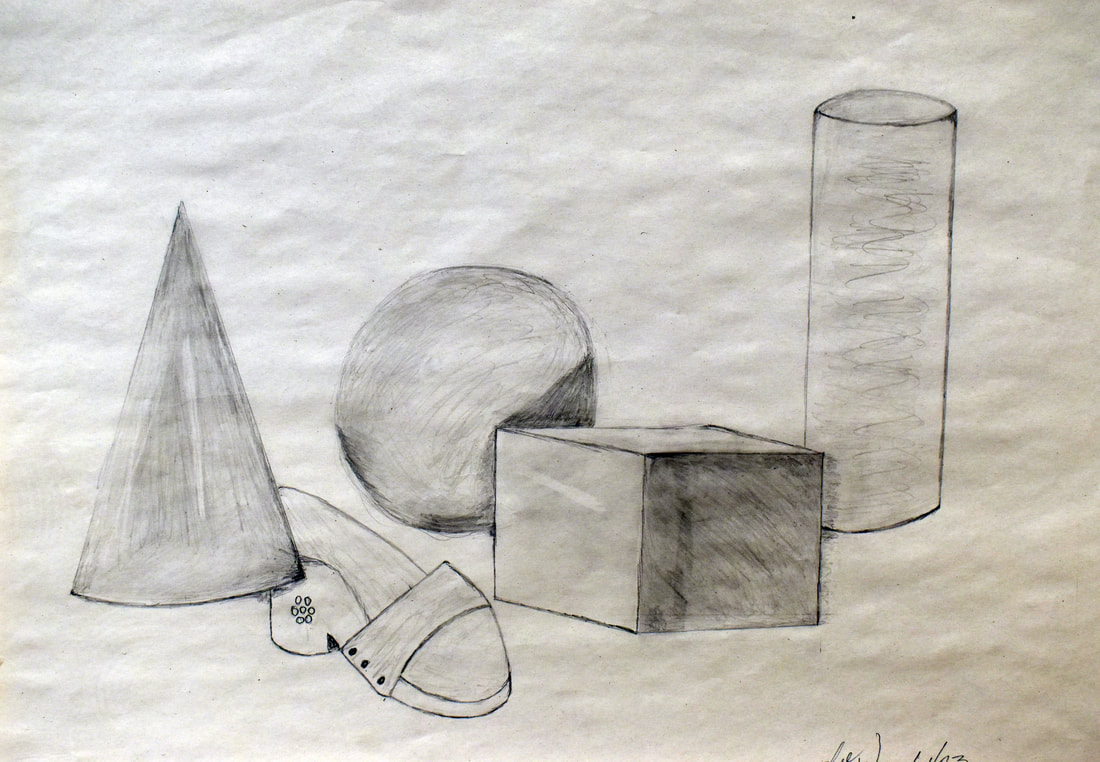
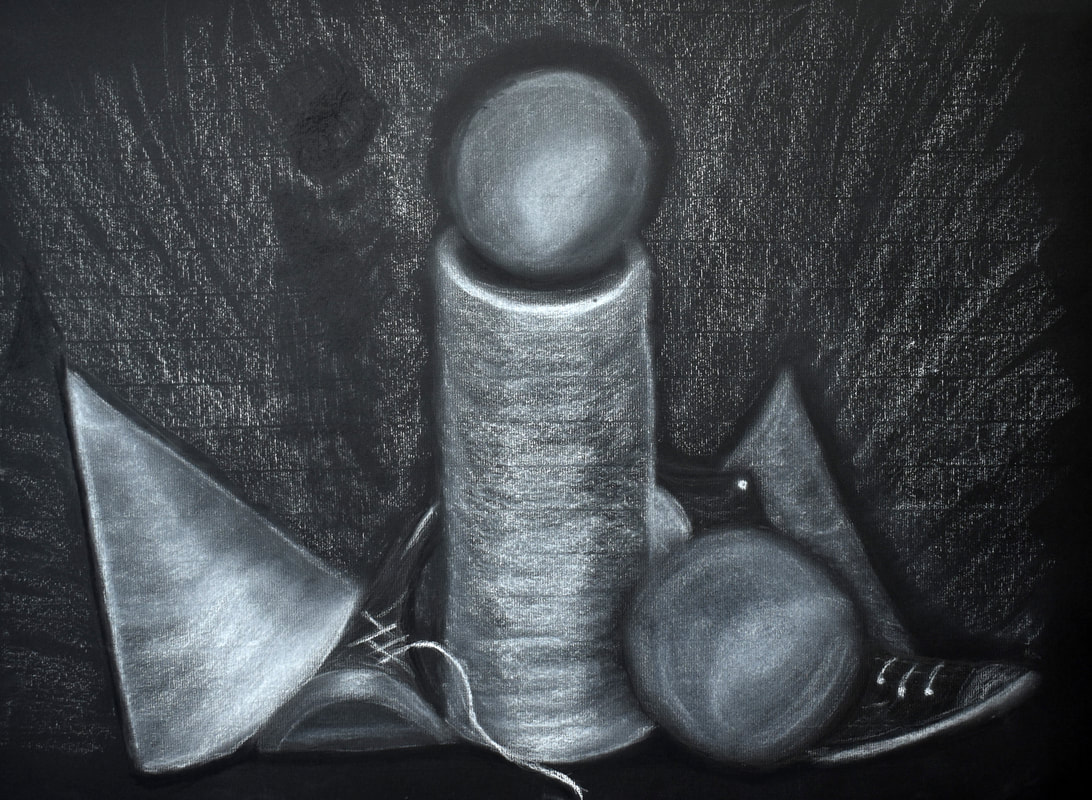
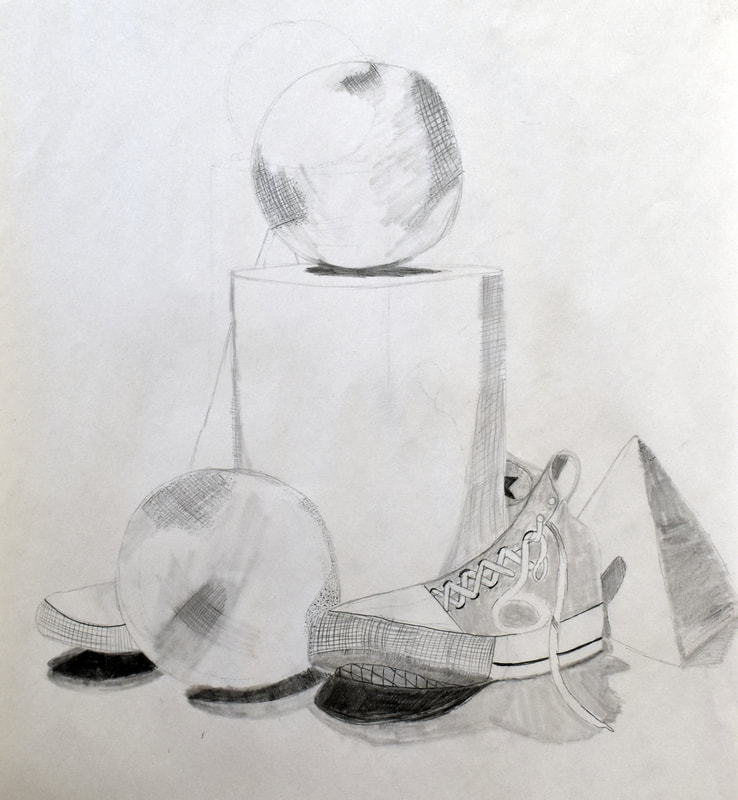
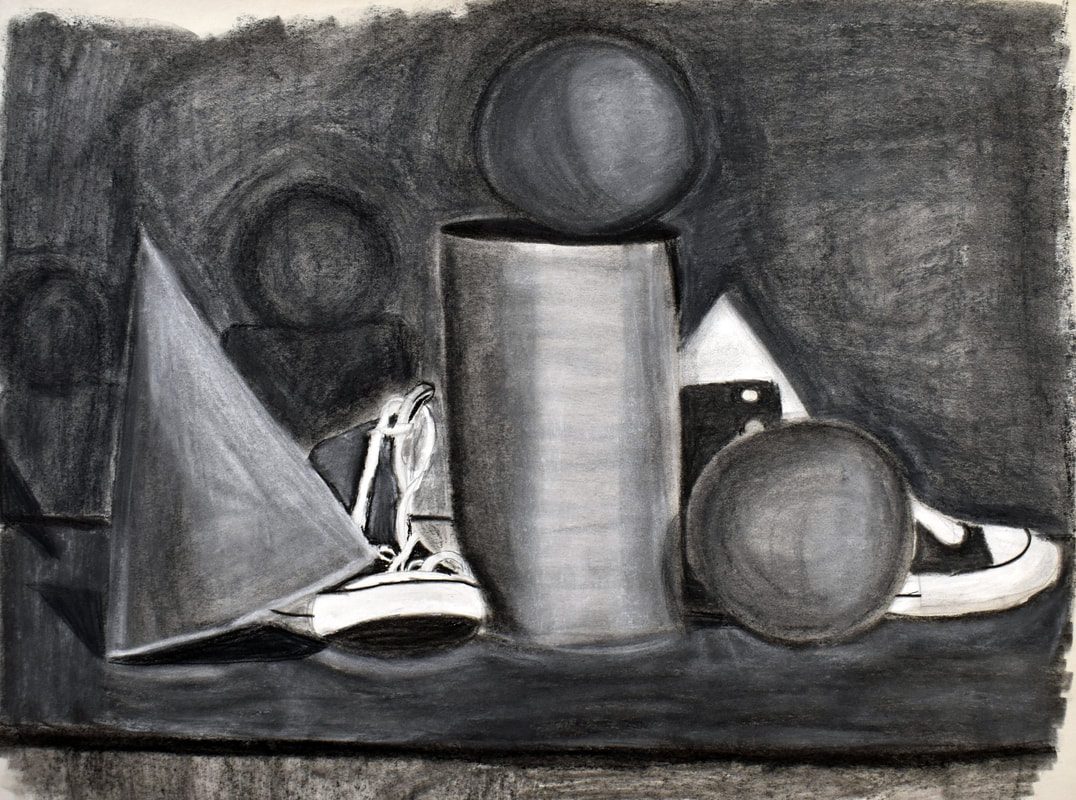
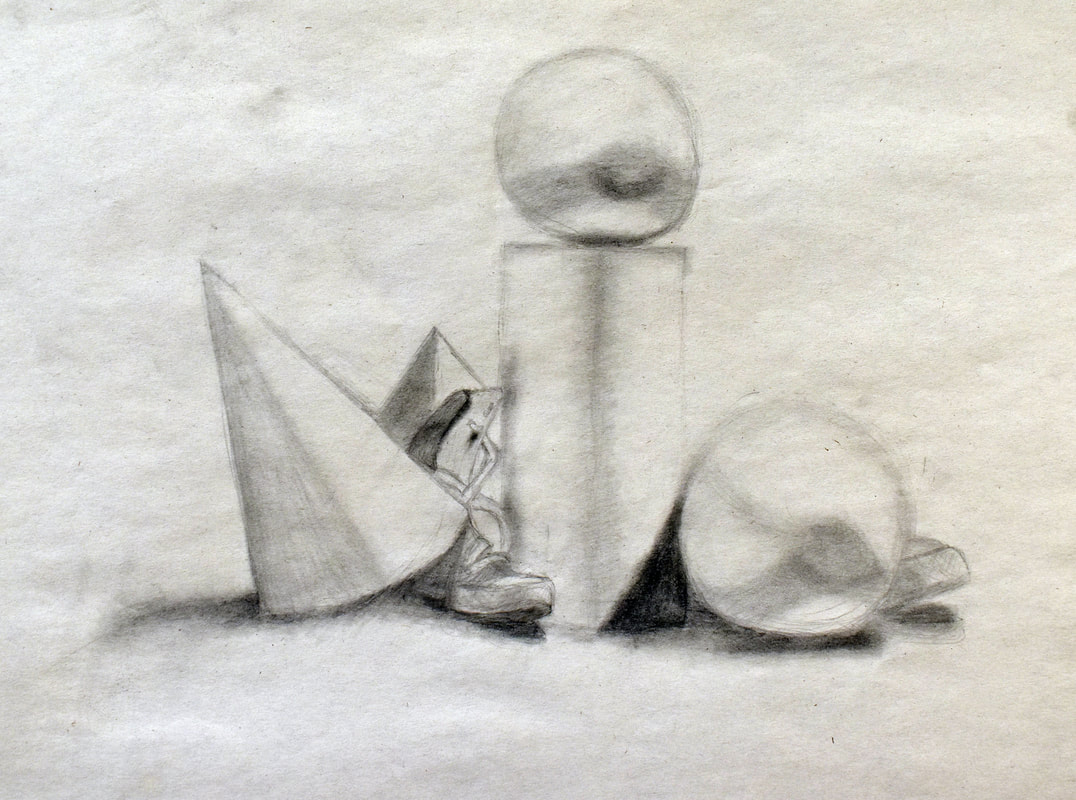
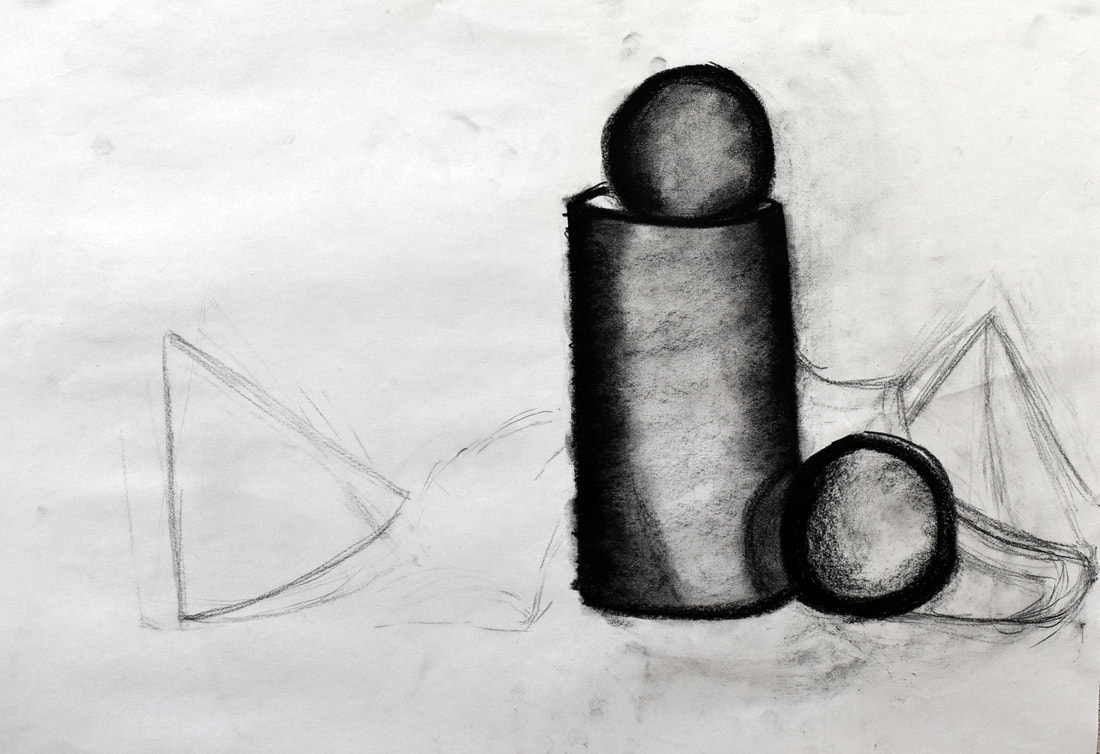
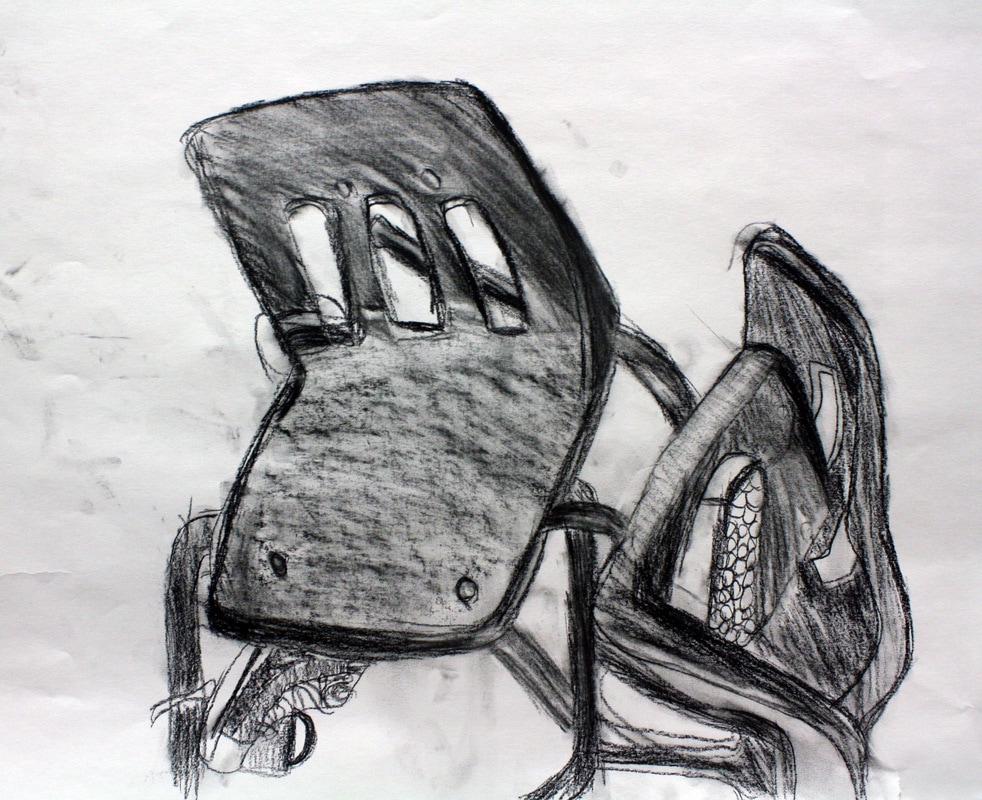
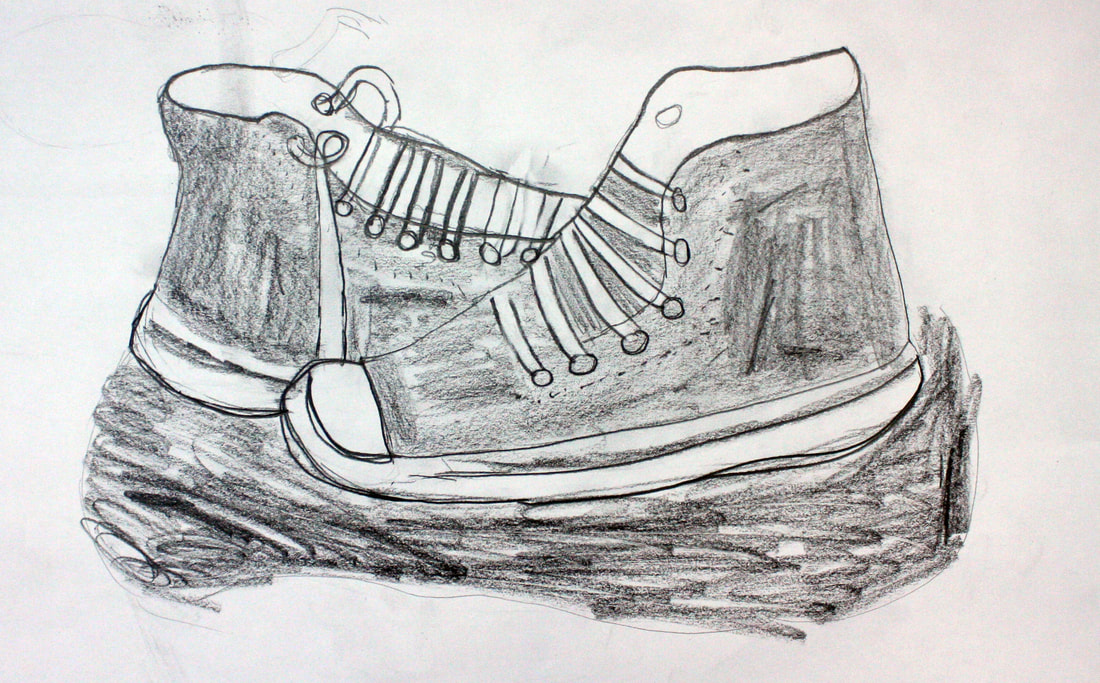
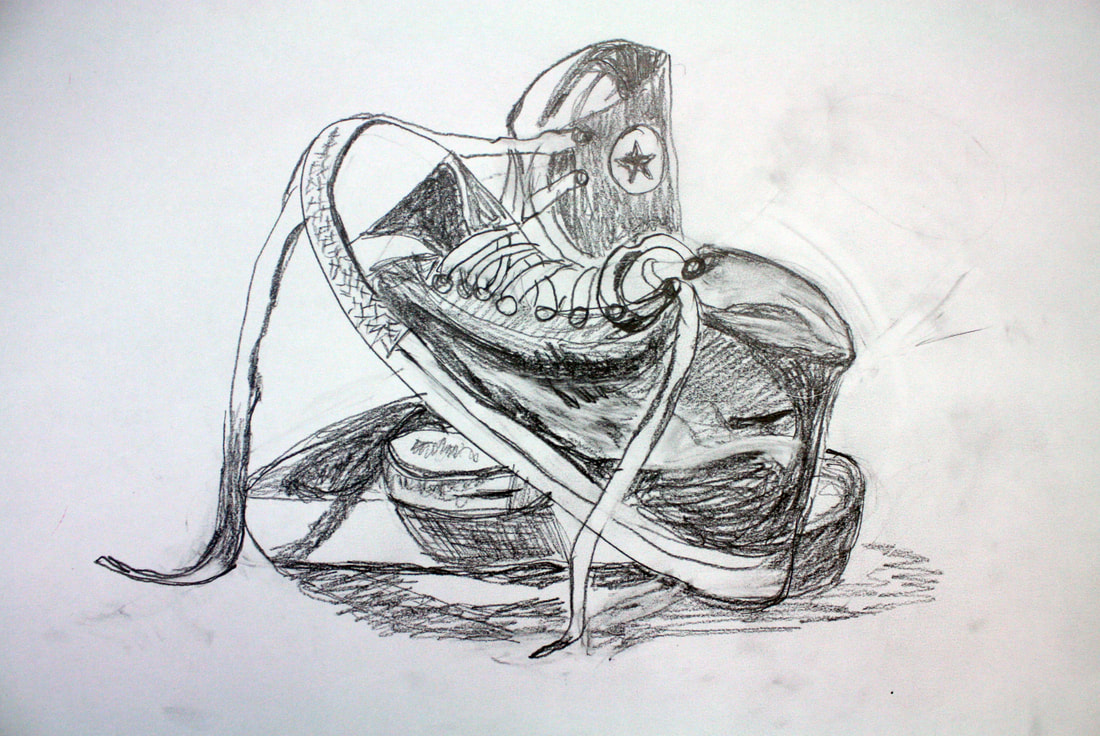
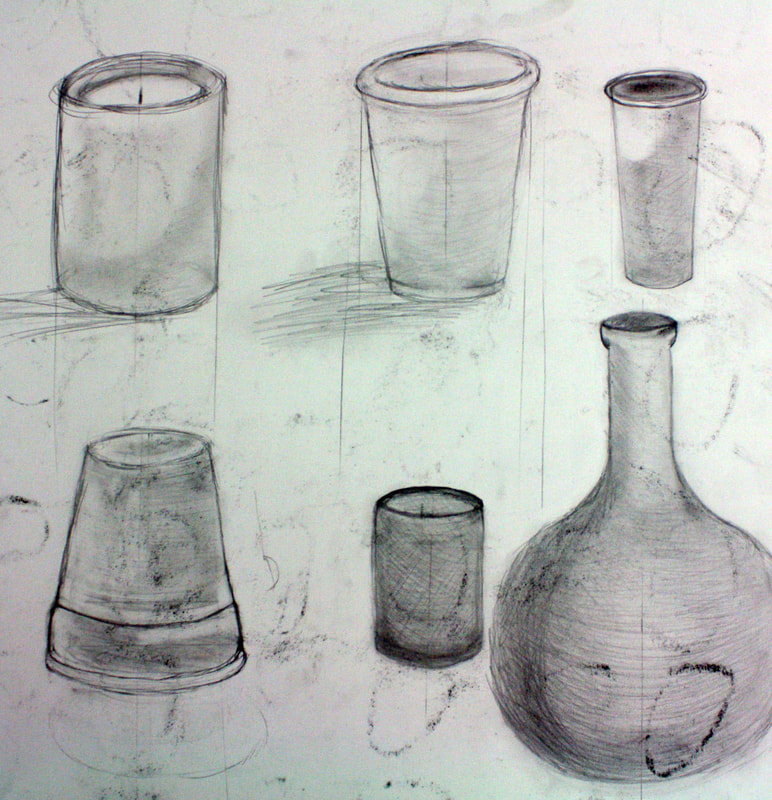
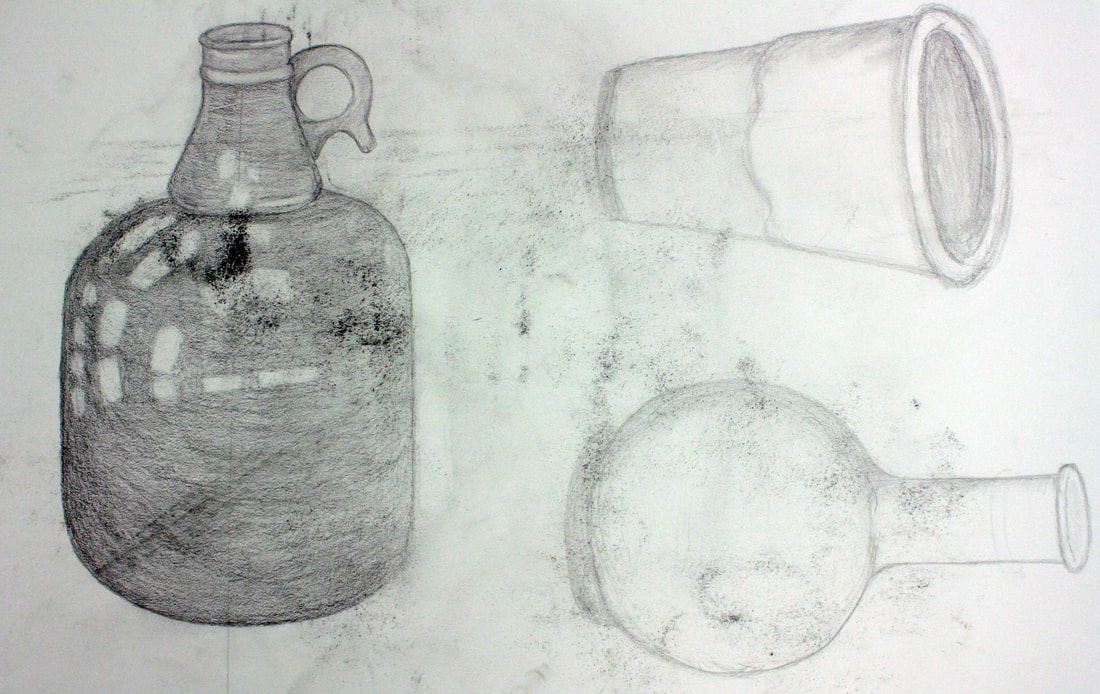
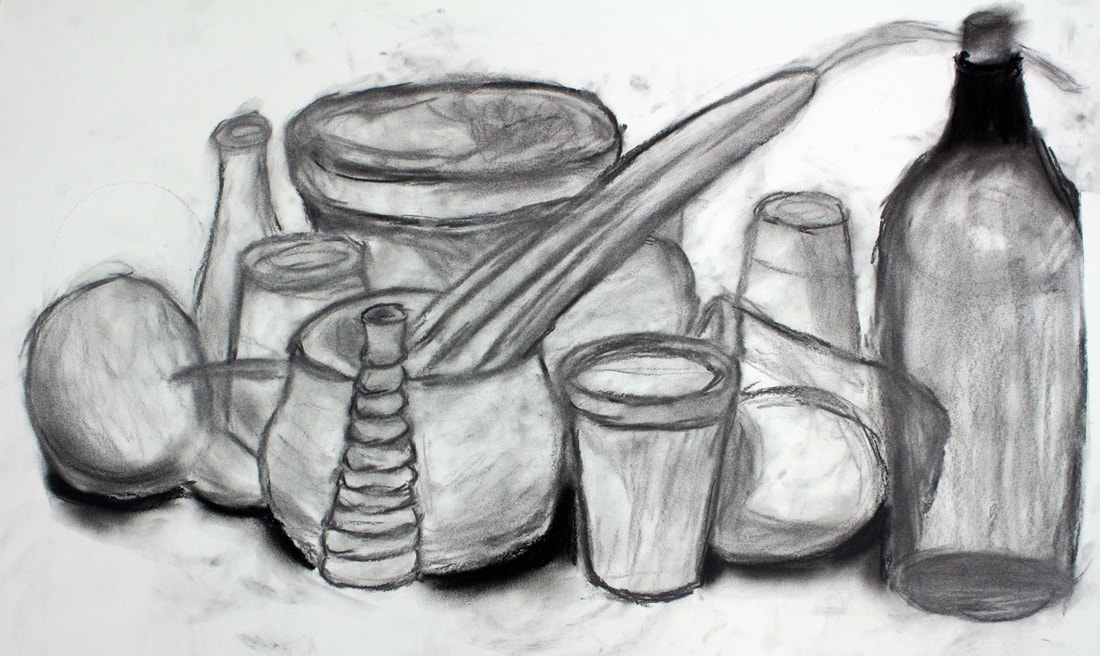
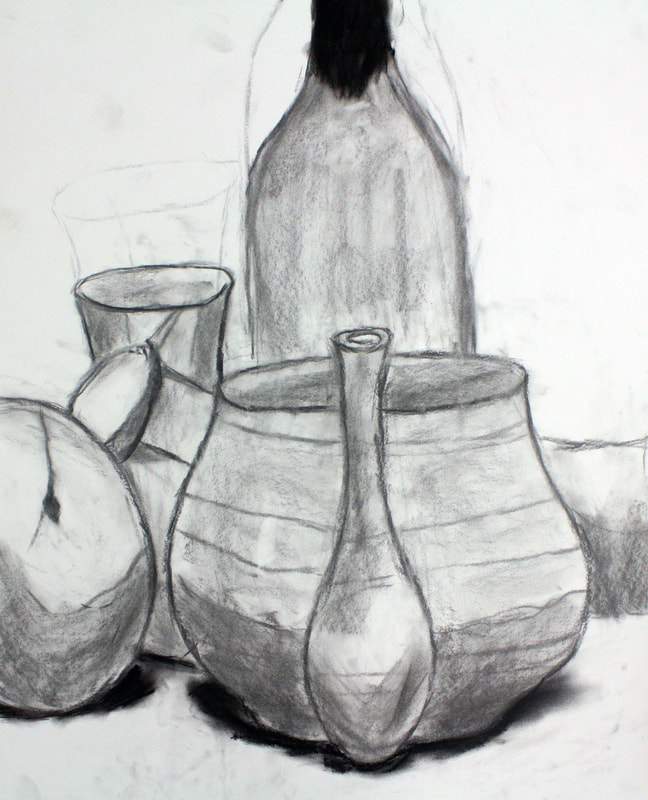
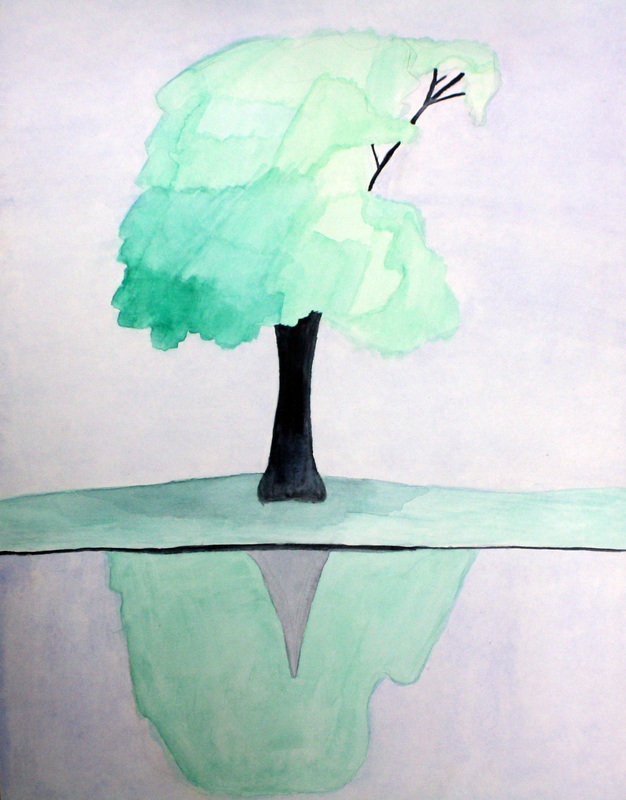
Cross-Contour & Ellipses - The cross-contour and ellipses assignment consists of a lecture about cross-contour lines and their importance in understanding form and the perspective of ellipses in objects. The students then work in class to understand simple to complex shape to form, how to correctly render ellipses in perspective, and how to use cross-contour to understand the form of an object. They are then asked to create a balanced composition at home, using five objects containing ellipses, and to render them using satisfactory cross-contour lines to express their form.
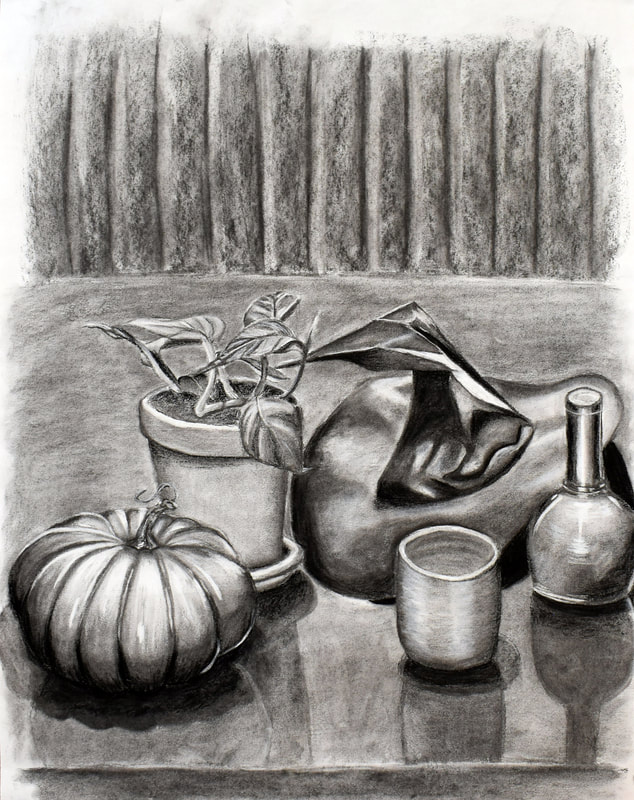
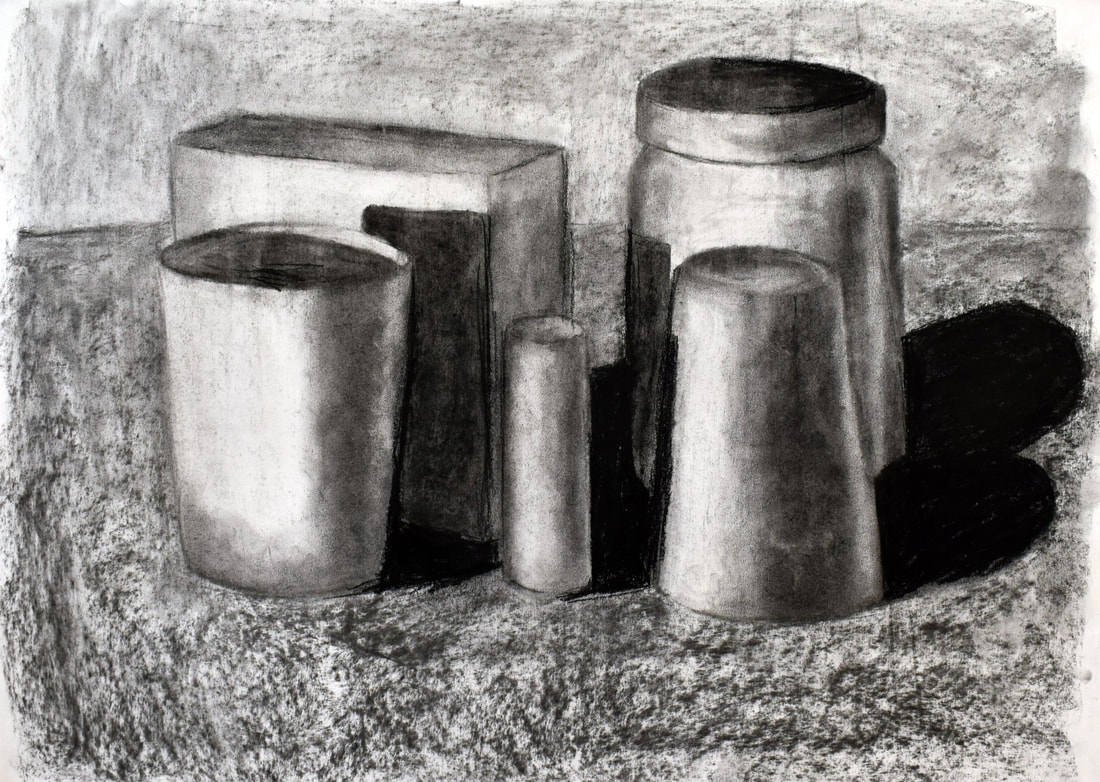
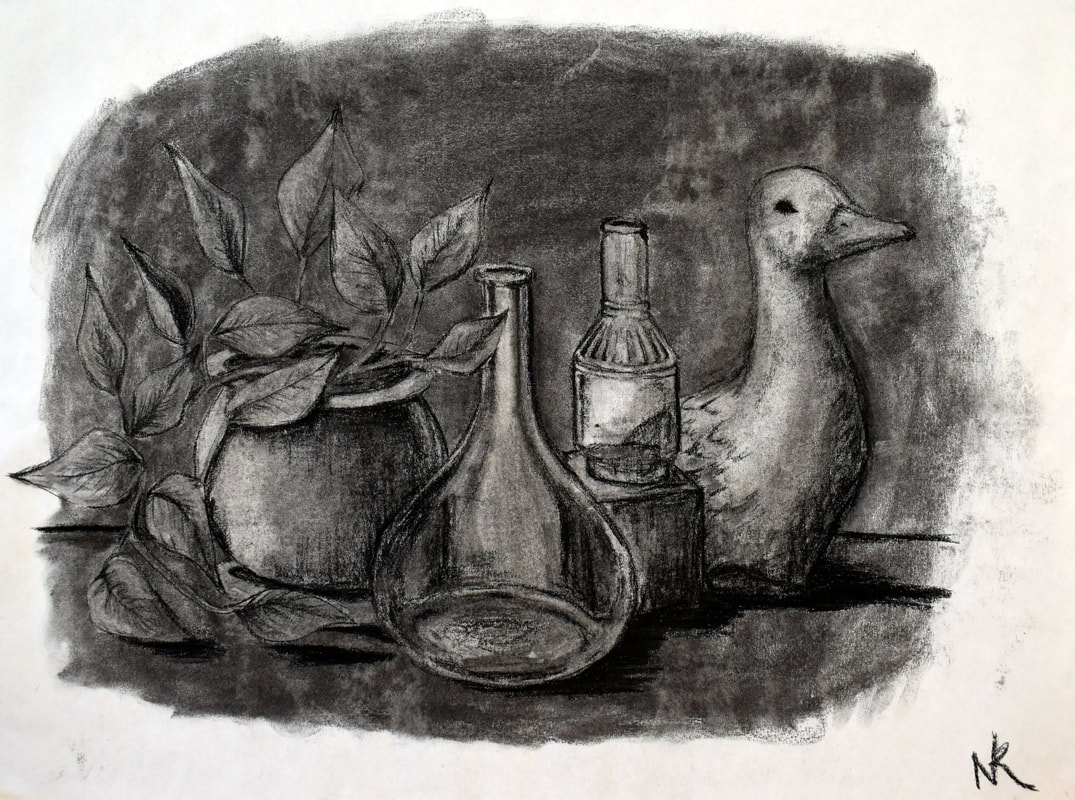
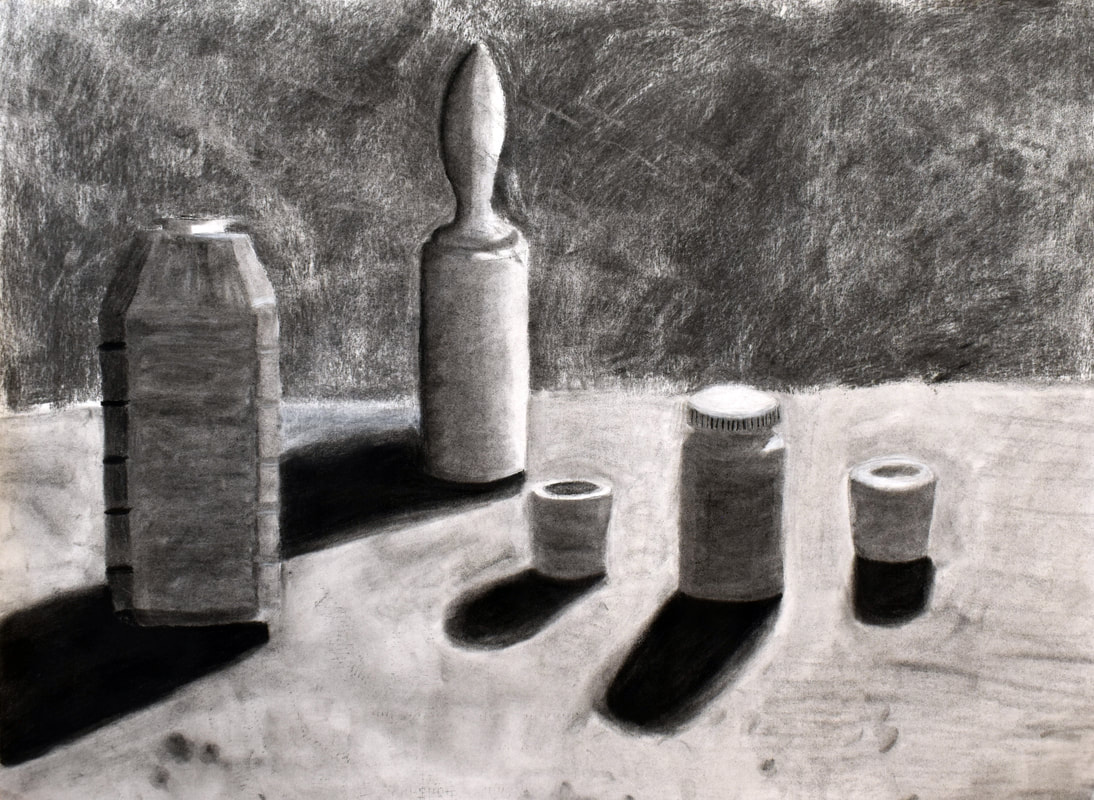
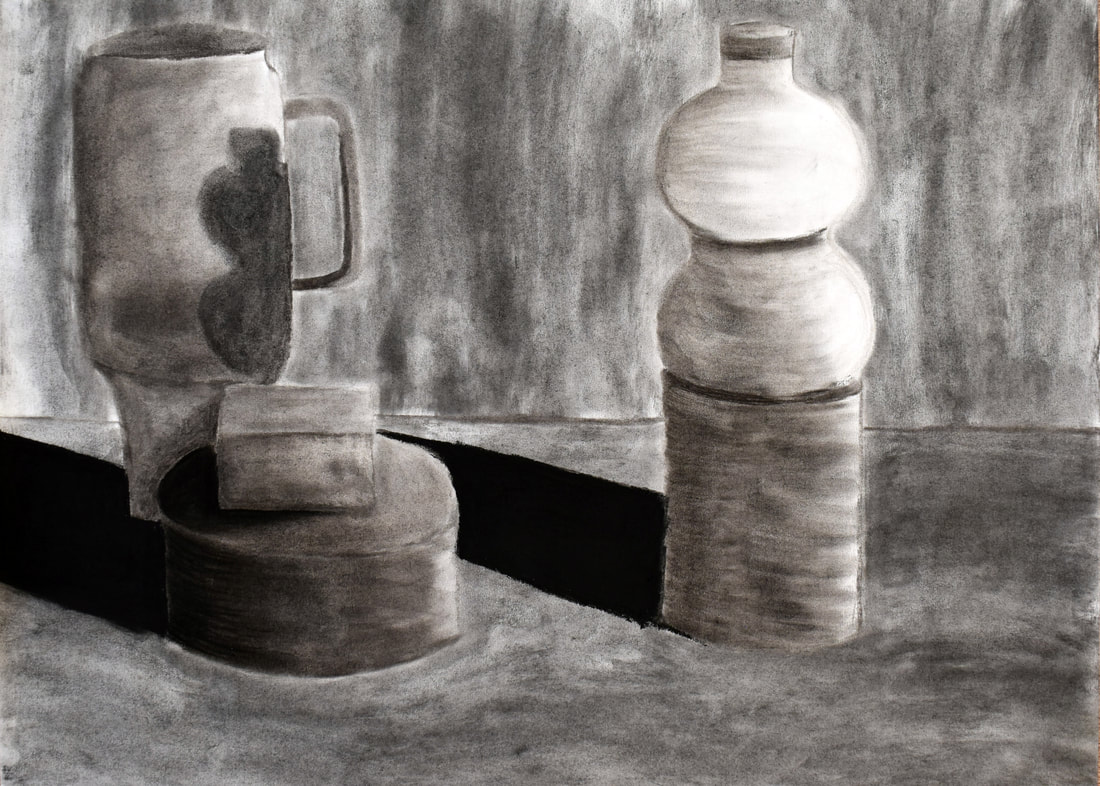
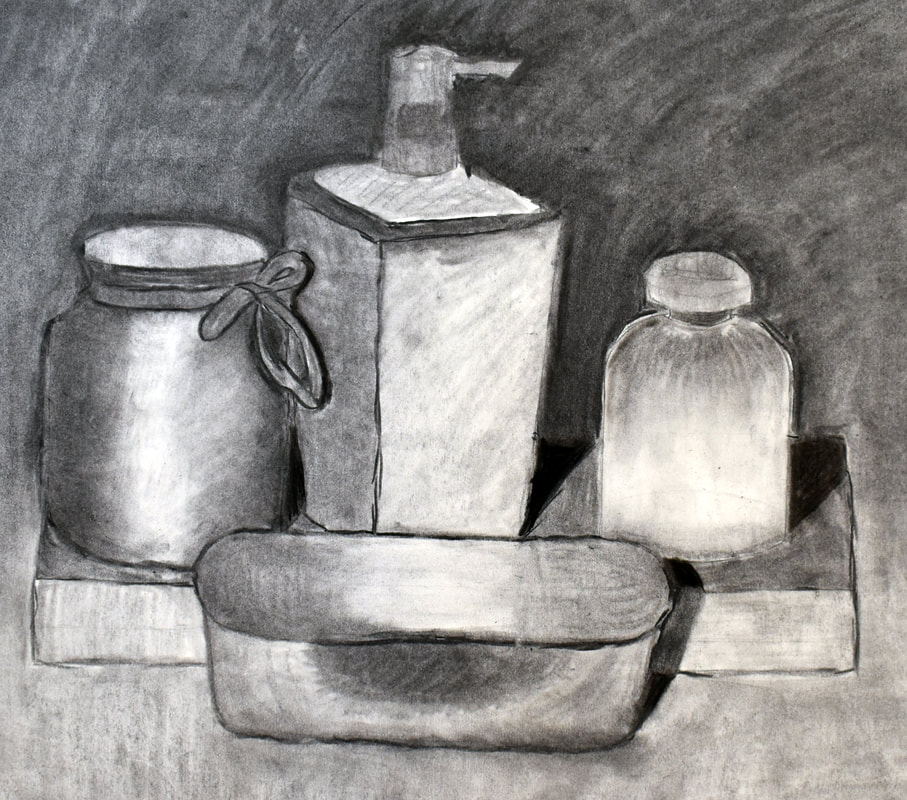
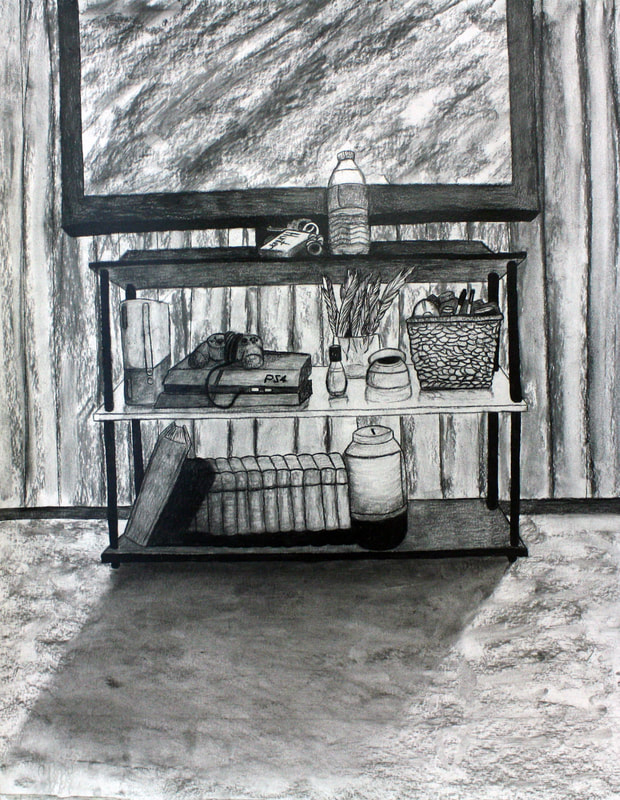
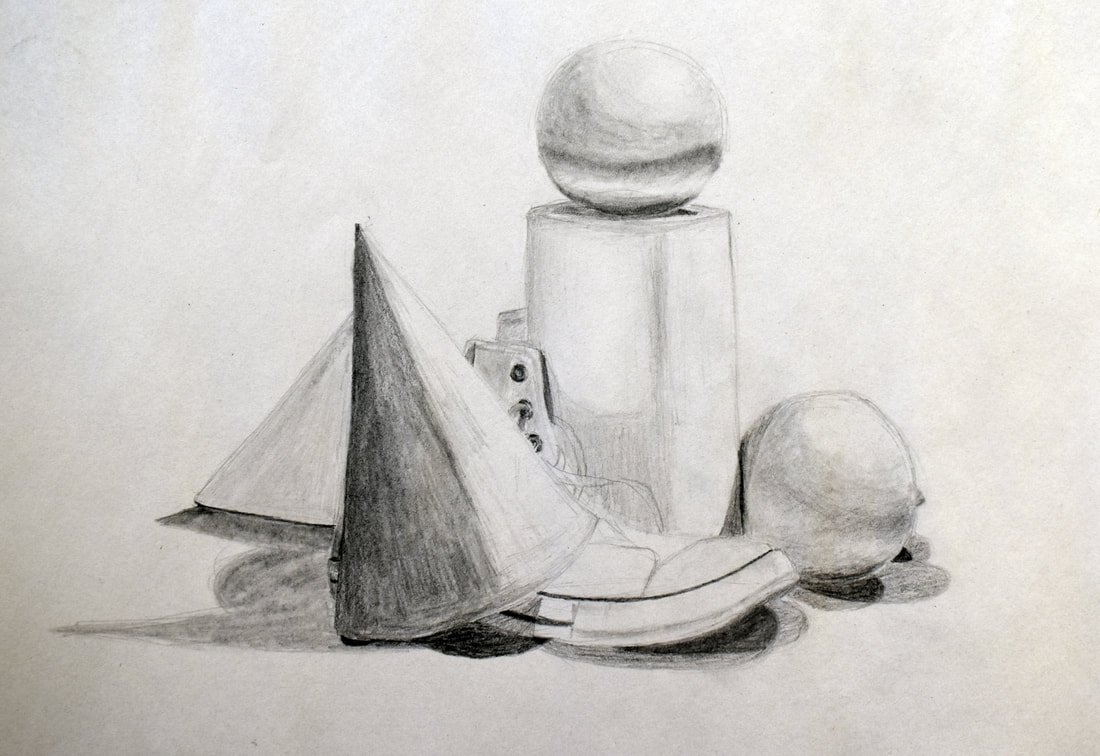
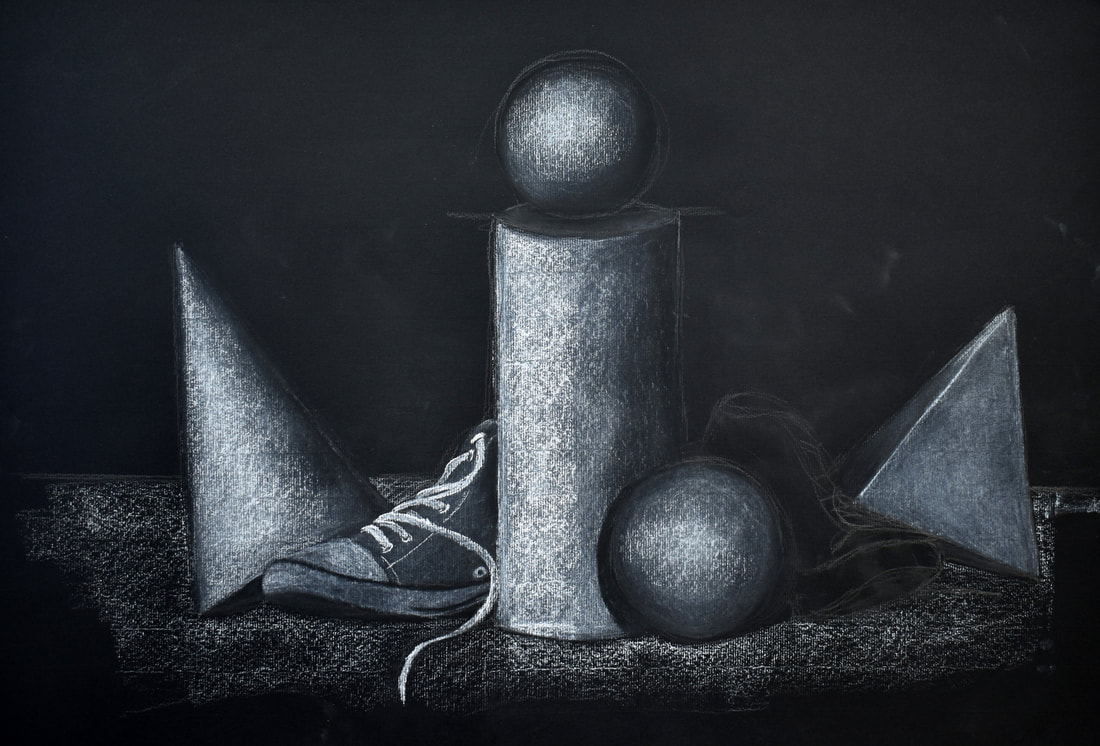
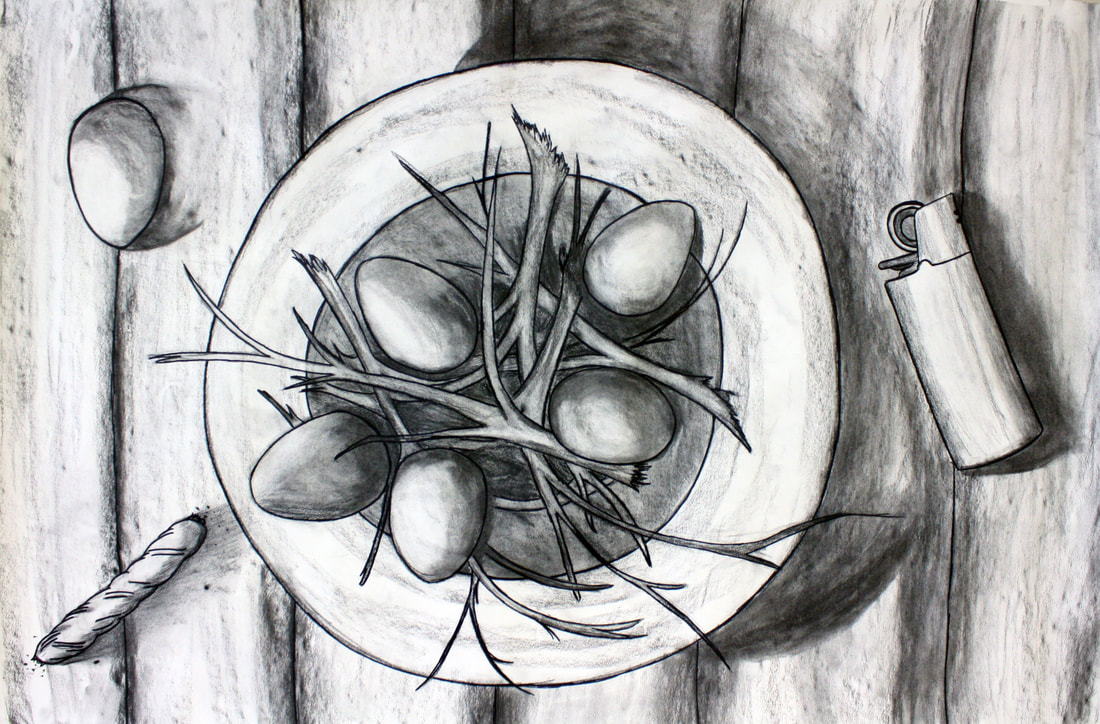
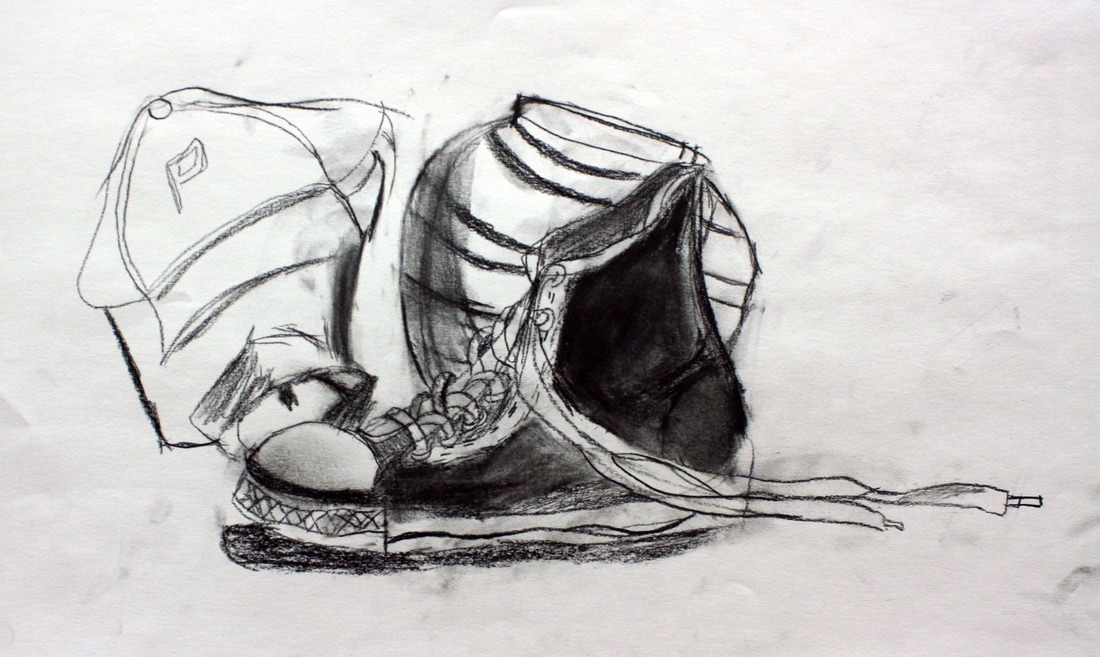
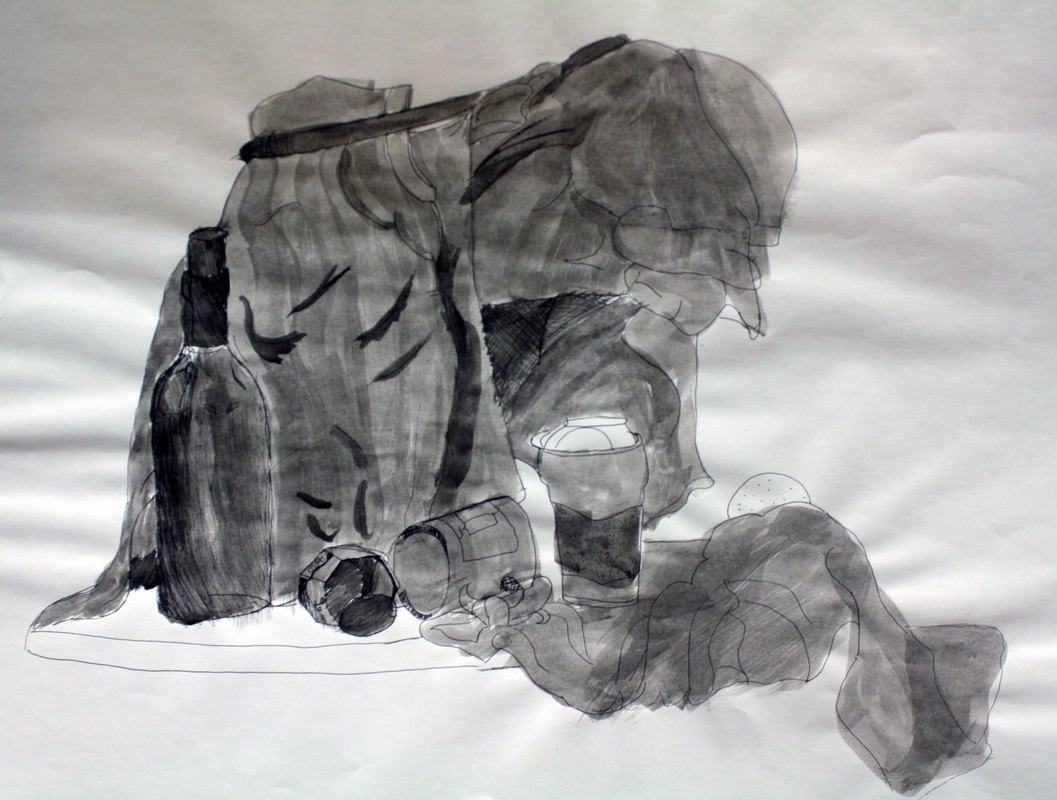
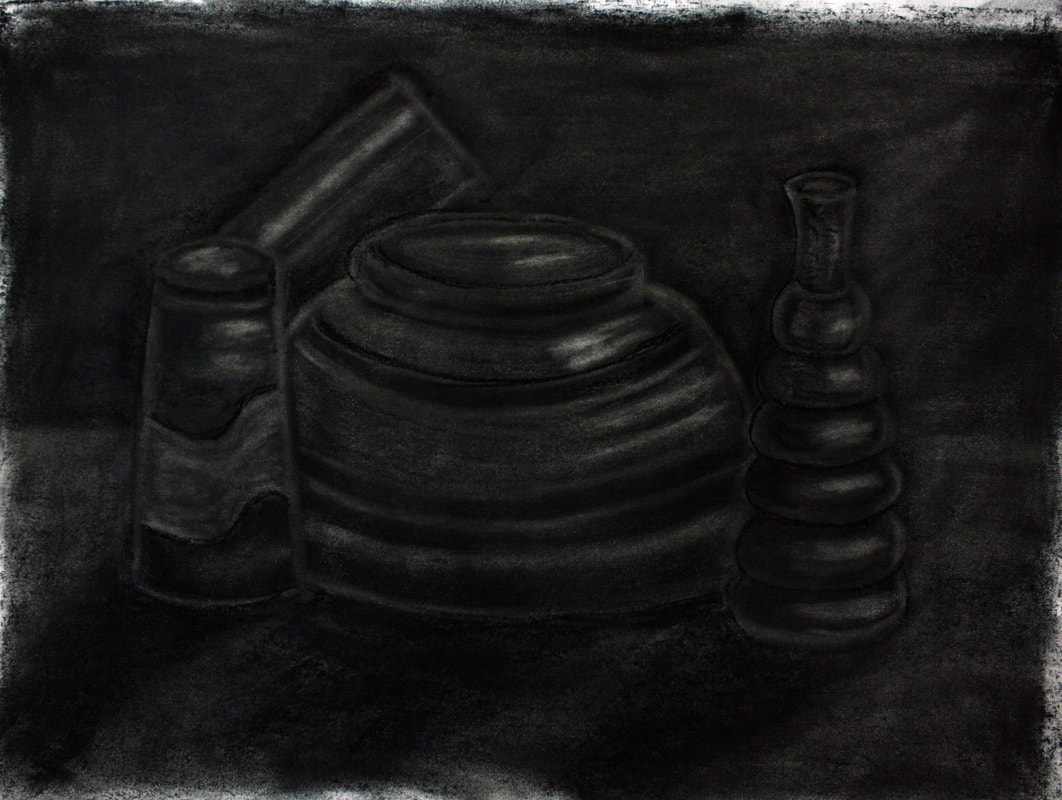
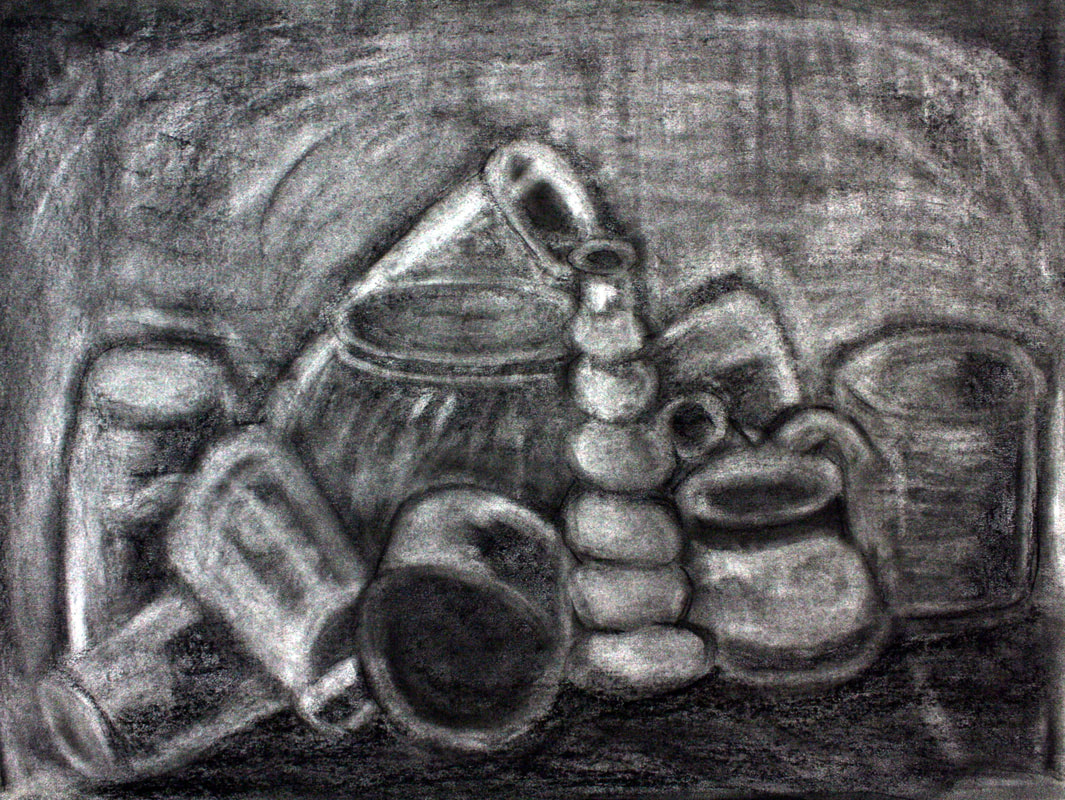
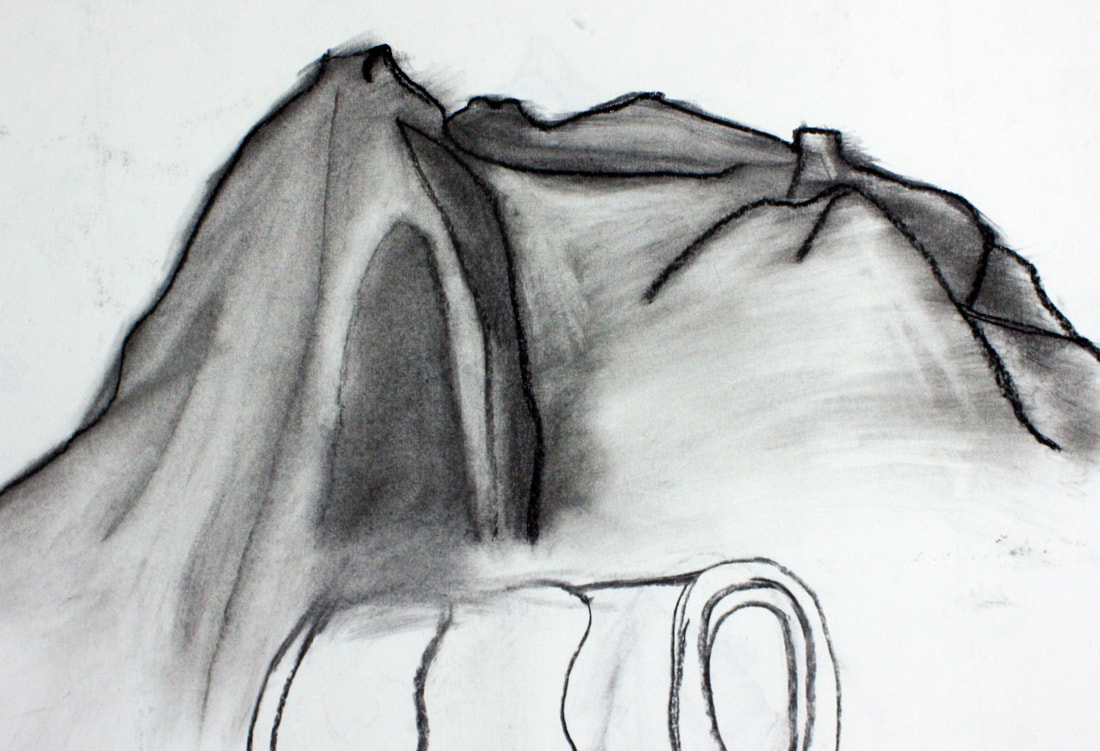
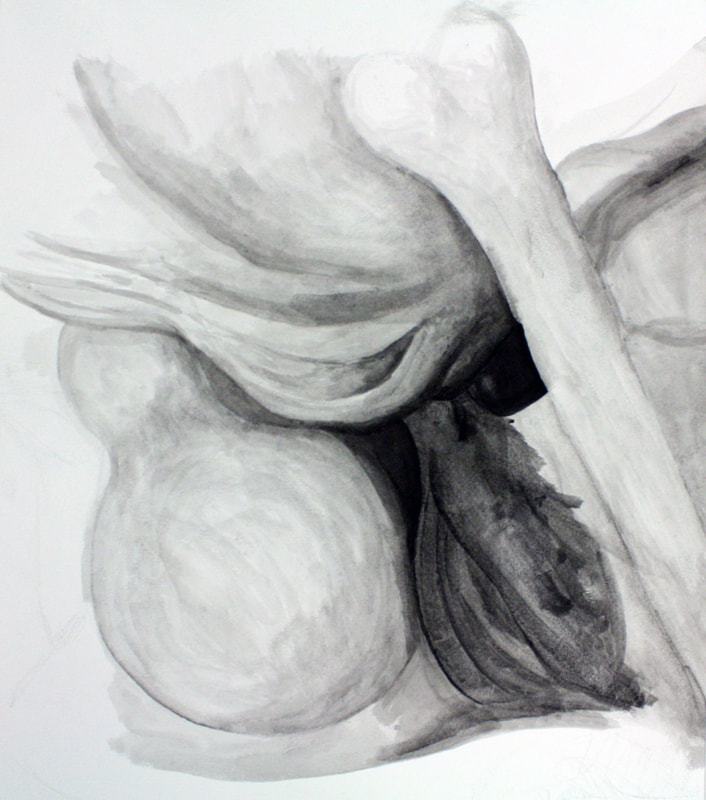
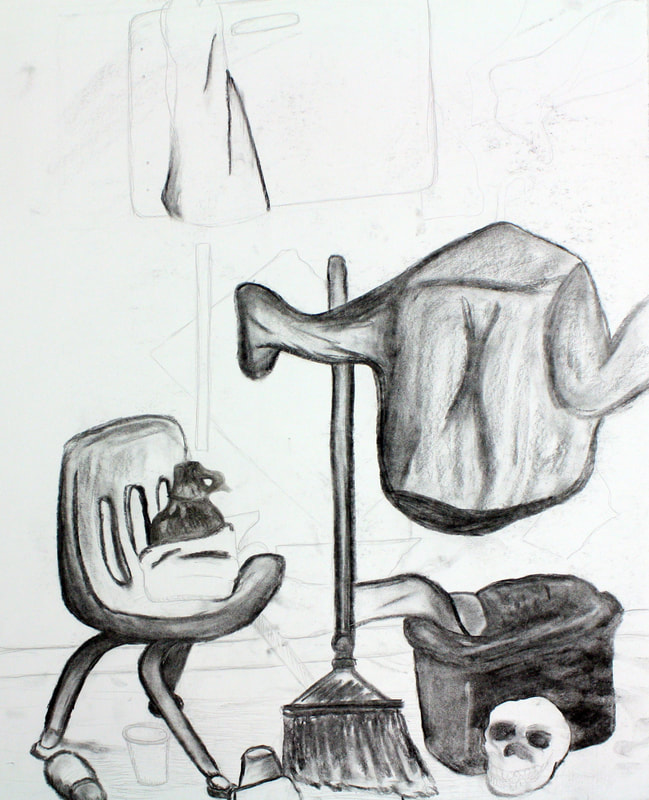
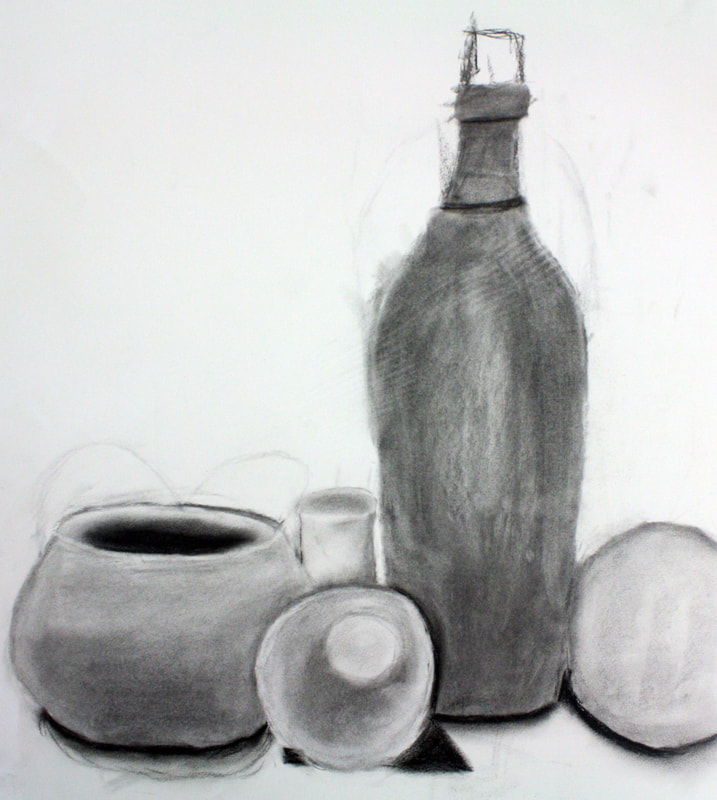
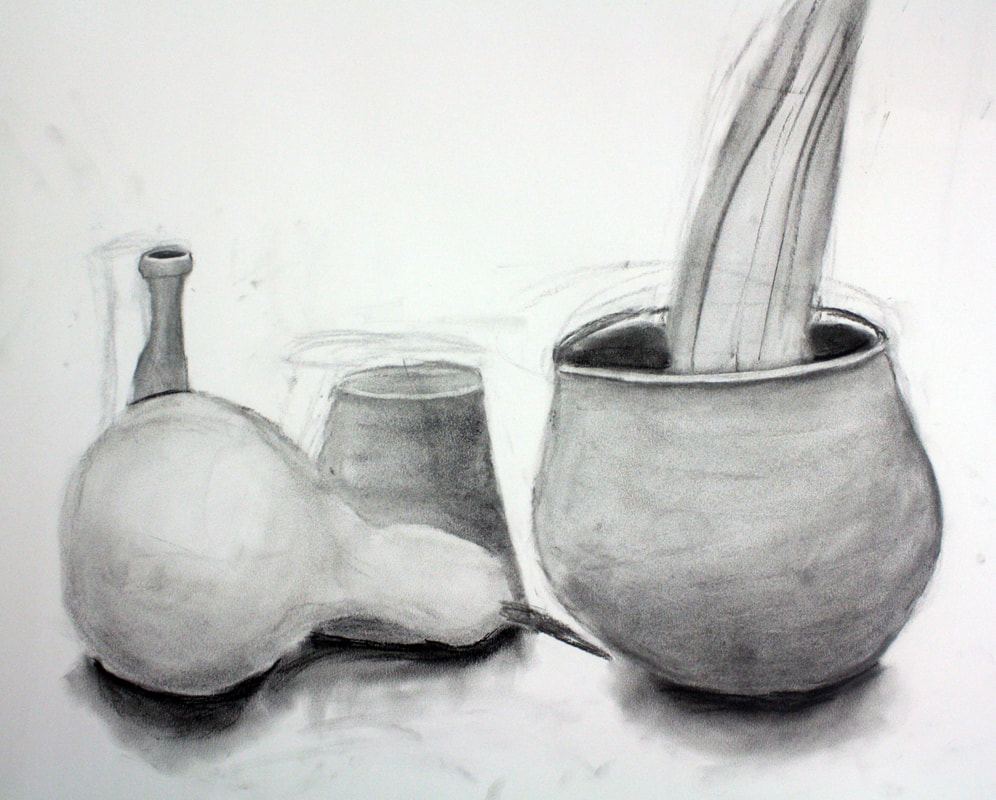
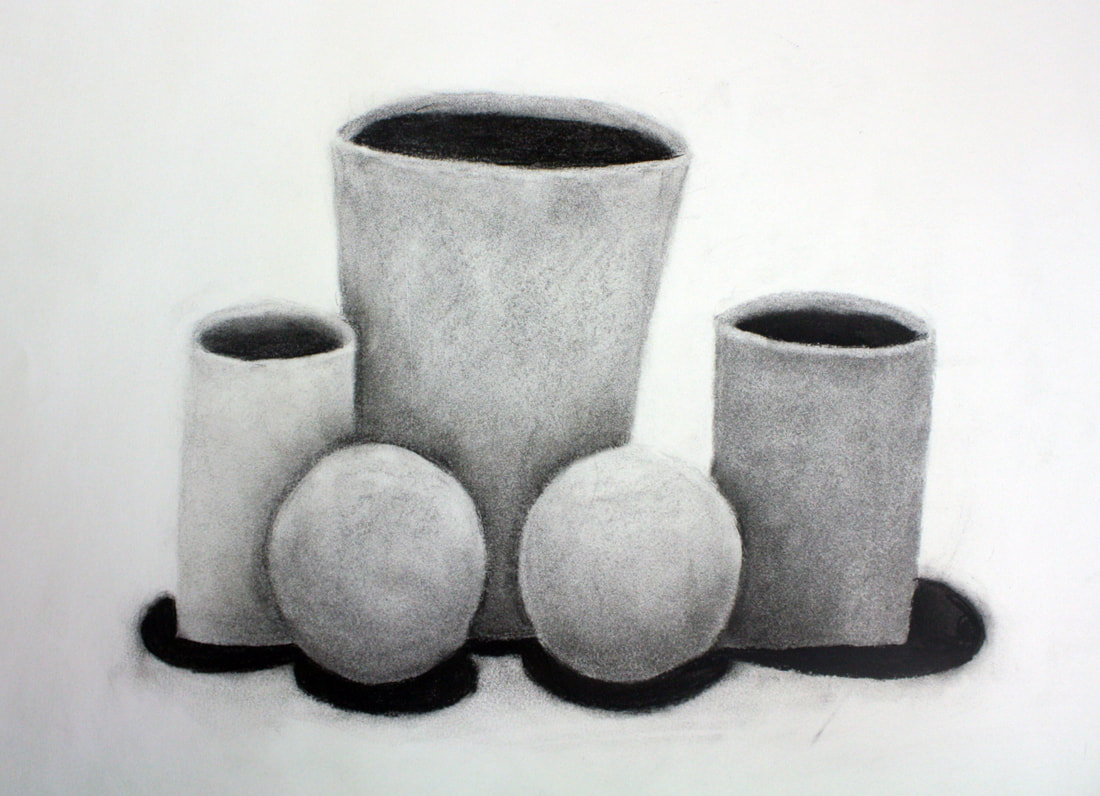
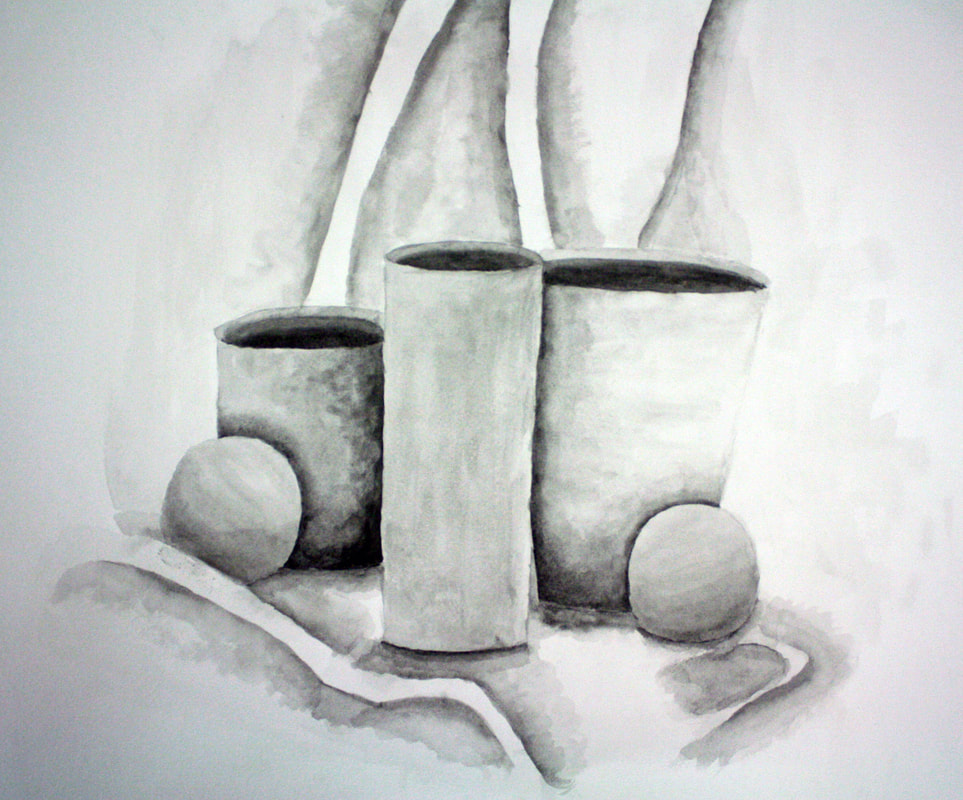
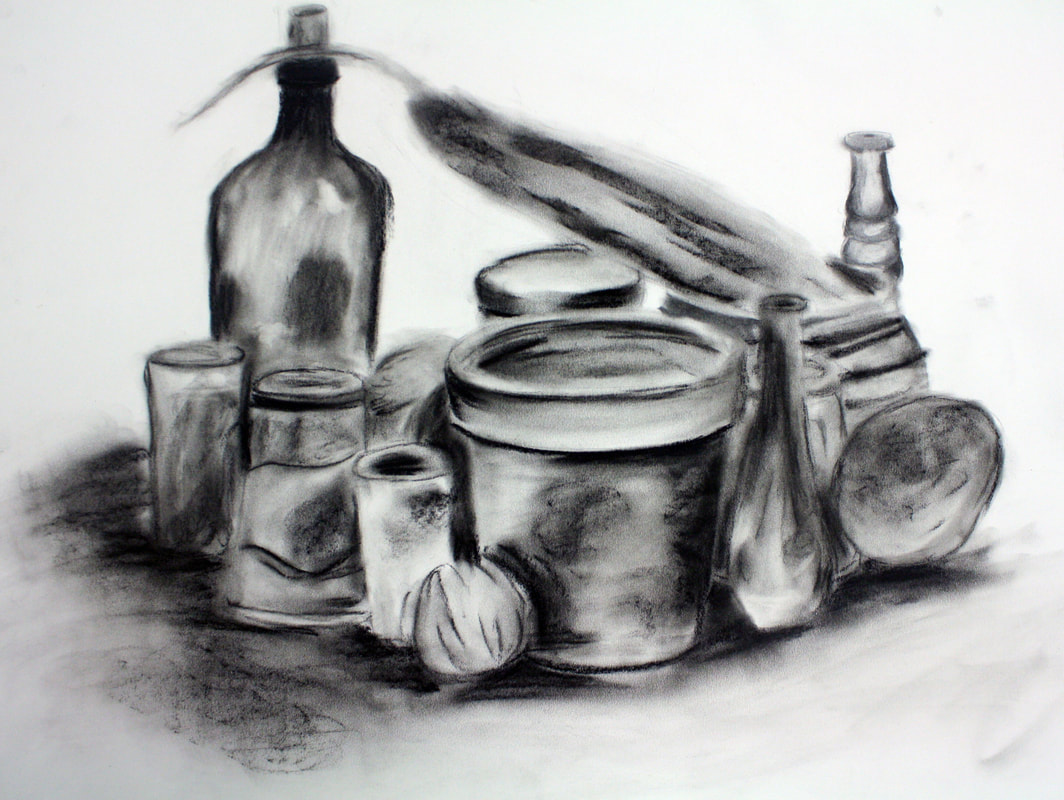
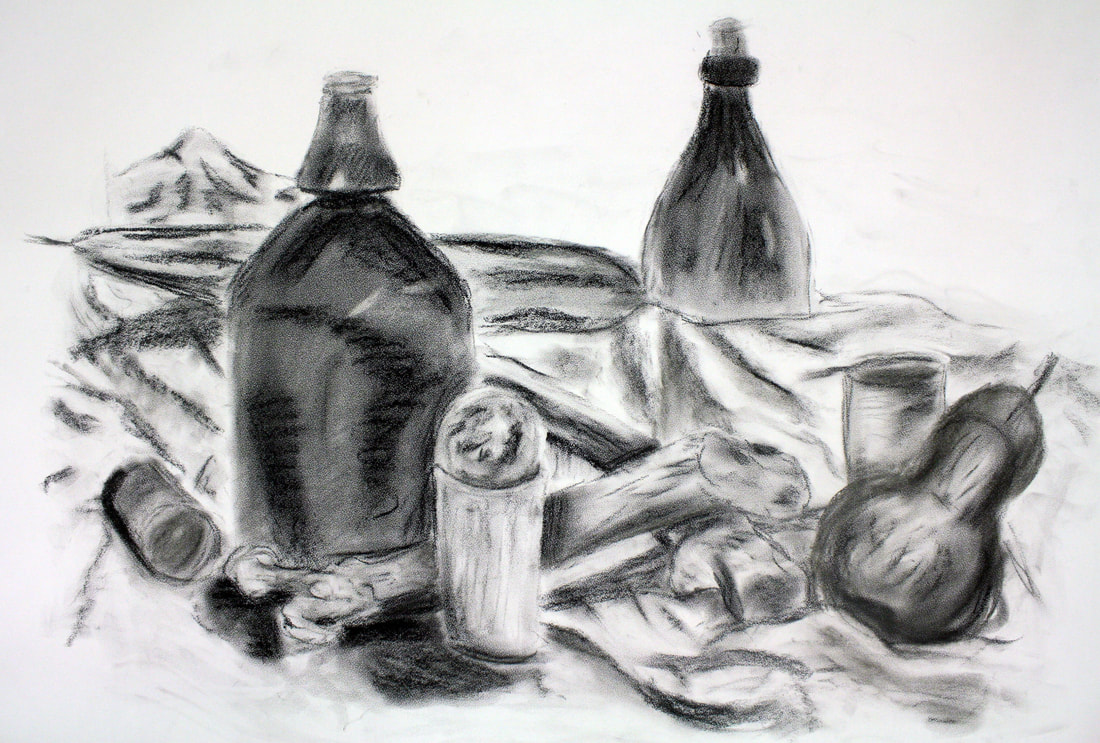
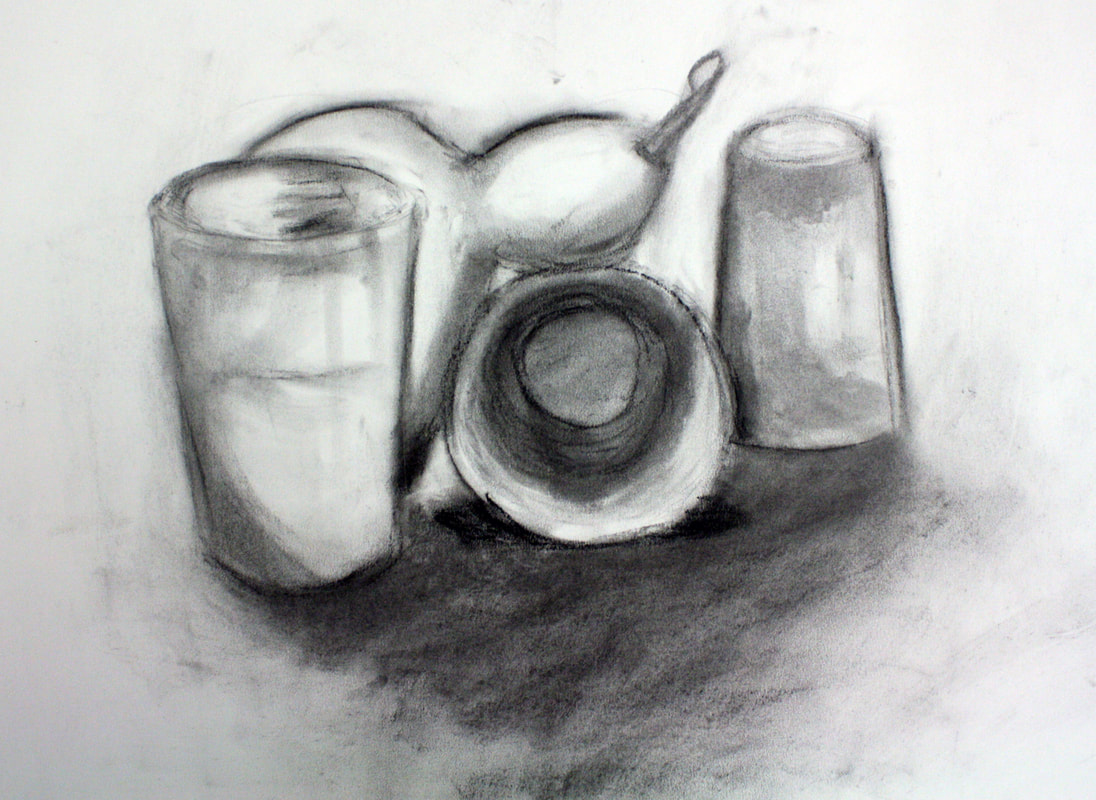
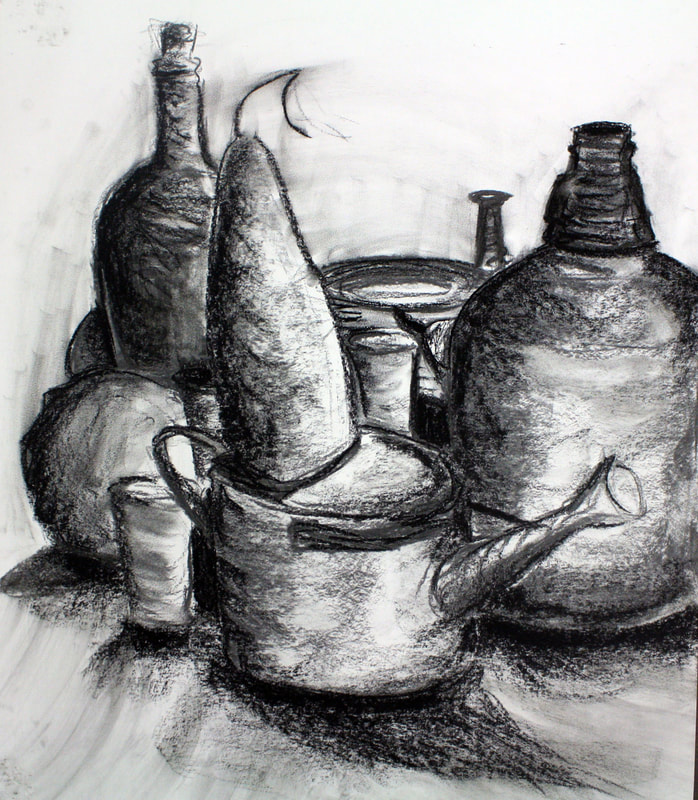
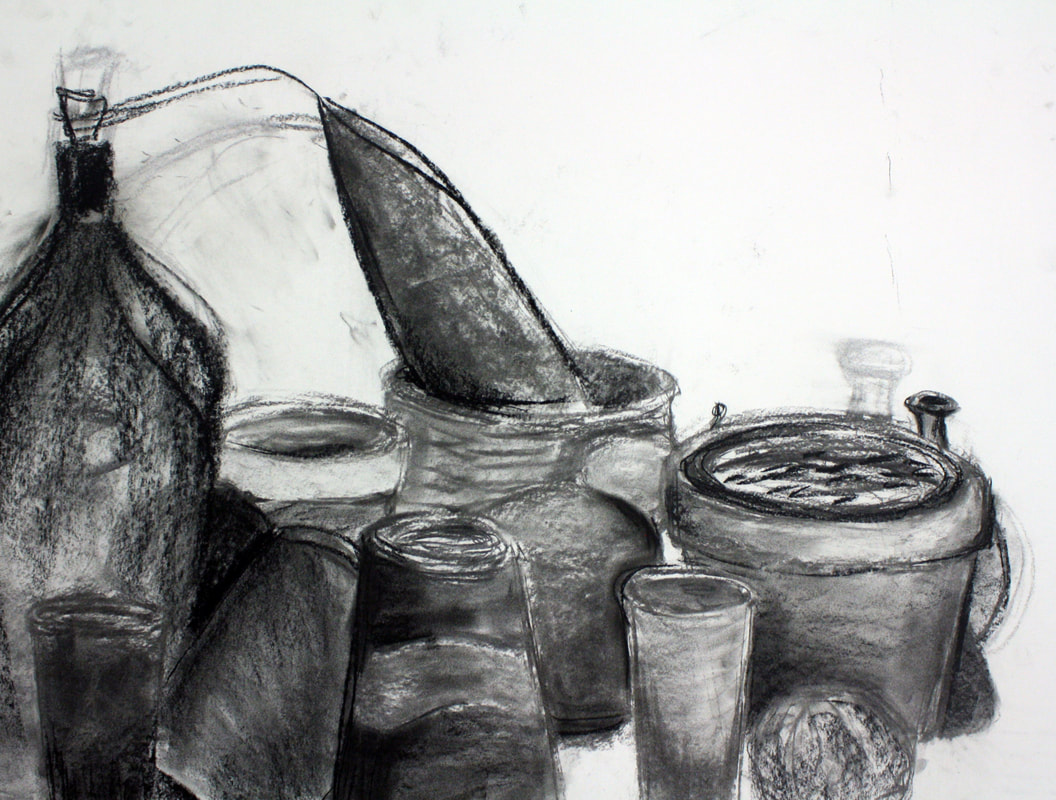
Value & Form - The Value and Form assignment consists of a lecture about value and form, using the value scale to render tone throughout objects, how to render their cast shadows, and how to correctly render them in three-dimensions on a two-dimensional surface using value. The students then observe still-life compositions in class and render these using charcoal (willow and compressed. They are then asked to create a balanced composition at home using both background and foreground with (at least) five objects), and to render these correctly in three-dimensions using their value scale.
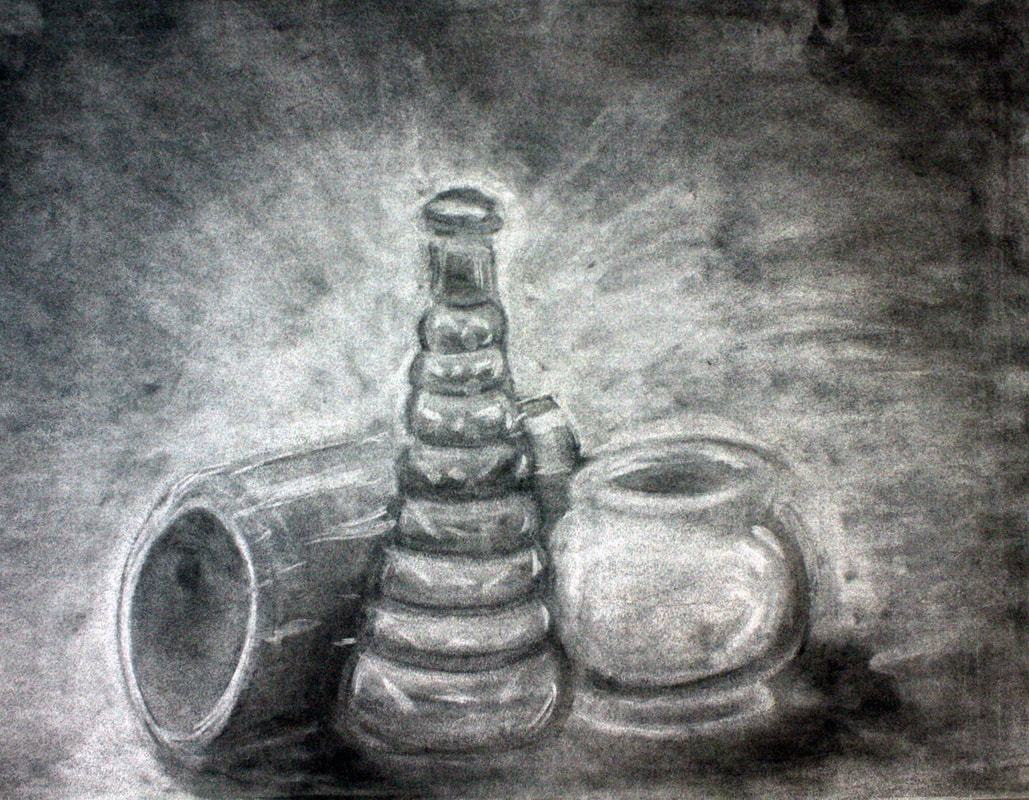
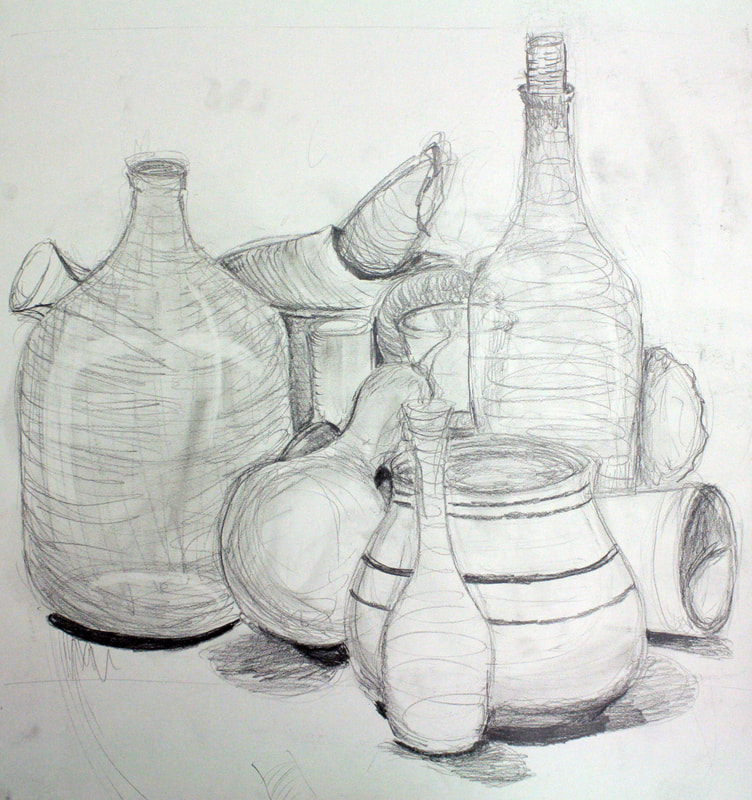
Contour Lines/Value - The contour/value assignment consists of a lecture about contour lines, gesture lines, and blind contour. The students then create simplistic studies of a small still life in these three techniques. After displaying proficiency, they then are introduced to value through lecture and demonstration. They then begin to create more complex studies using graphite and charcoal as a medium. These consist of contour lines and value. They are then asked to create a drawing that features at least five objects using graphite or charcoal that displays proficiency in contour lines, scale, and value.


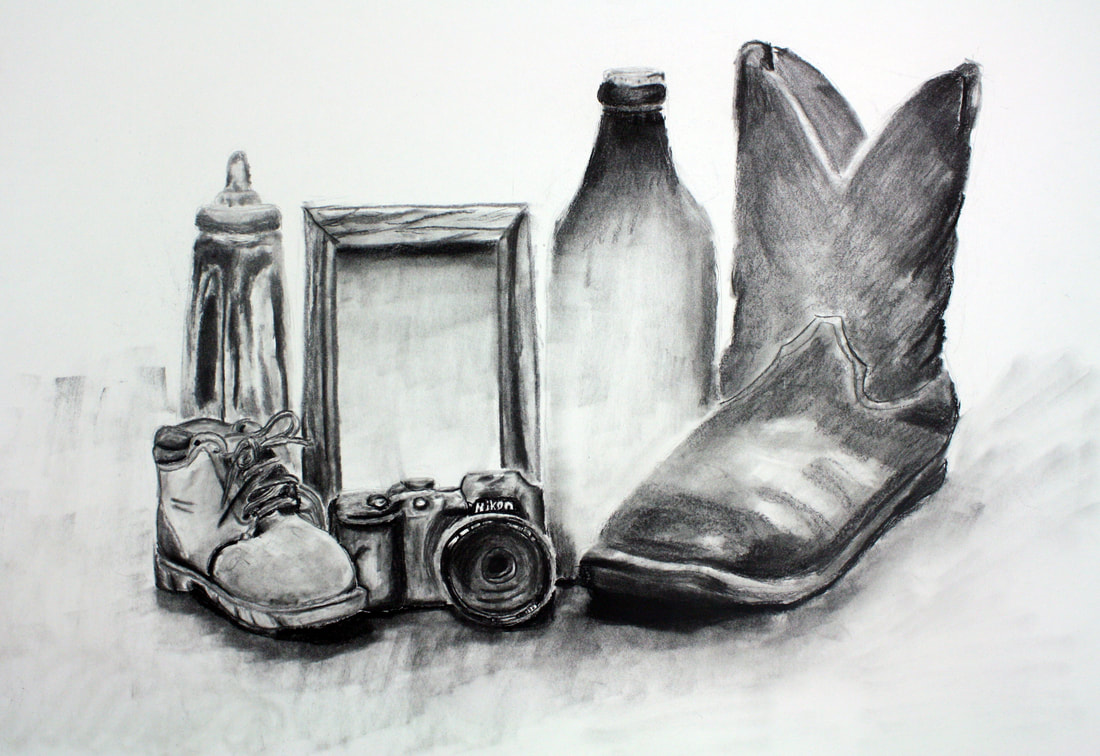
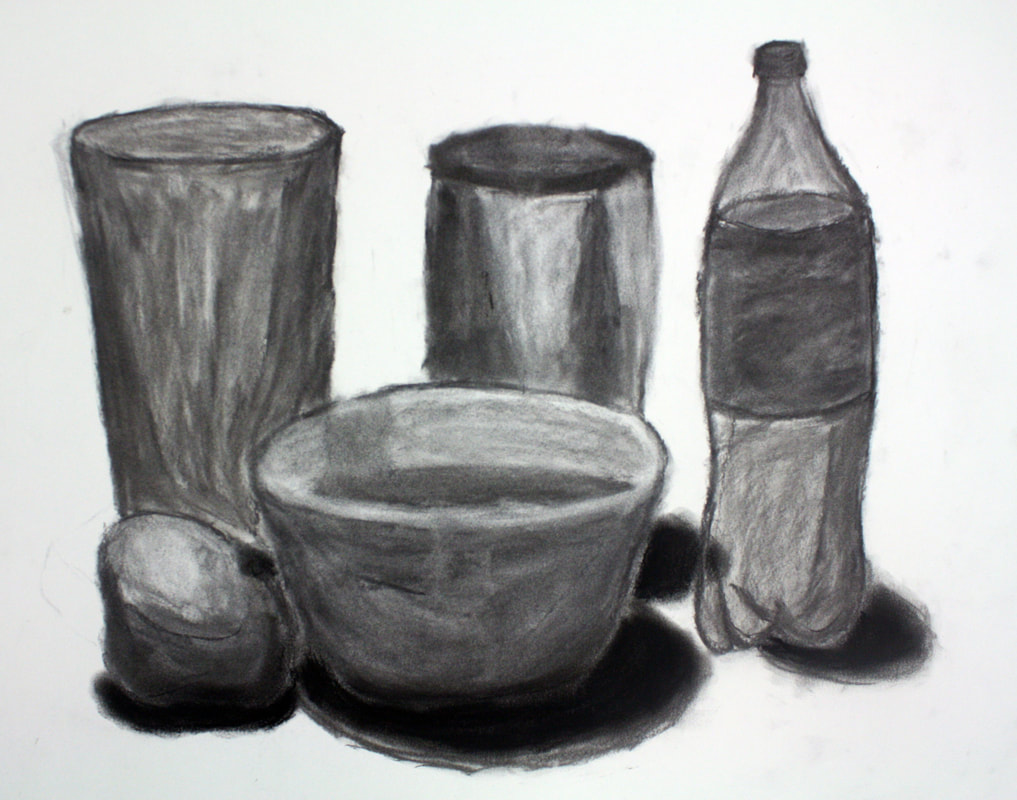
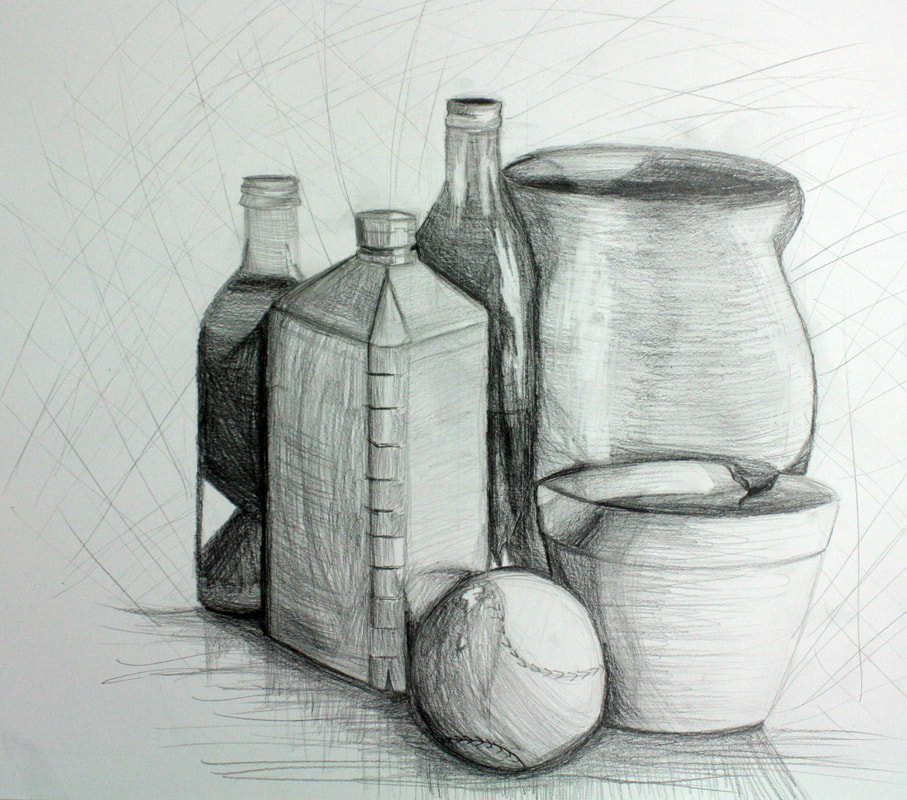
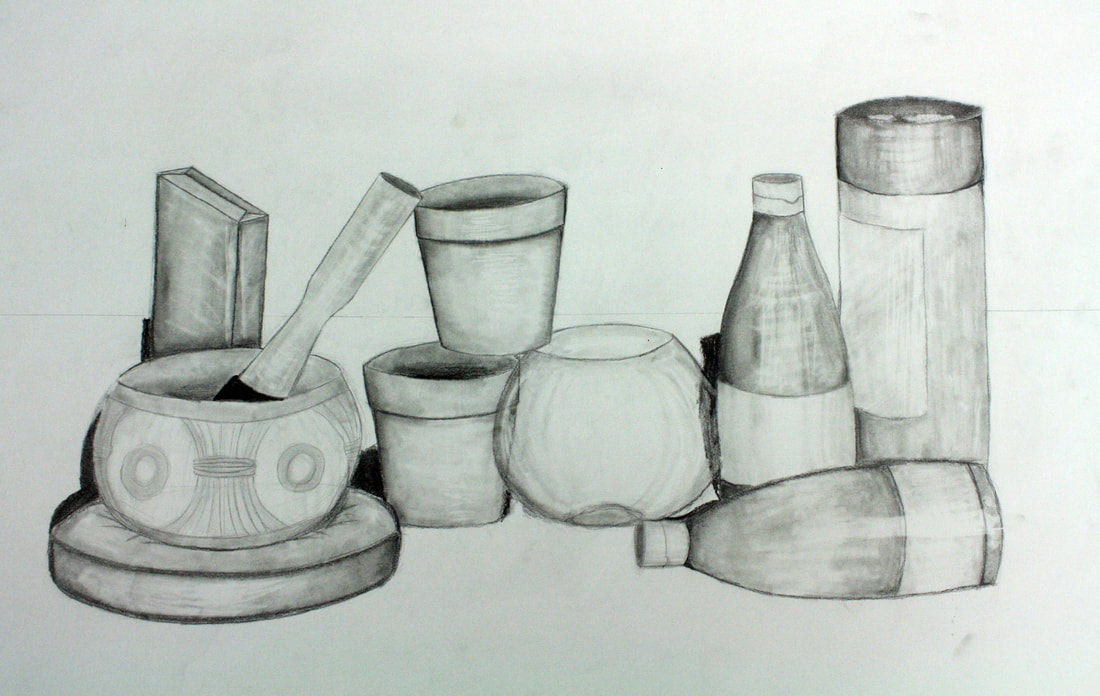
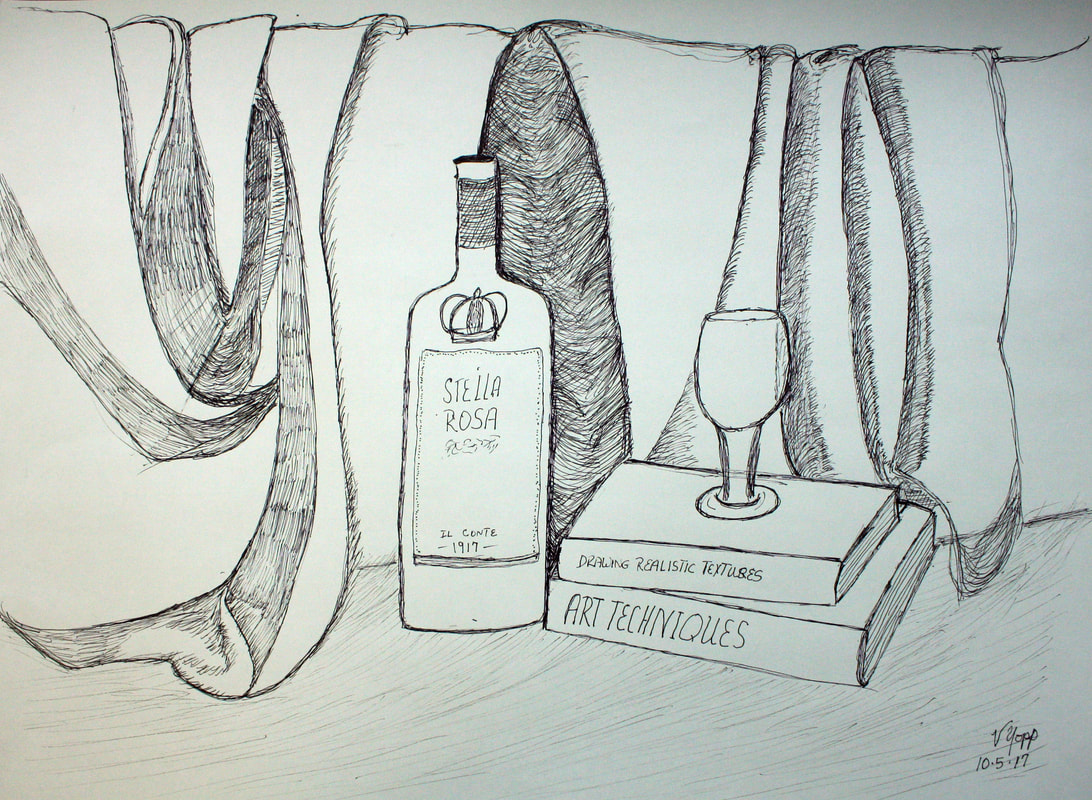
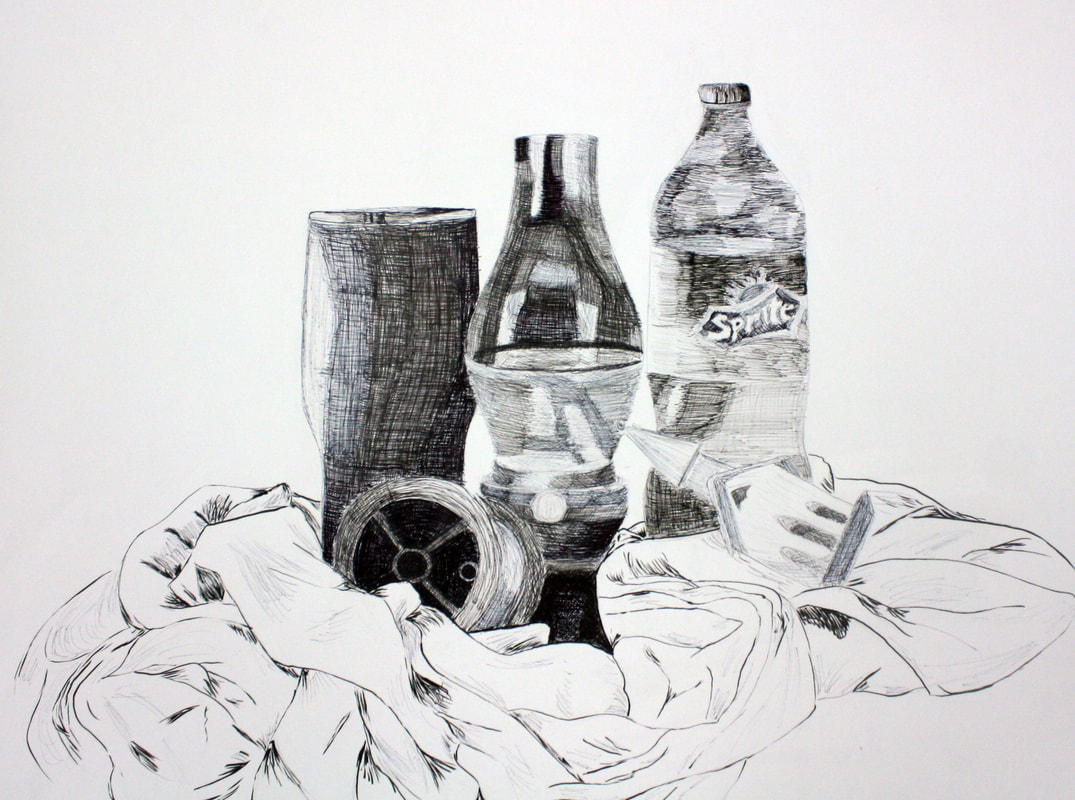
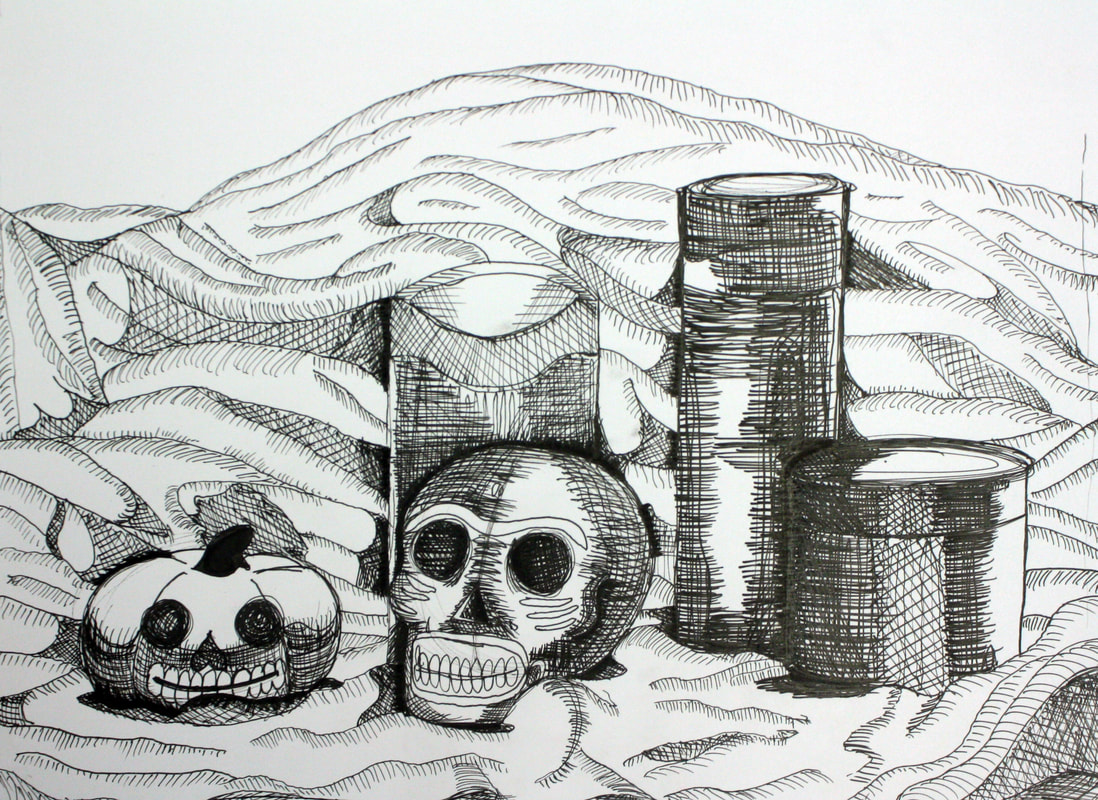
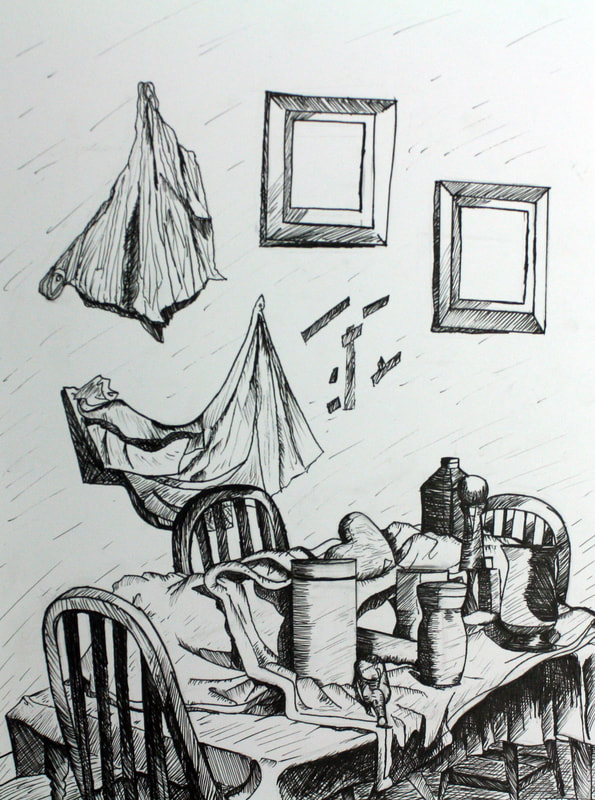
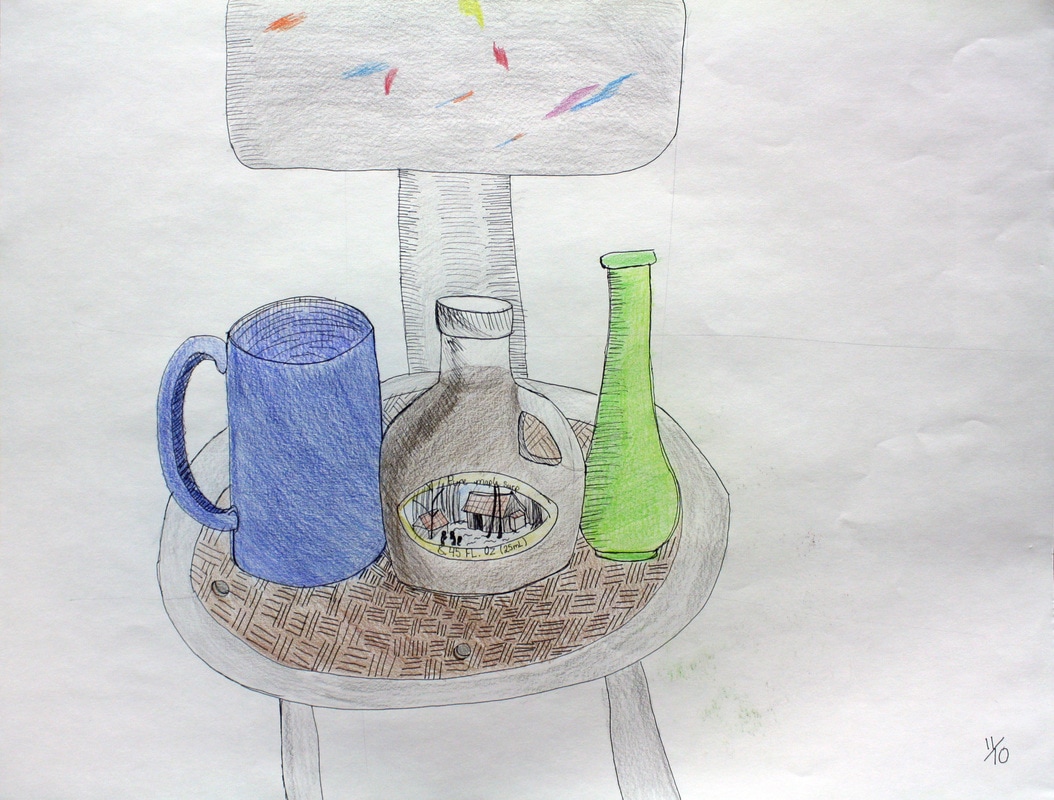
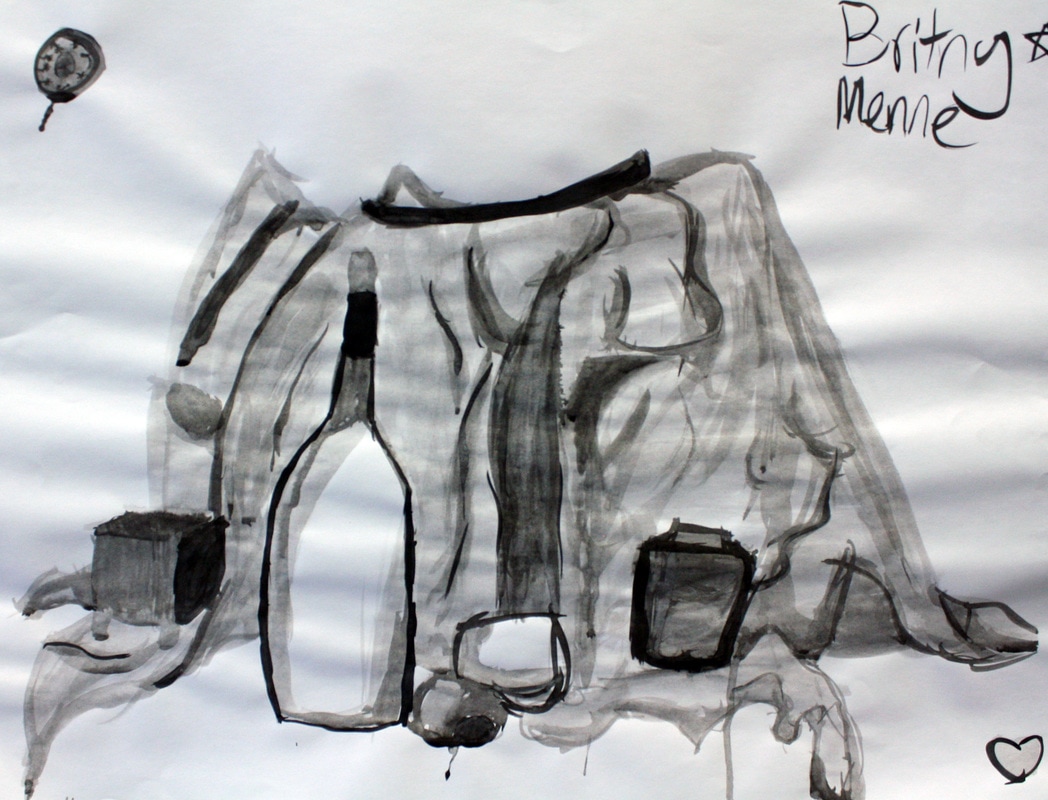
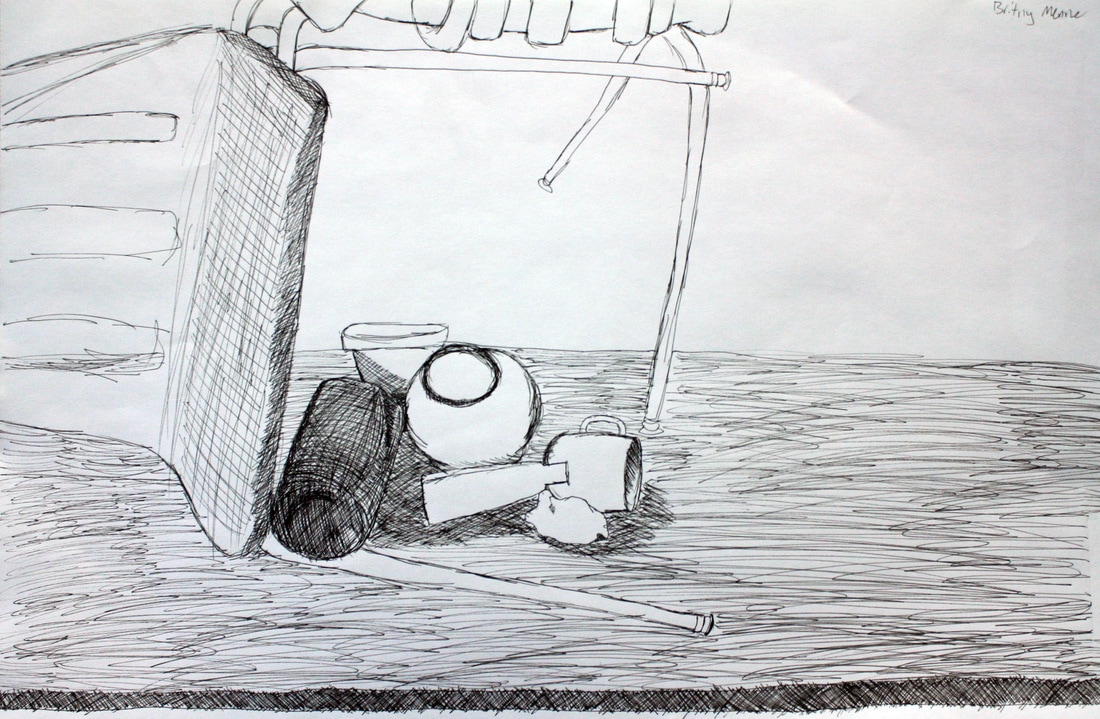
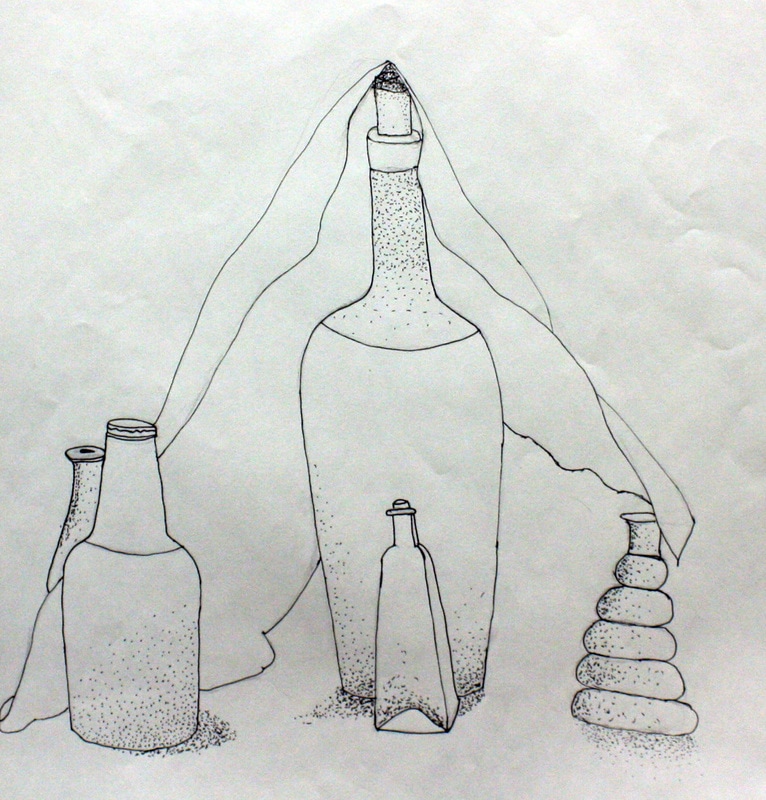
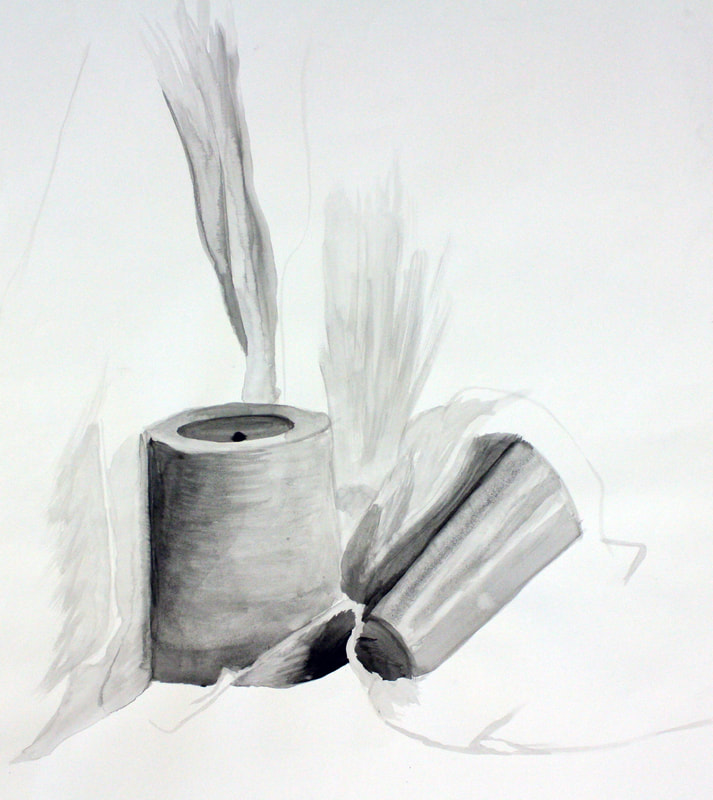
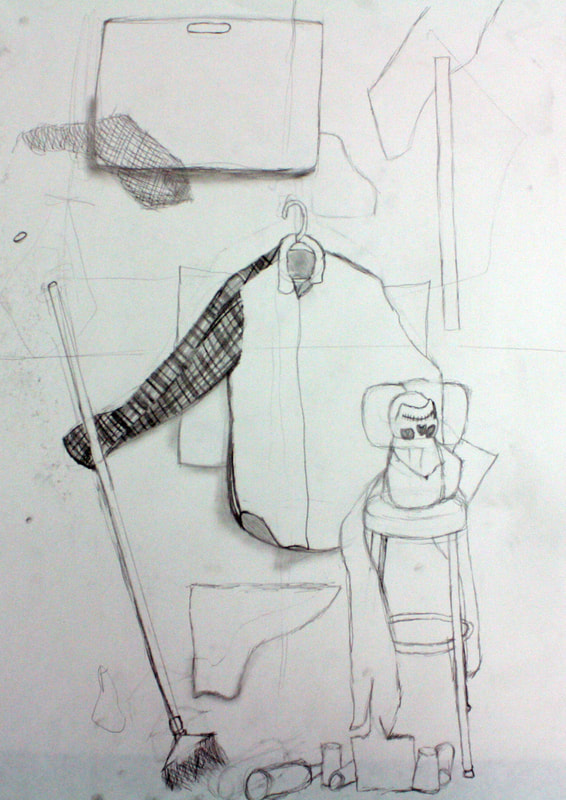
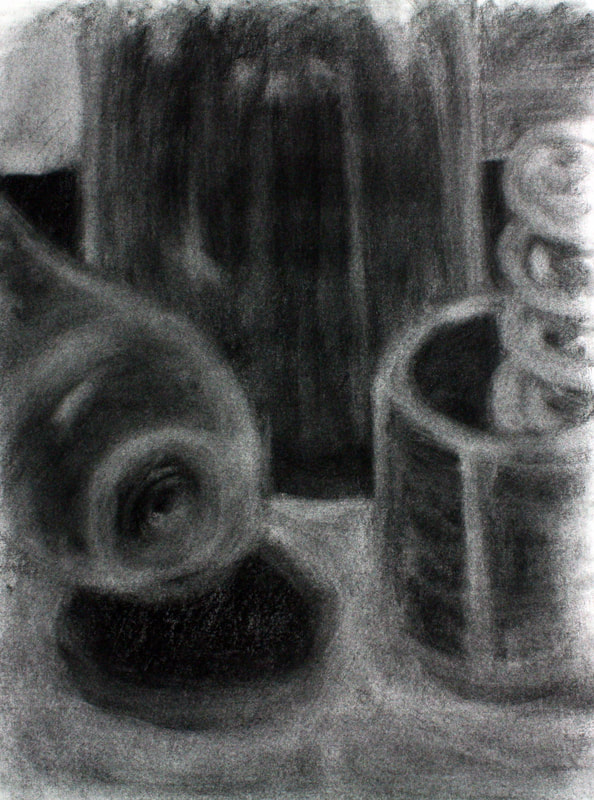
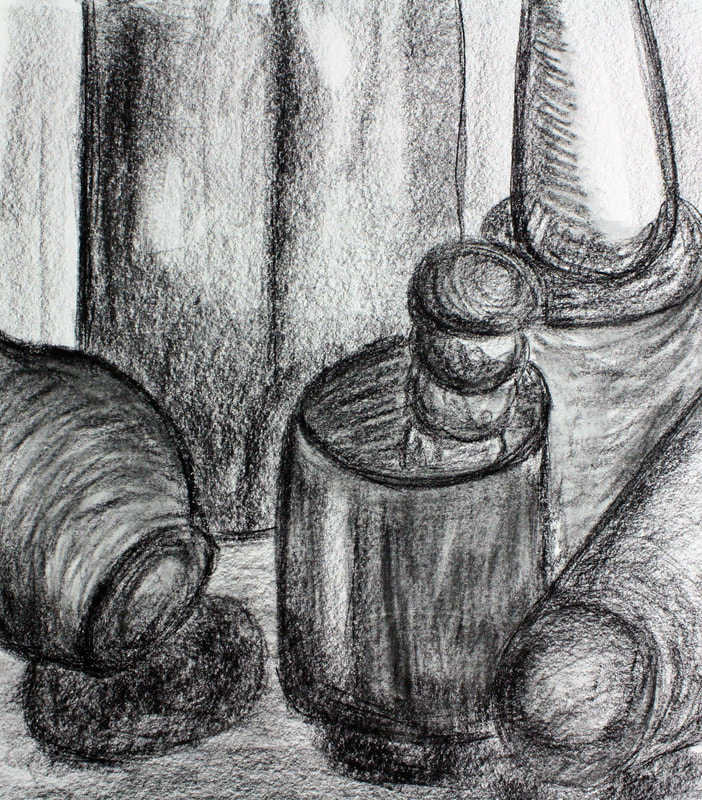
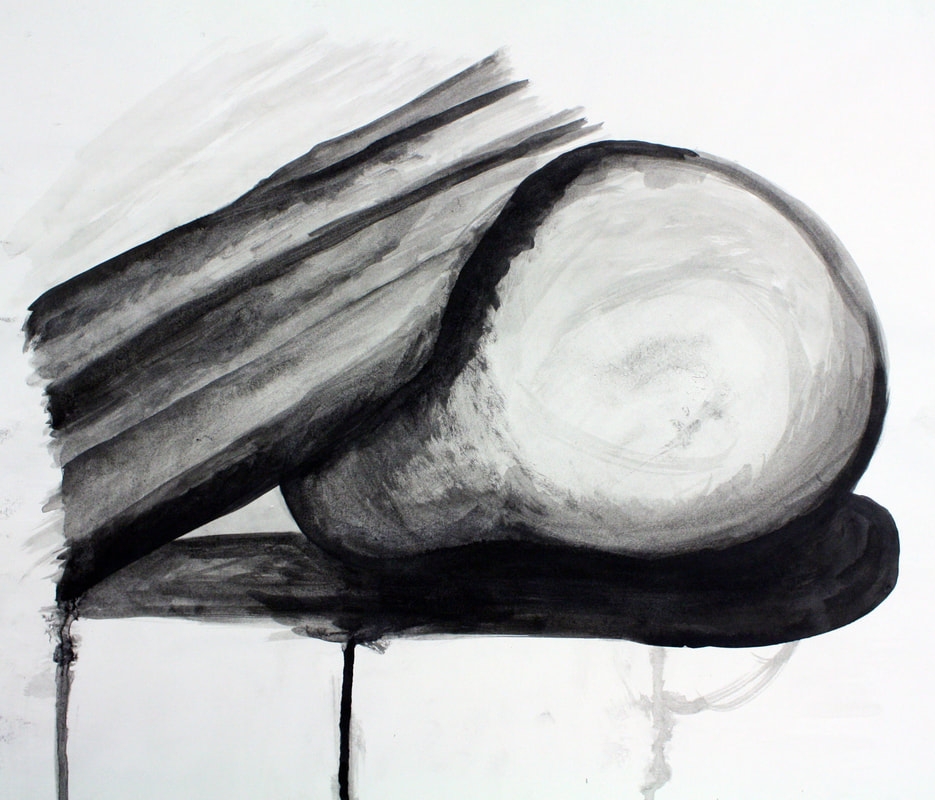
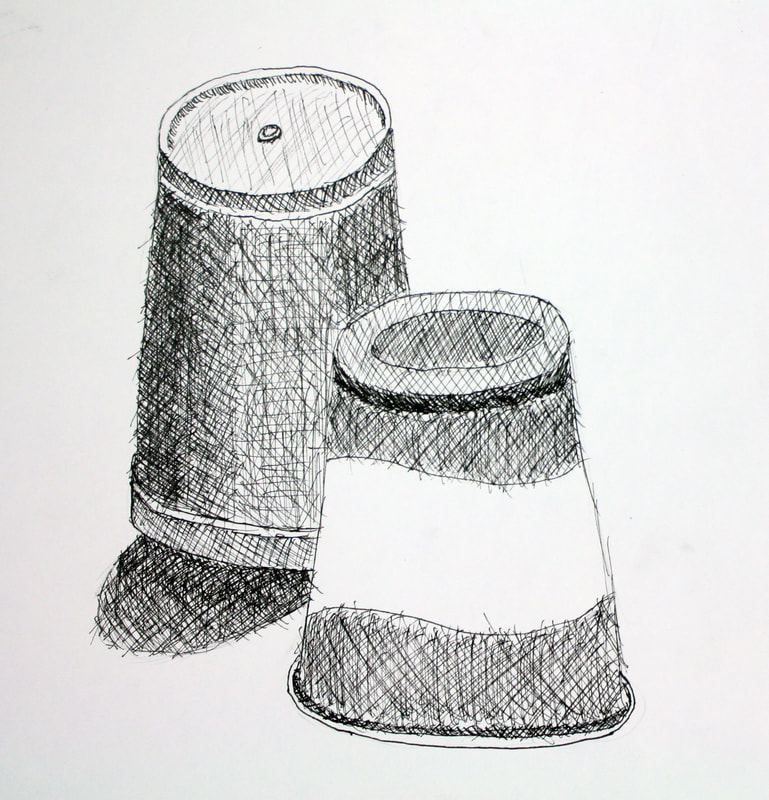
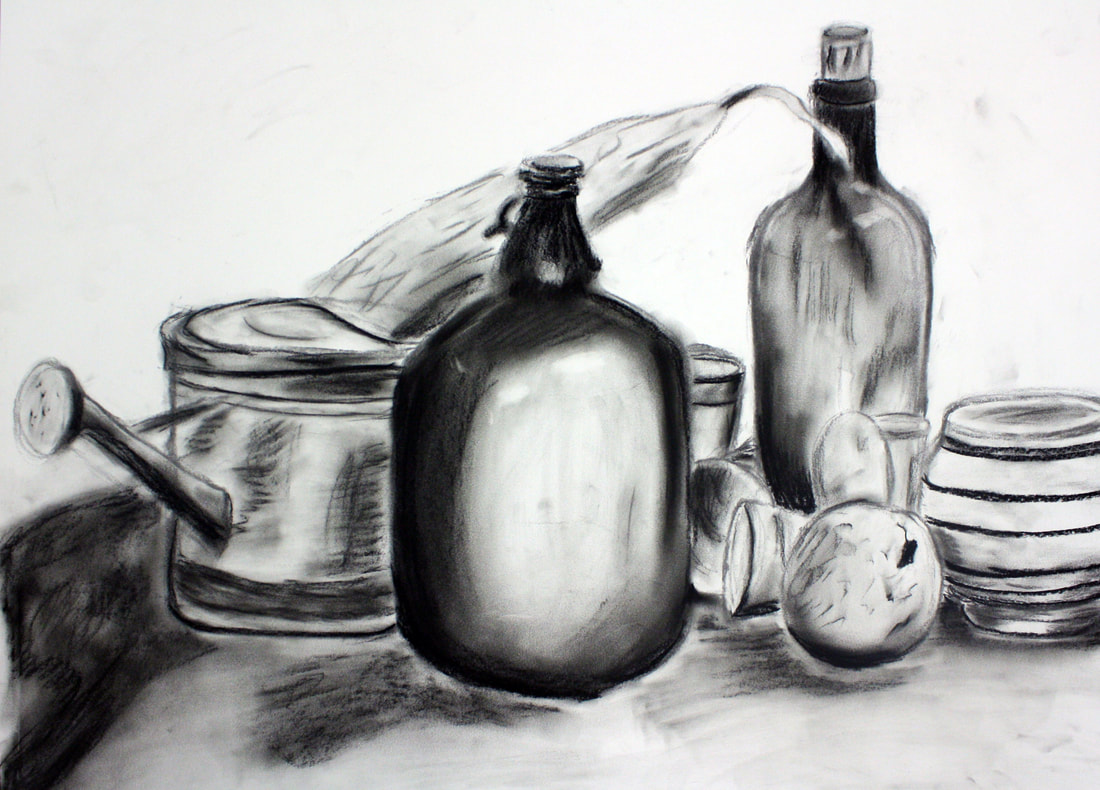
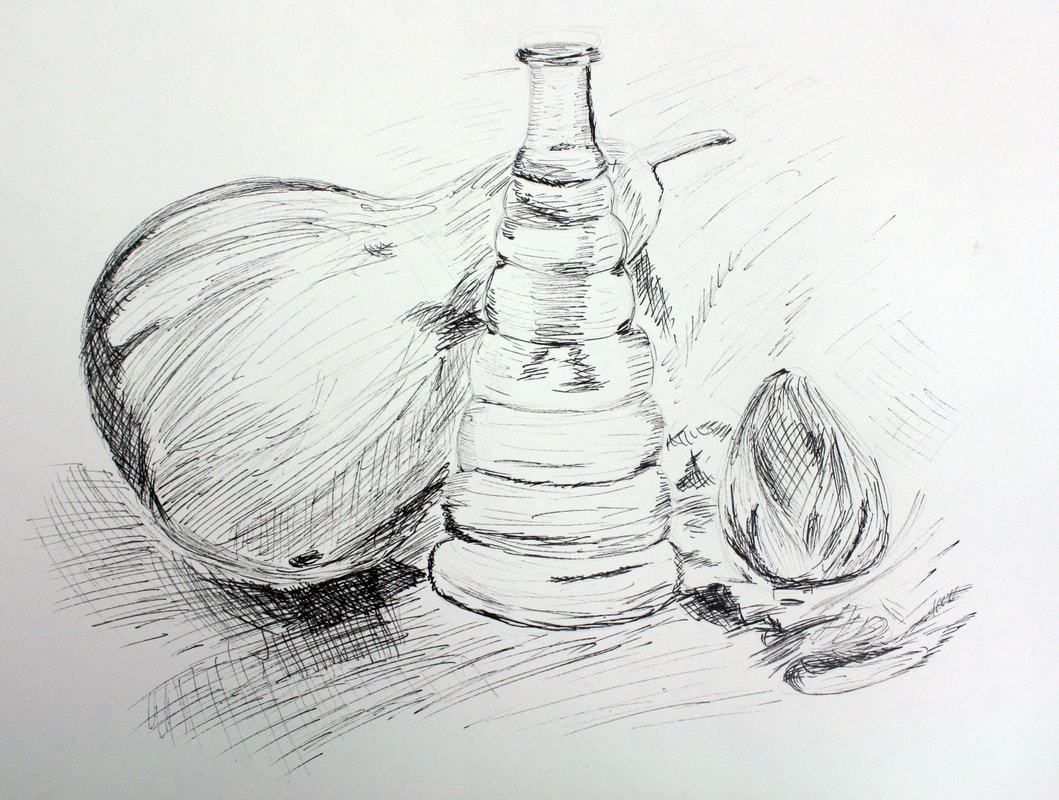
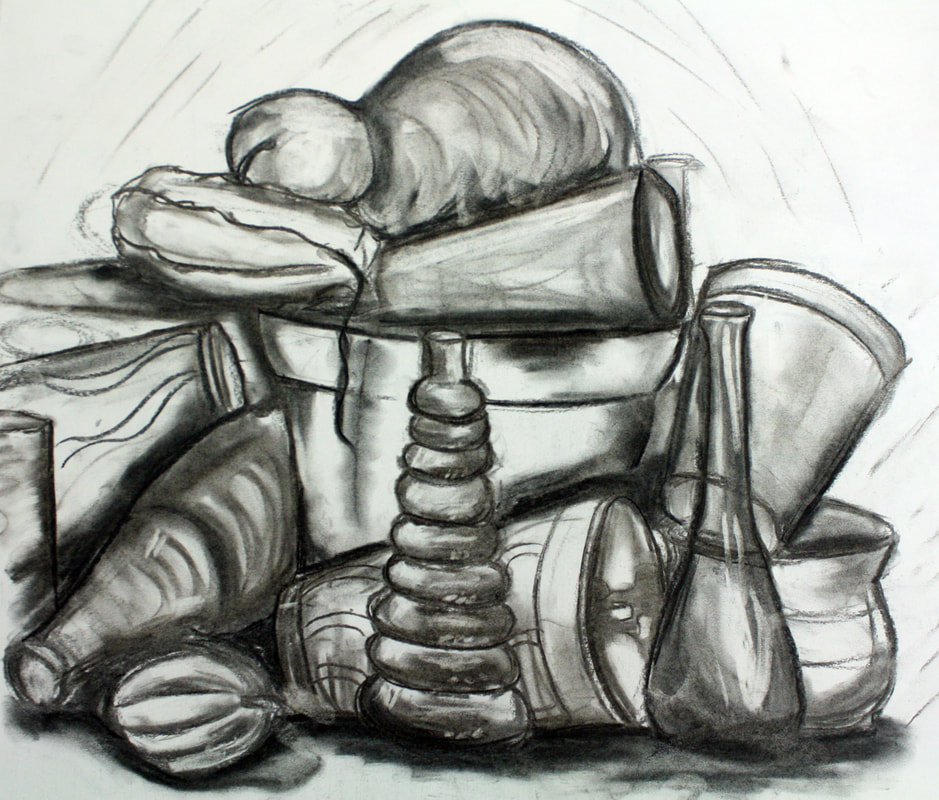
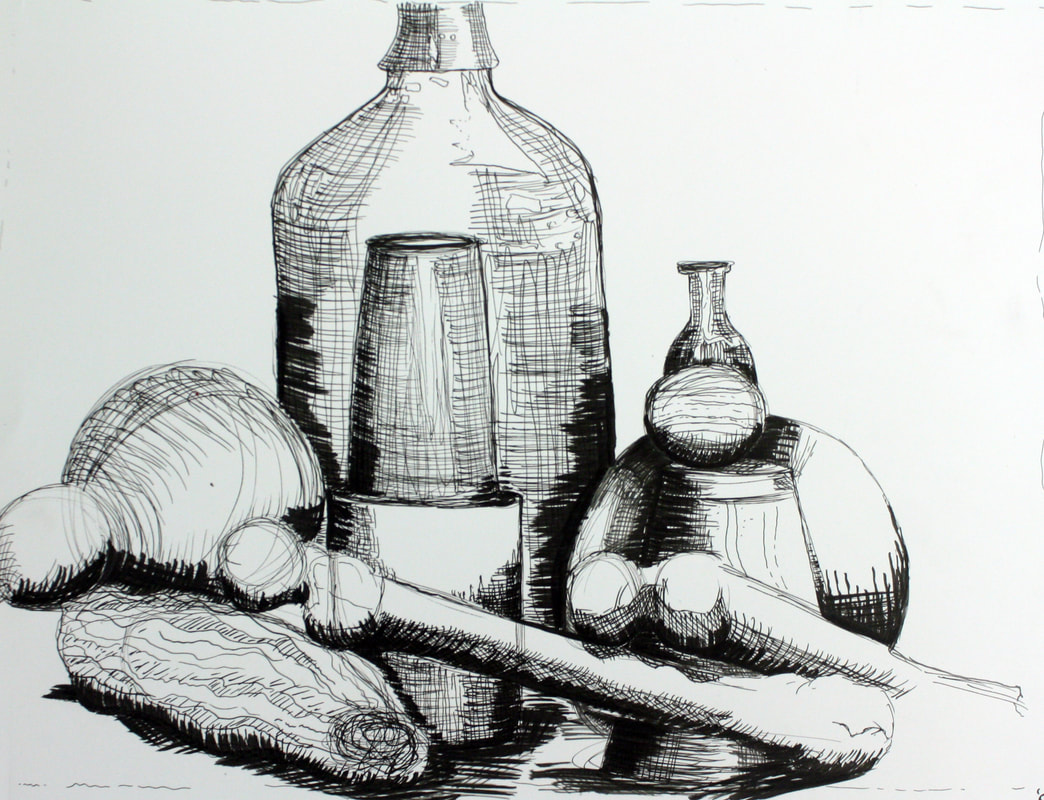
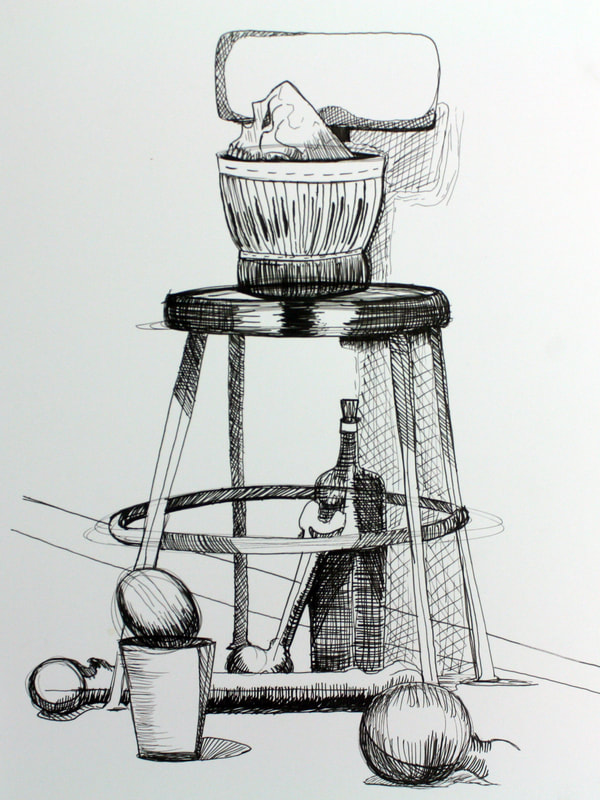
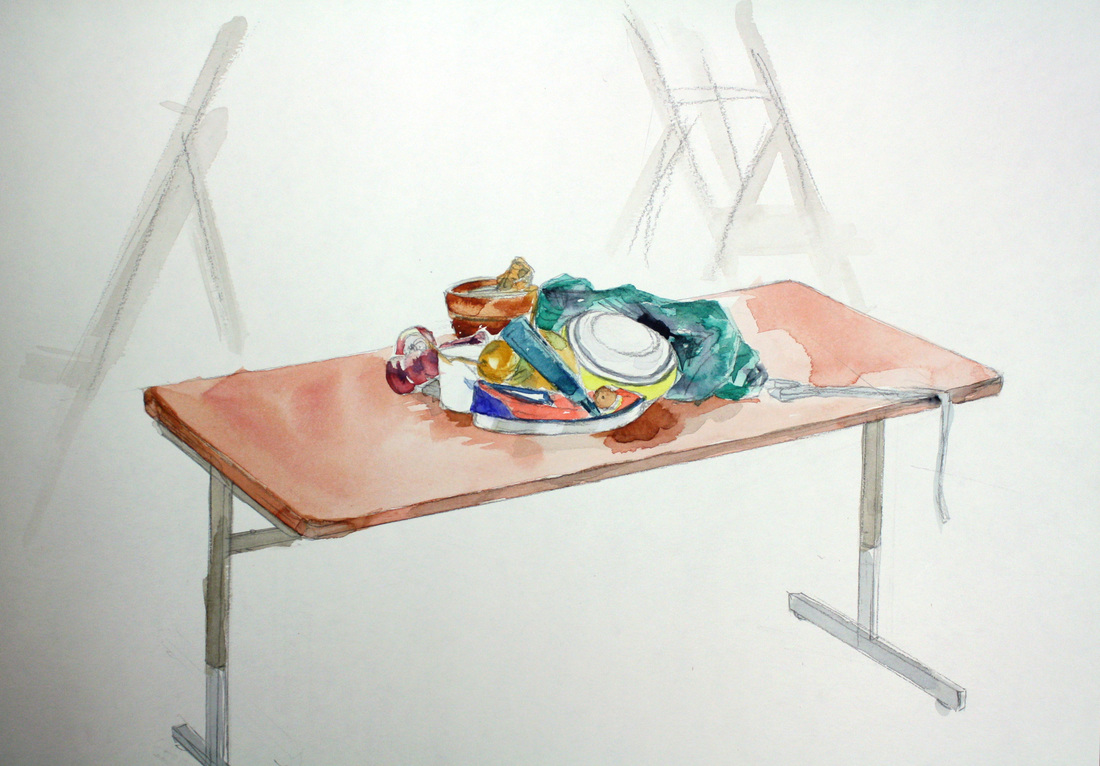
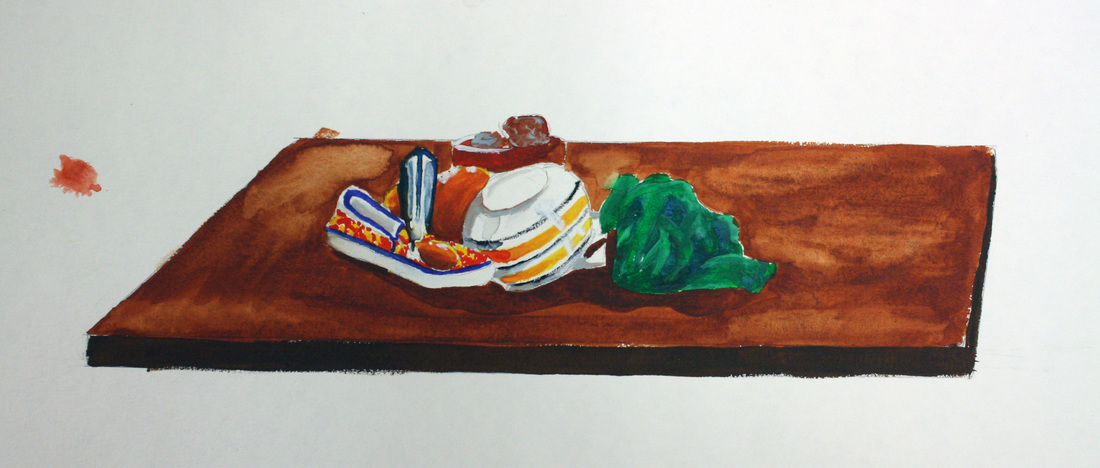
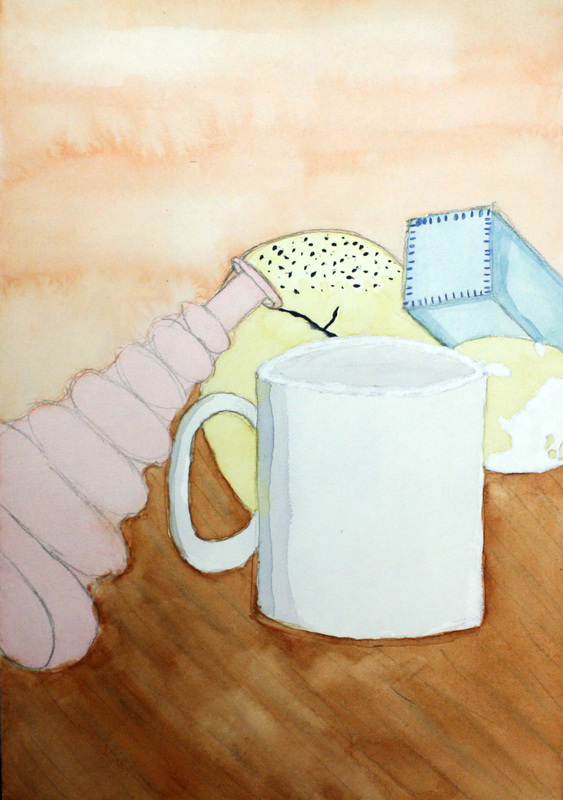
Composition - The composition assignment consists of a lecture about creating a composition with the still life. This lecture speaks of scale, environmental considerations, grounding the objects, value, as well as the introduction of the mediums of pen and ink and ink wash. The students then create compositions from various still life's in the classroom. They are then asked to create a composition of five objects that use the medium(s) introduced in this section.

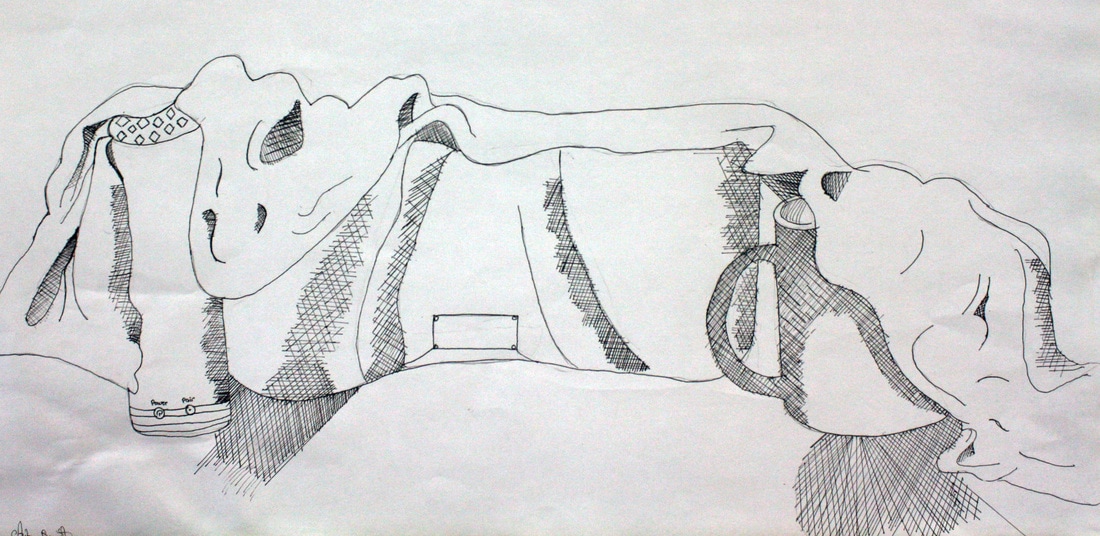
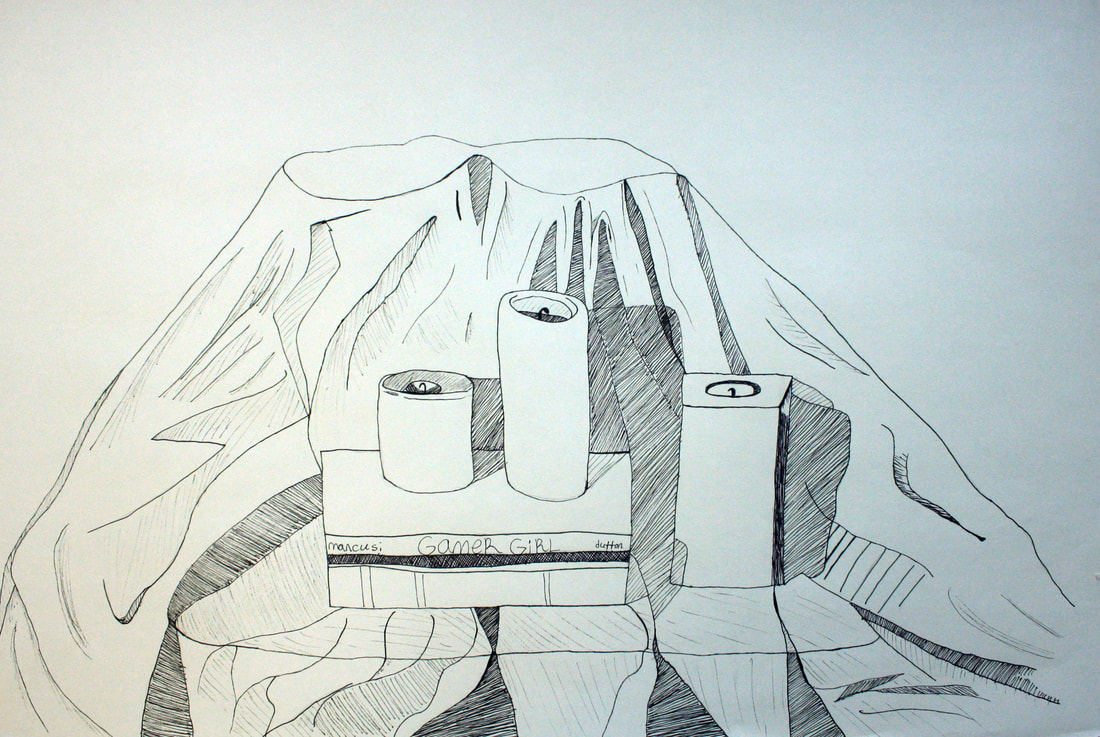
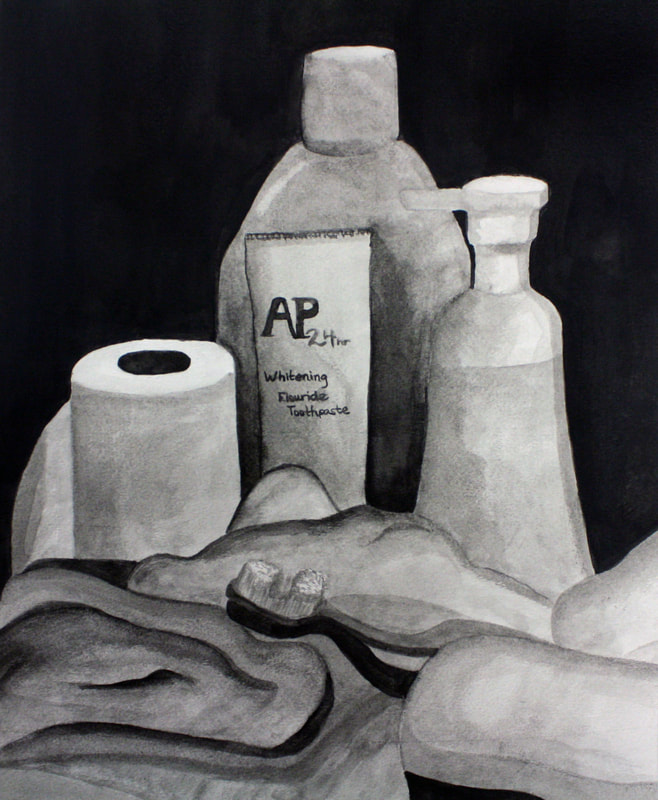

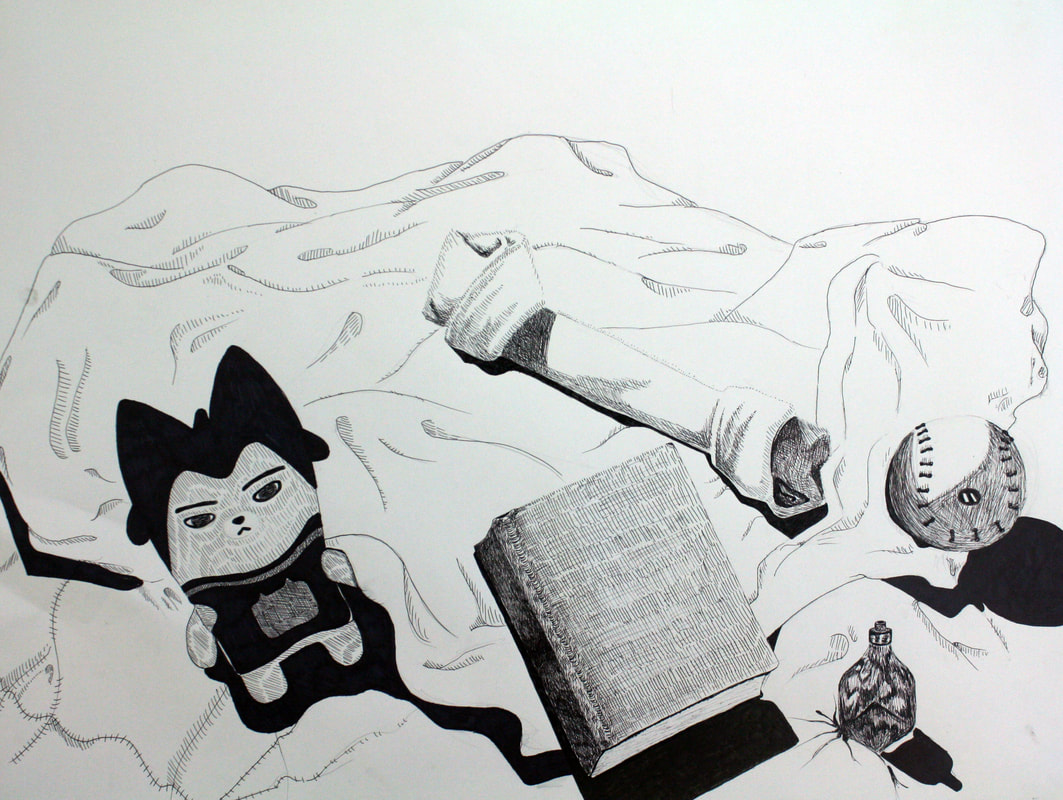
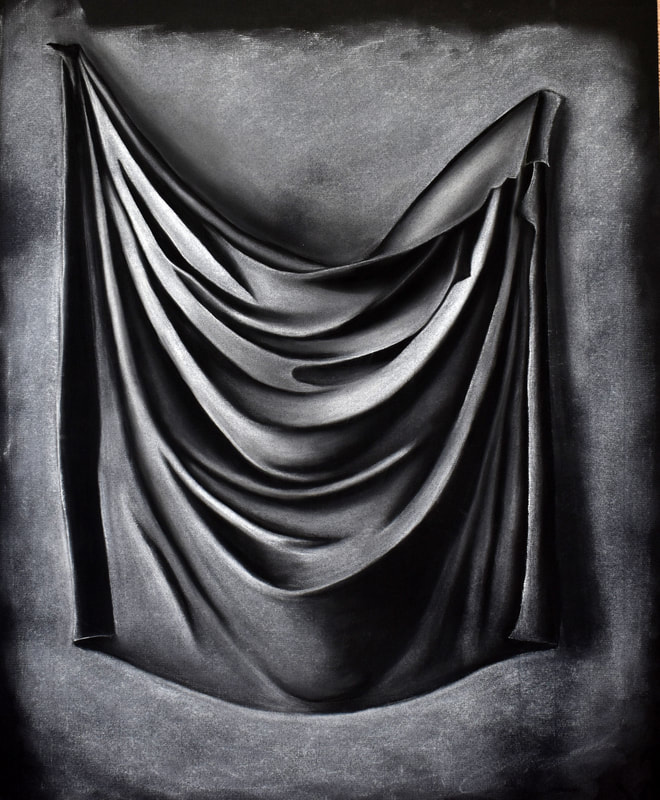
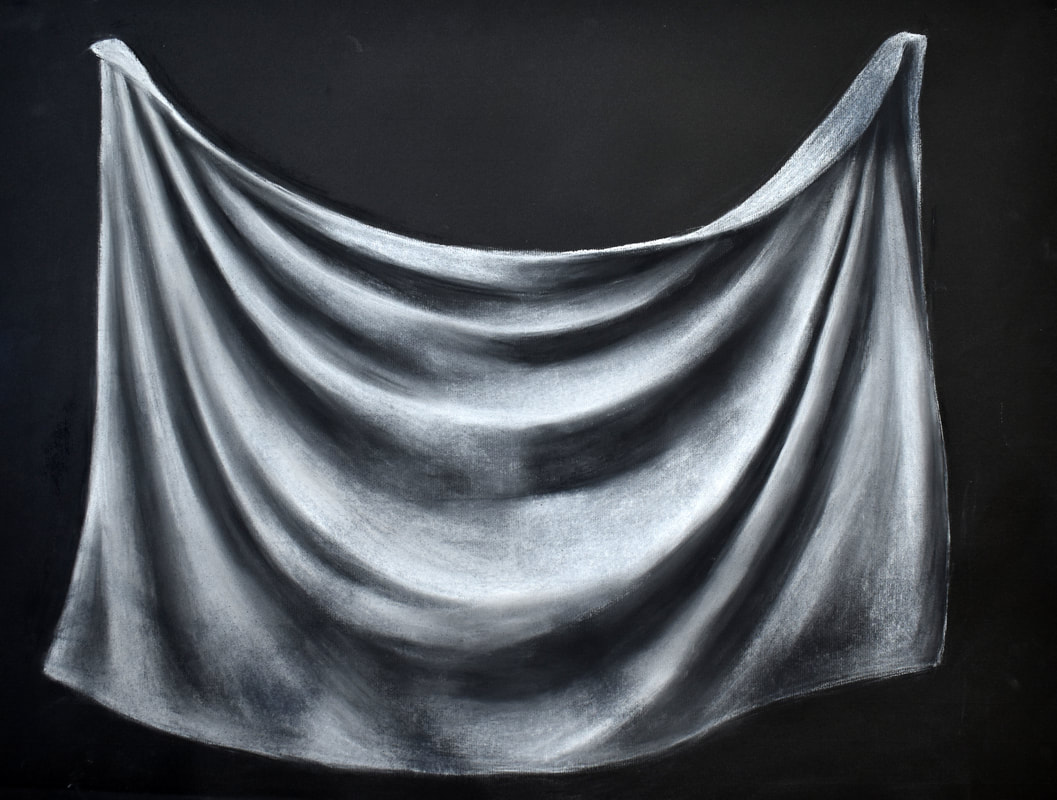
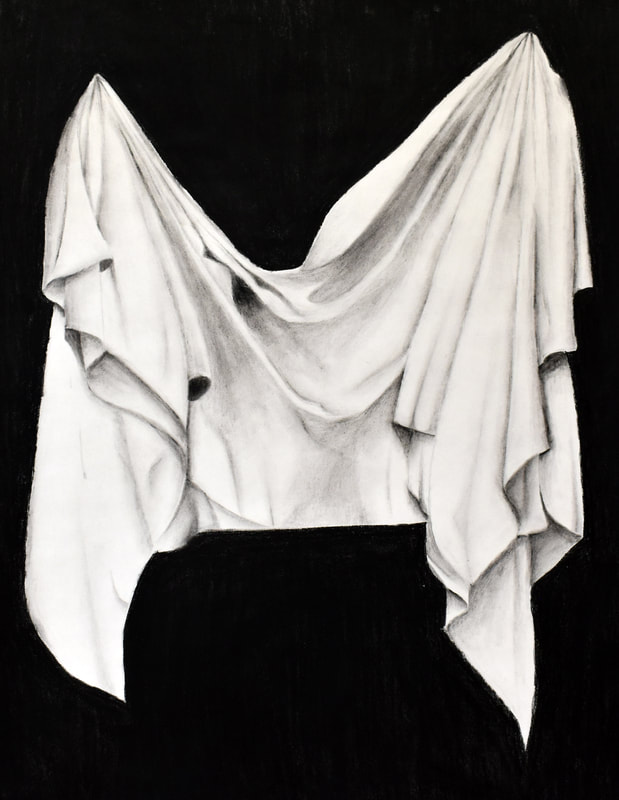
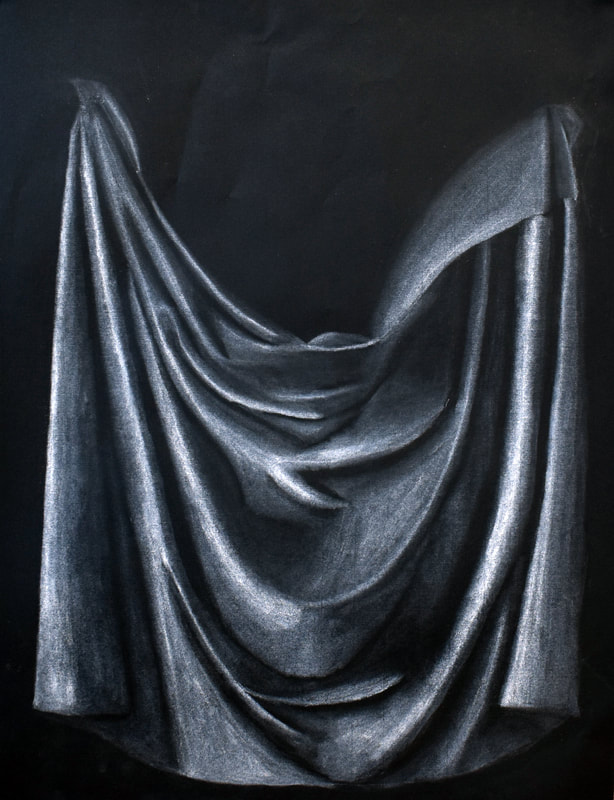
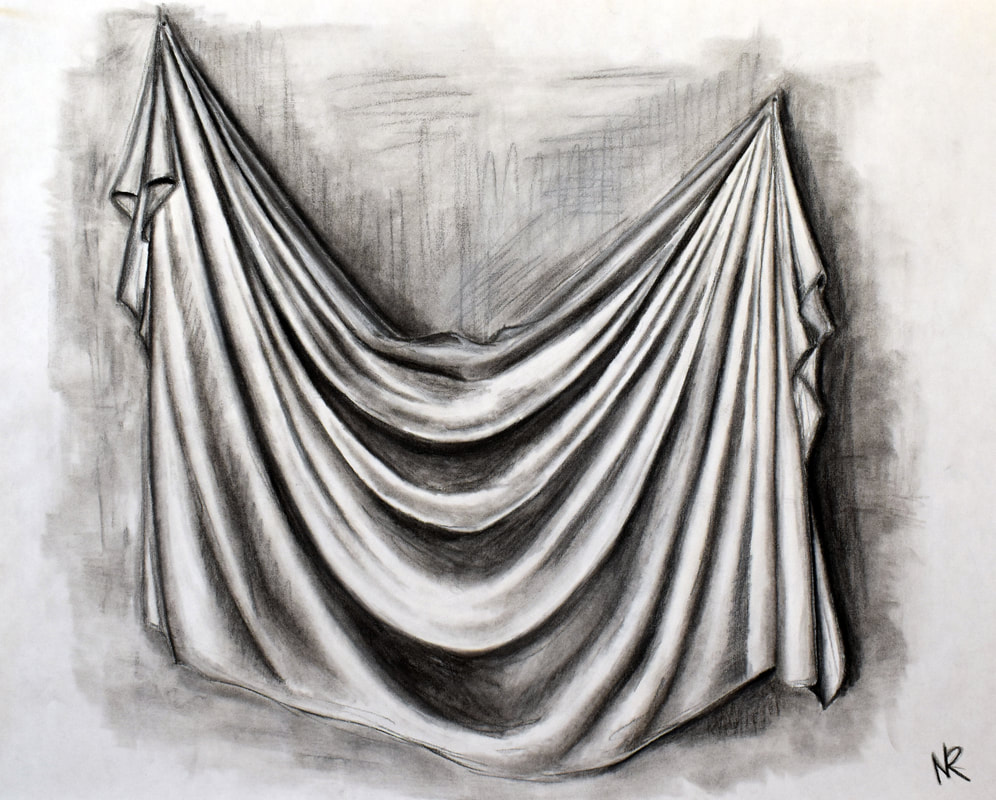
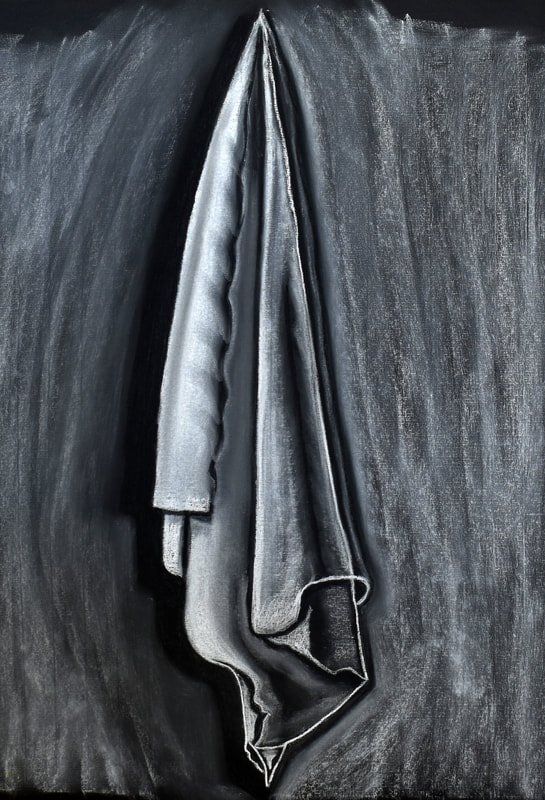
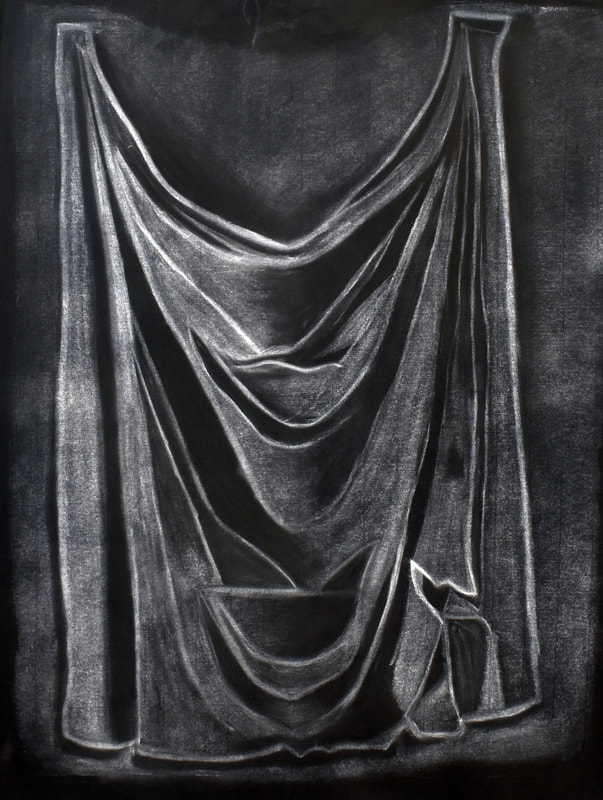
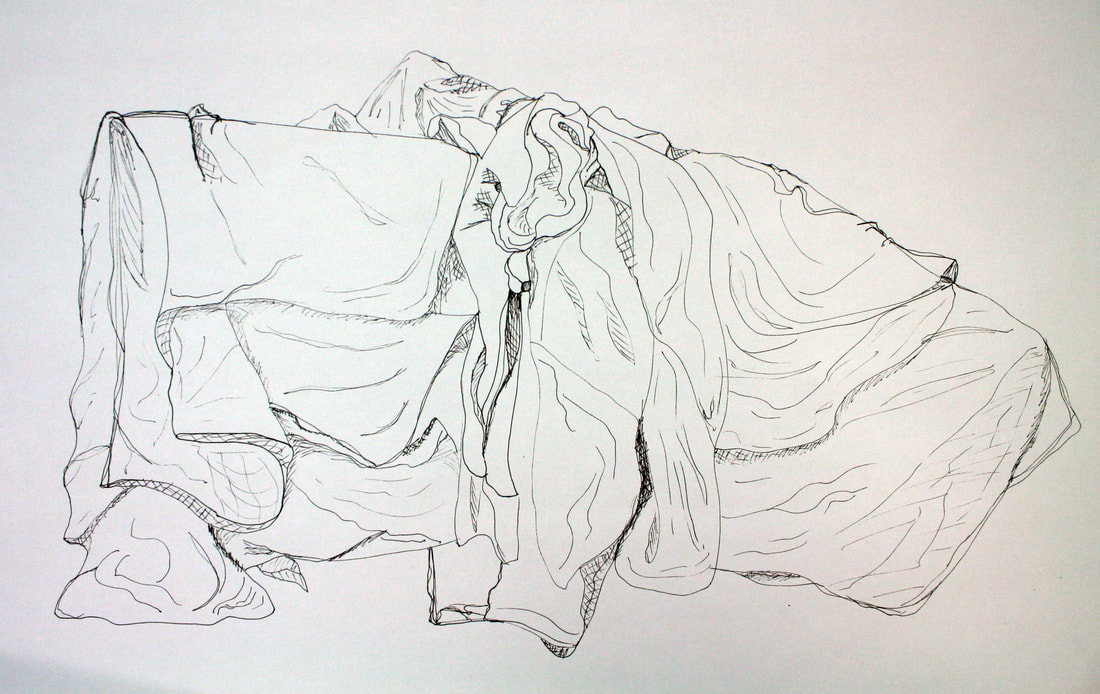
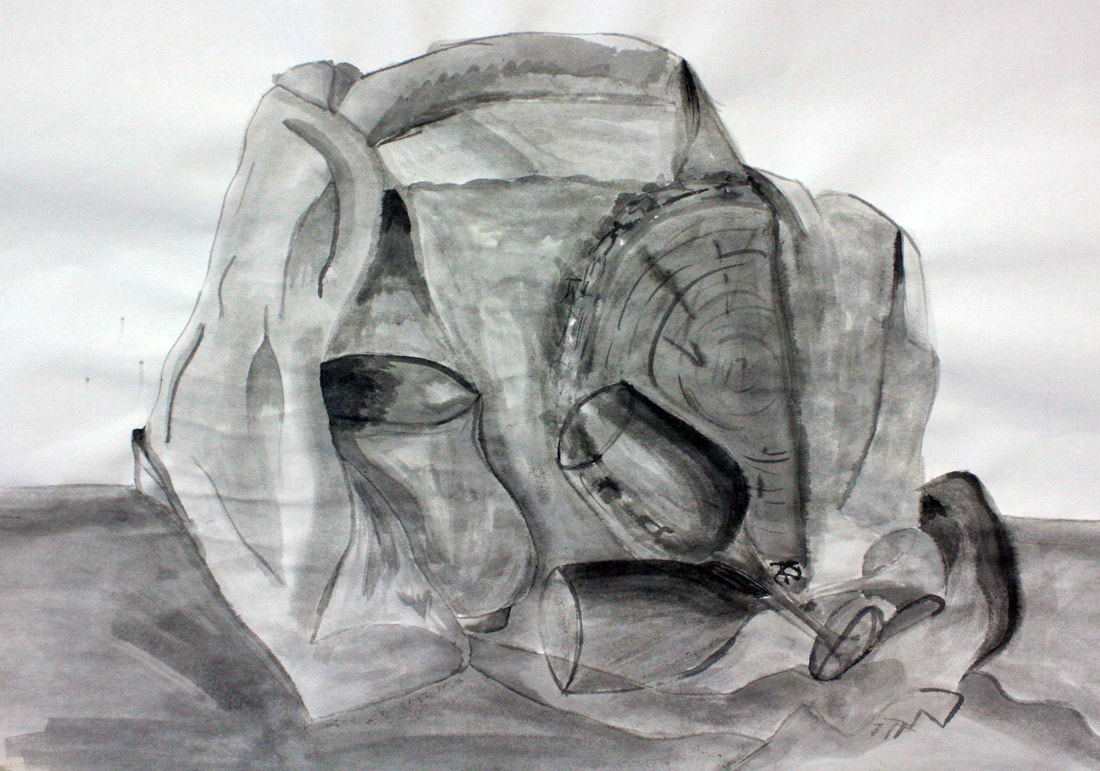
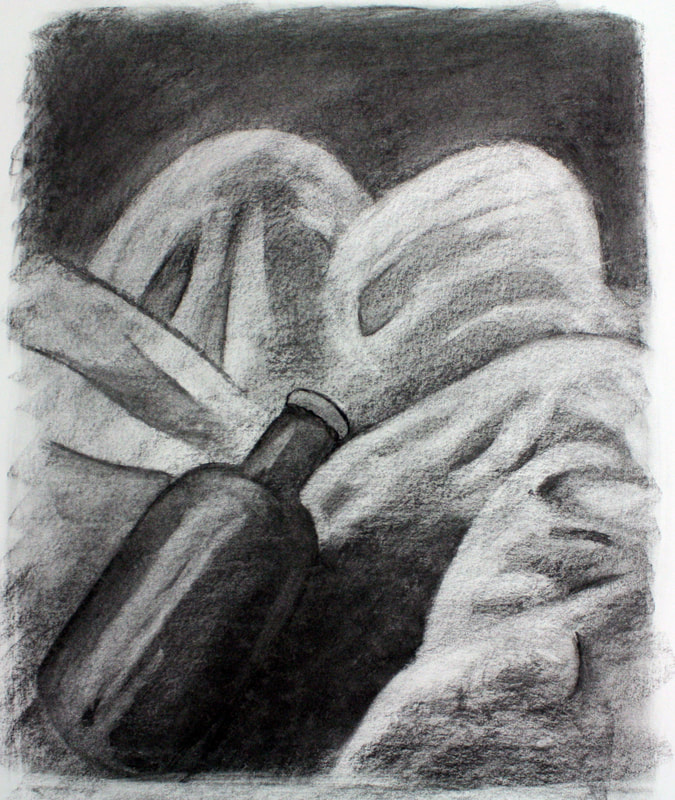
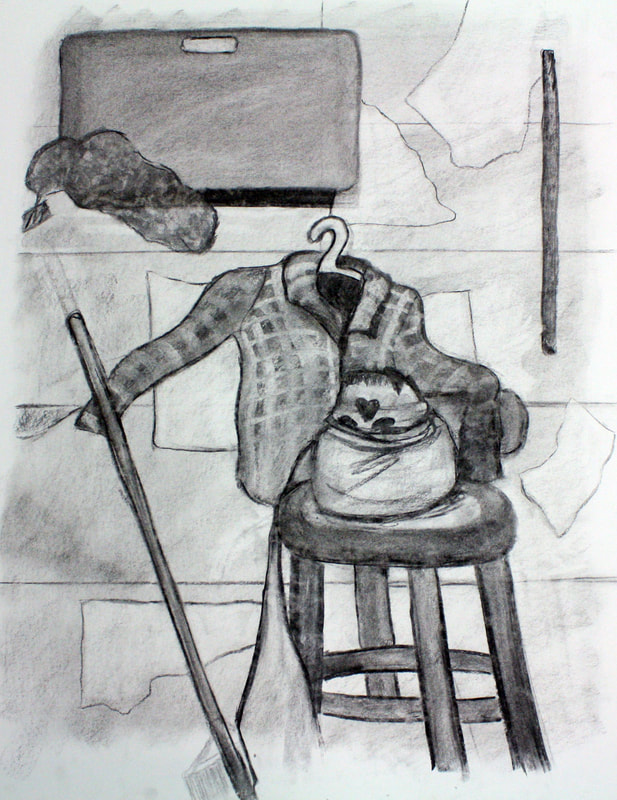
Drapery Project - Students are introduced to drawing drapery in lecture and demonstration. They are then introduced to both conte crayon and tinted papers to achieve reductive drawings along with the additive process. Class time is devoted to experimenting in this new medium and the practice of fabric, using this new medium to create folds, and using light to create the forms of drapery. The homework is allotted a choice for students in white paper or black paper. They are expected to show proficiency in this new medium, use of light and value, and representing the forms of fabric.
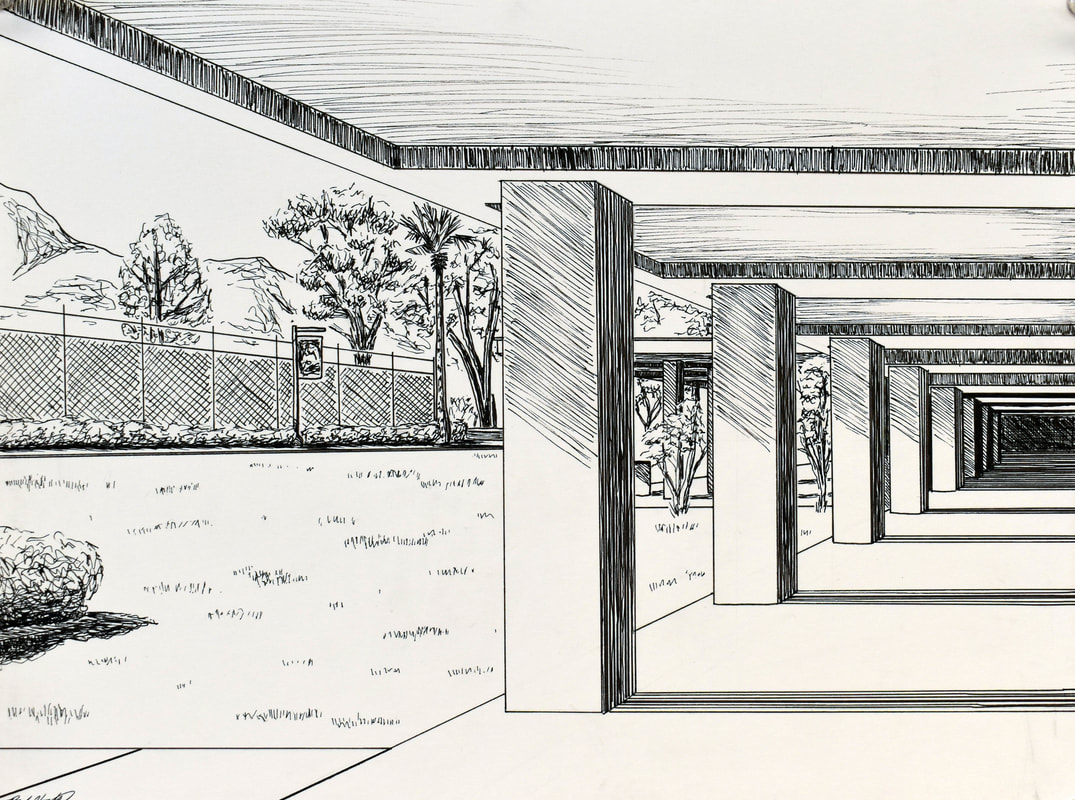
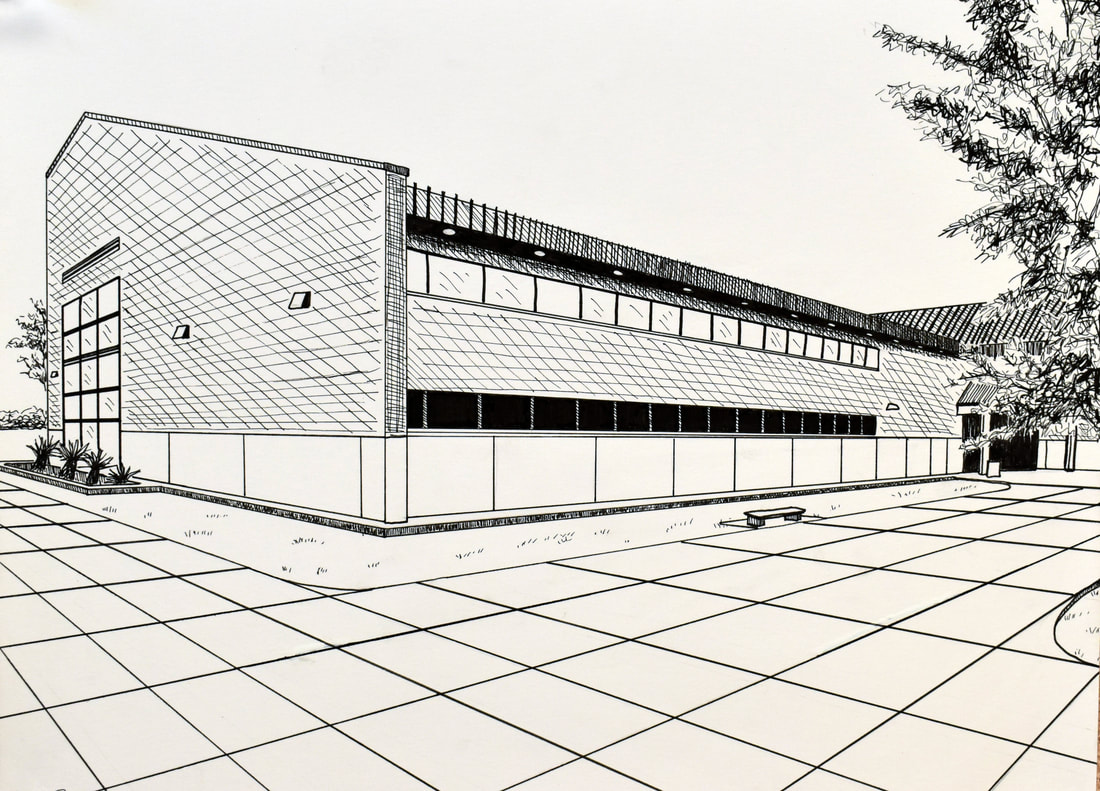
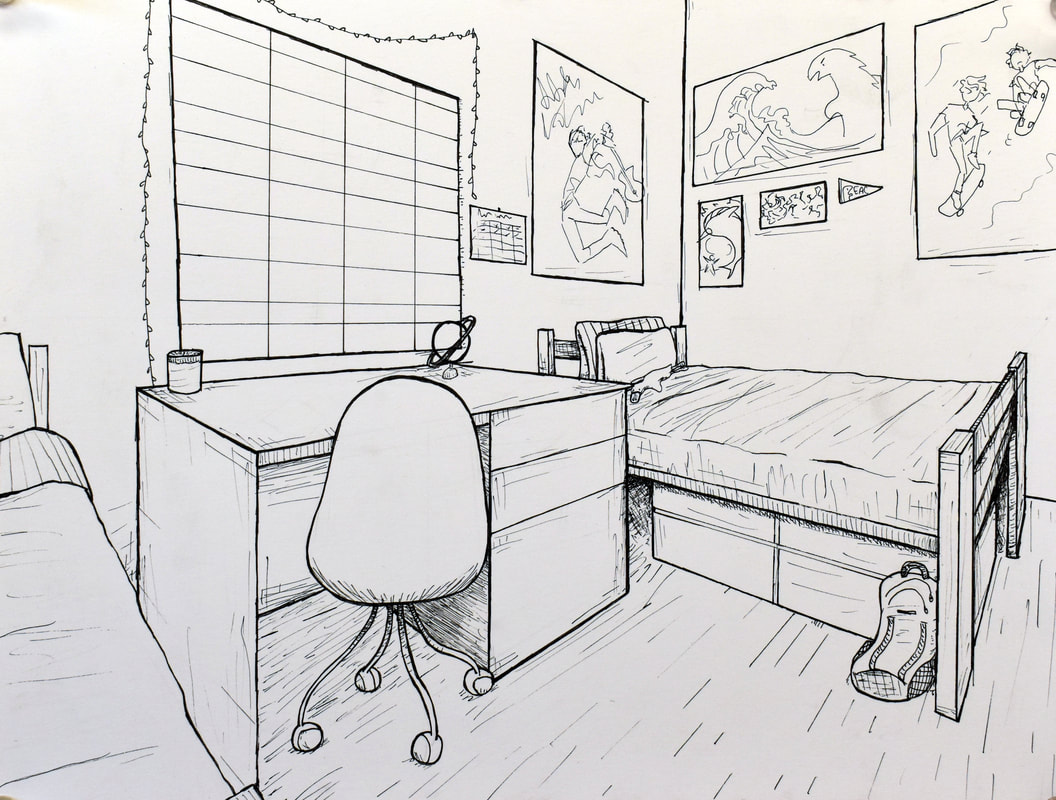
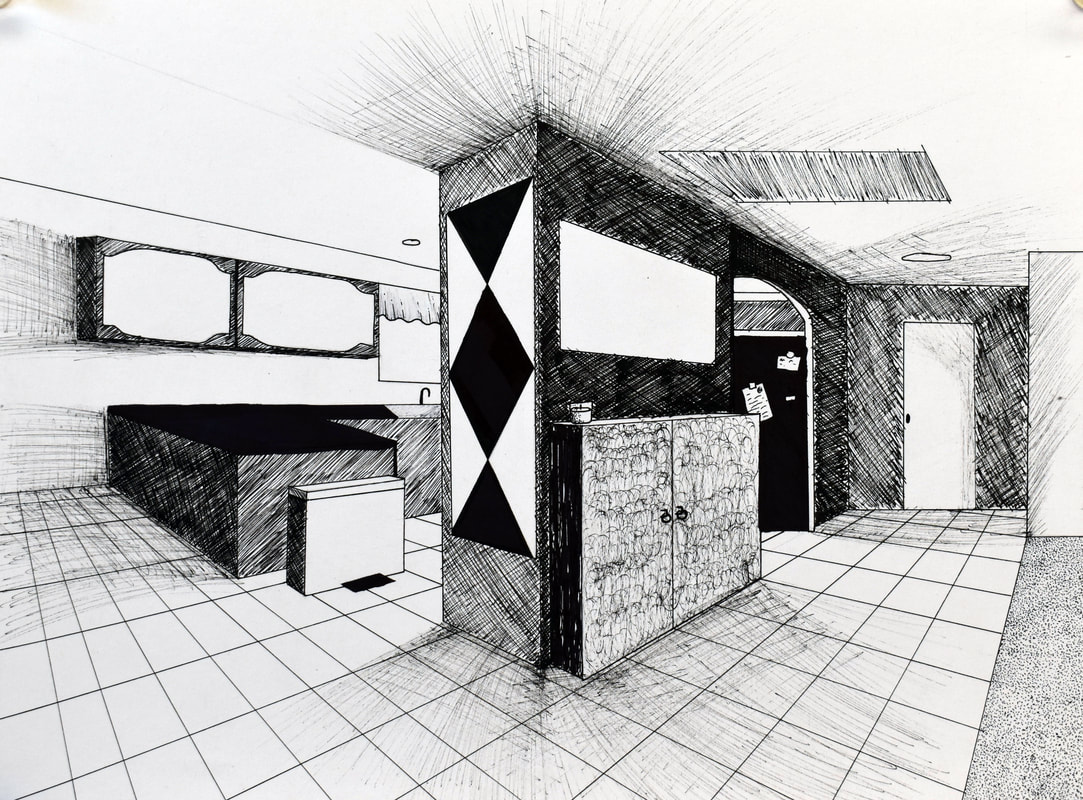
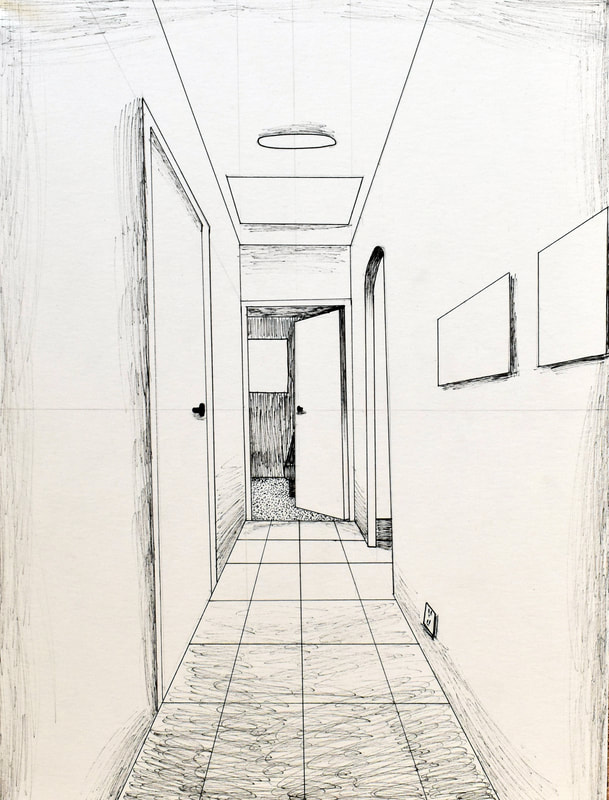
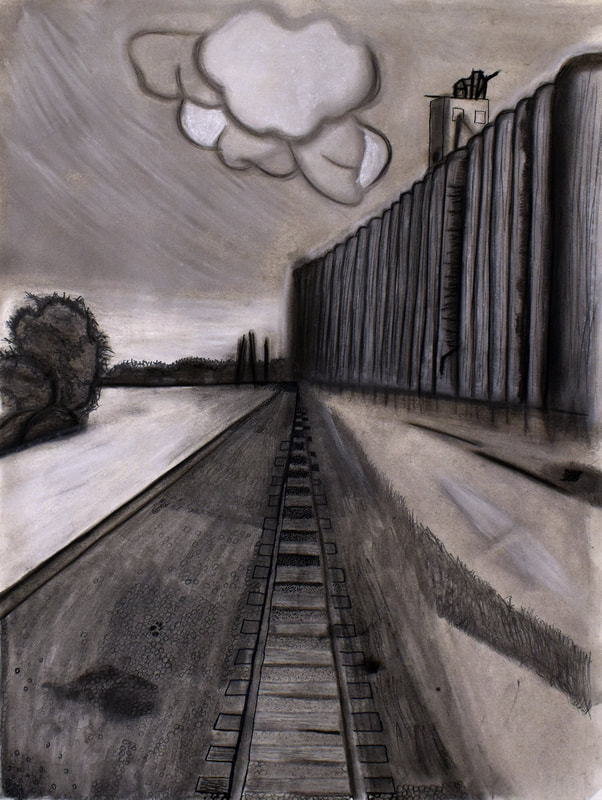
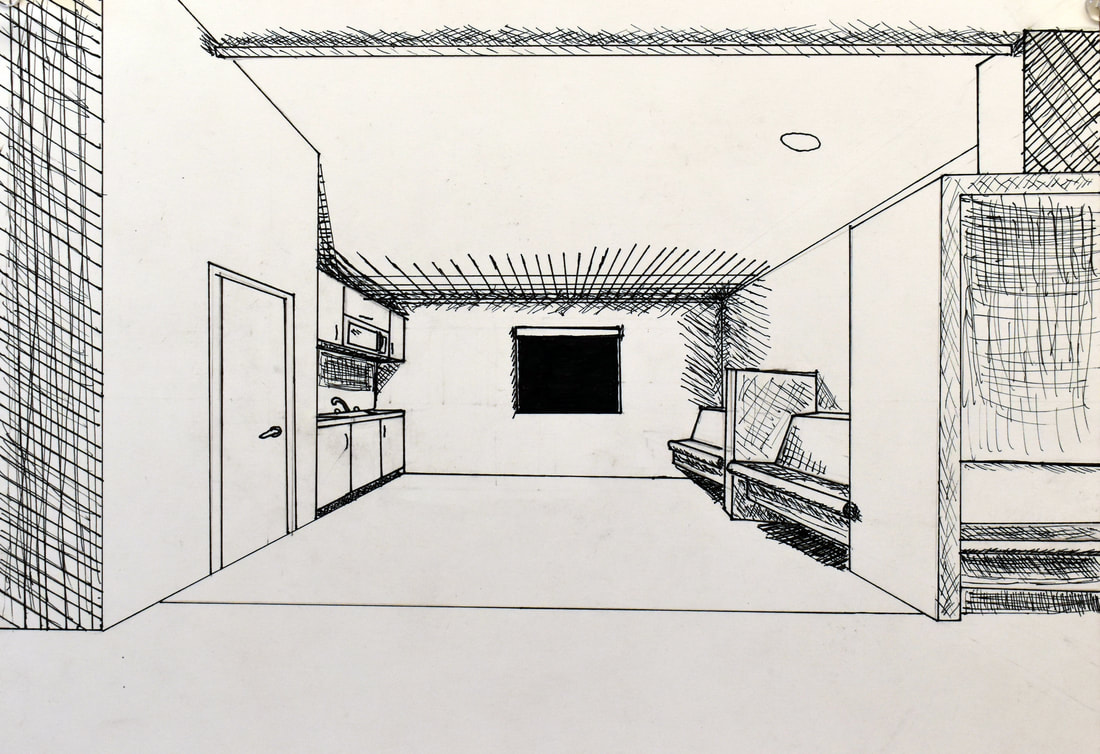
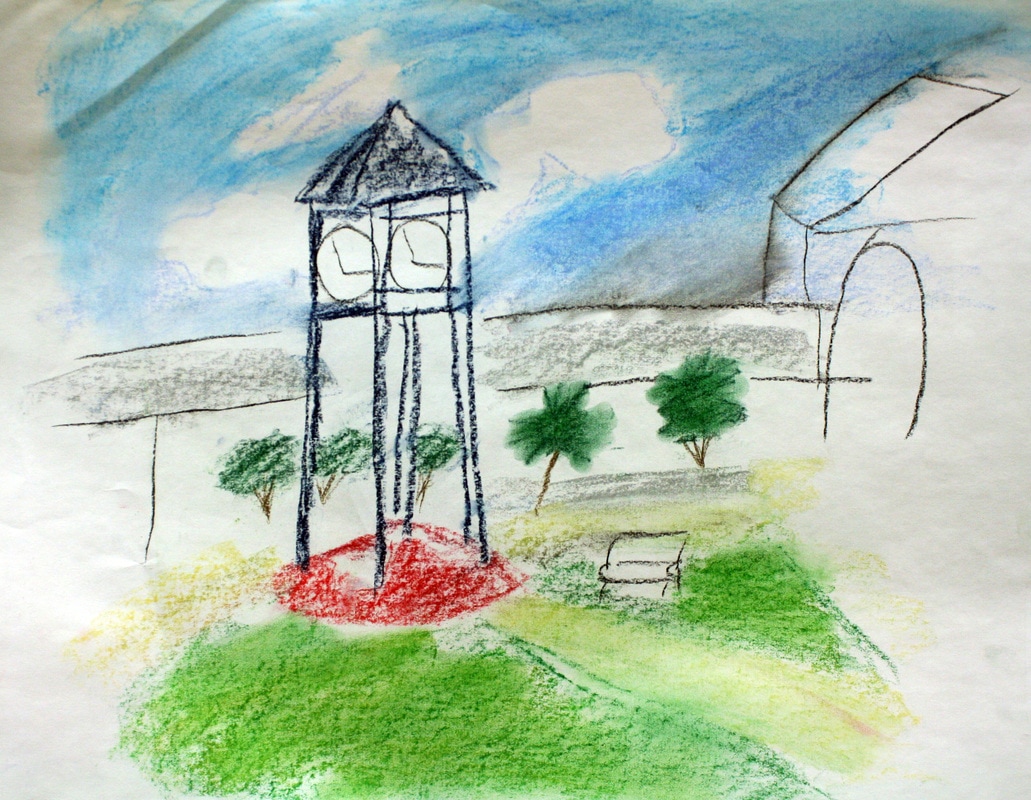
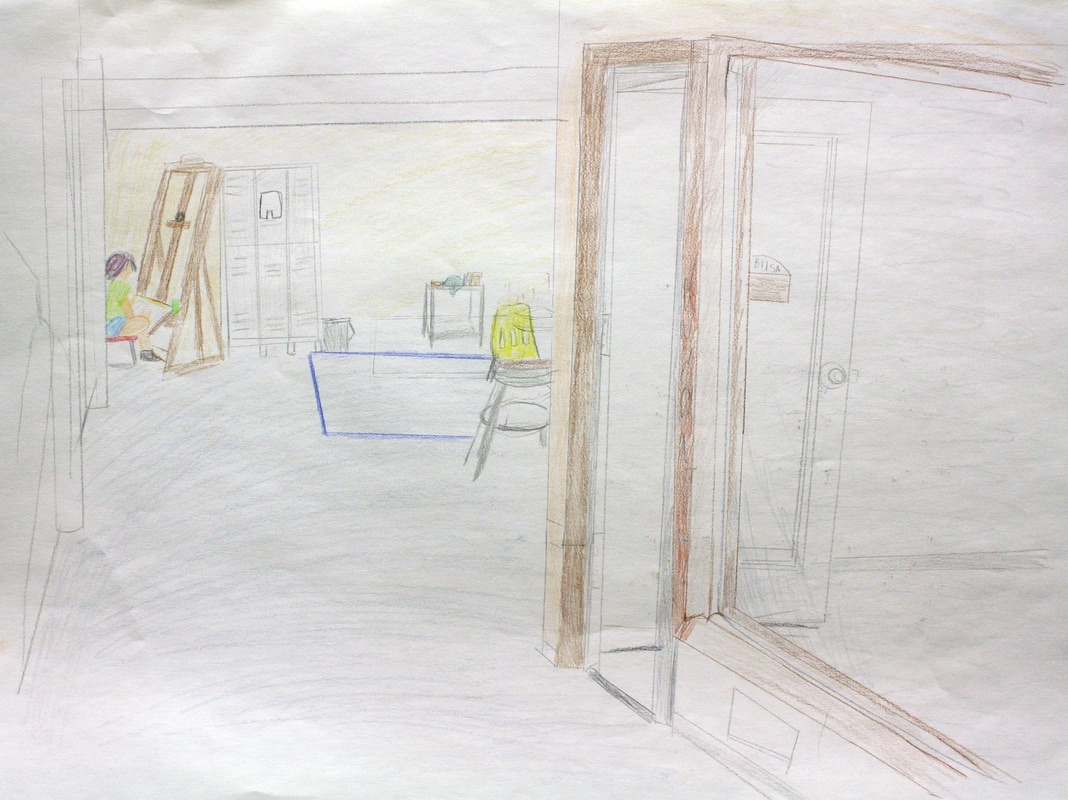
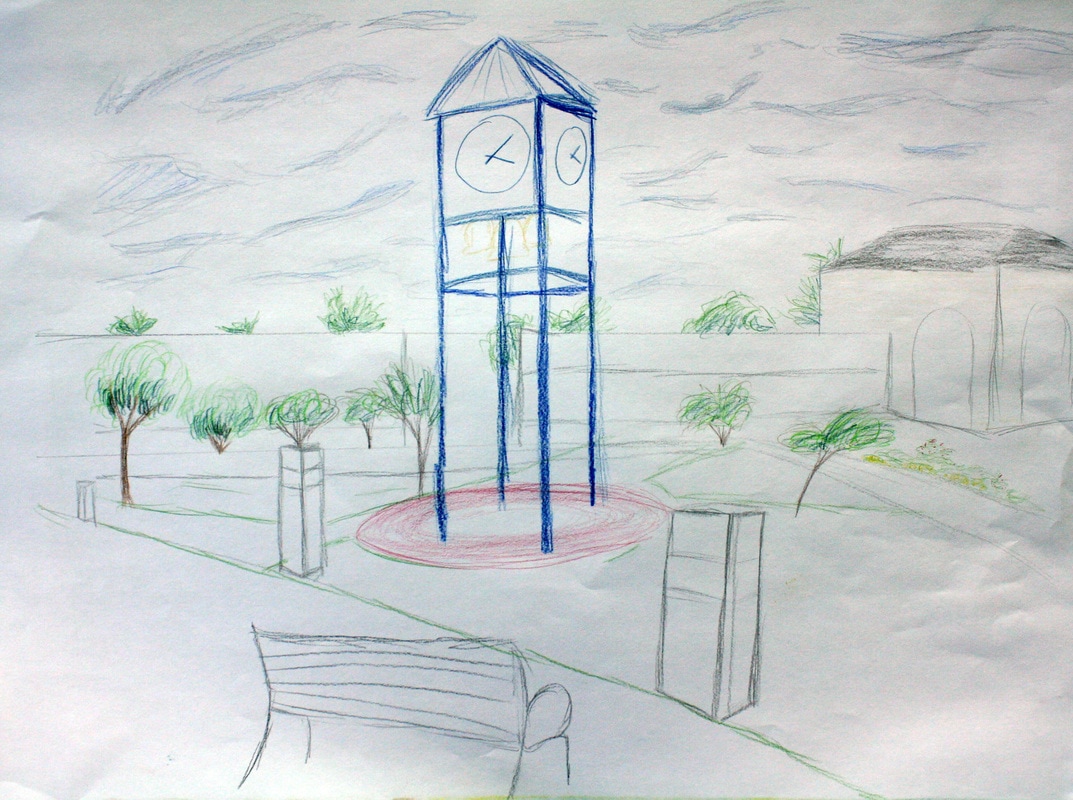
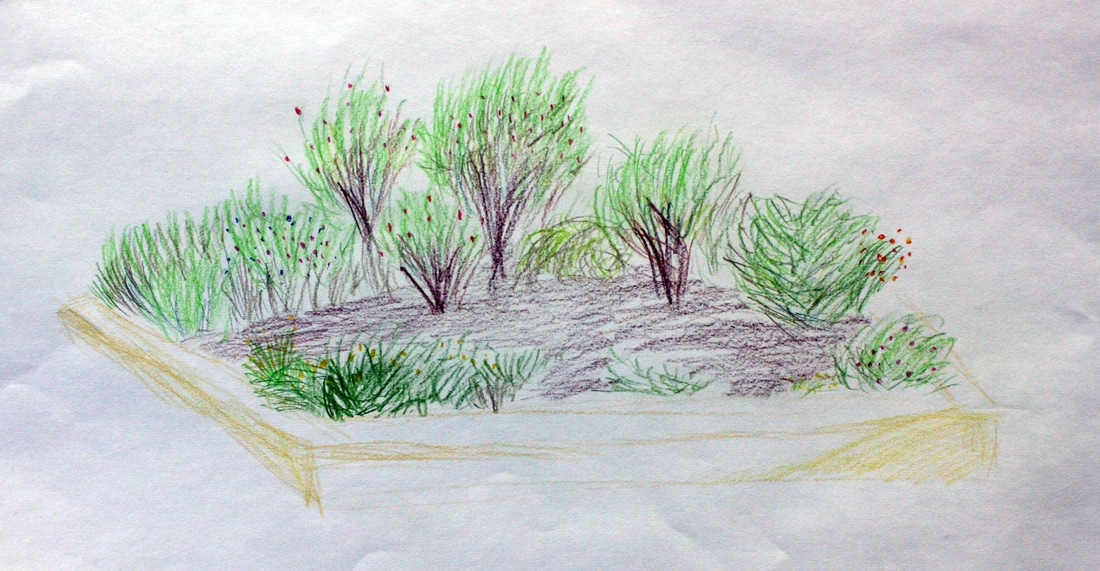
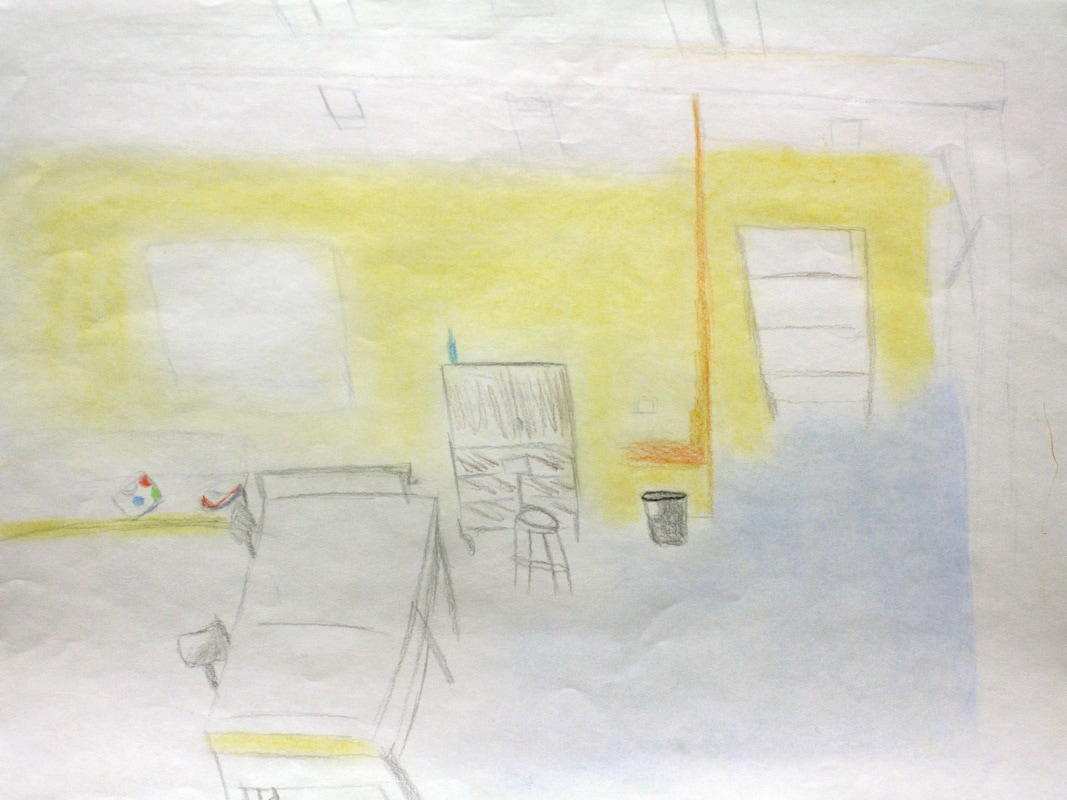
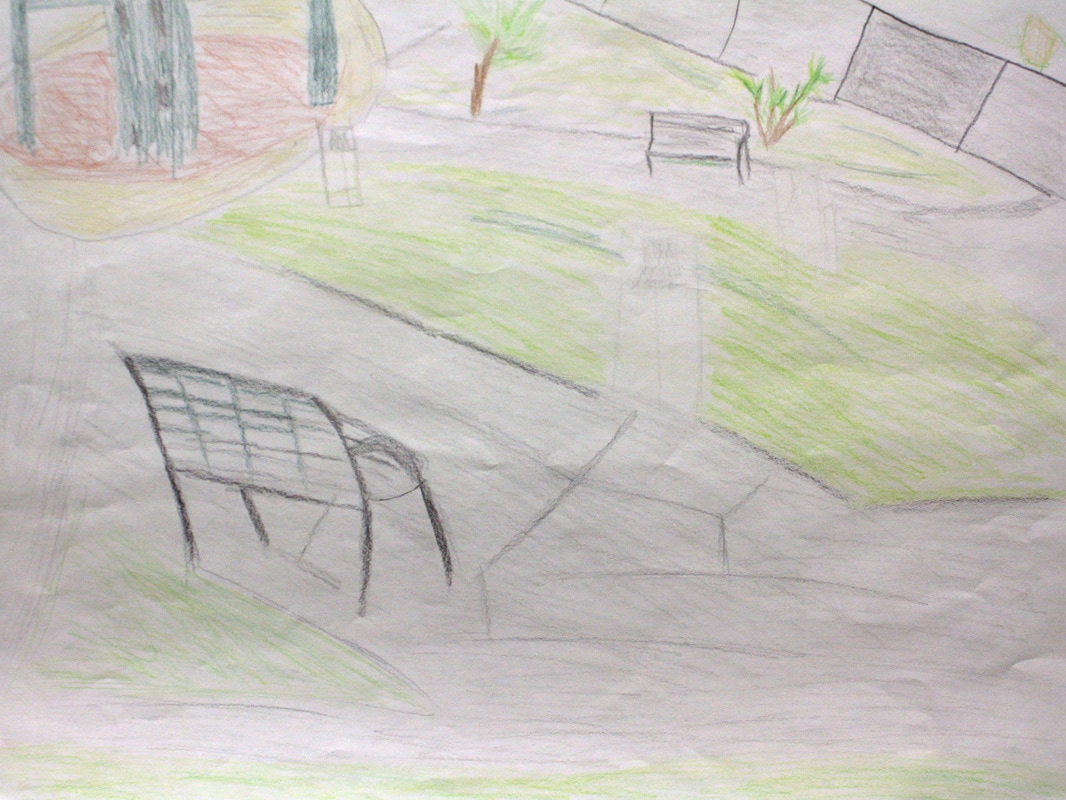
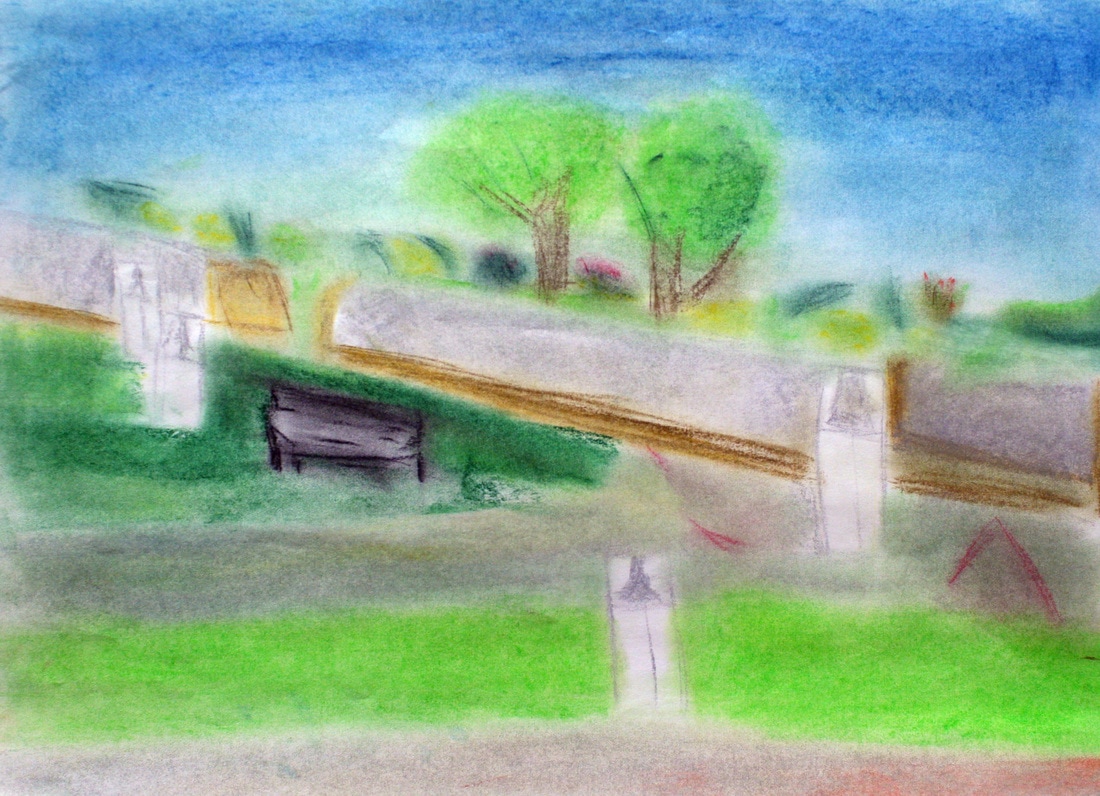
Interior & Exterior - The interior and exterior assignment consists of a lecture about one-point and two-point perspectives concerning indoor and outdoor environments. Then, color is introduced in the form of the mediums of chalk pastel and color pencils. The students create studies on drawing paper as well as tinted paper, and also create studies indoors and outdoors. They are taught to work fast due to the changing natural light outdoors. They then are asked to create a composition using one of the mediums that focuses on the perspective indoors or outdoors.

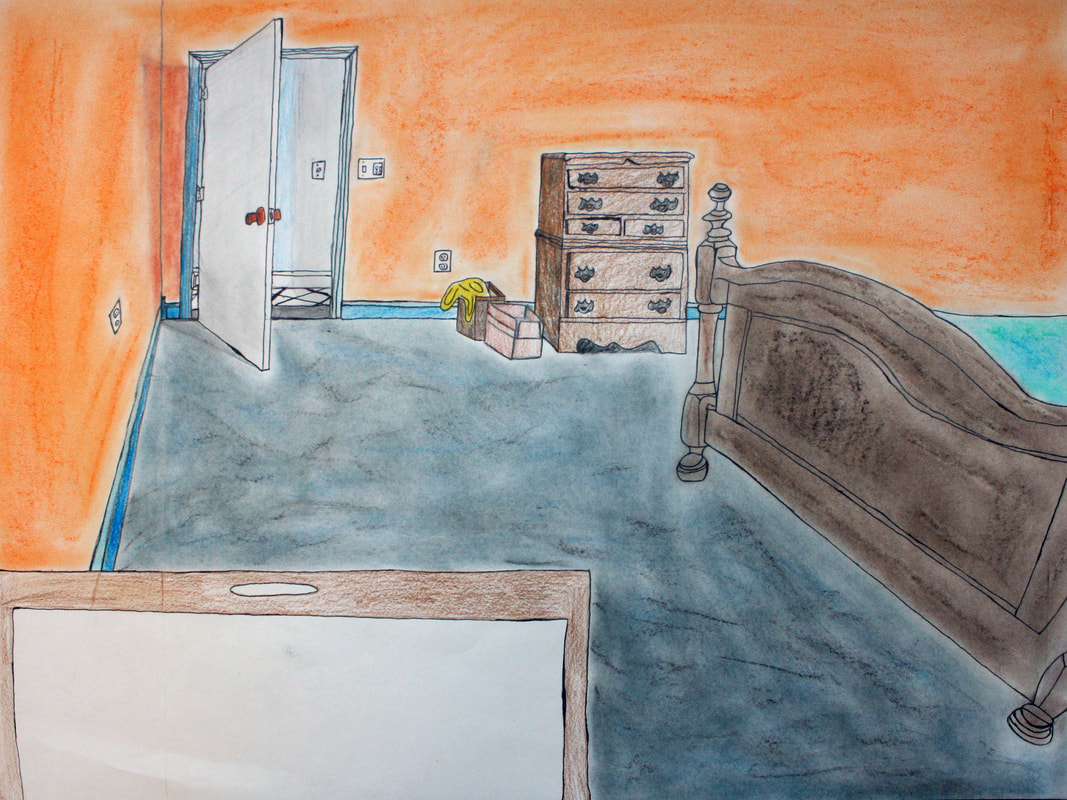
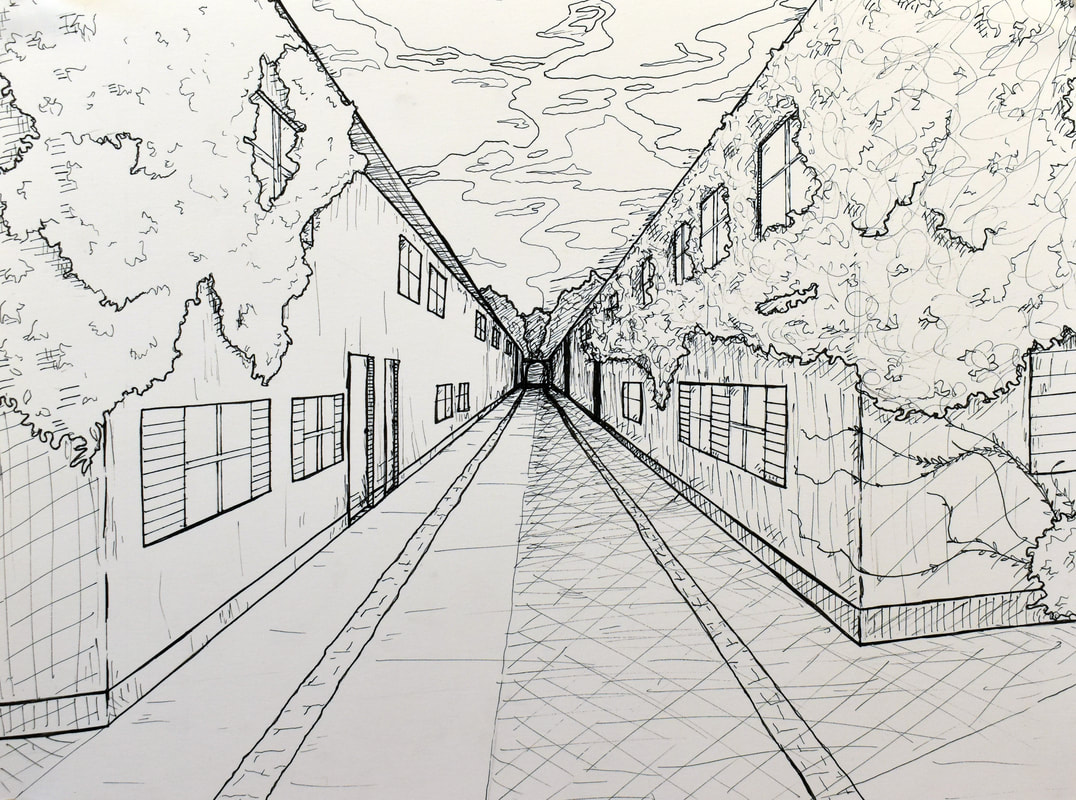
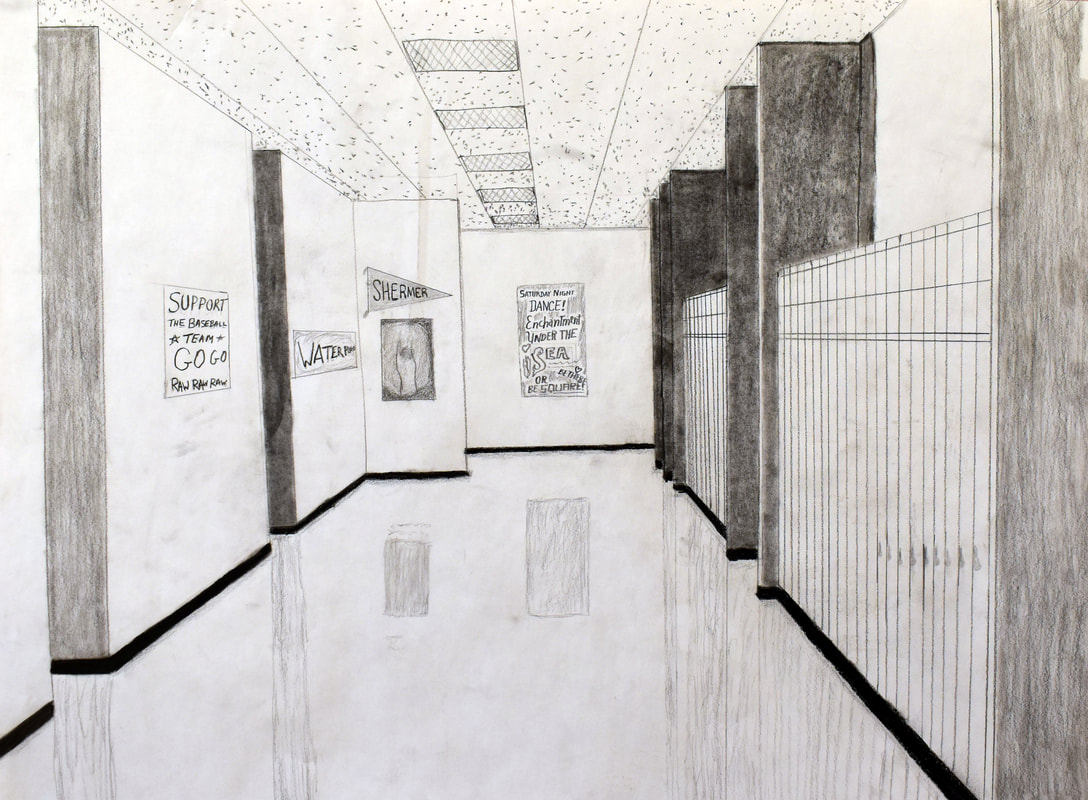
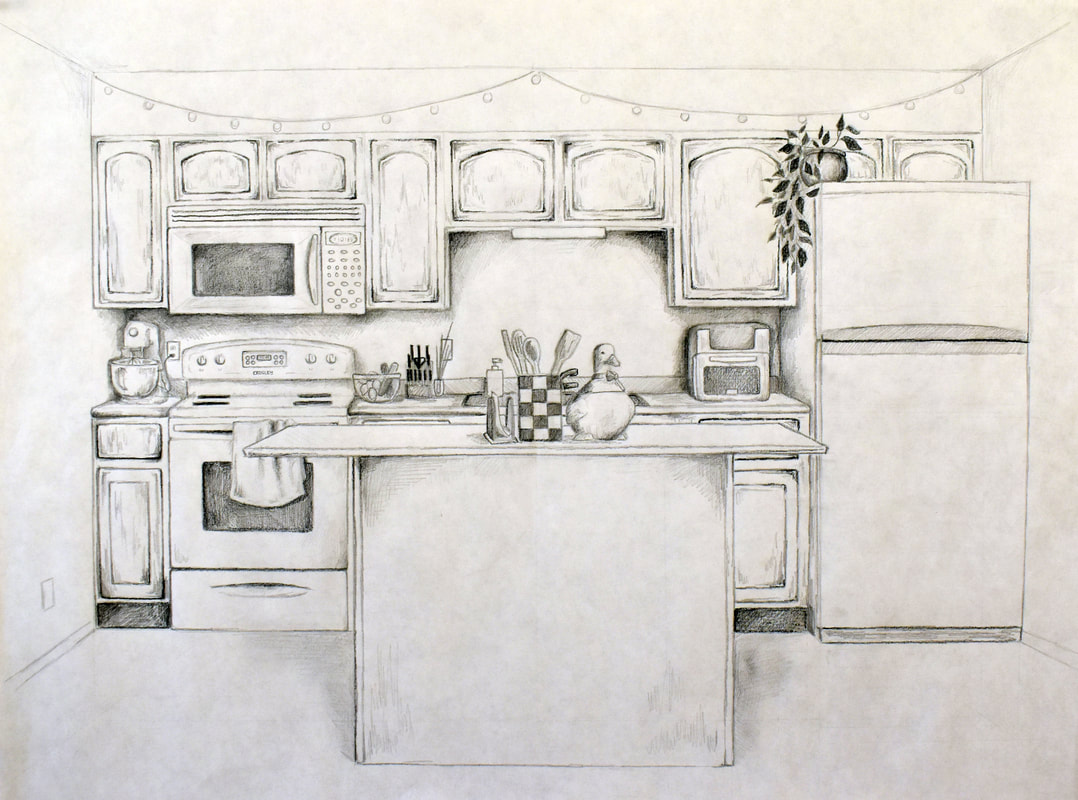
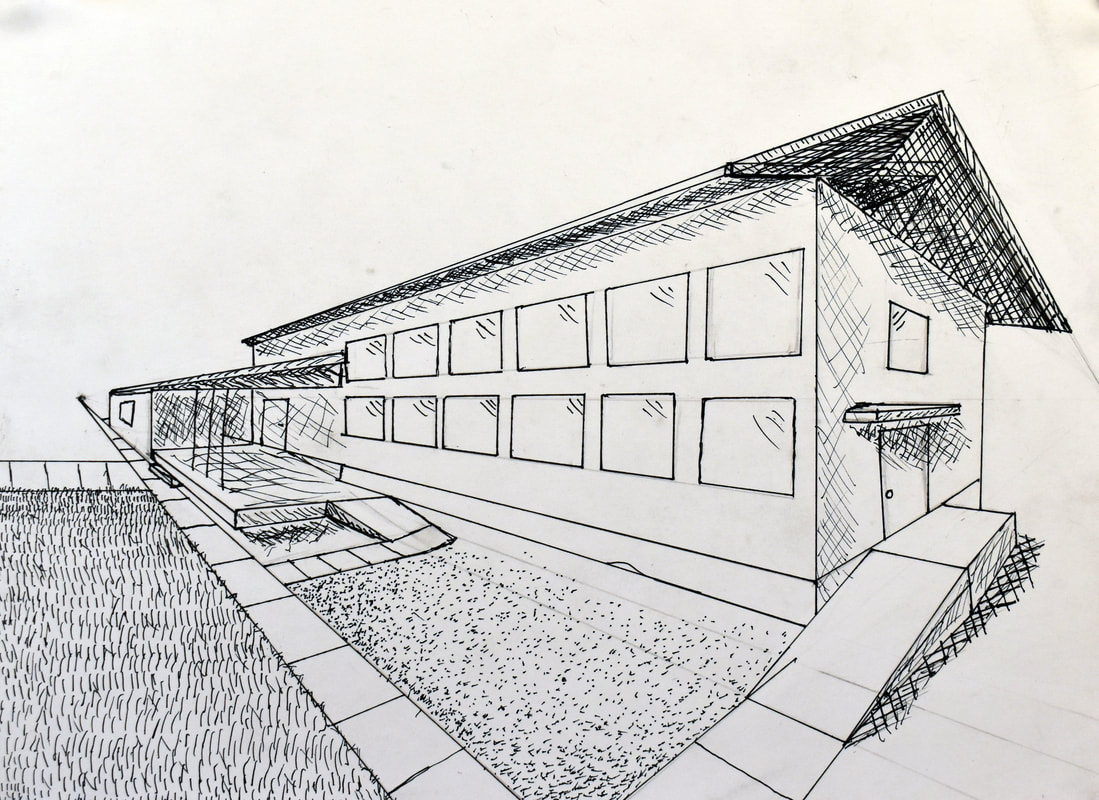
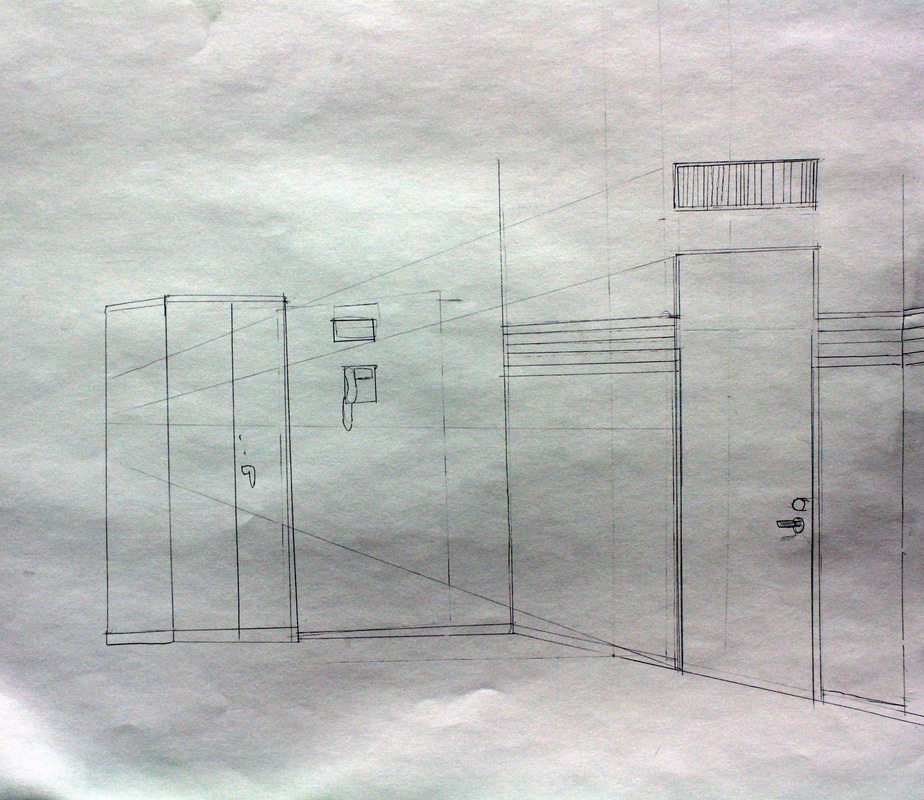
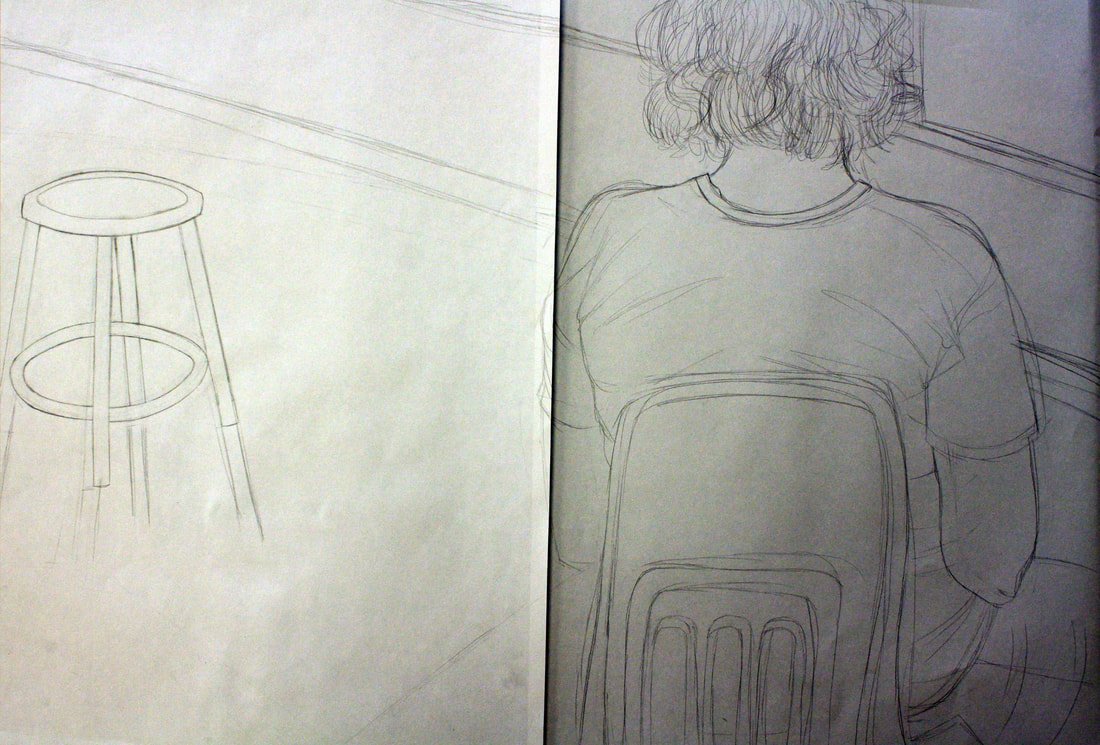
Perspective Project - Students are shown a lecture concerning one-point and two-point perspective. Afterwards, they spend class time creating both one-point and two-point perspectives inside the classroom, in other interiors, and also outside in various exteriors. For these images, they use primarily graphite and pen & ink. They are then asked to either use an 18x24 piece of drawing paper or two smaller sheets of Bristol to create a composition using either graphite or pen & ink that uses one-point, two-point, or both perspectives proficiently.
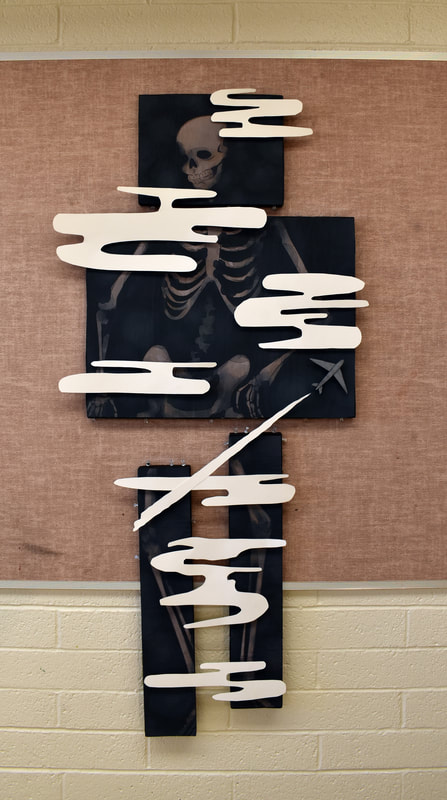
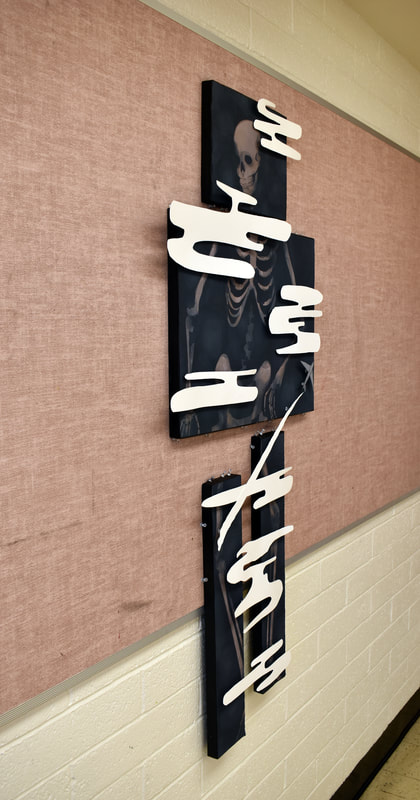
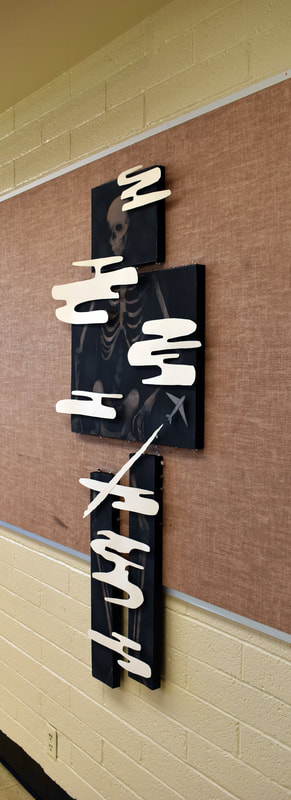
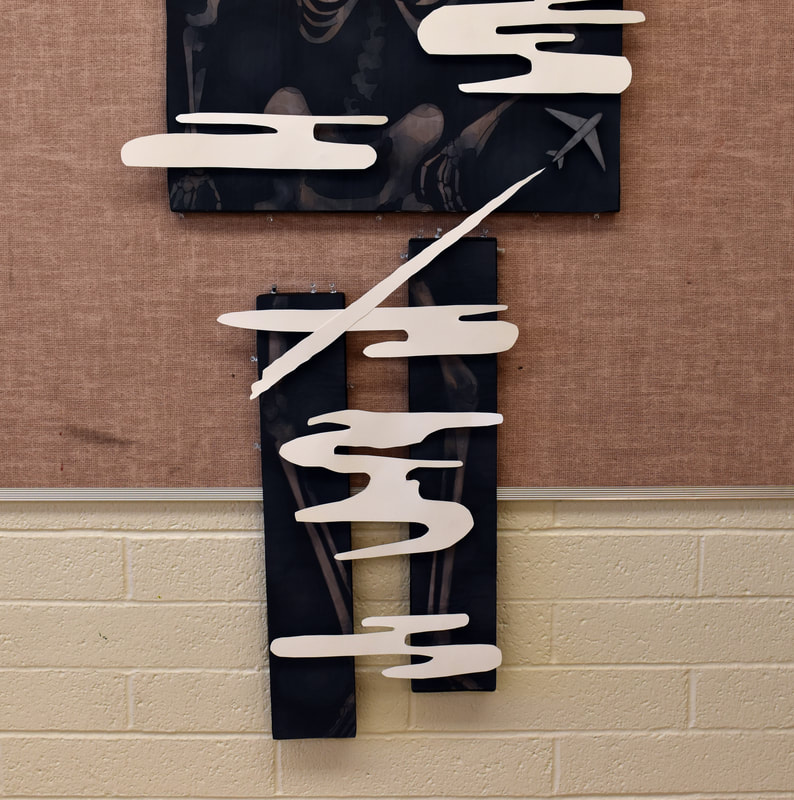
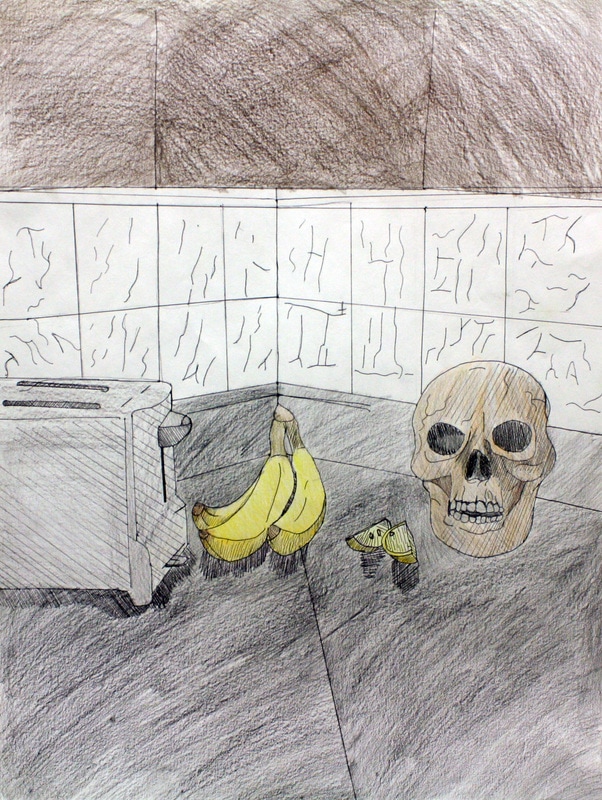
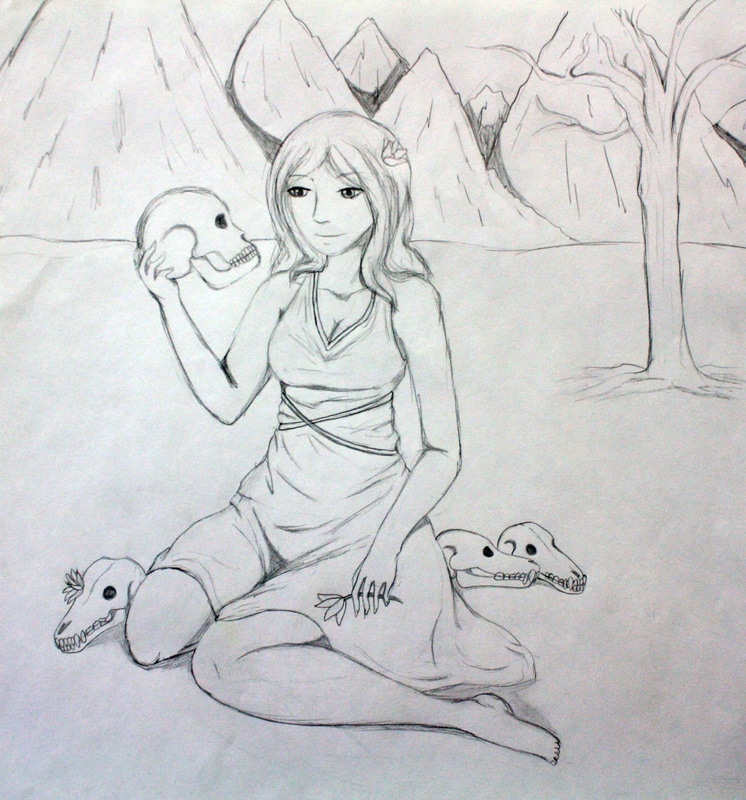
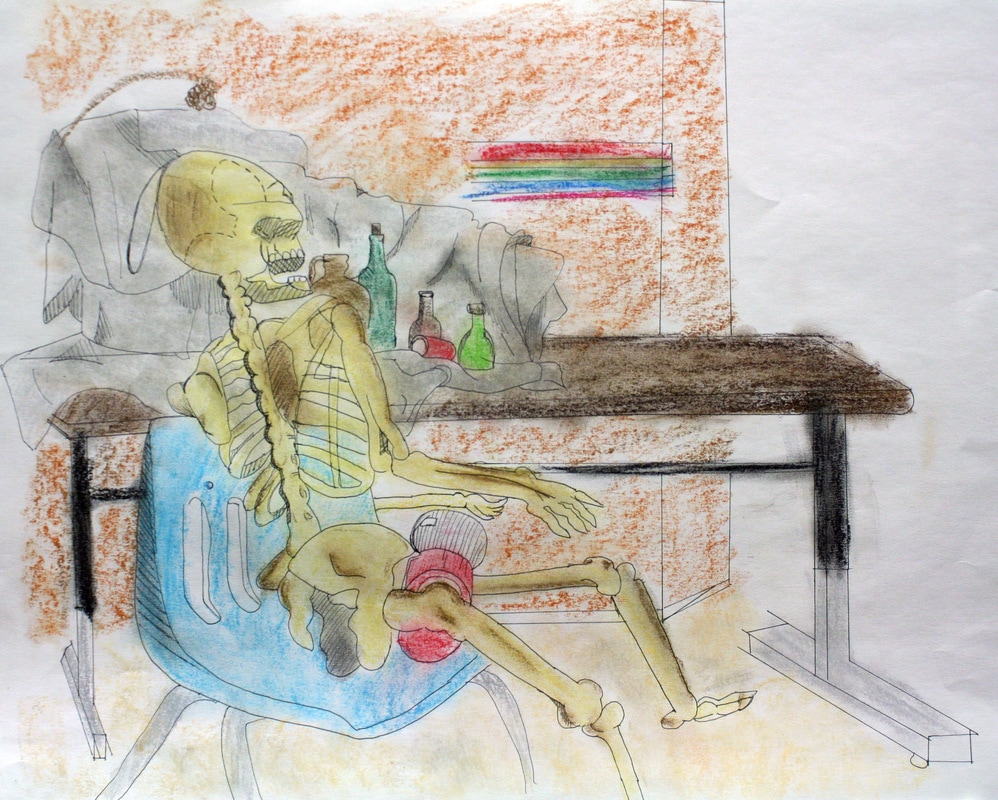
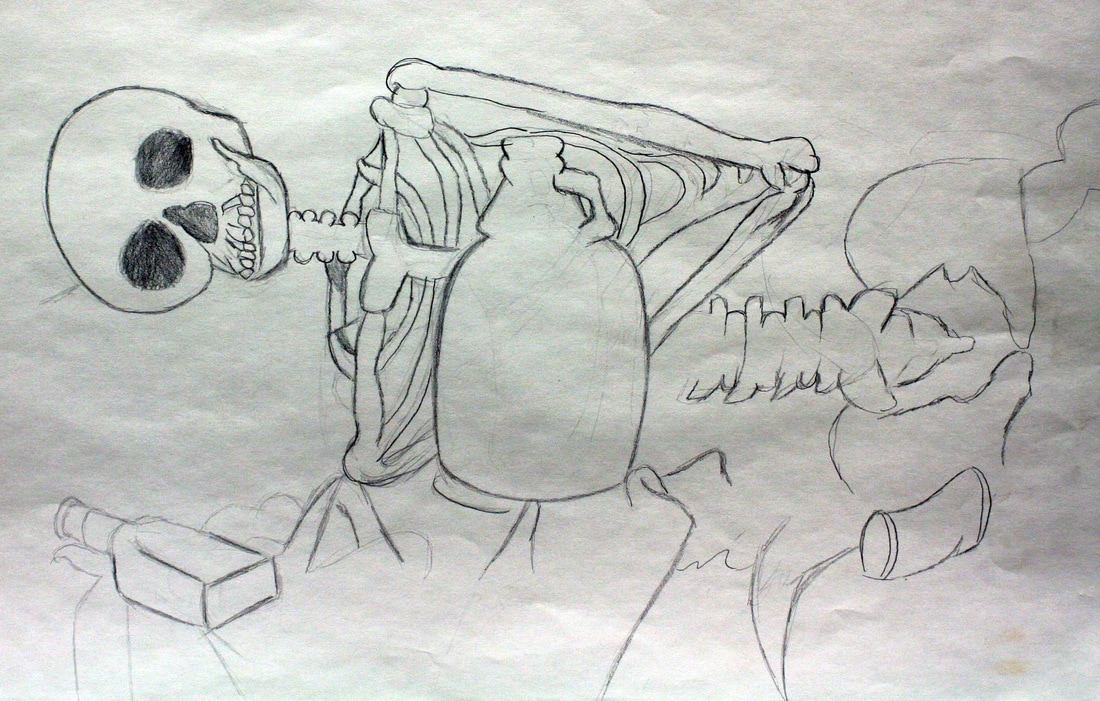
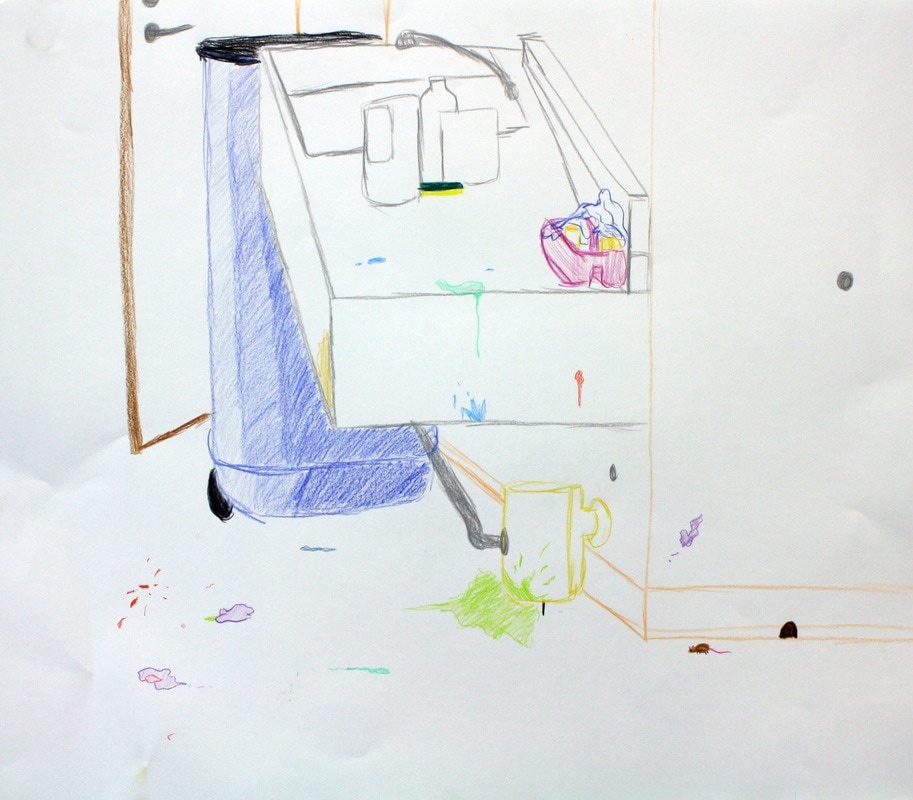
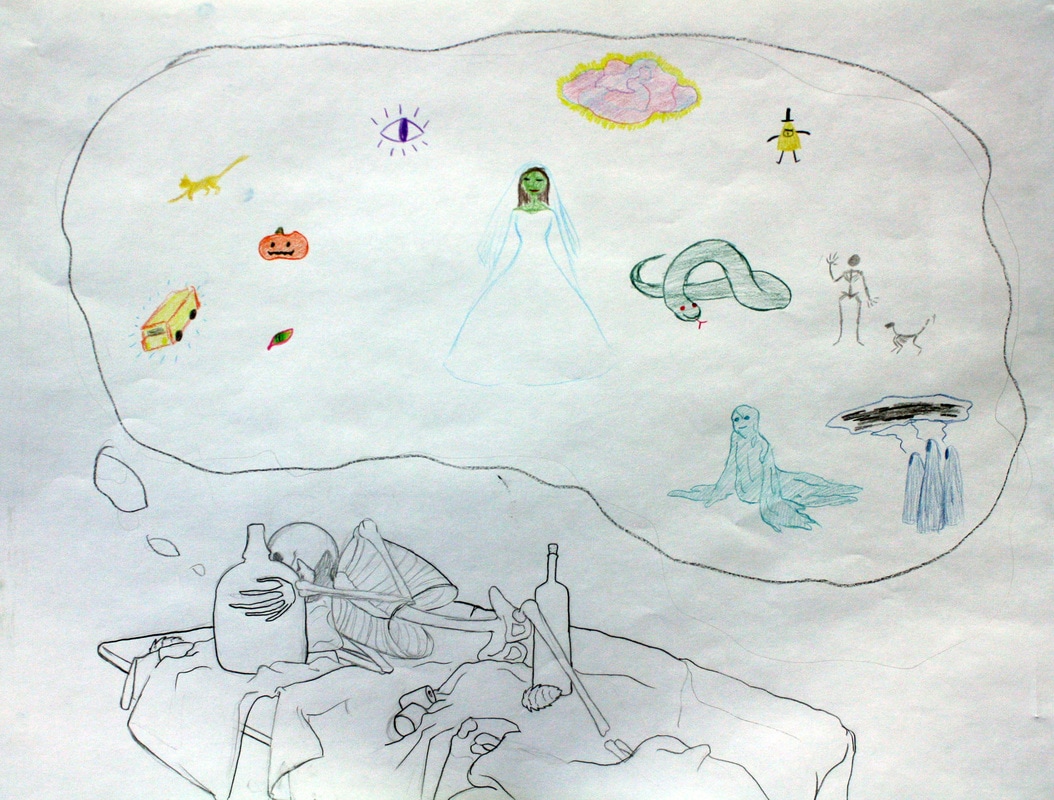
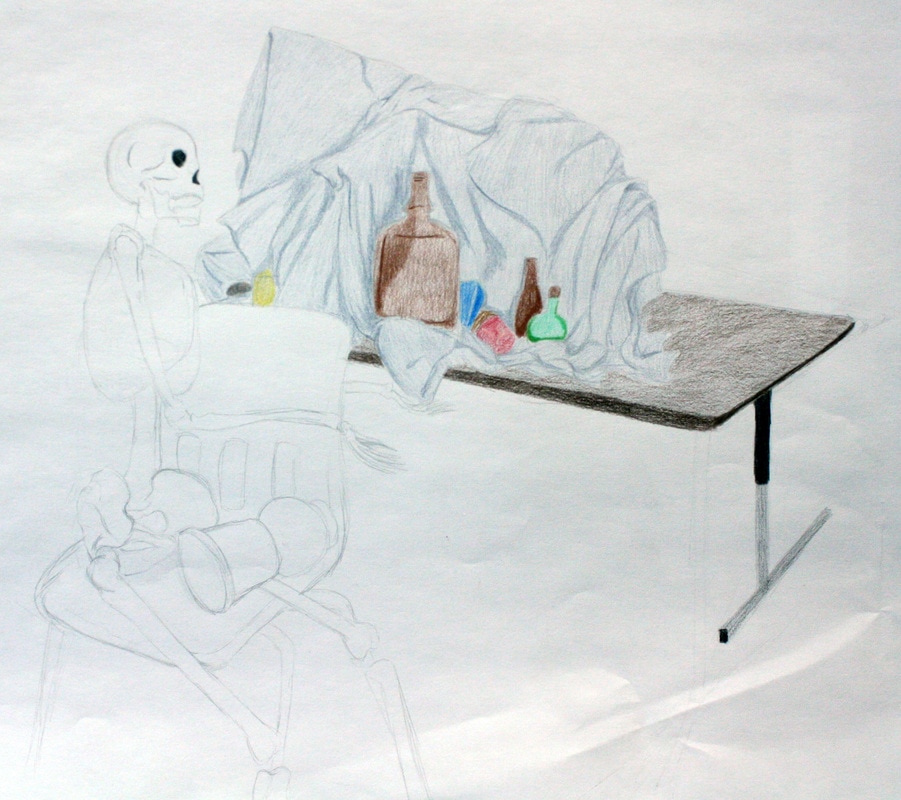
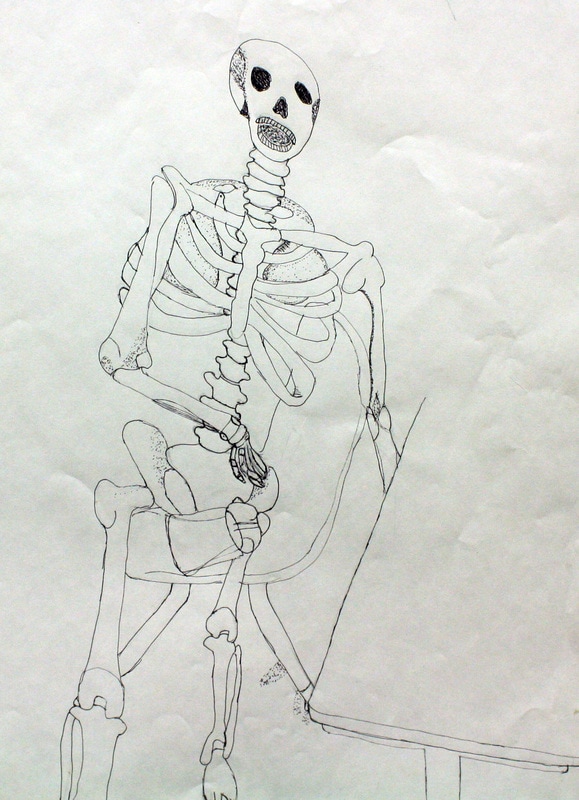
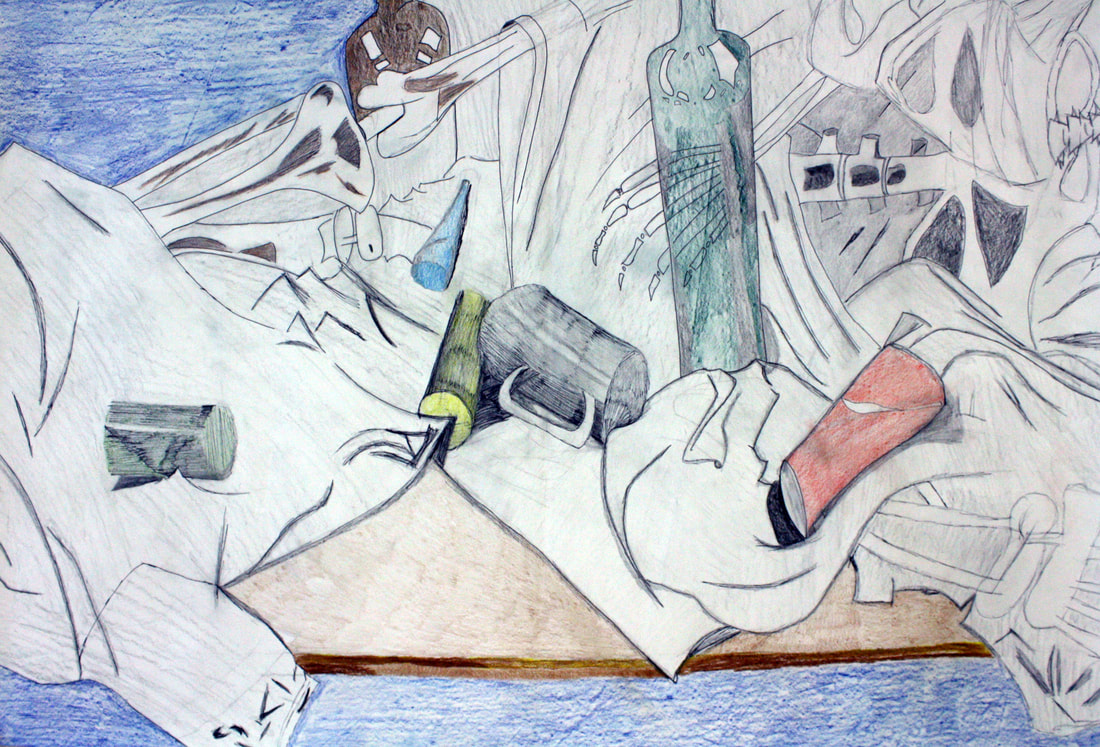
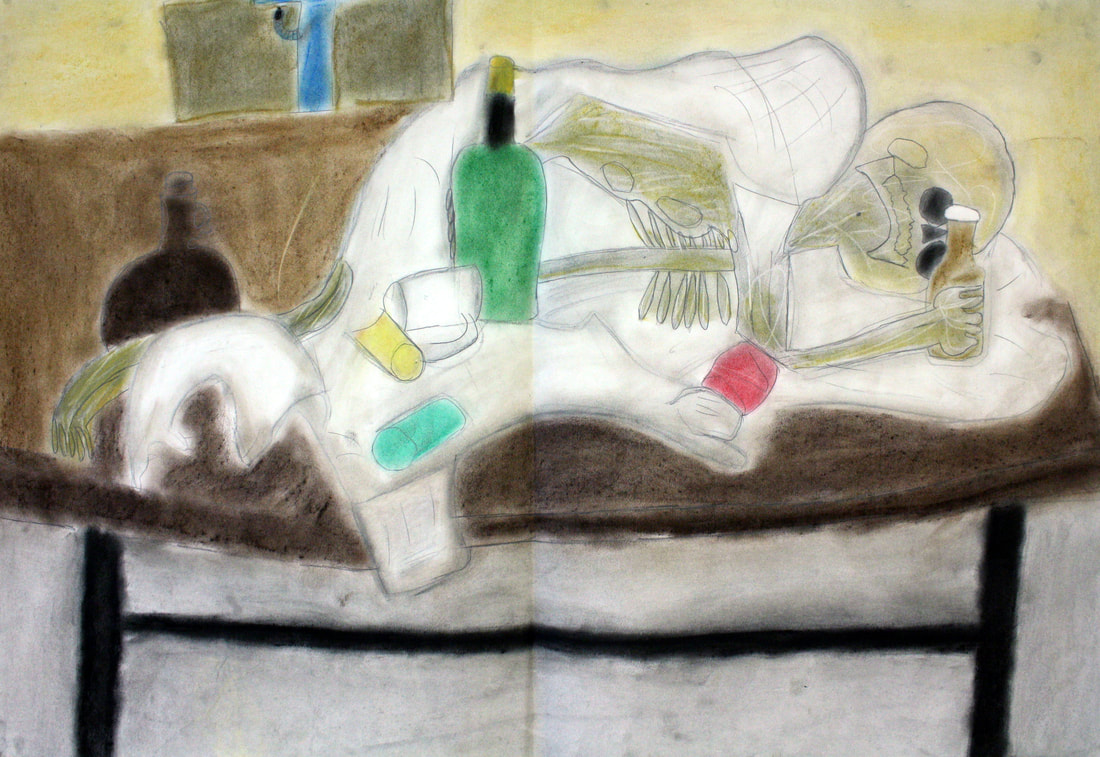
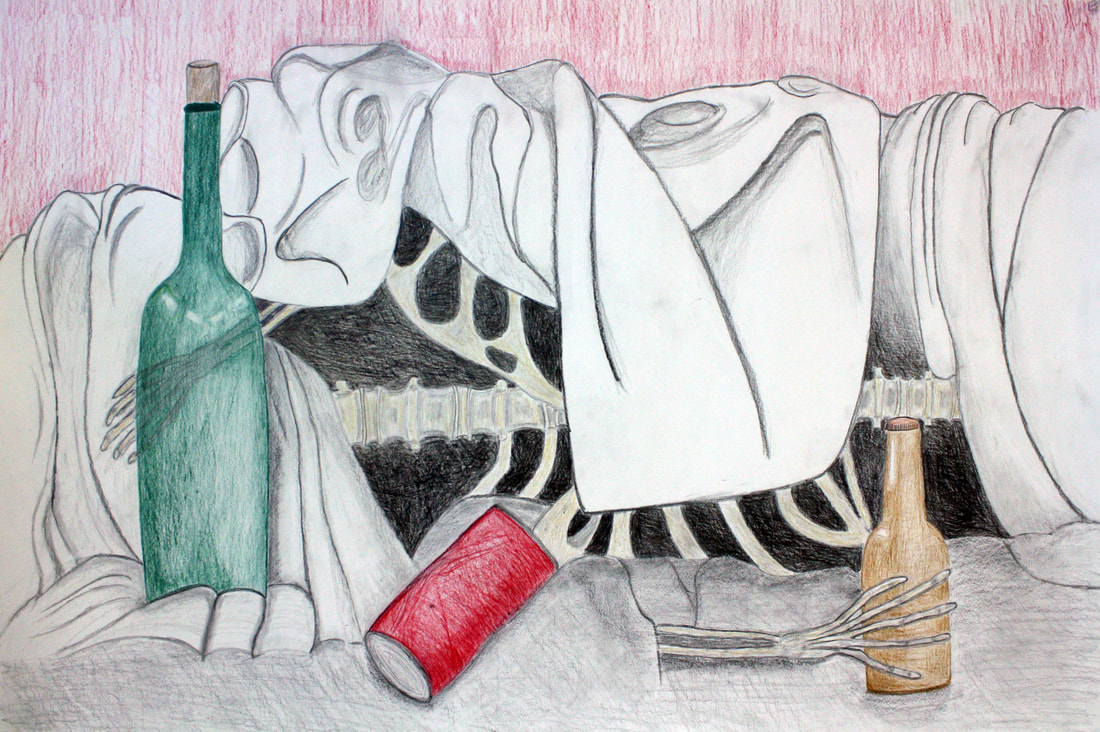
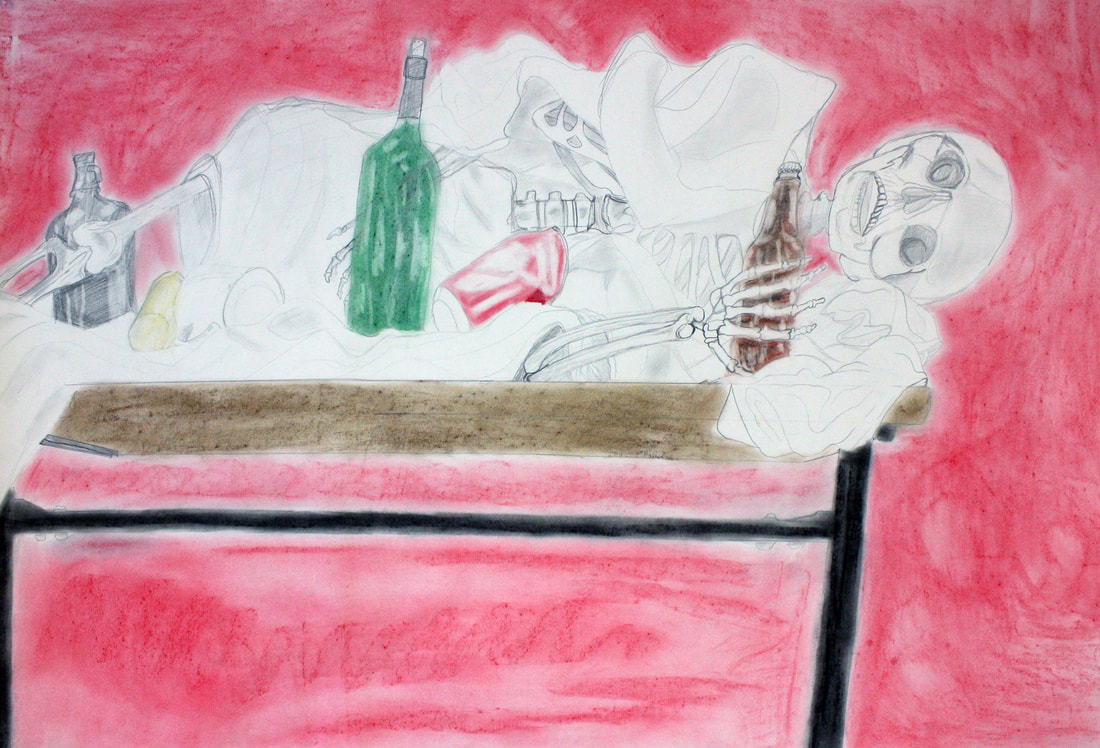
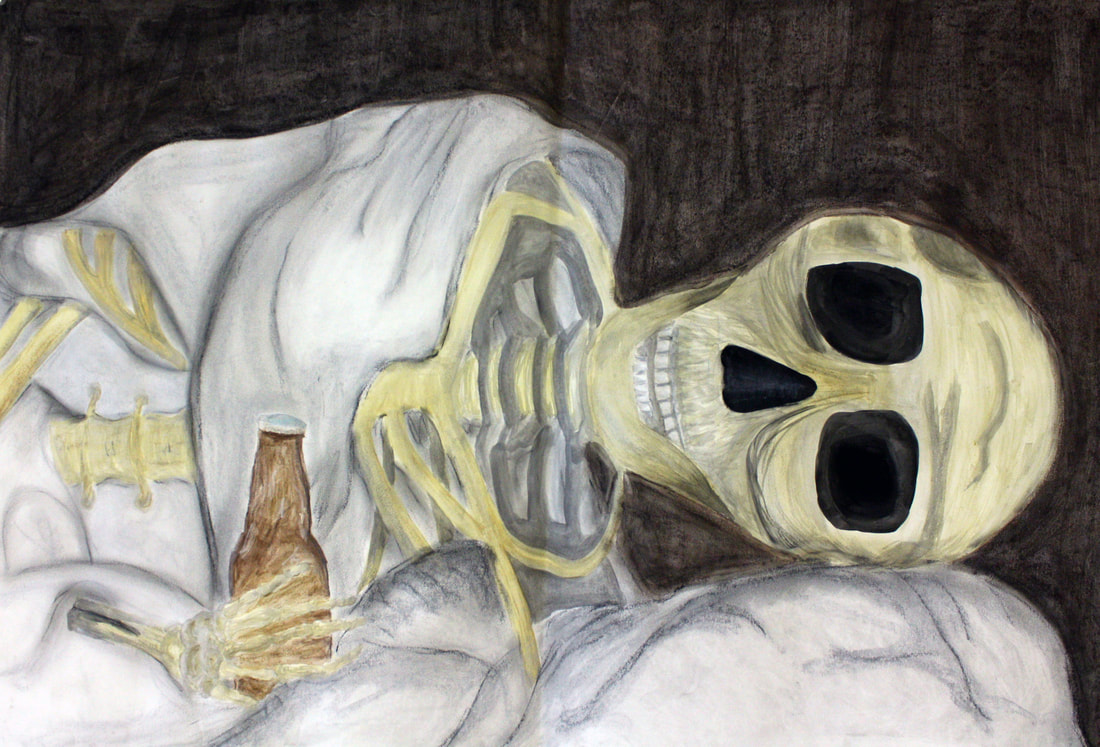
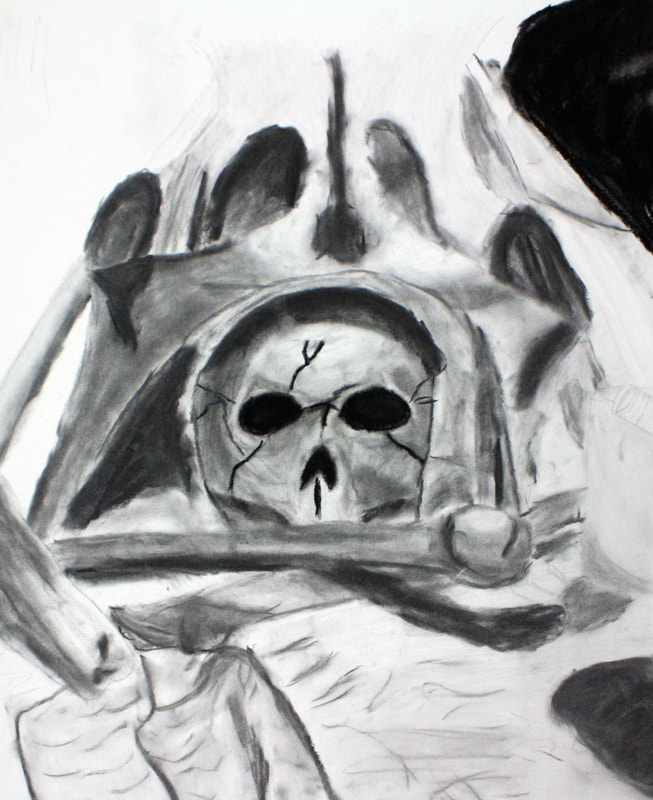
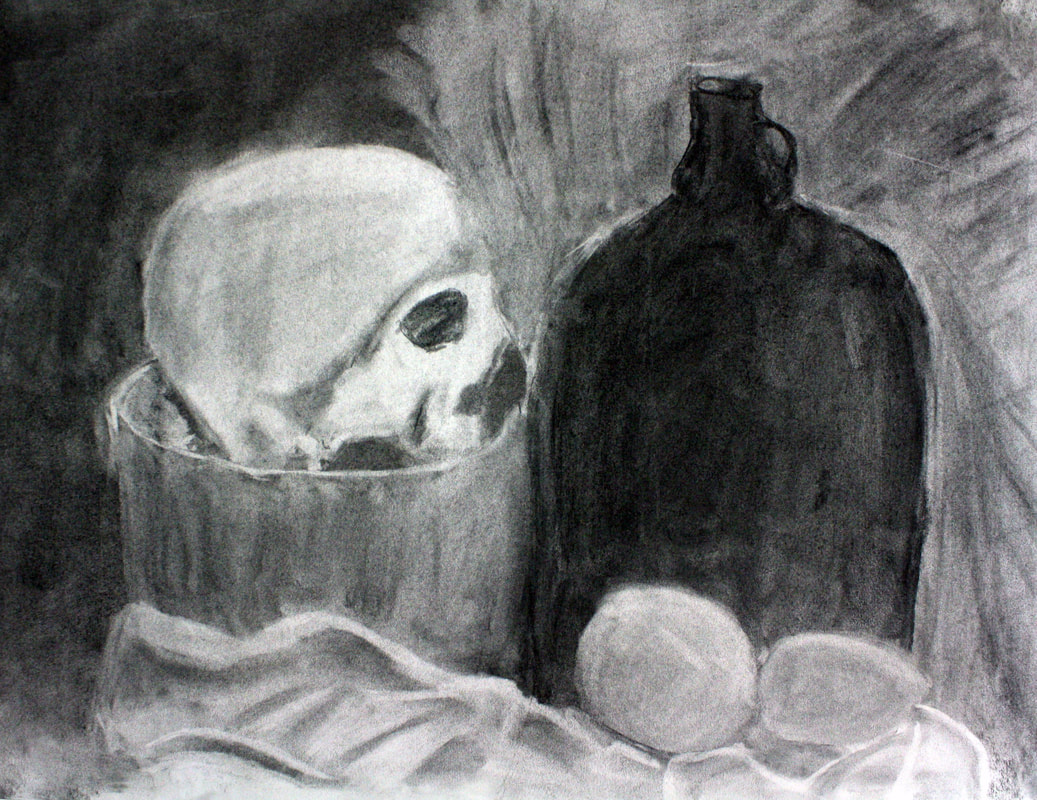
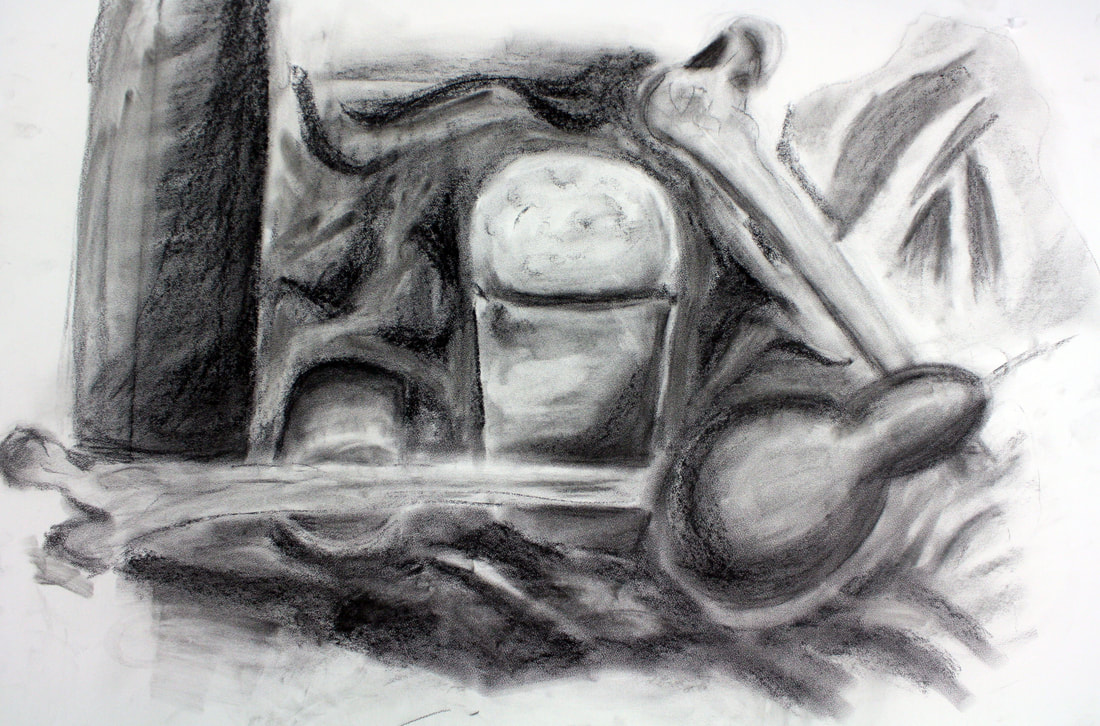
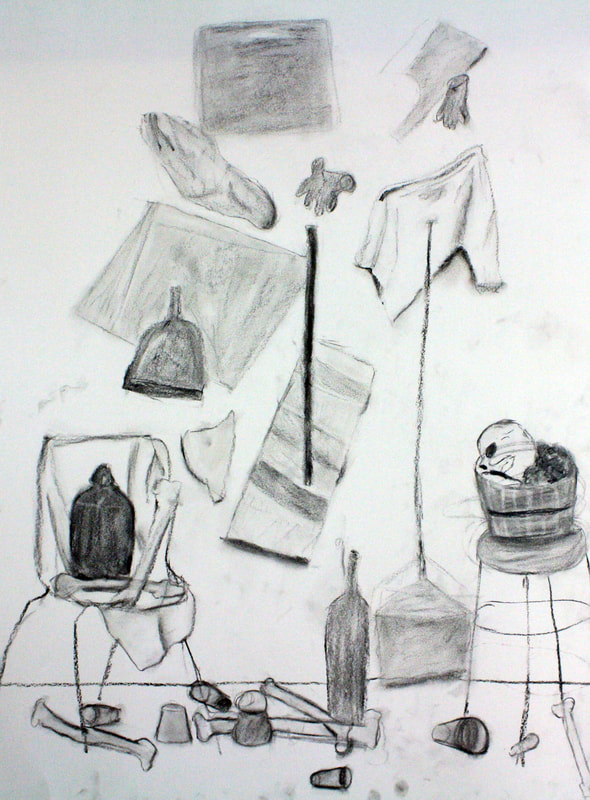
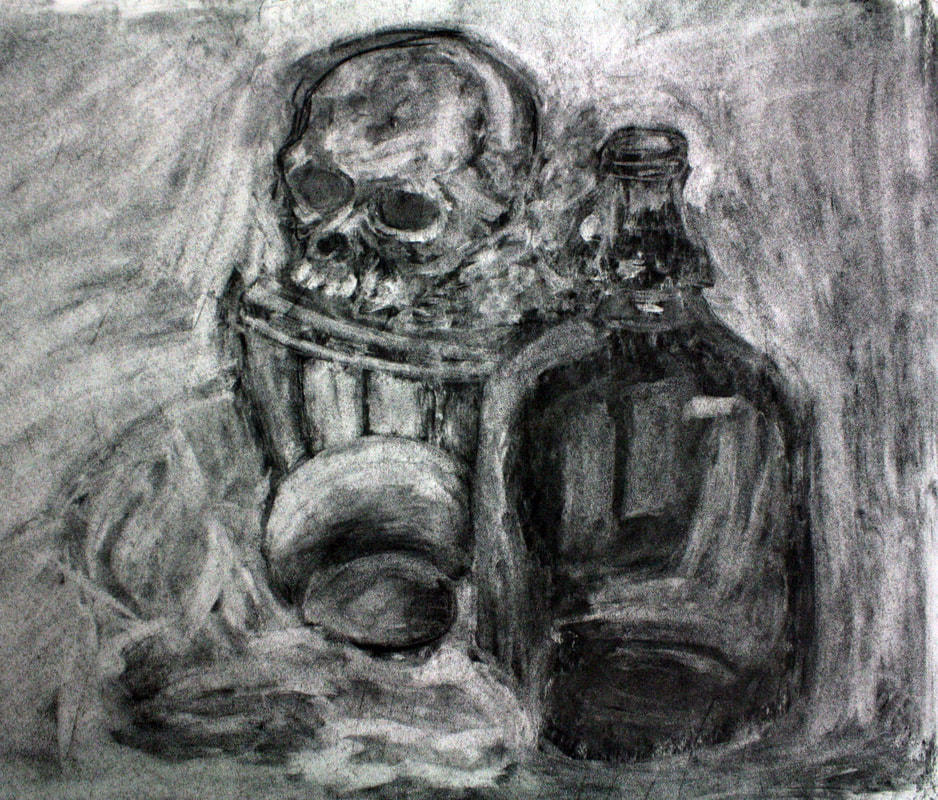
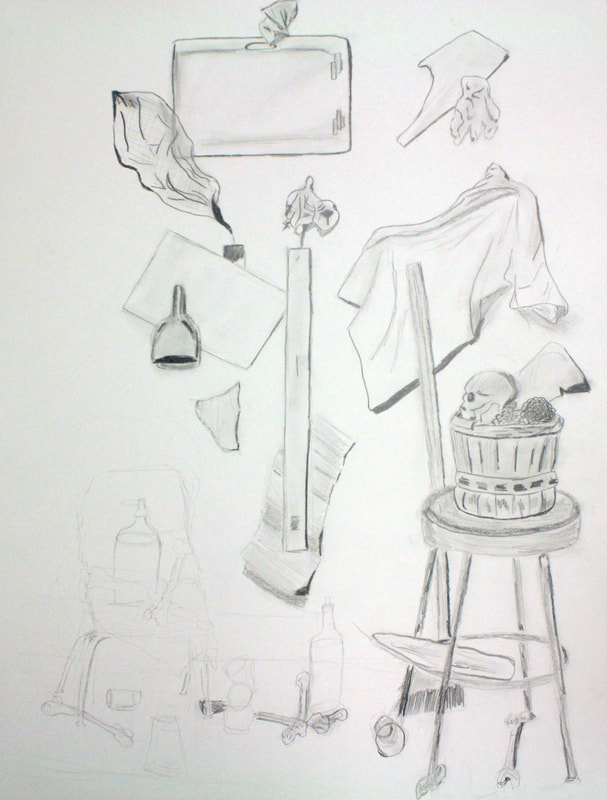
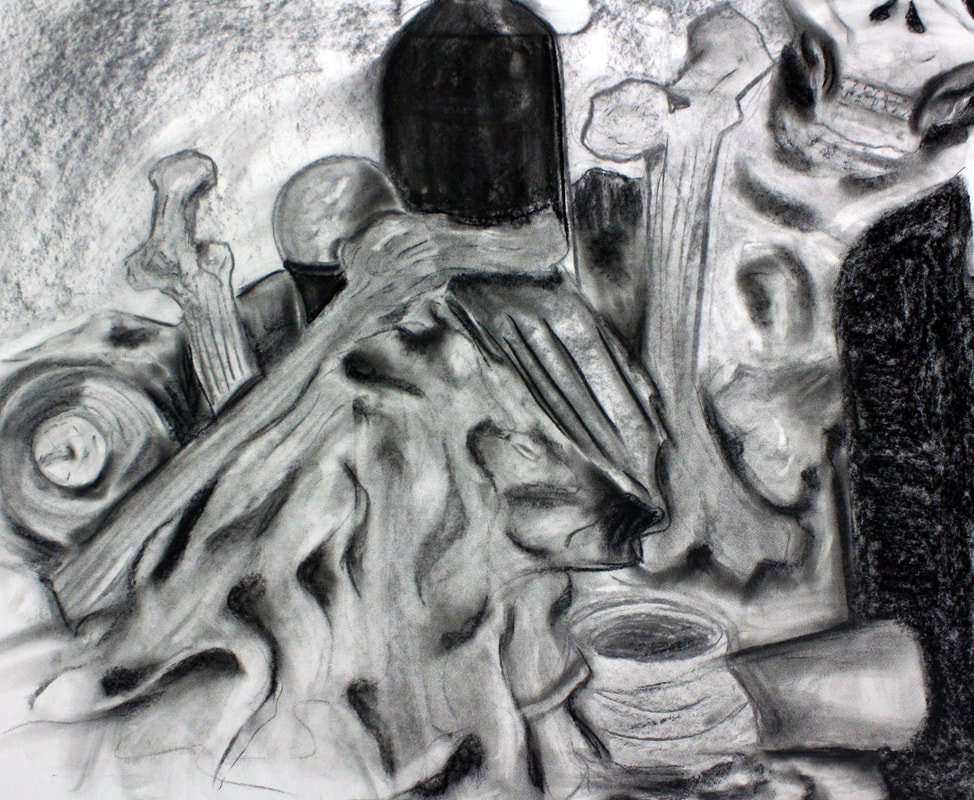
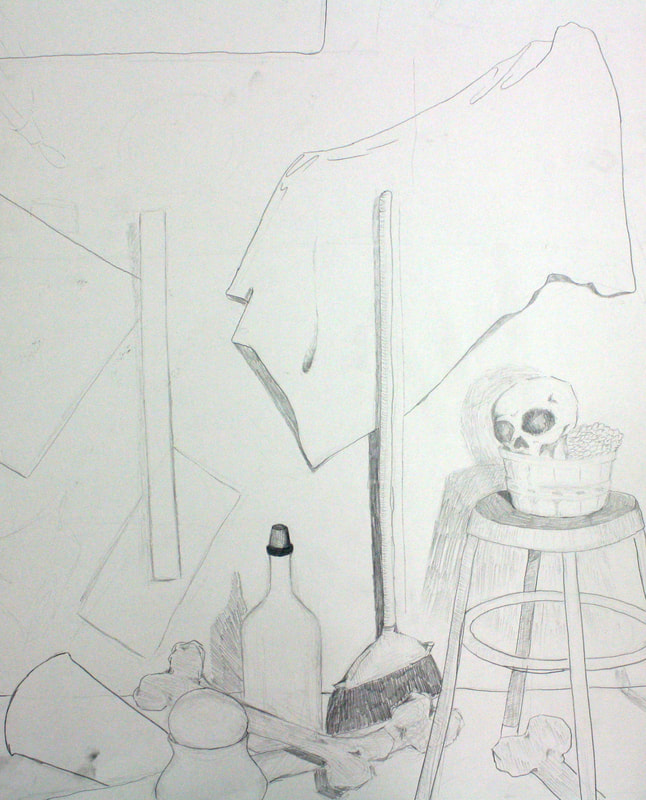
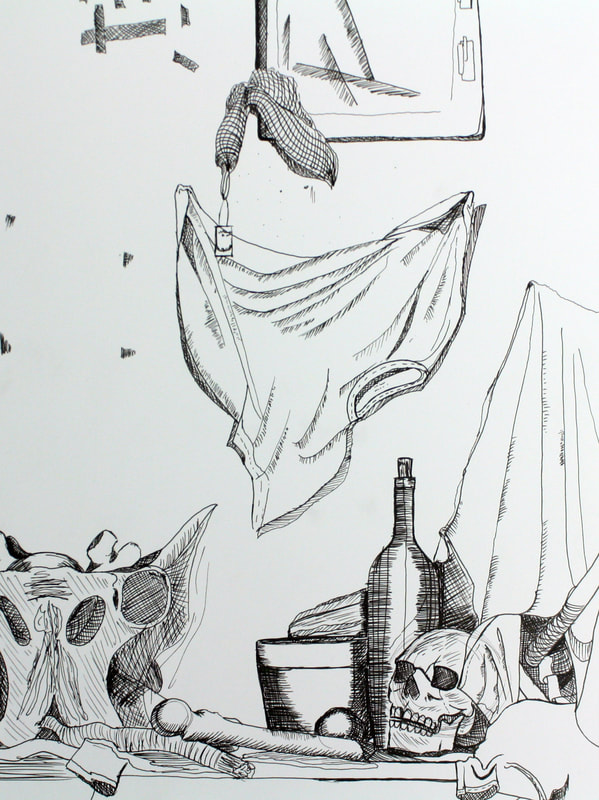
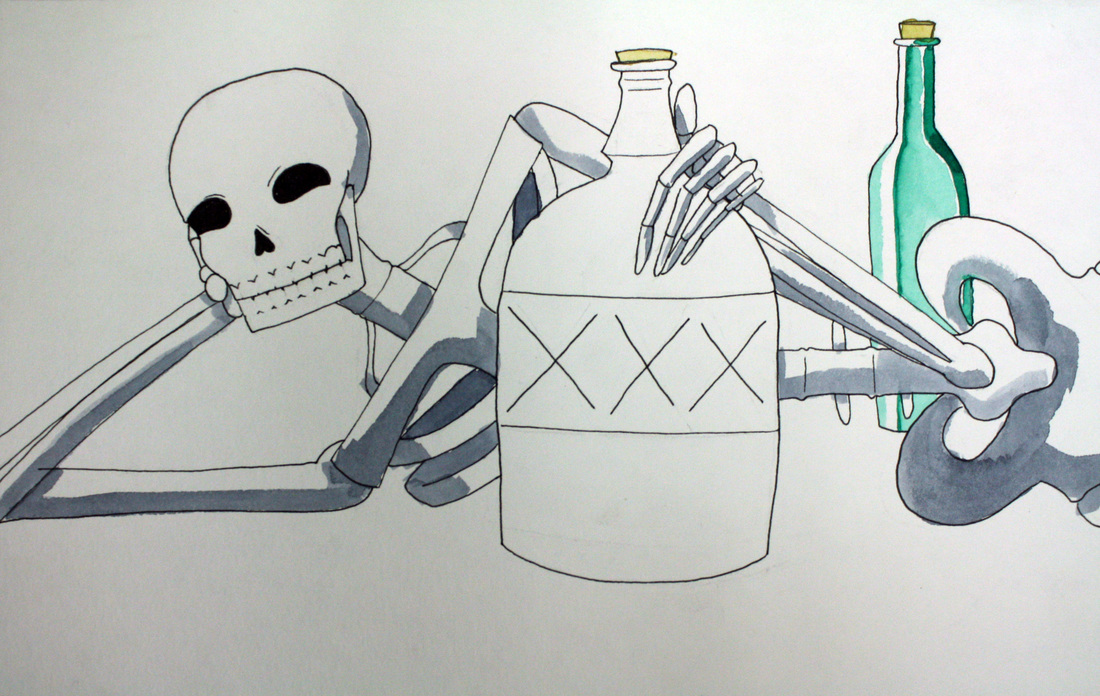
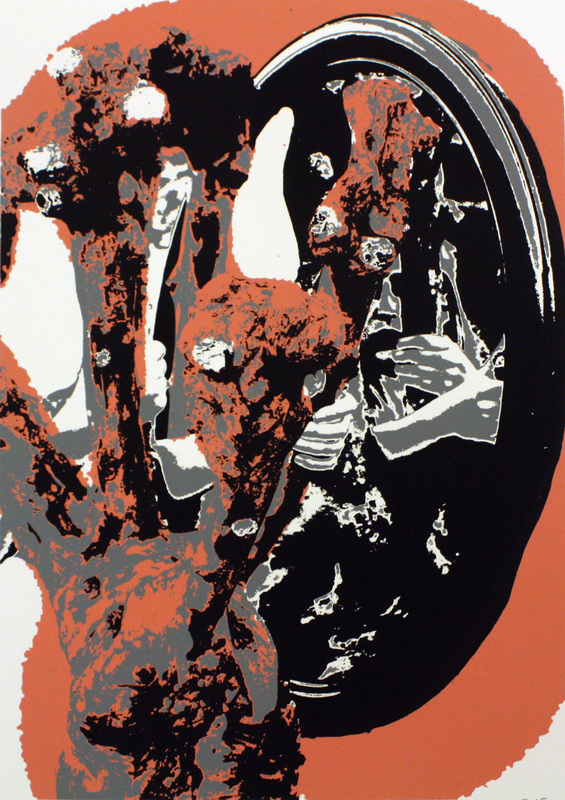
Mixed Media - The mixed media assignment consists of a lecture about the mixing of the mediums used in the former assignments. The students then are introduced to the idea of large scale compositions in which they have to draw a still life in an interior. These compositions often involve bones or skeletons to draw from, to teach them early indications of form as well. They then are asked to create a large scale composition that mixes two mediums.
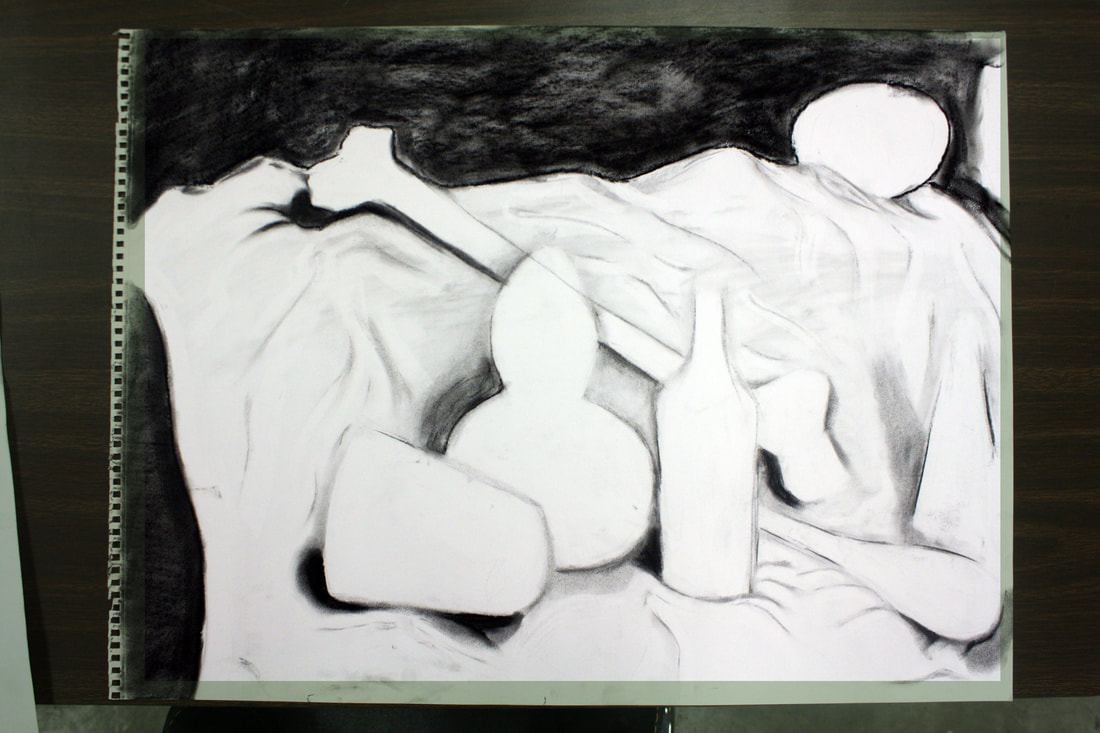
Before And After - A comprehensive project is done for the classroom, so that the students may see their increase in proficiency. The students are asked, the first day, to draw a still-life, and on the last day of class they replicate this still-life drawing with new mediums, paper, and skills. In doing so, they see firsthand how far their hard work in the classroom and practice has taken them.


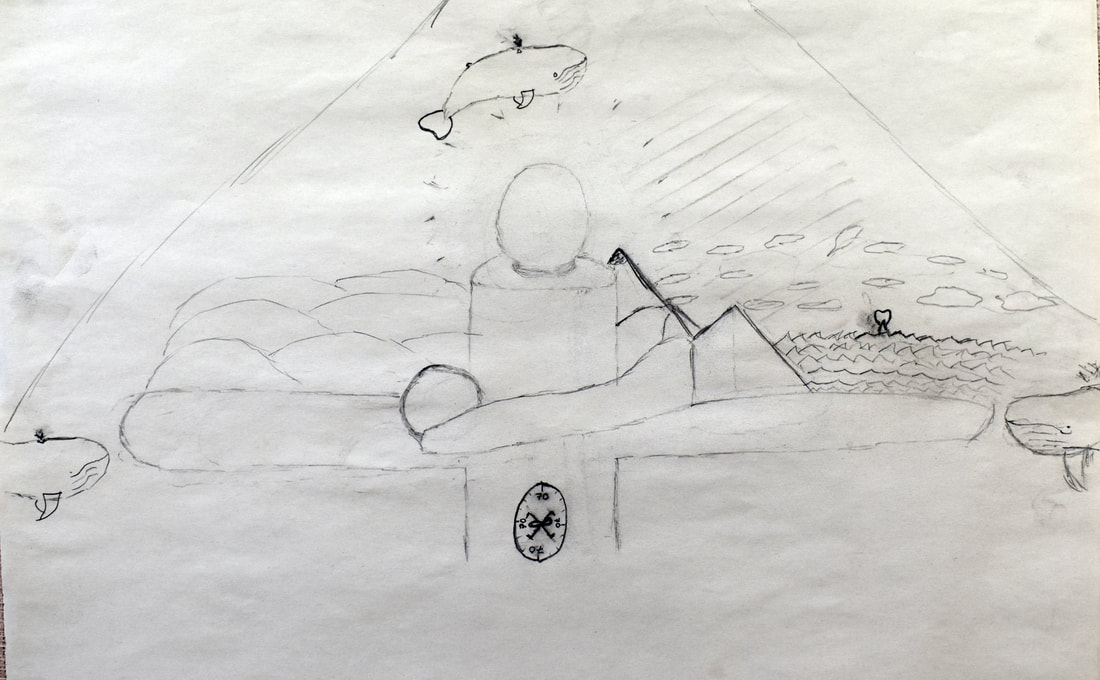
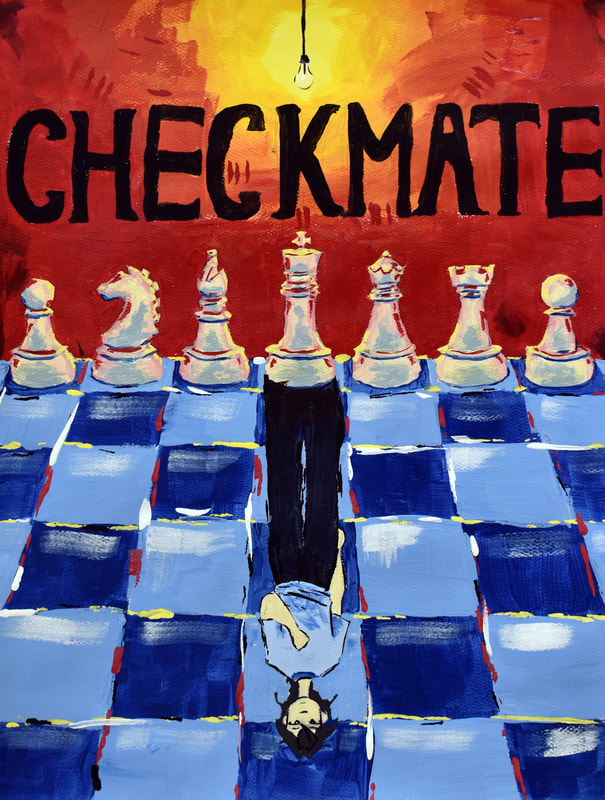
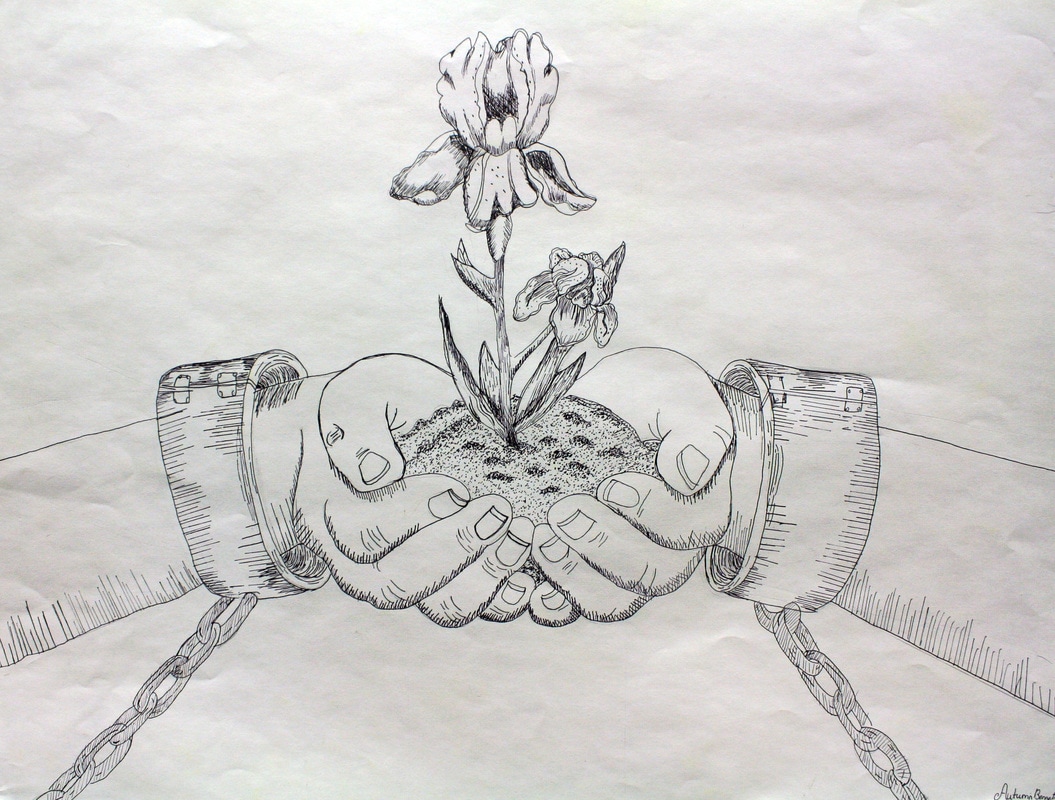
Final Project - The final project consists of a lecture about concepts in art works. The students are then asked to create a composition of their choosing using a medium, or mediums, of their choice that has a concept.


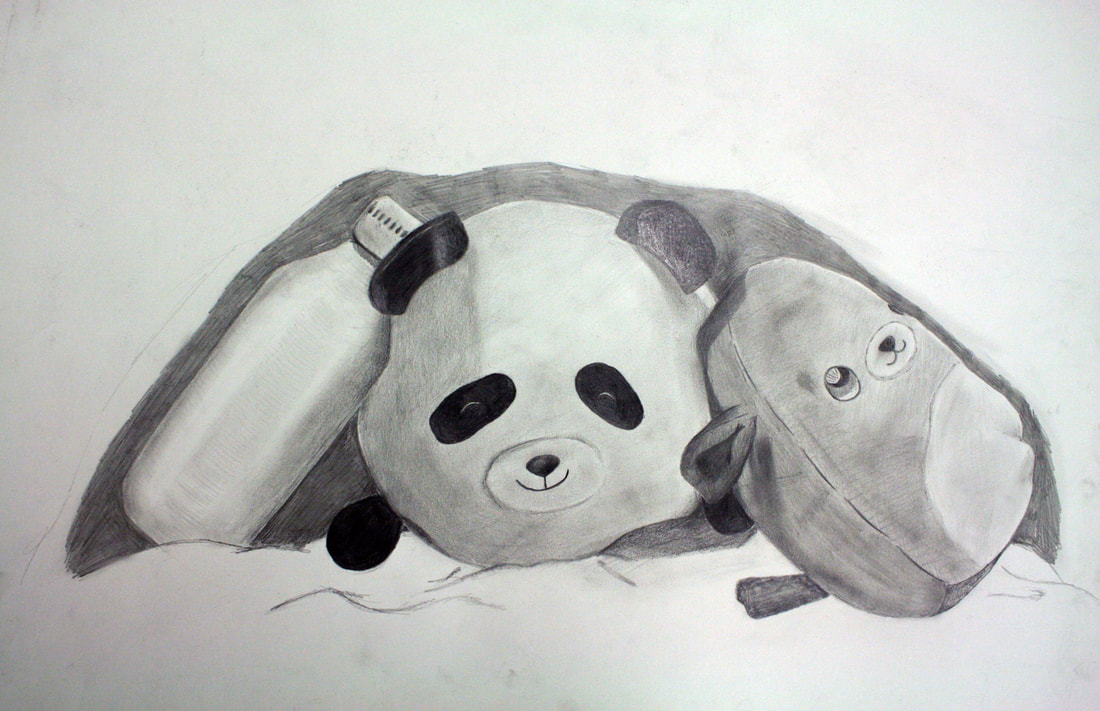
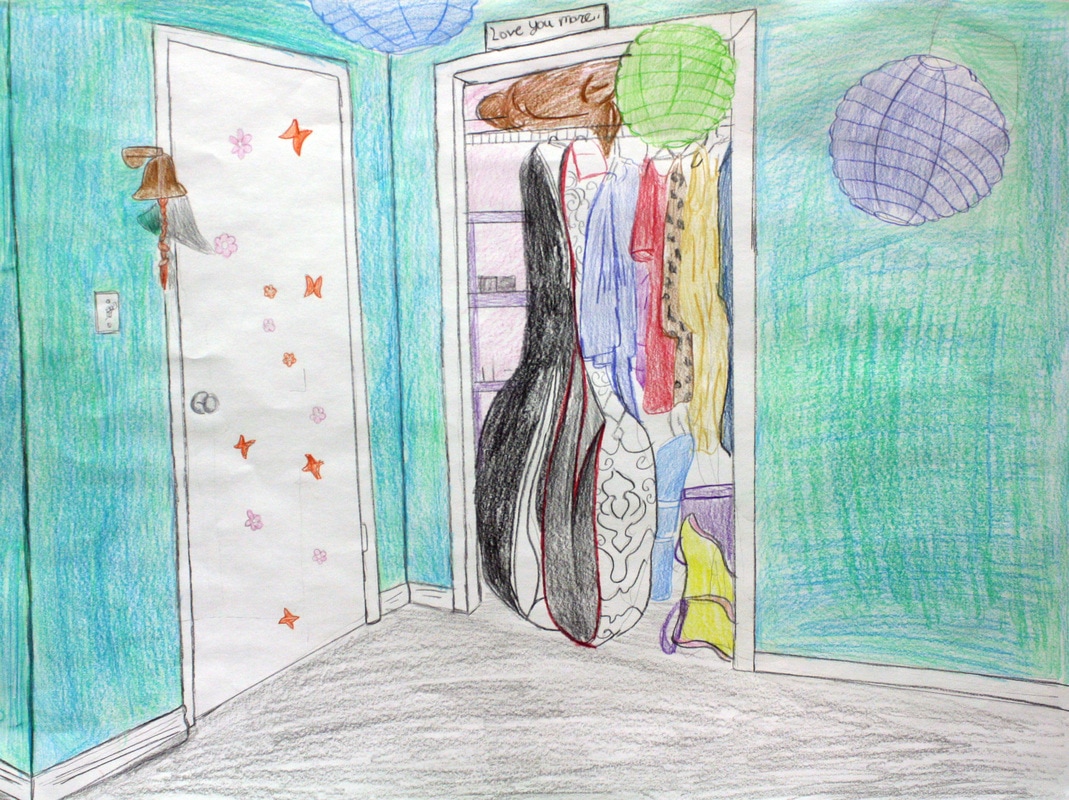
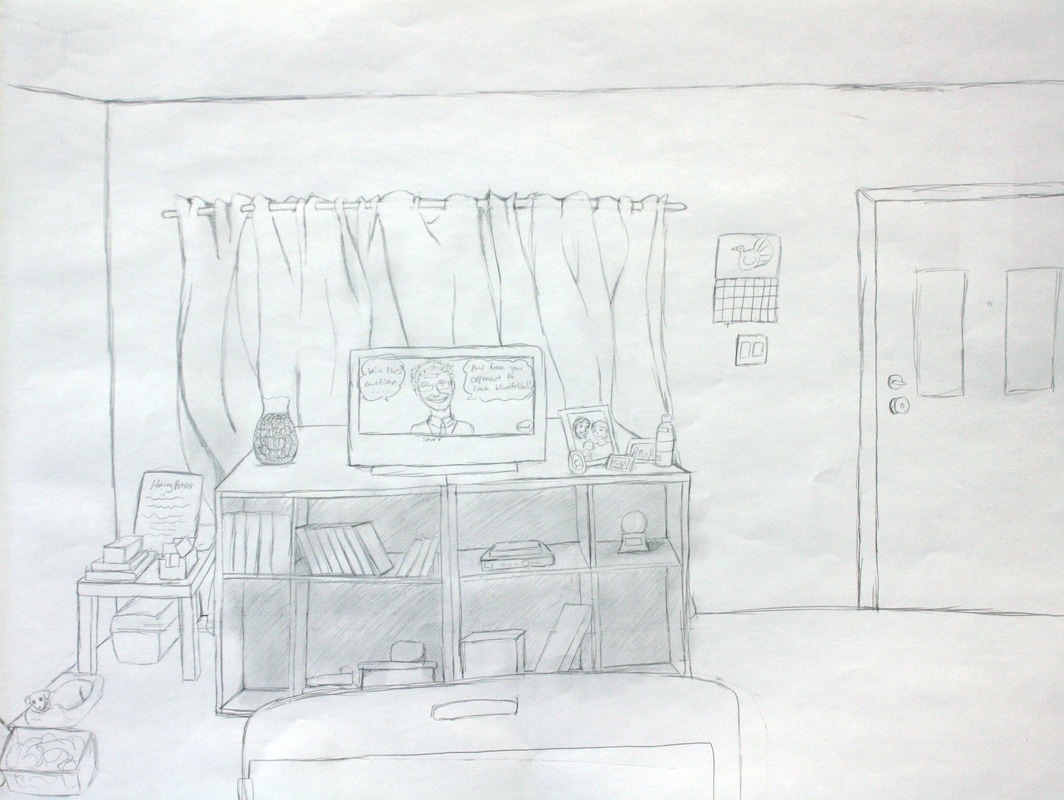
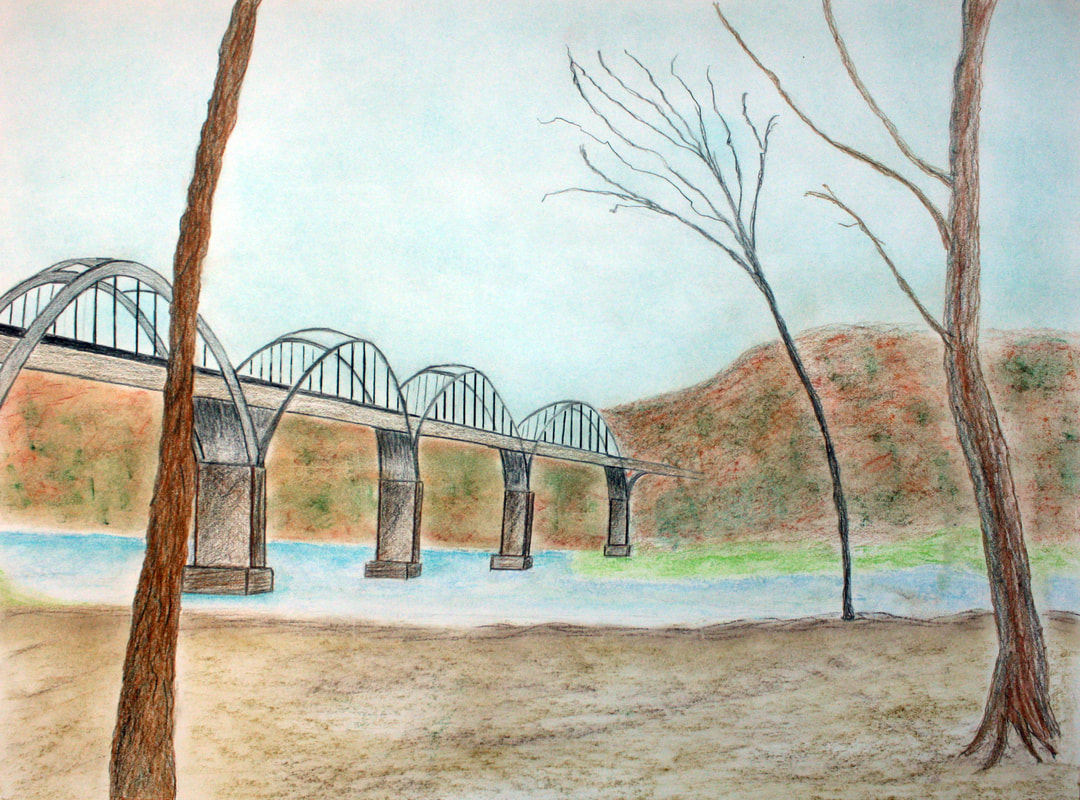
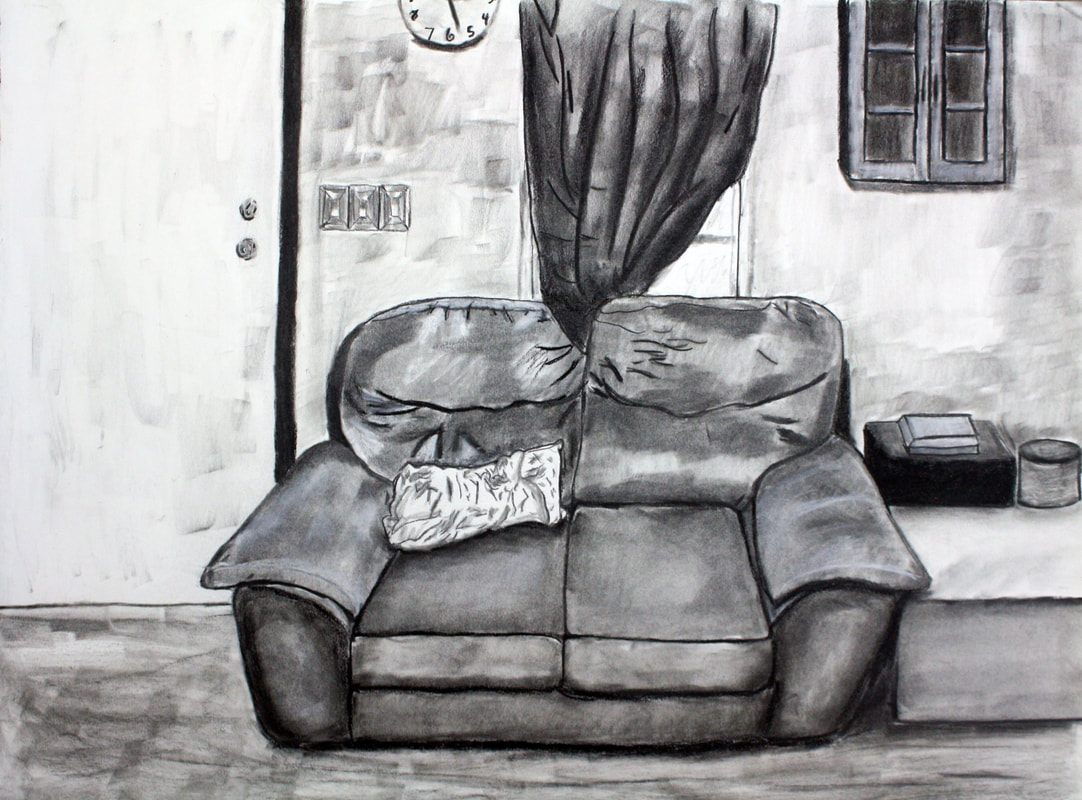
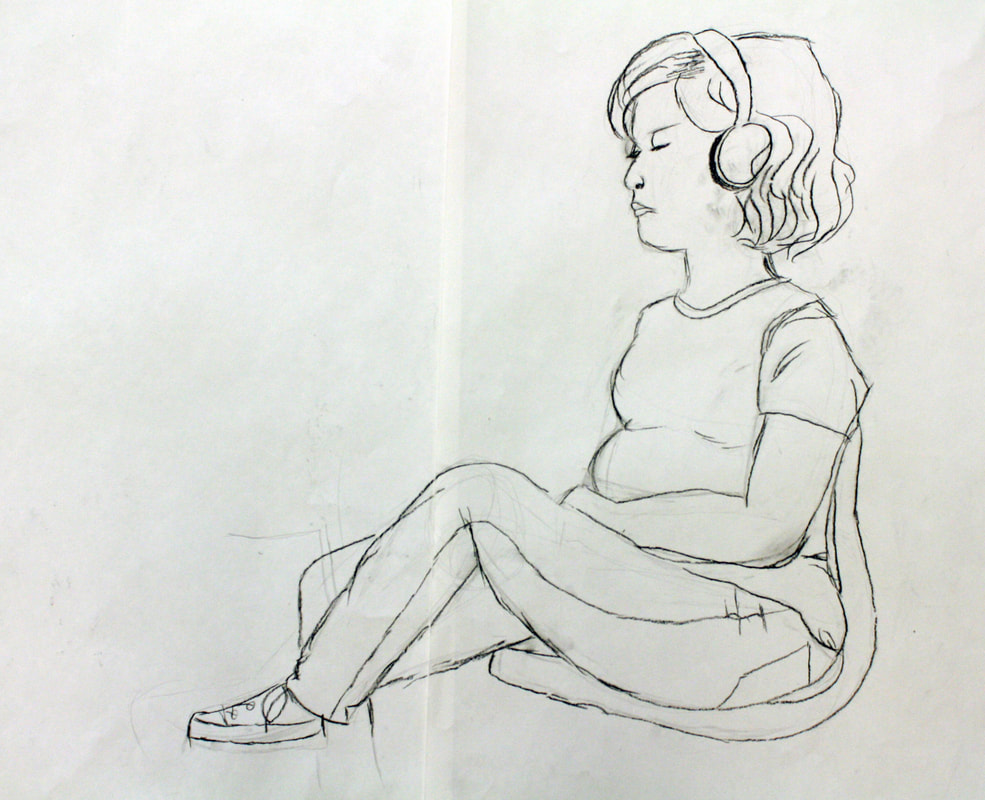
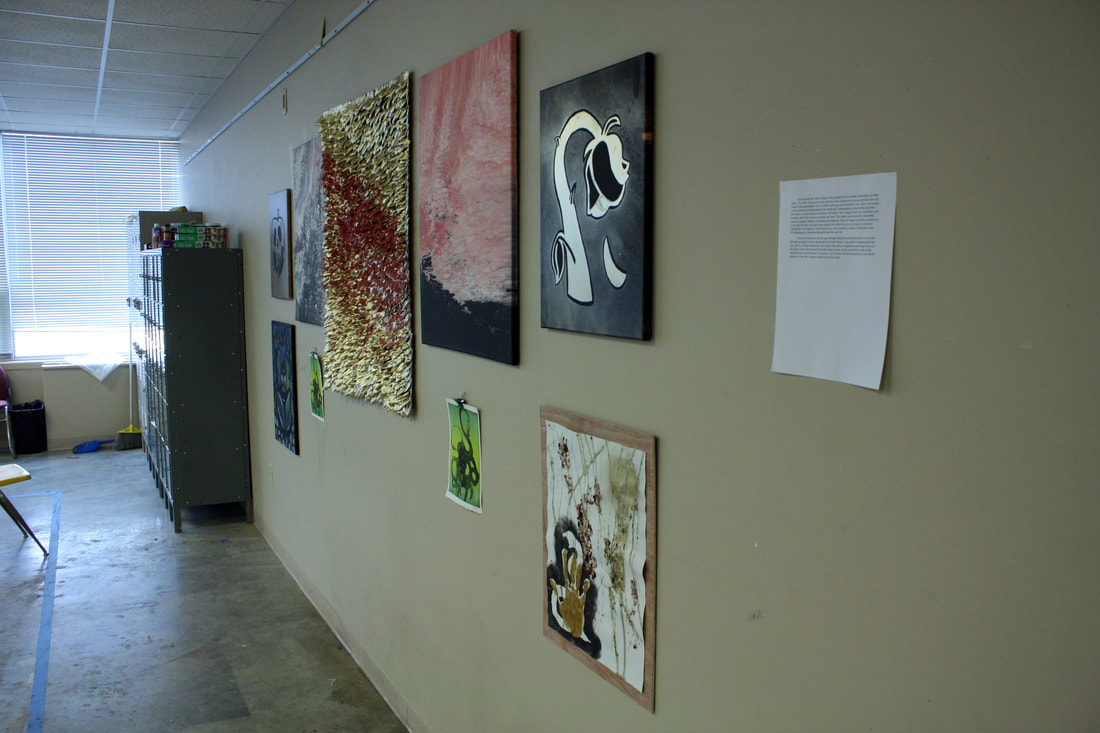
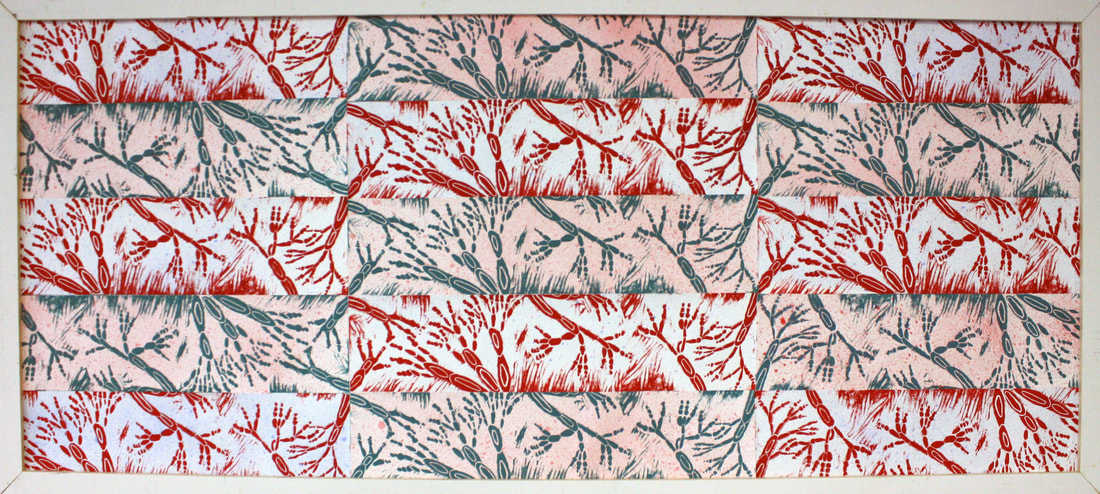
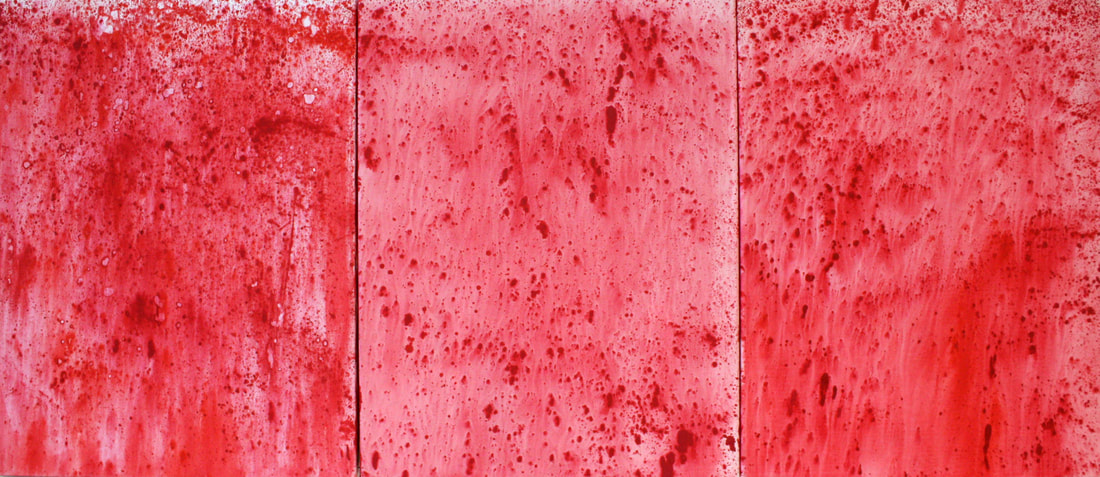
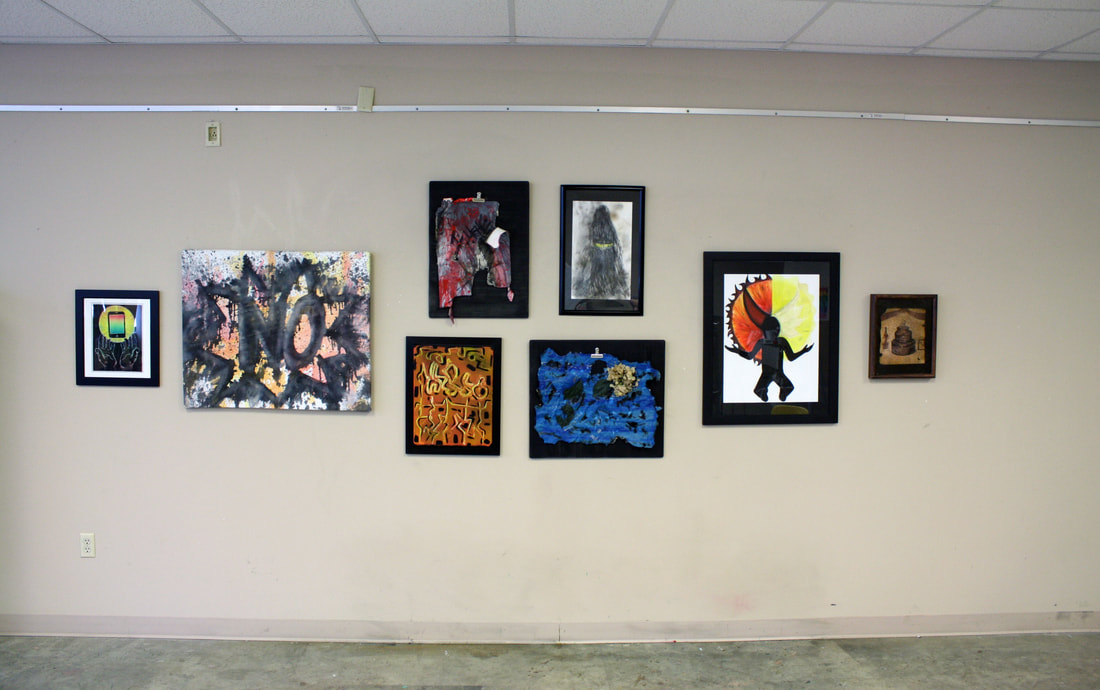
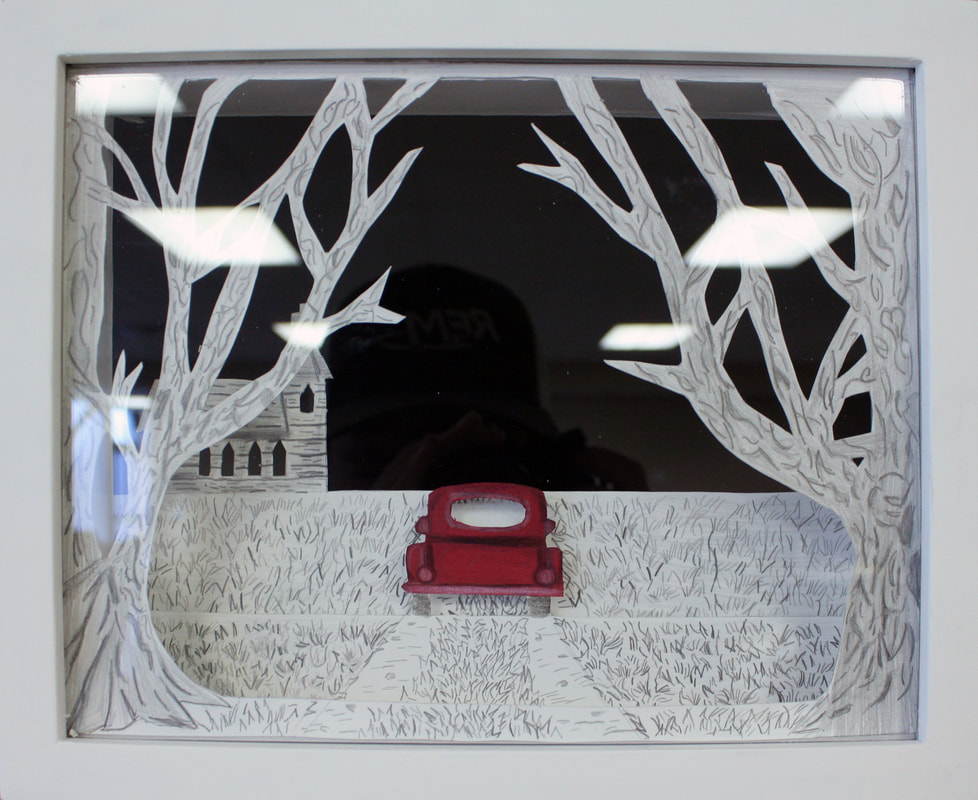
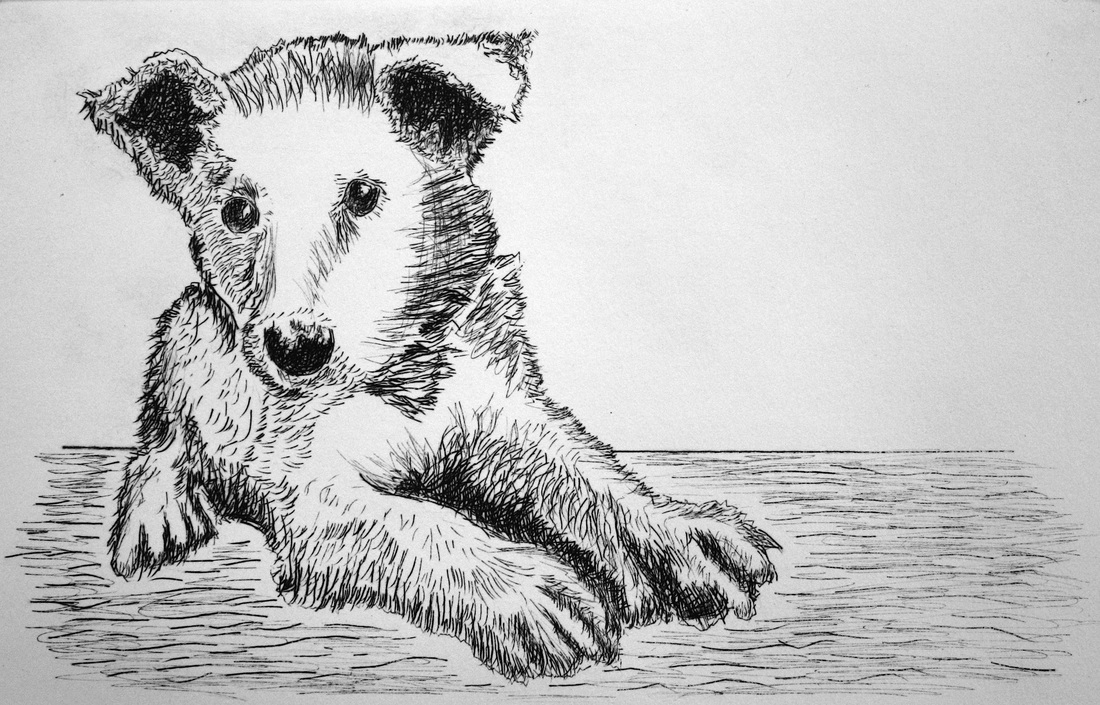
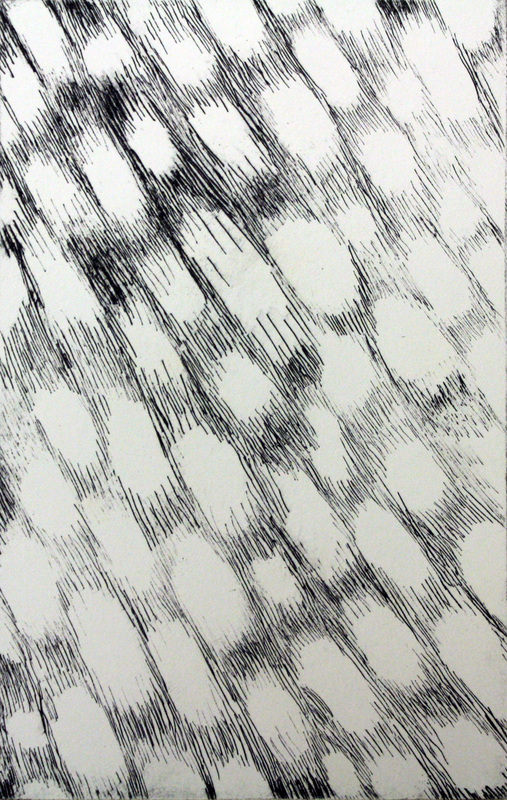
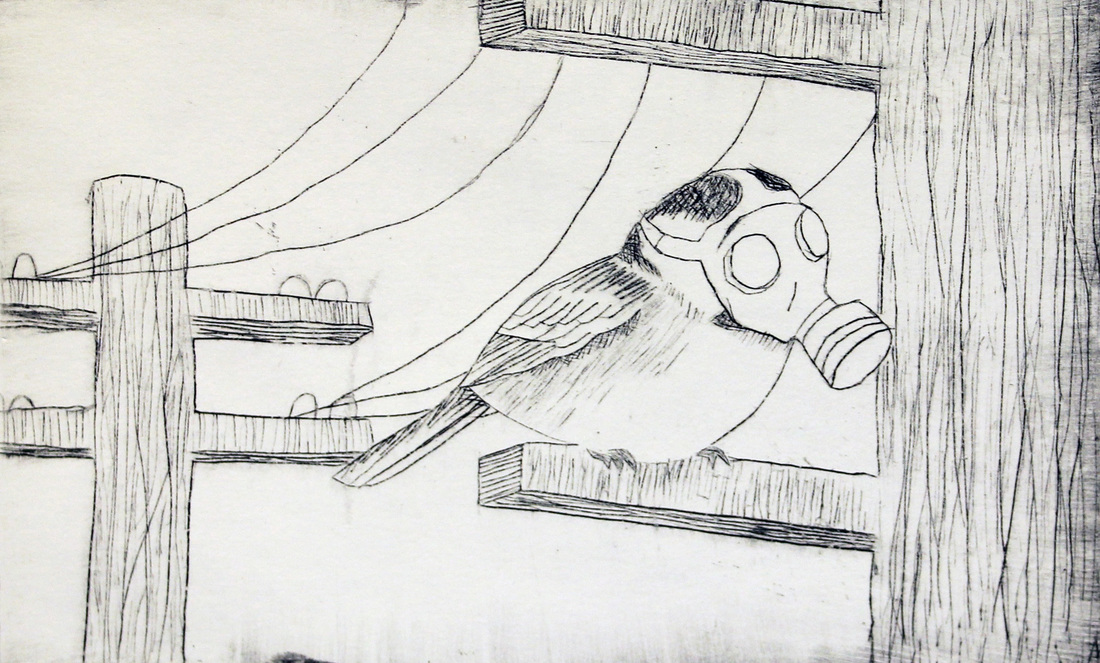
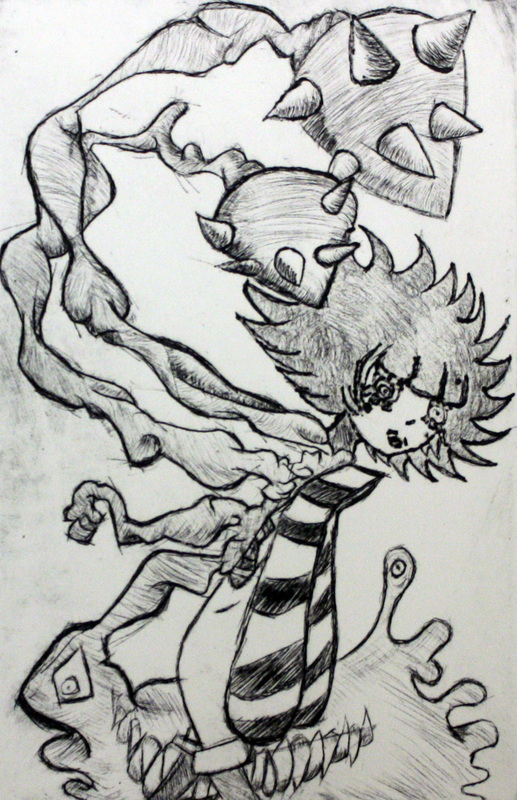
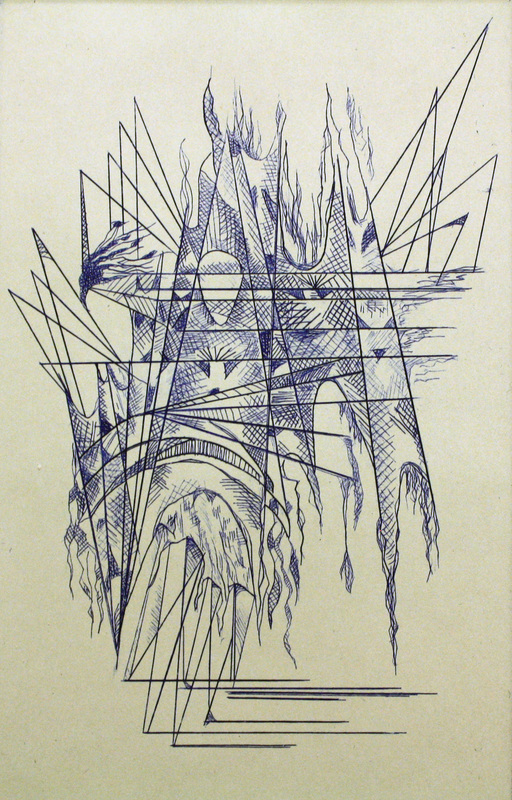
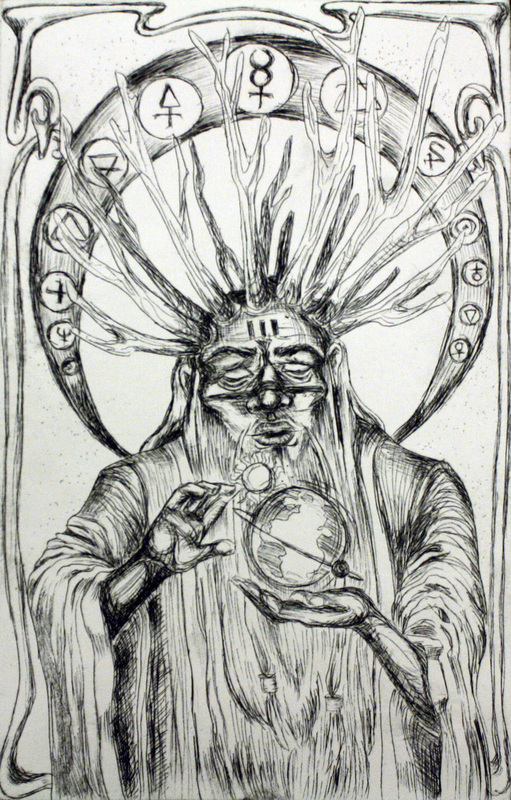
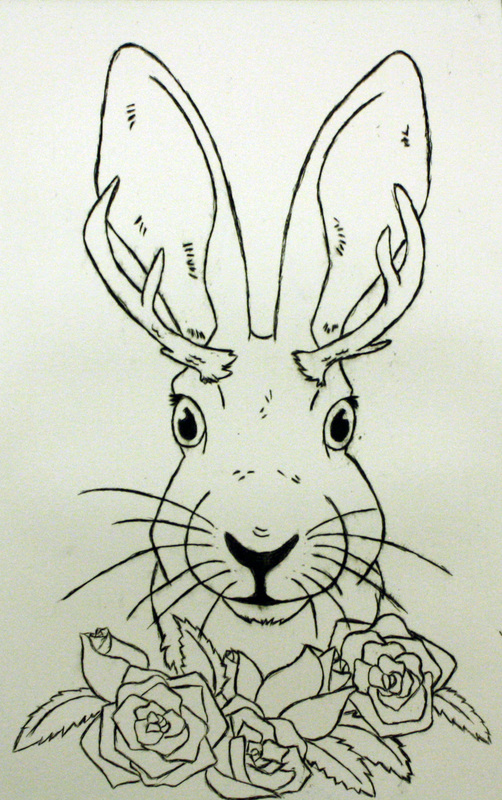
Various Studies - The students are asked to create various in-class studies as the semester unfolds. These are examples of previous students Drawing I studies.


Drawing II
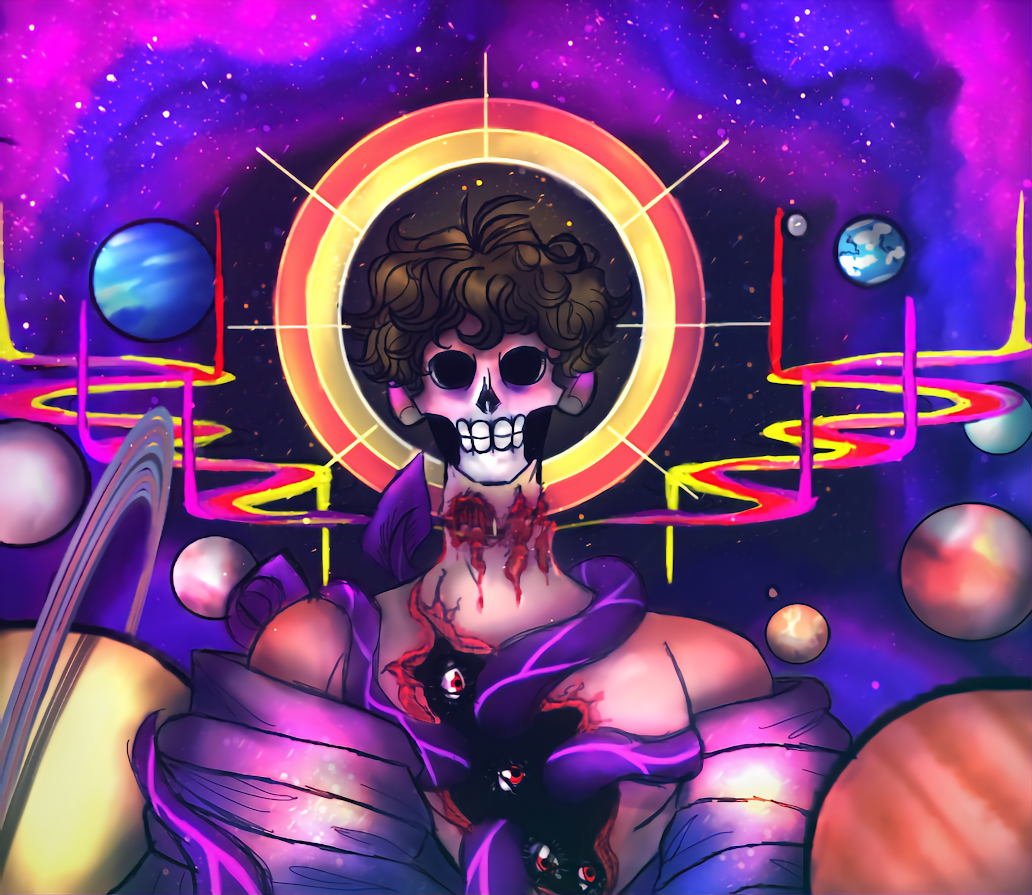
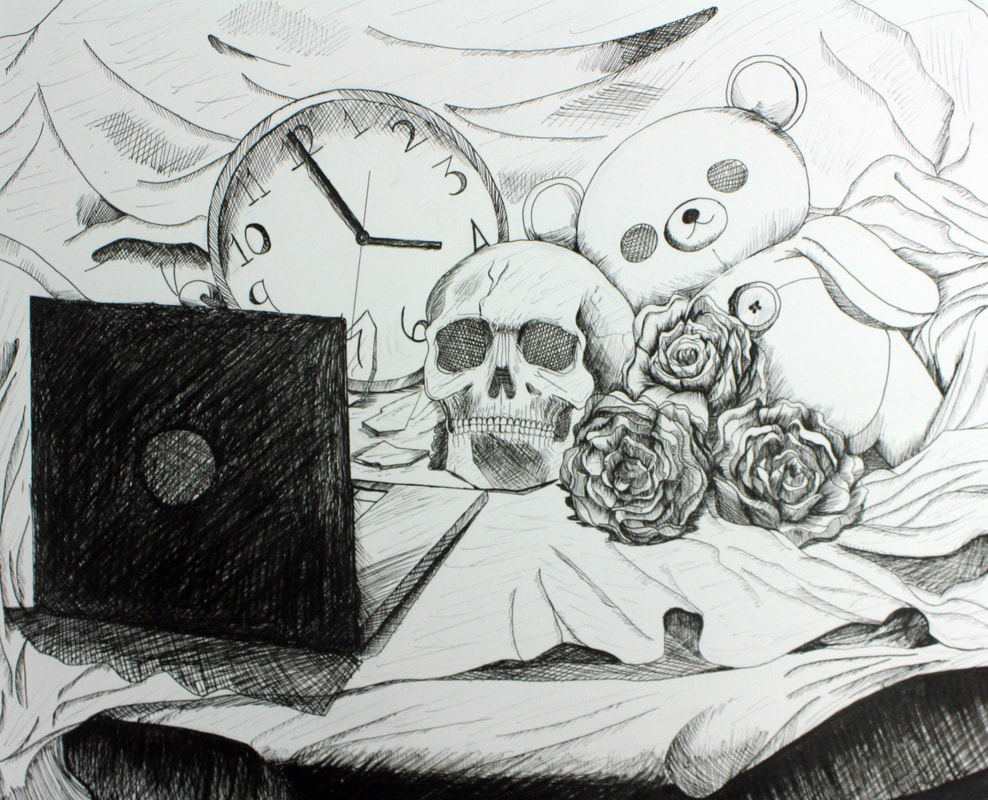
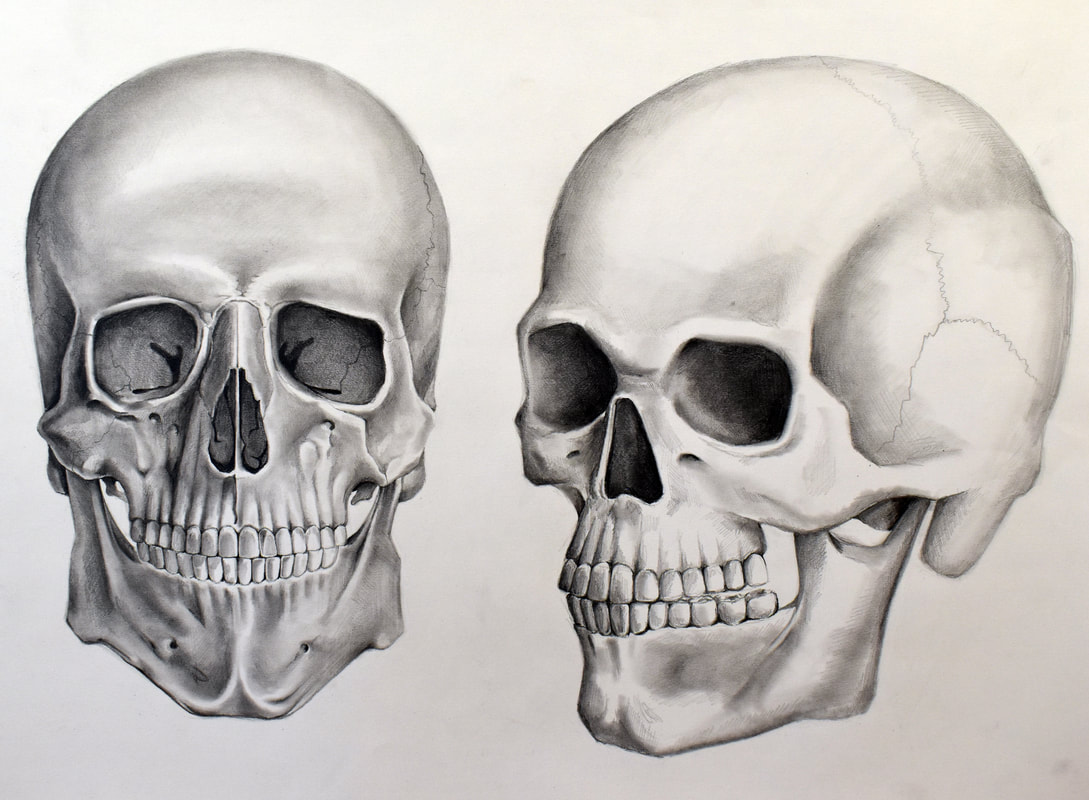
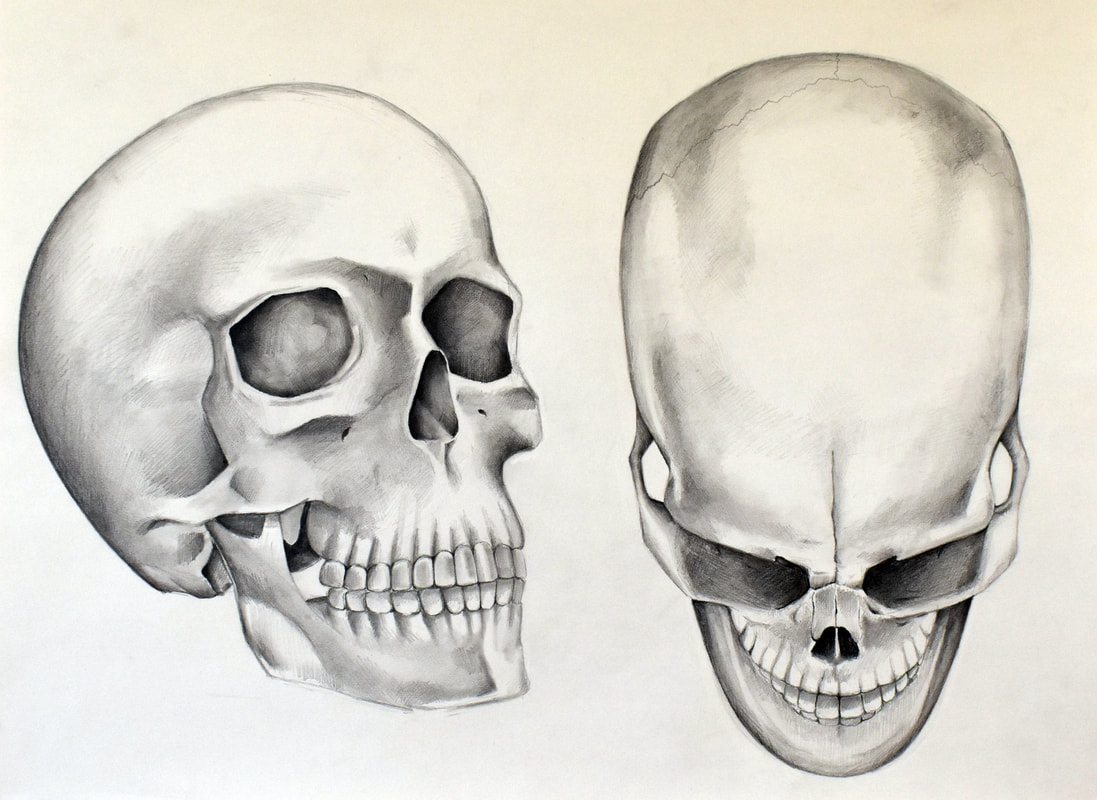
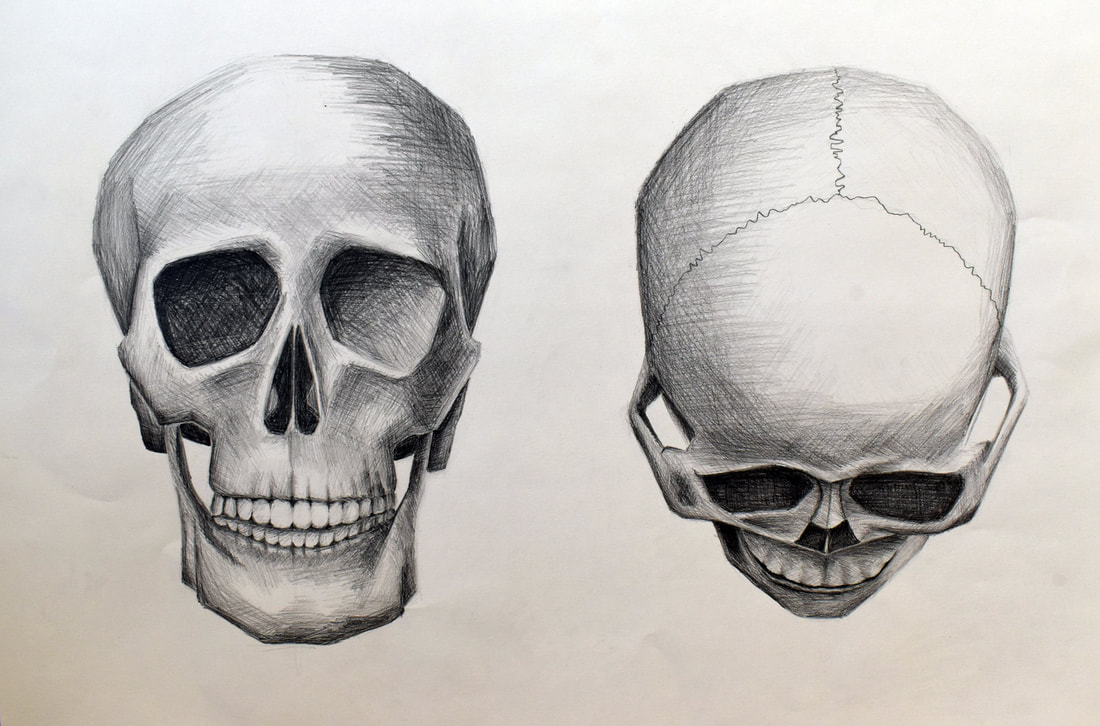
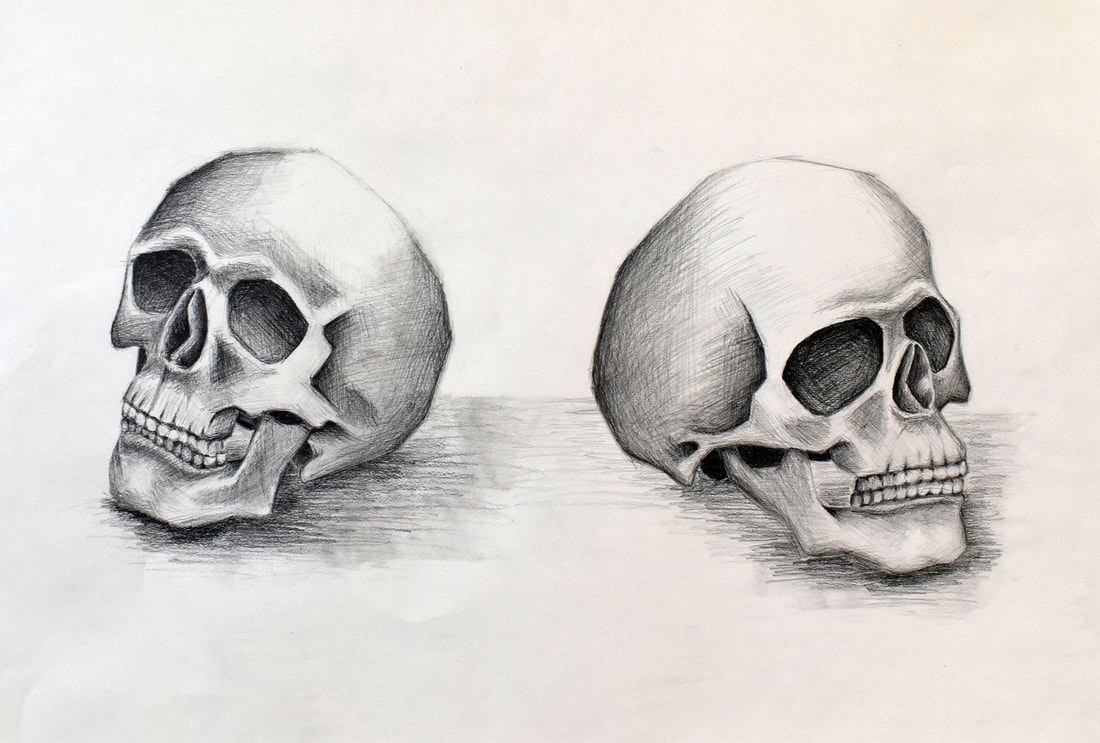
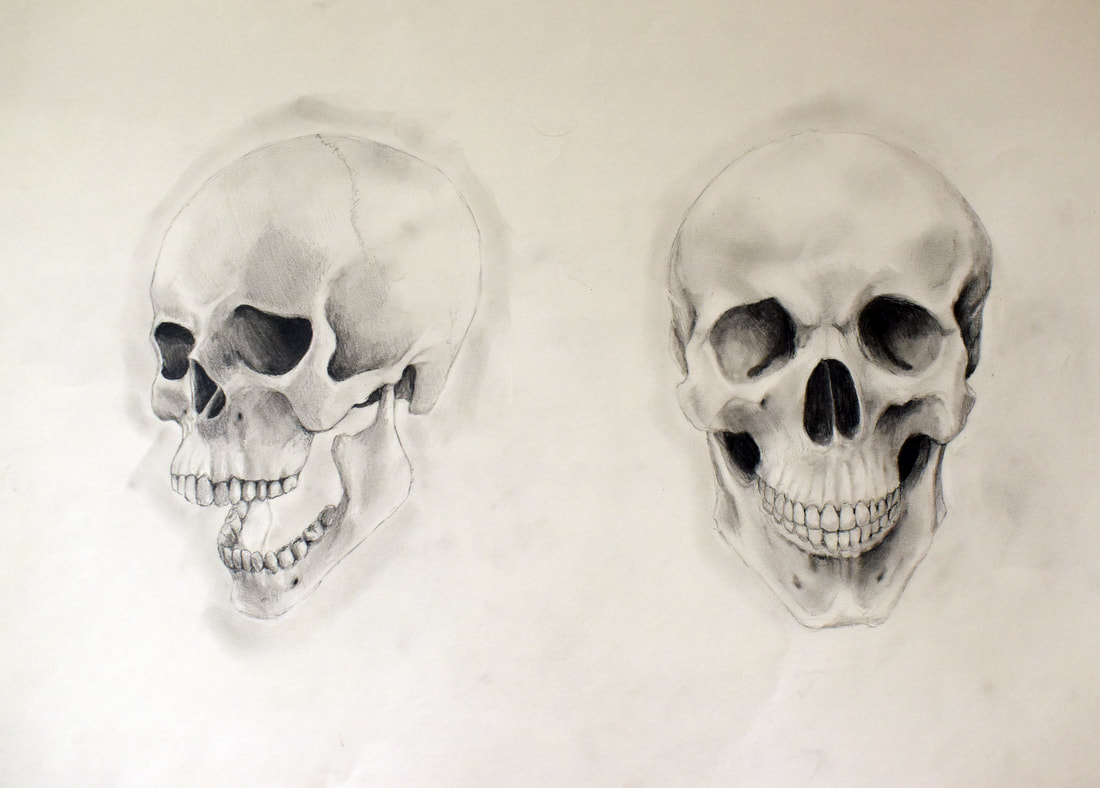
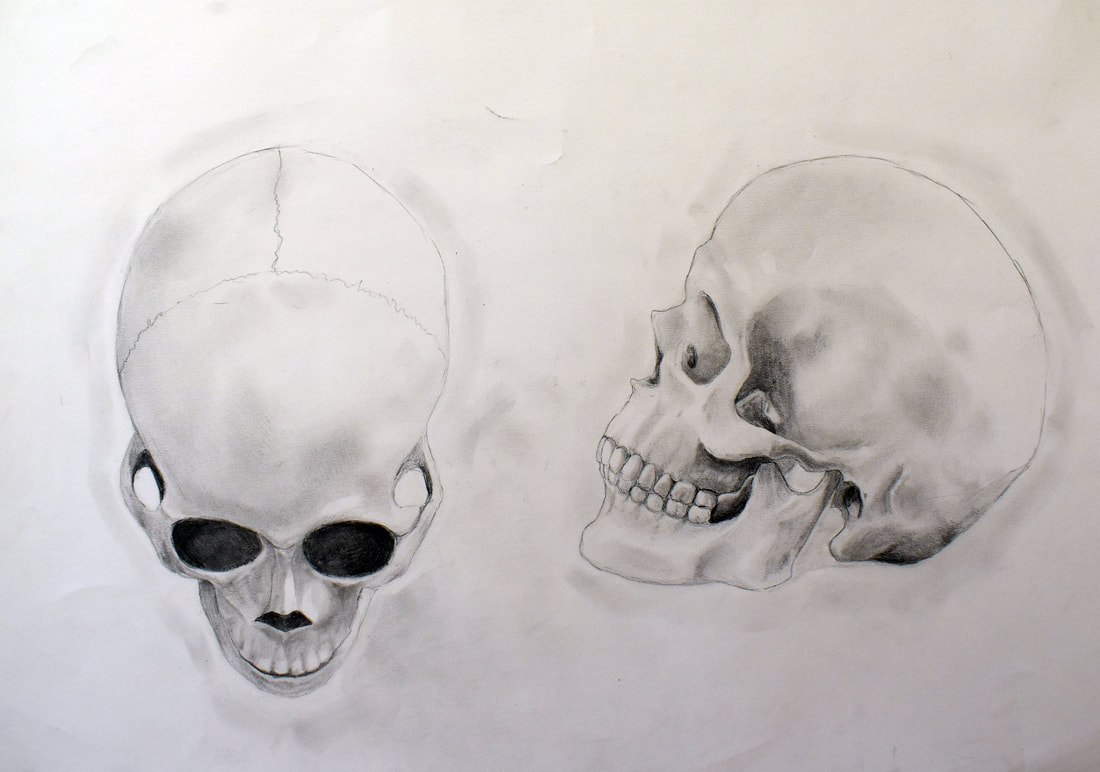
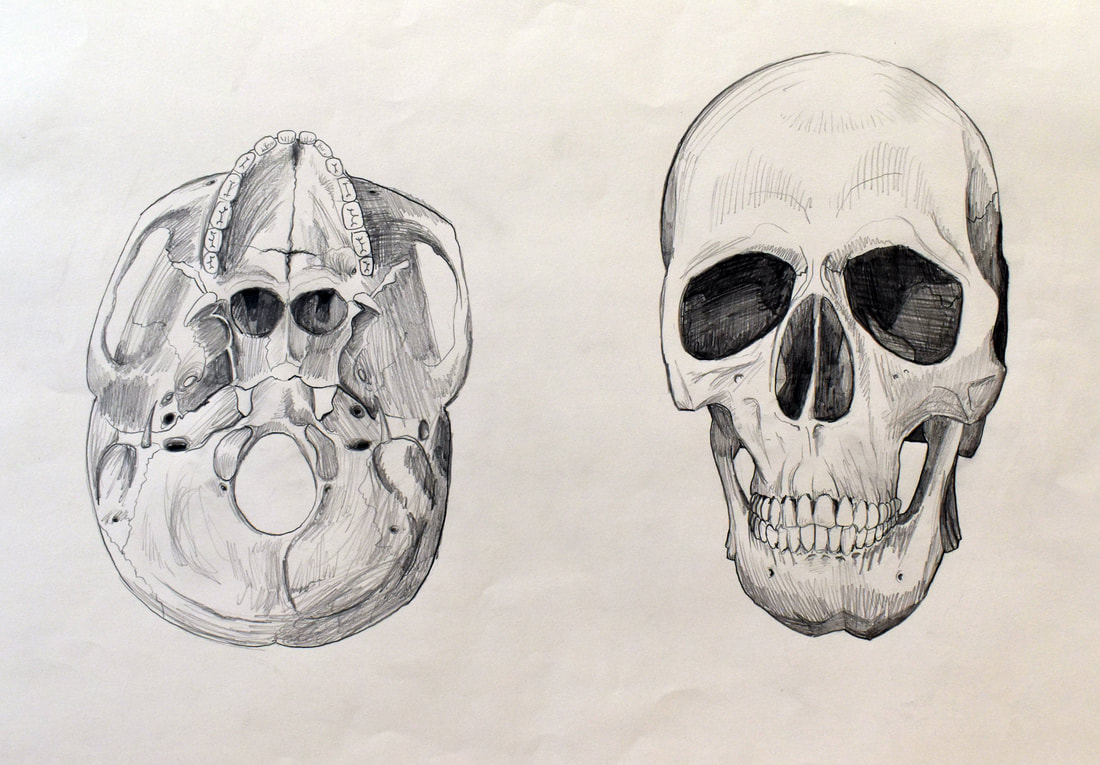
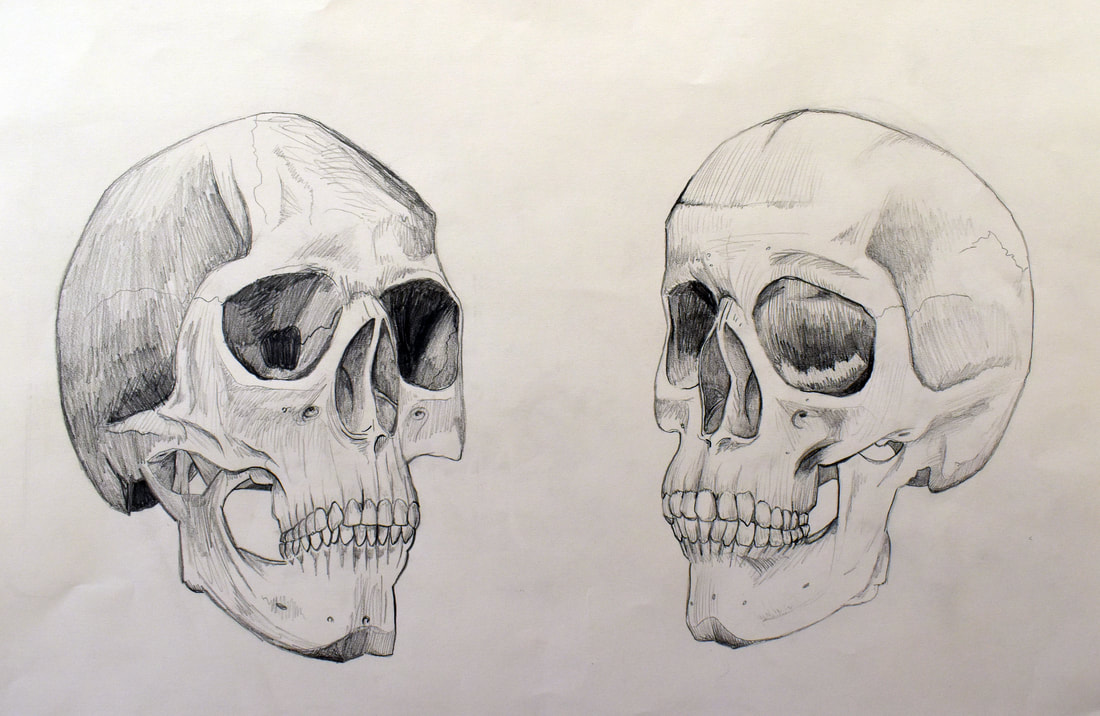
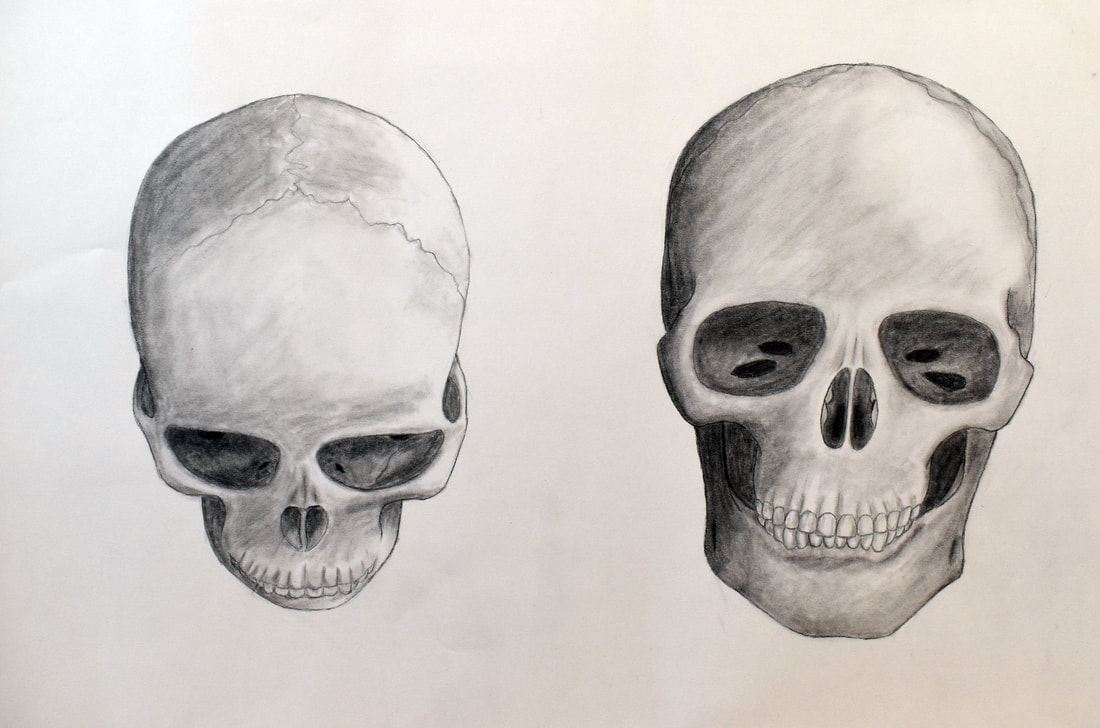
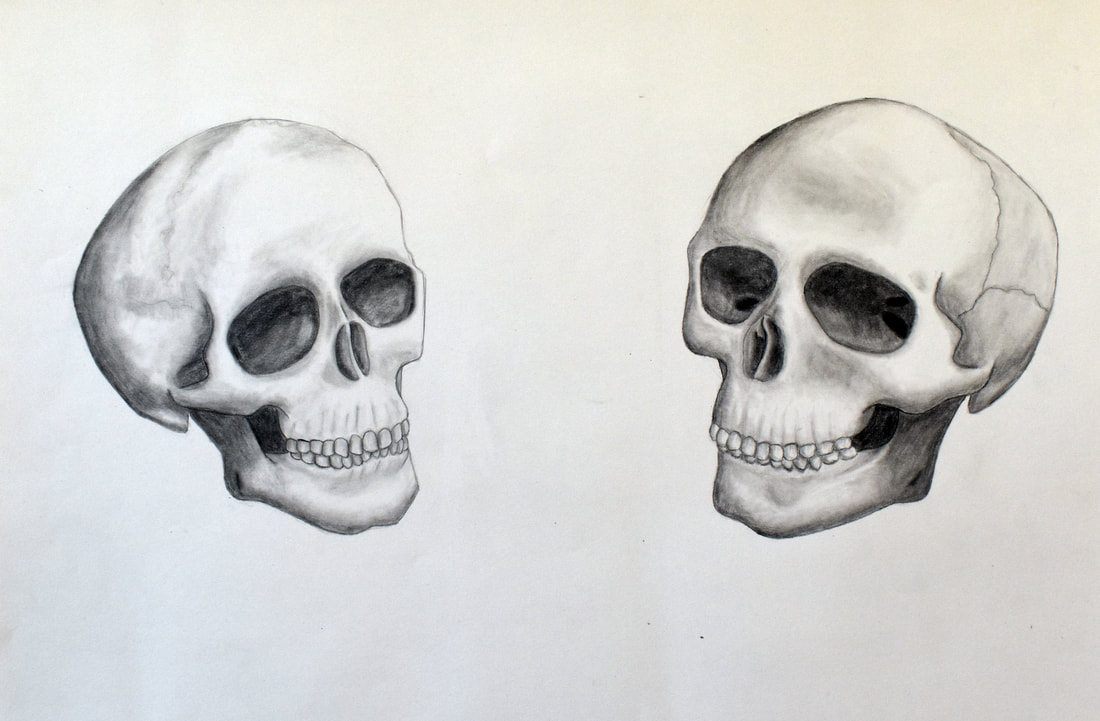
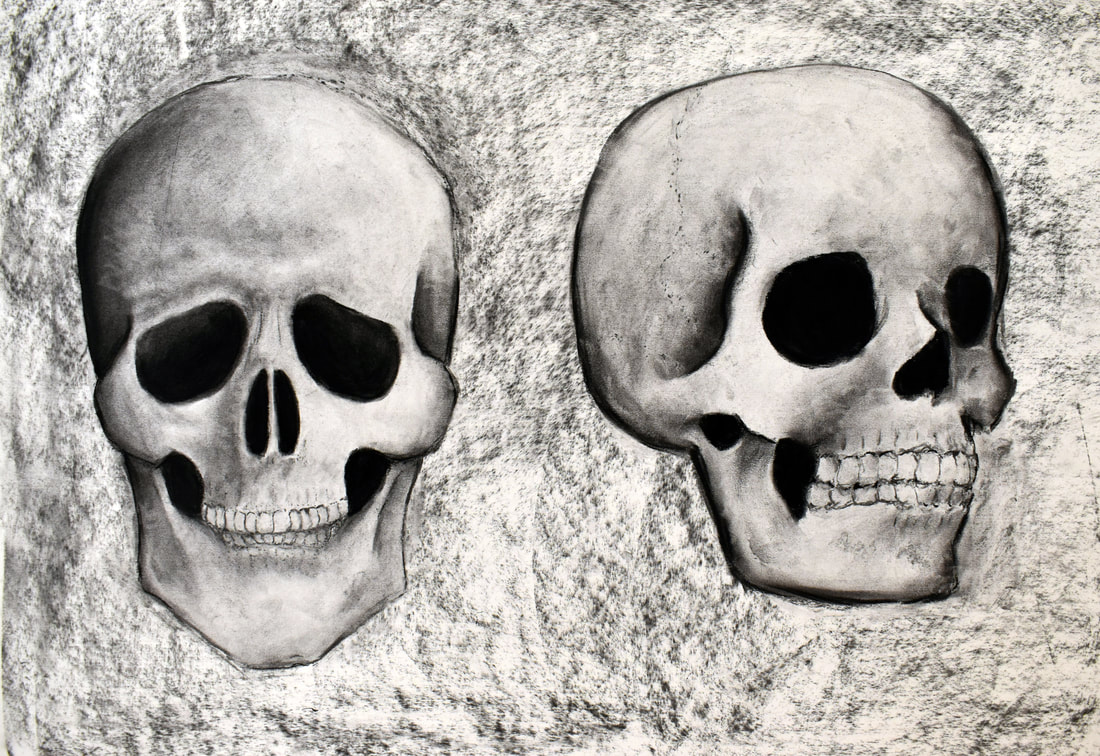
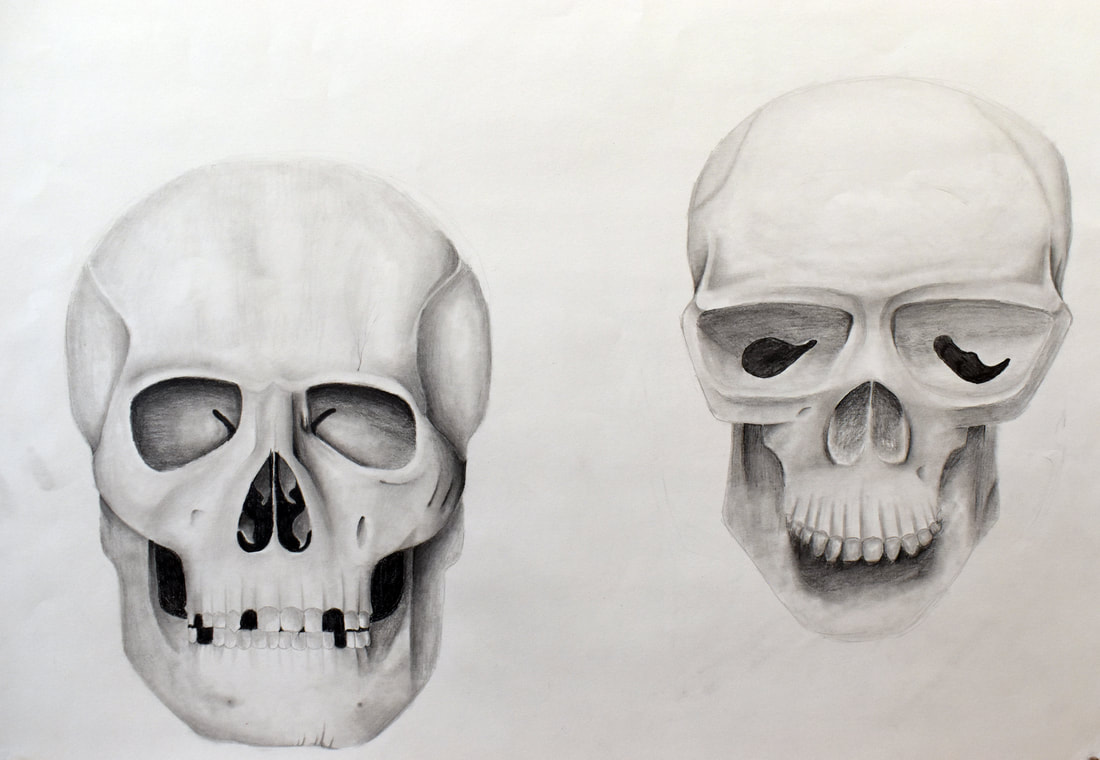
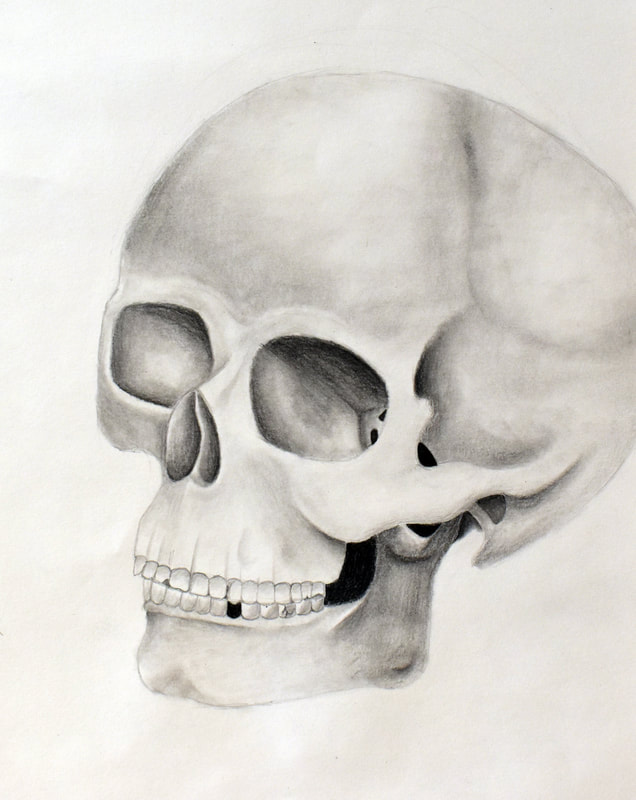
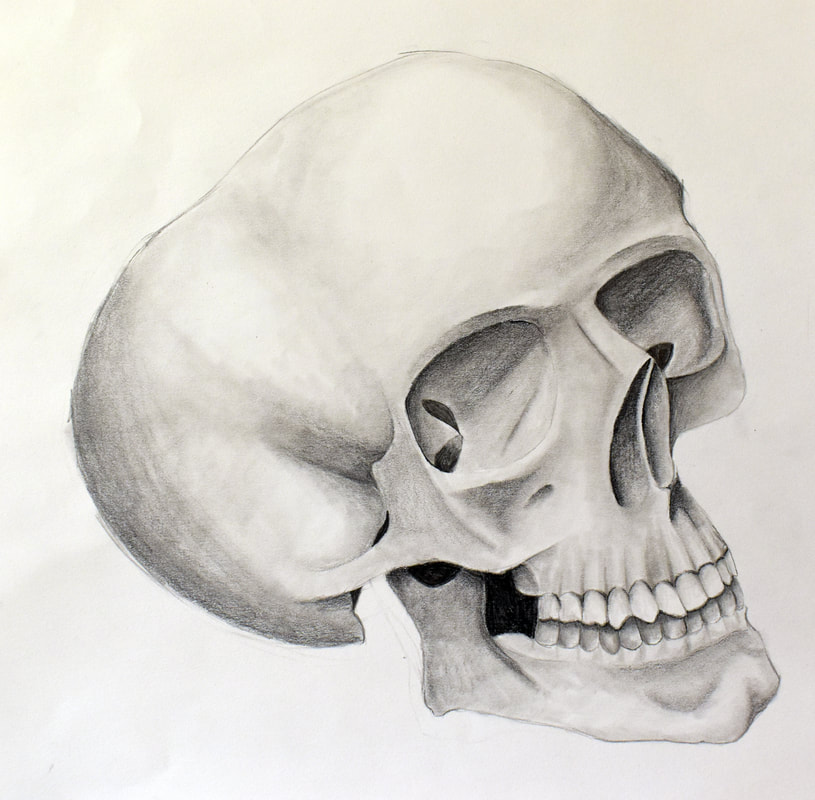
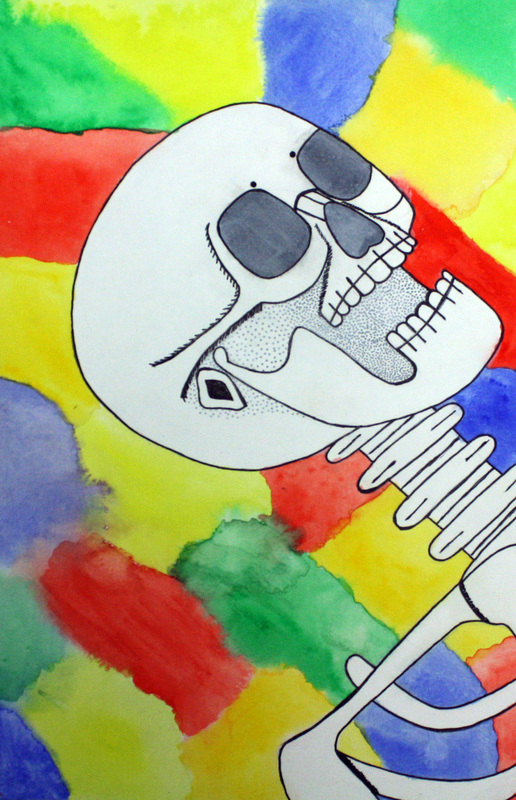
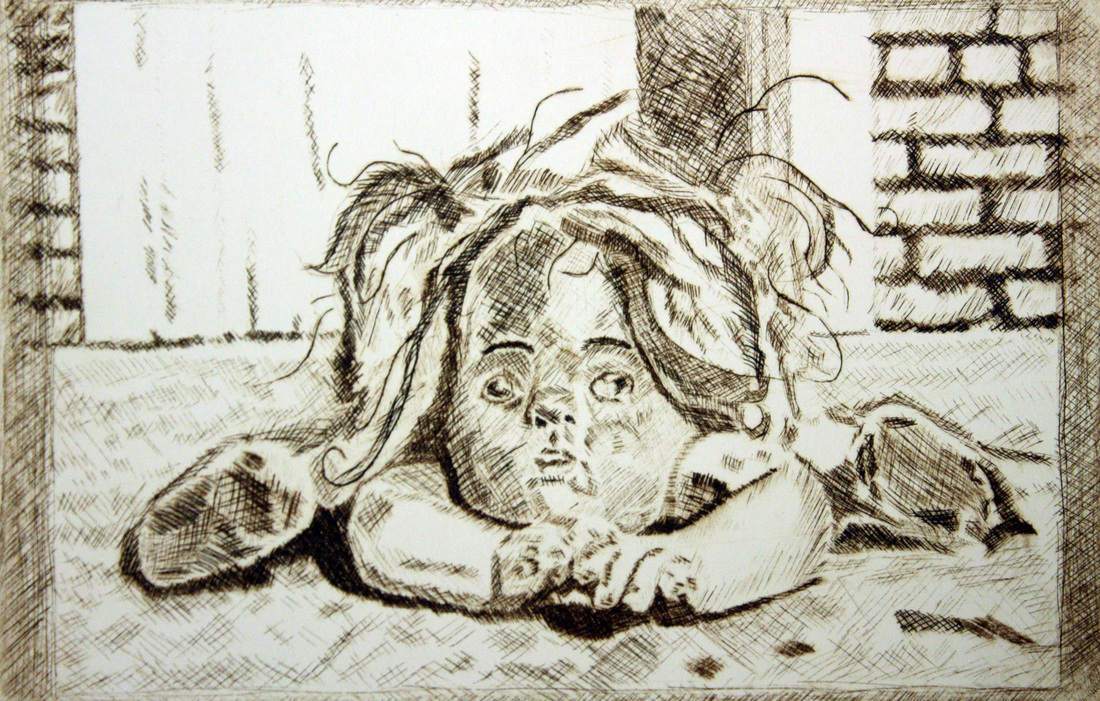
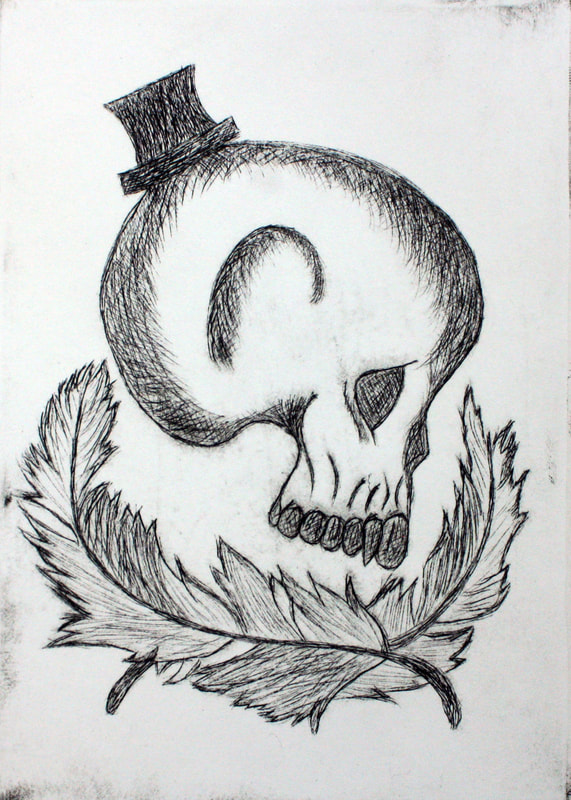
Human Skull Project - Students are shown a lecture concerning the proportions of the human skull, methods to render the skull in proportion, and the labelled areas of the skull. Afterwards, they spend class time drawing various view points of the human skull inside the classroom. For these images, they use primarily graphite and charcoal. They are then asked to use an 18x24 piece of white drawing paper to create a composition using either graphite or charcoal that renders the human skull in a frontal view, two three-quarter views, and either above or below in perspective proficiently.

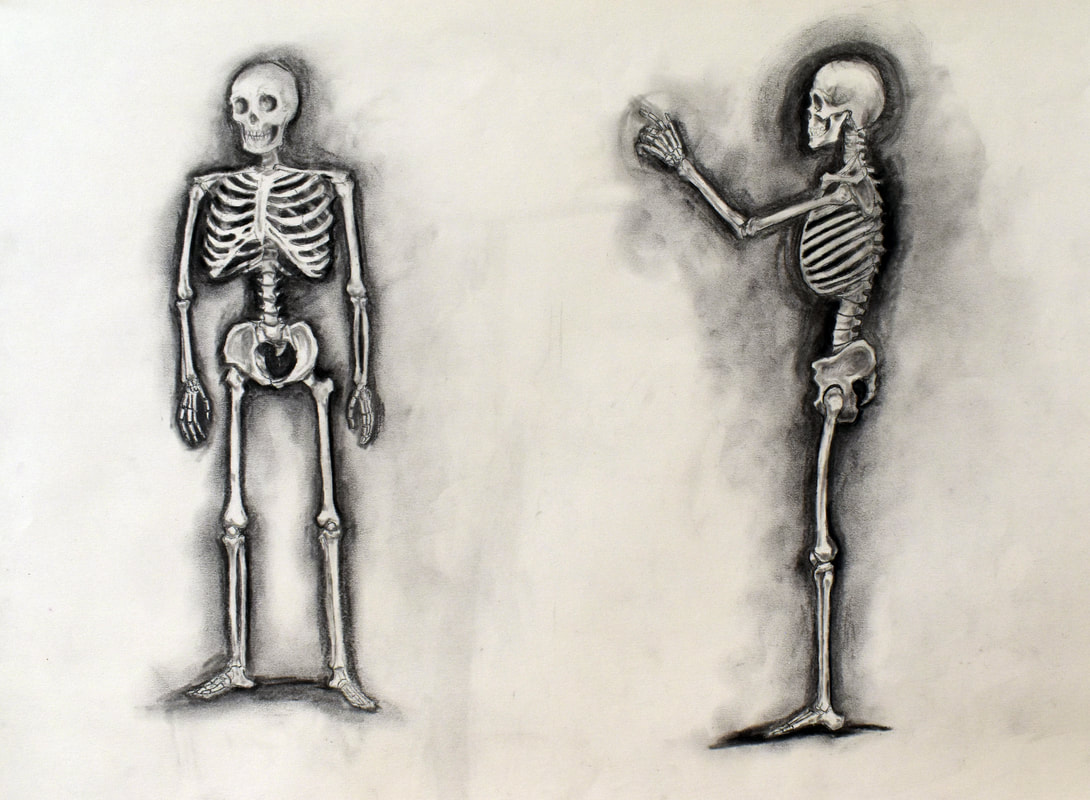
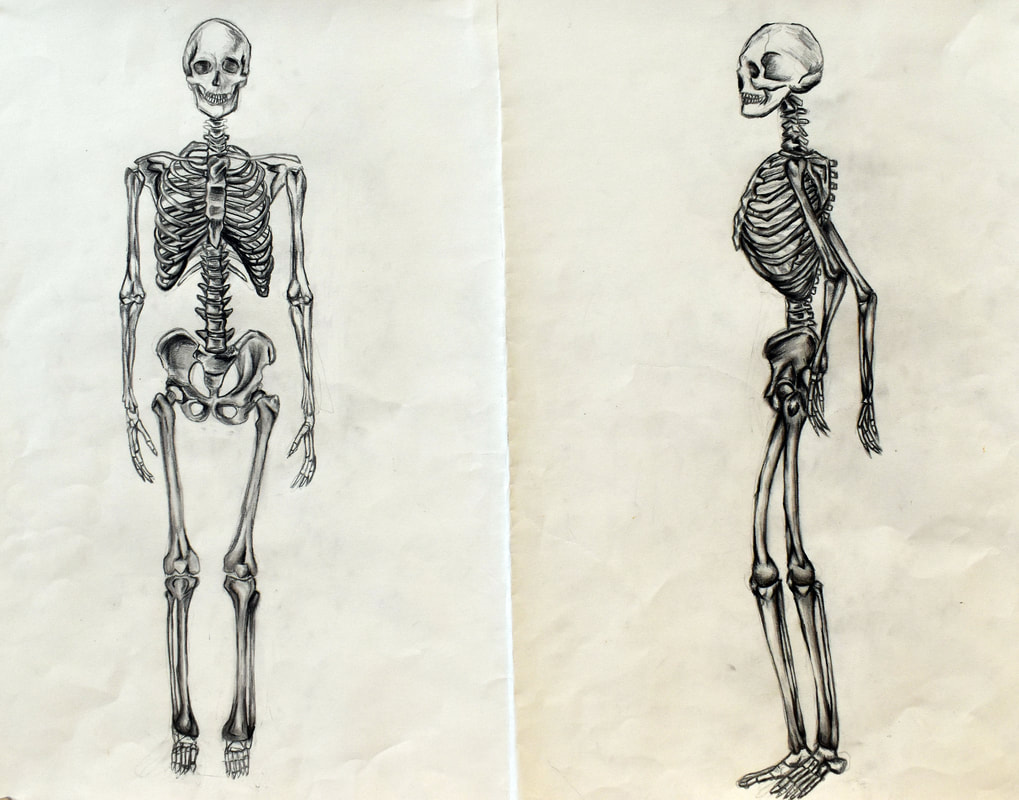
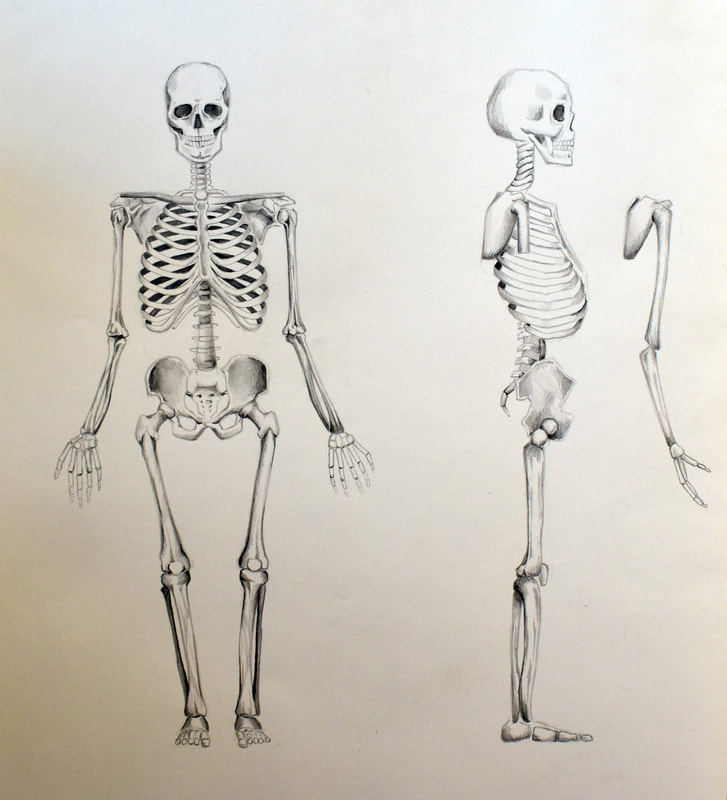
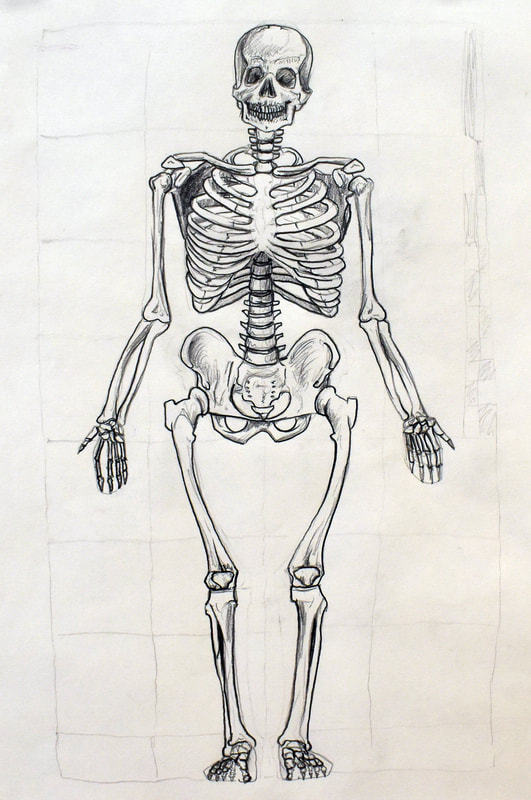
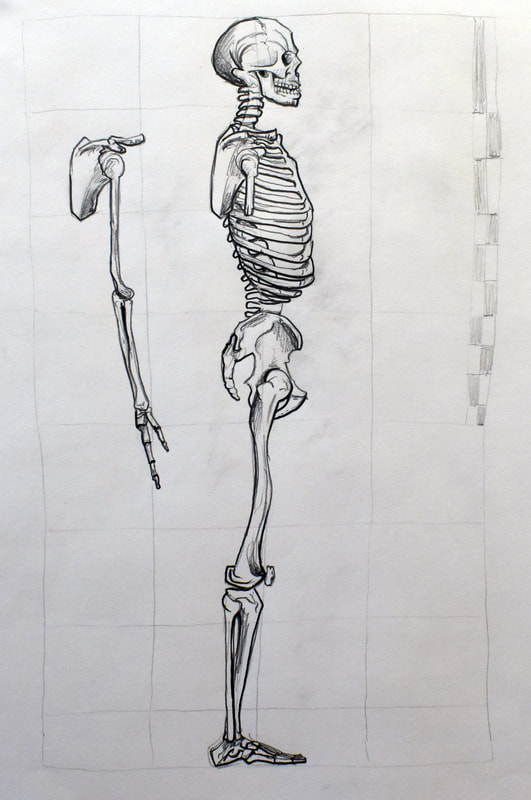
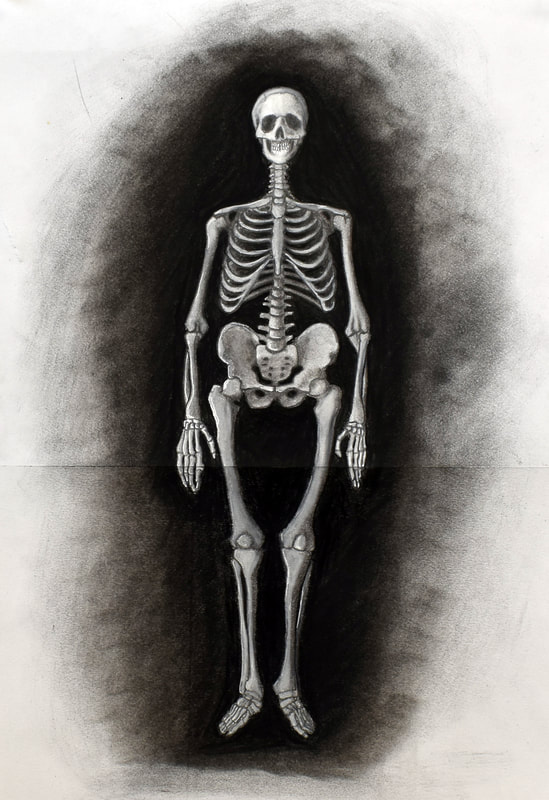
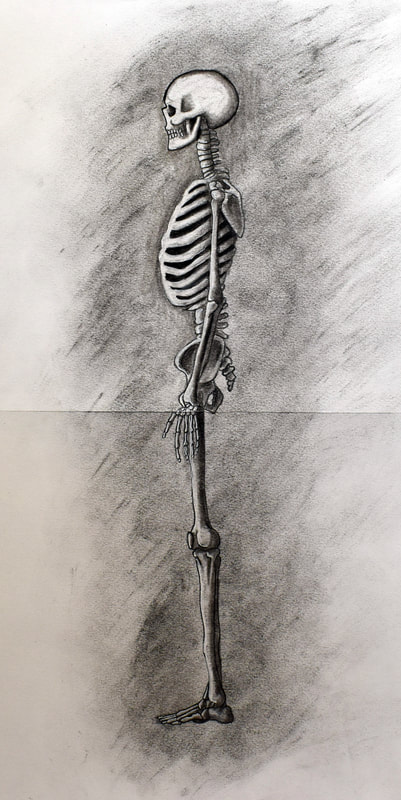
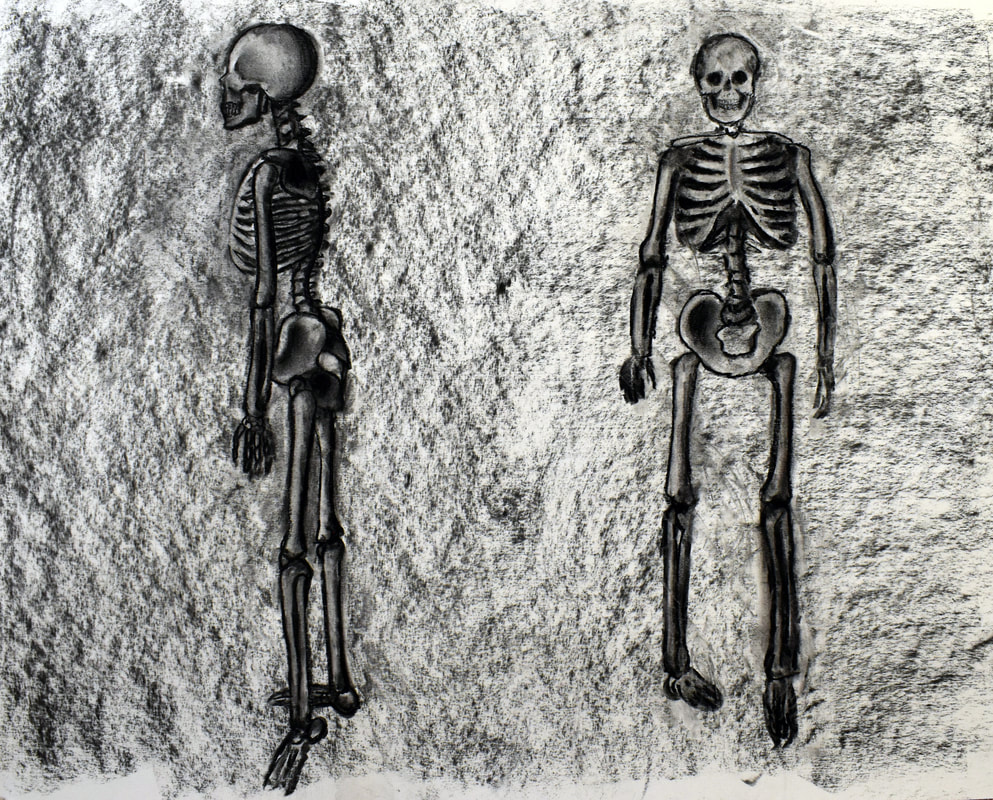
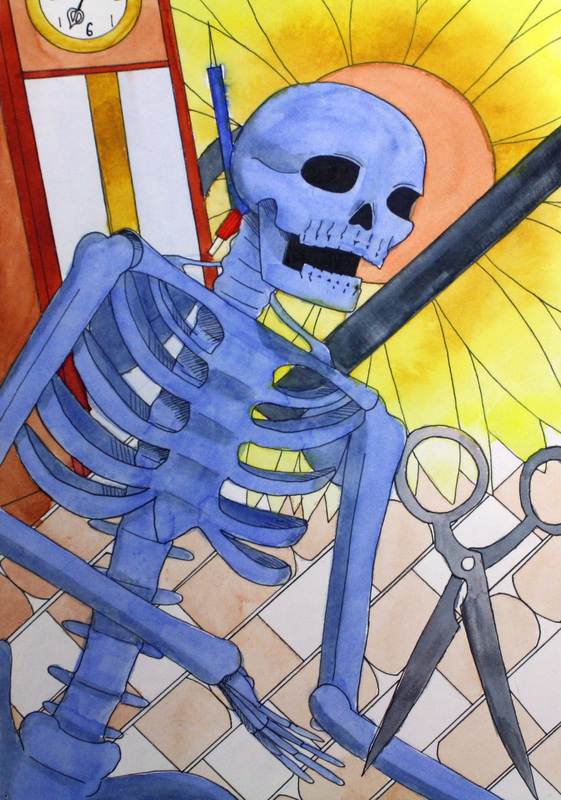
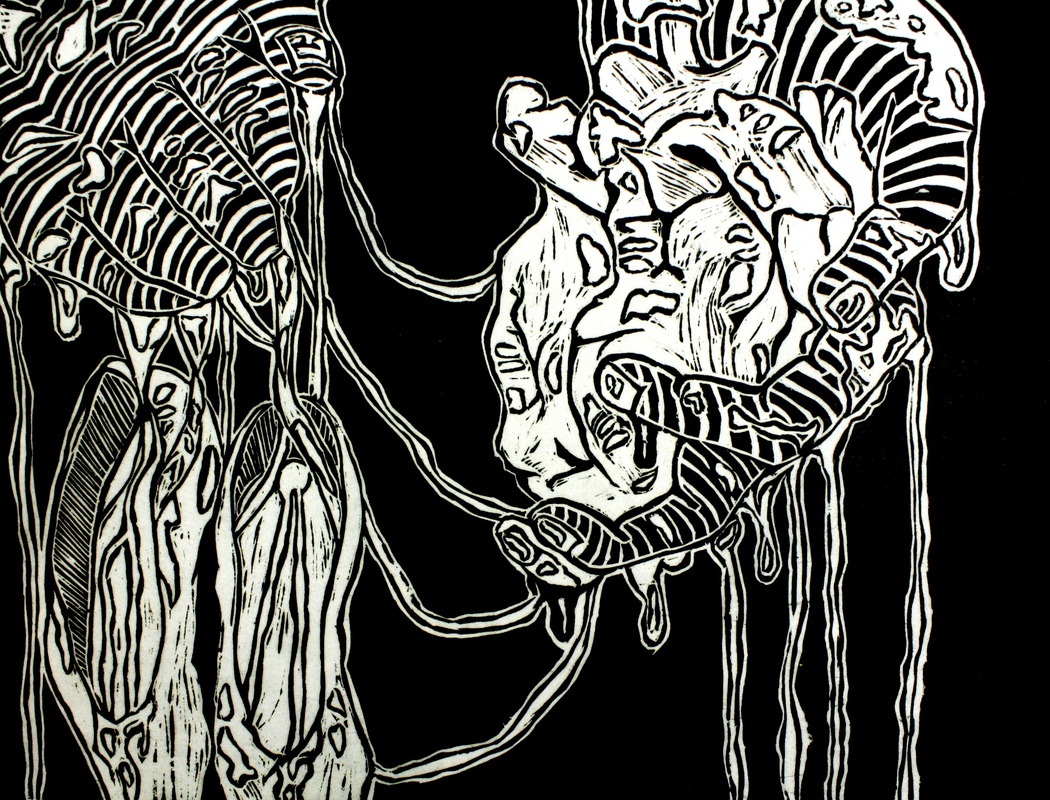
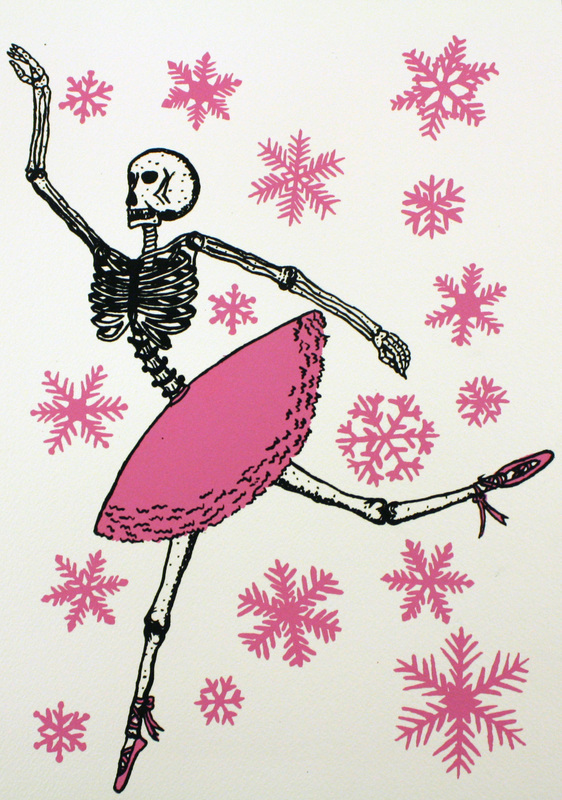
Human Skeleton Project - Students are shown a lecture concerning the proportions of the human skeleton, methods of drawing the skeleton in proportion, and the labelled areas of the skeleton body. Afterwards, they spend class time drawing various view points of the human skeleton inside the classroom. For these images, they use primarily graphite and charcoal. They are then asked to use an 18x24 piece of white drawing paper to create a composition using either graphite or charcoal that renders the human skeleton in a frontal view and side-view in perspective proficiently.

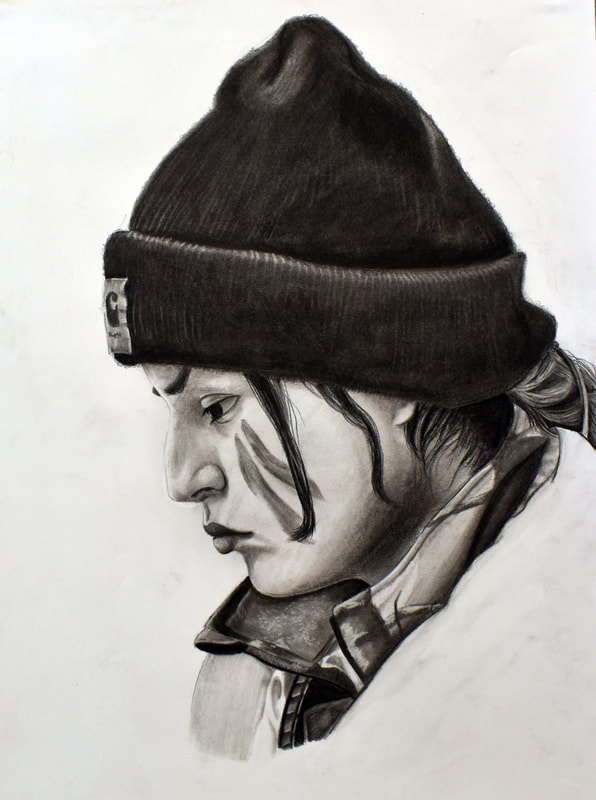
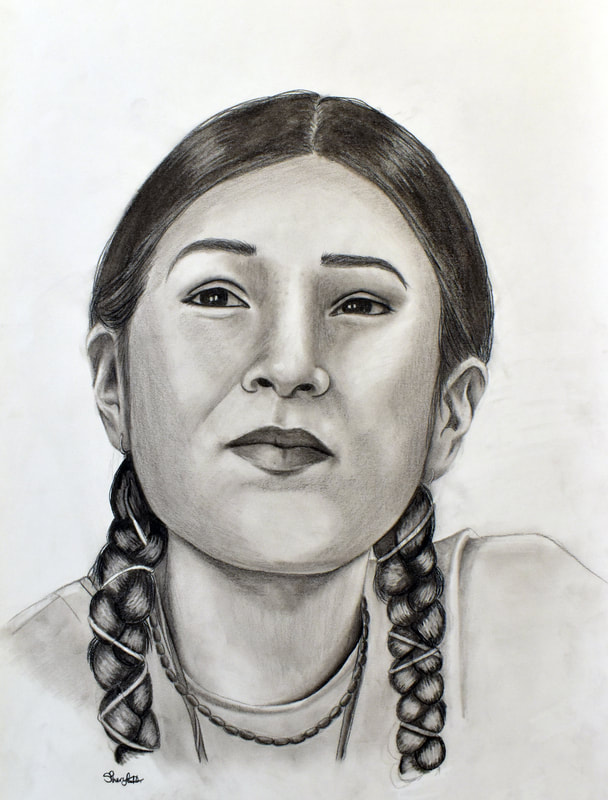
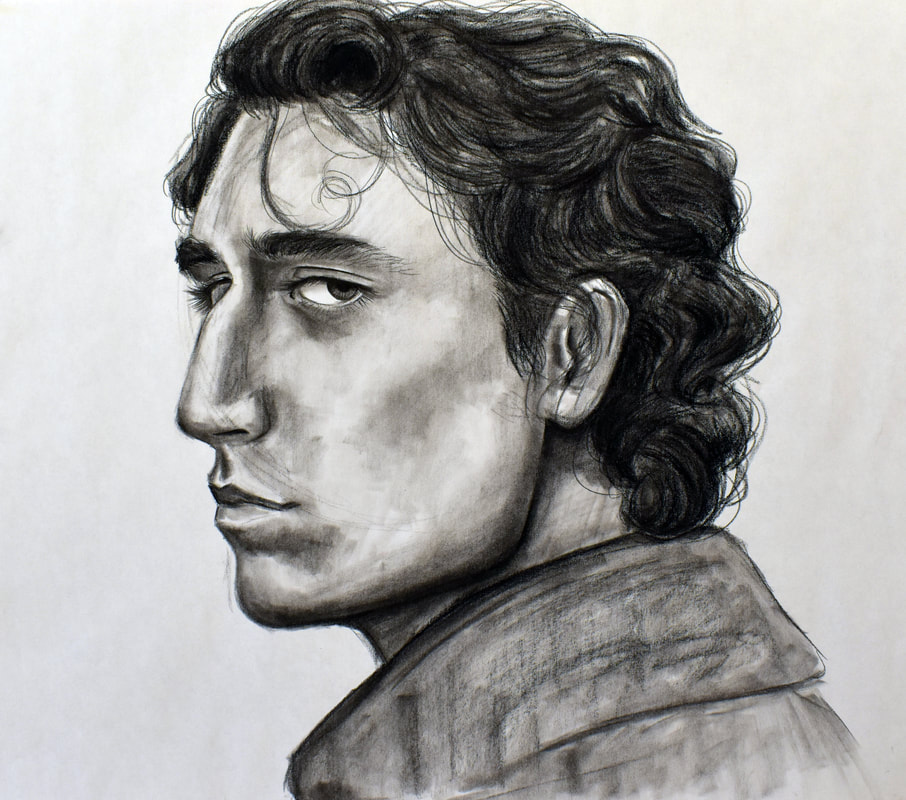
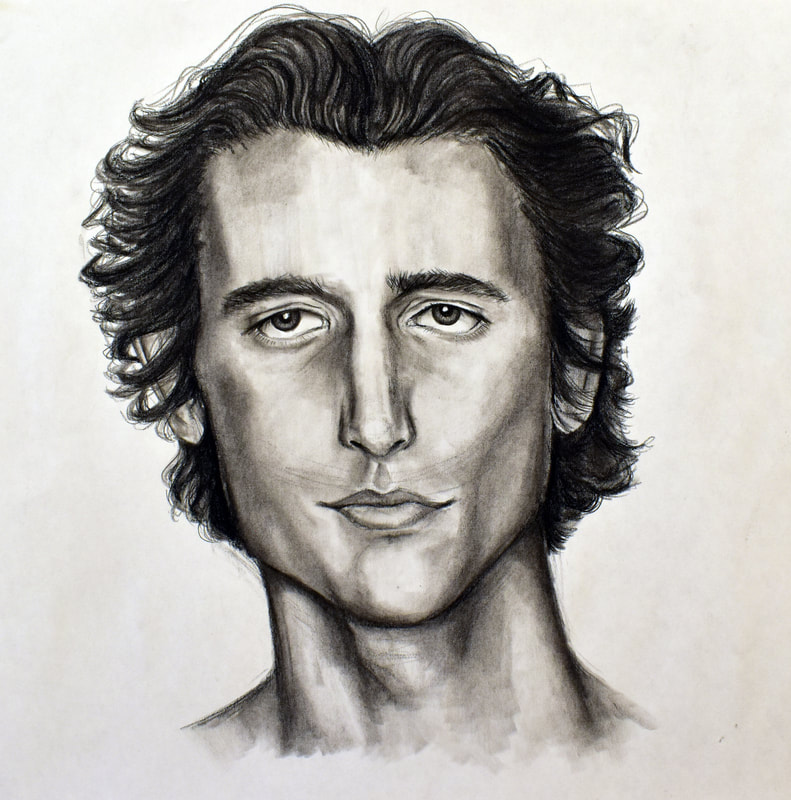
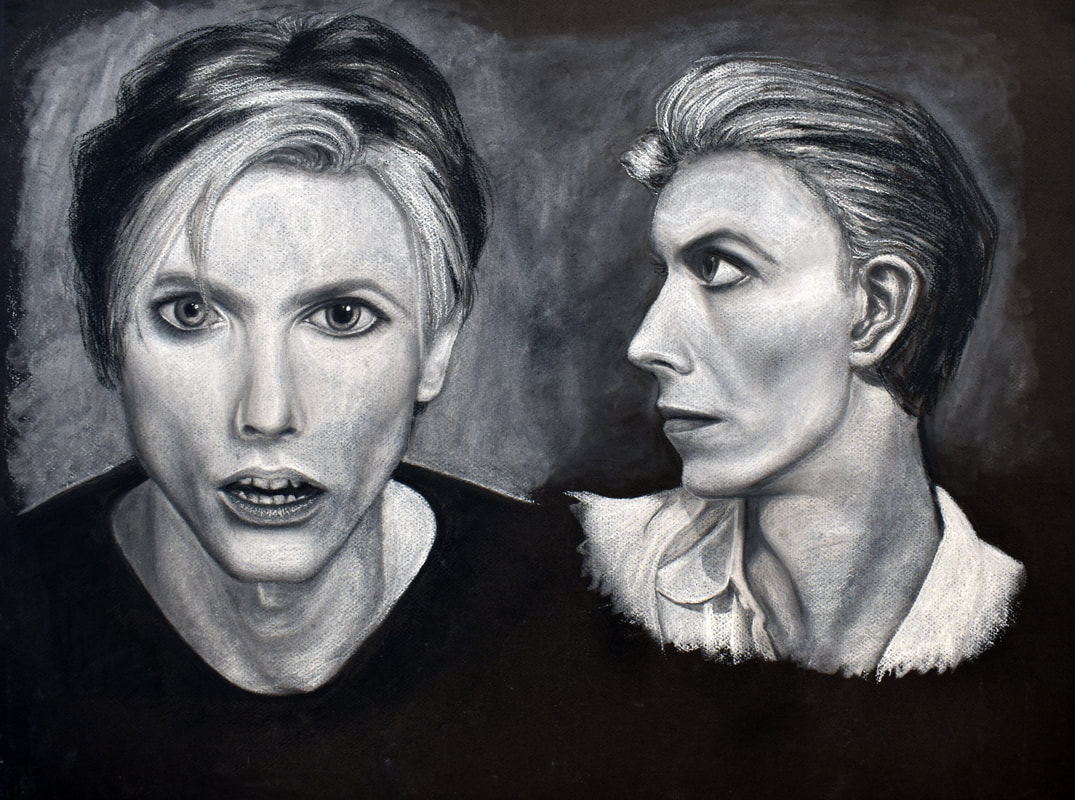
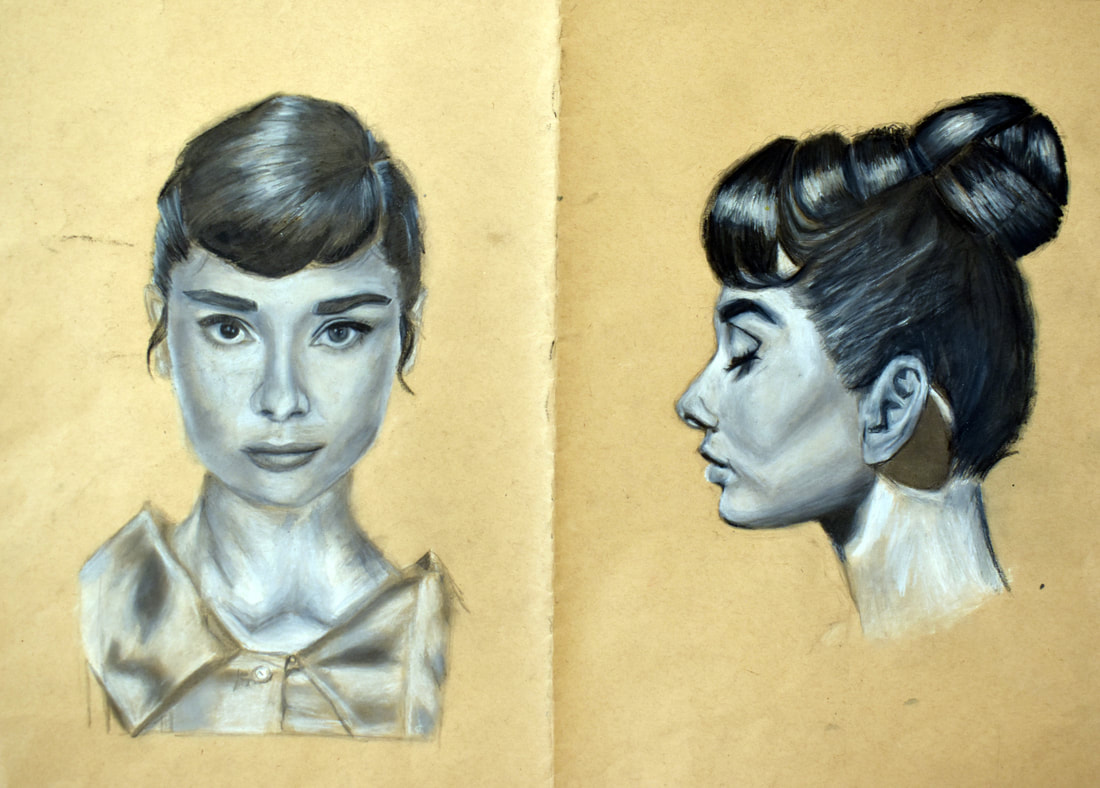
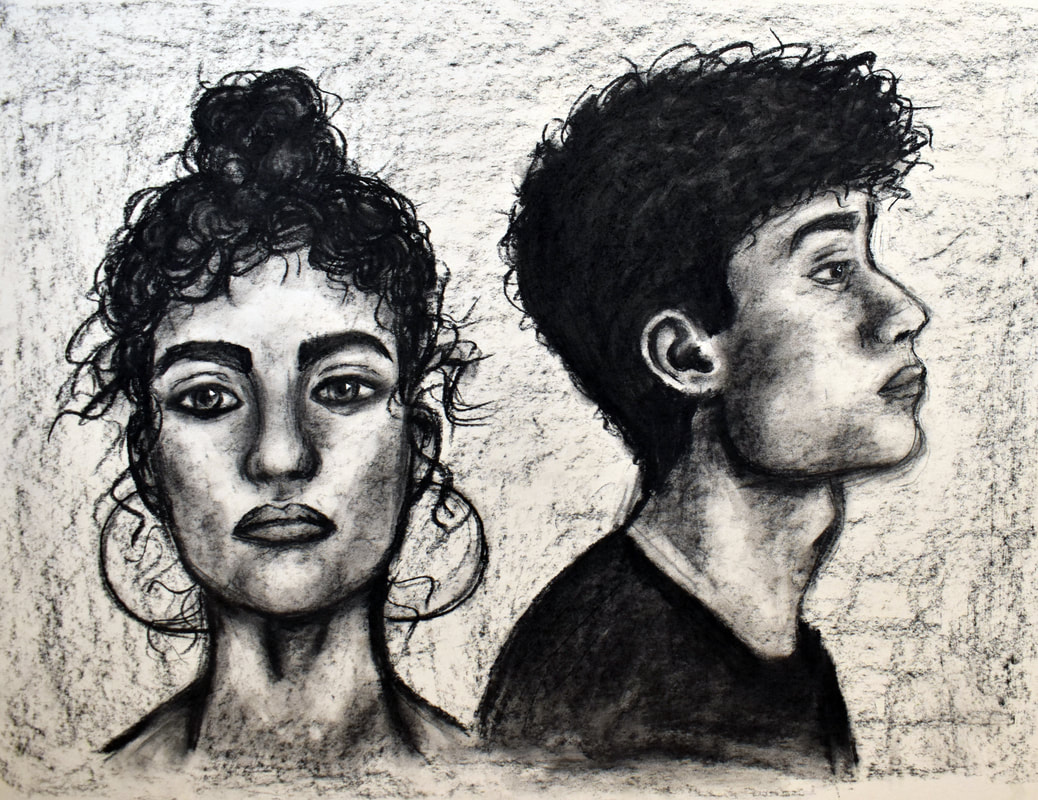
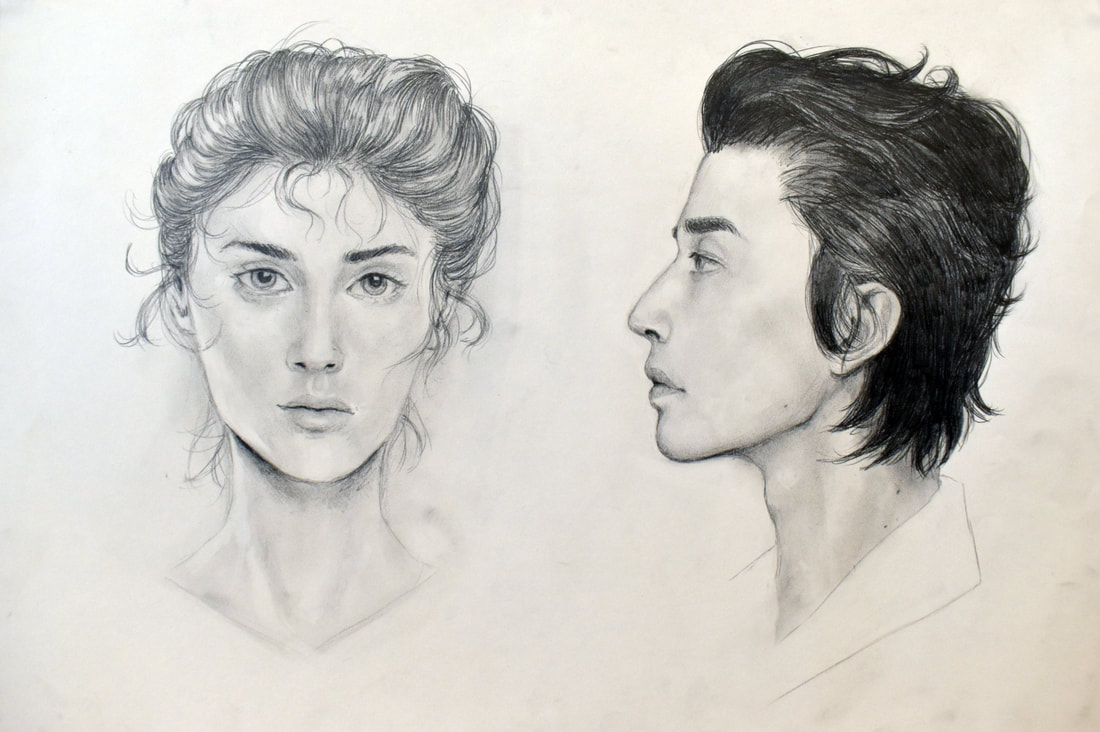
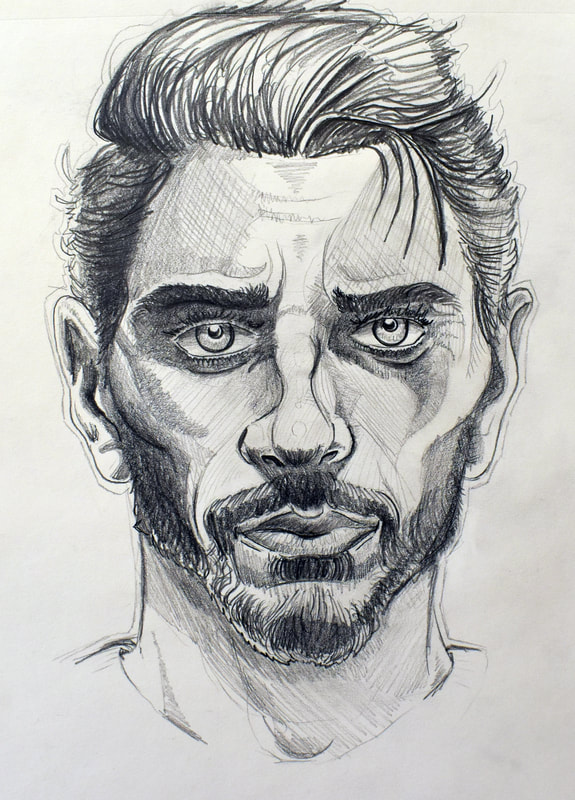
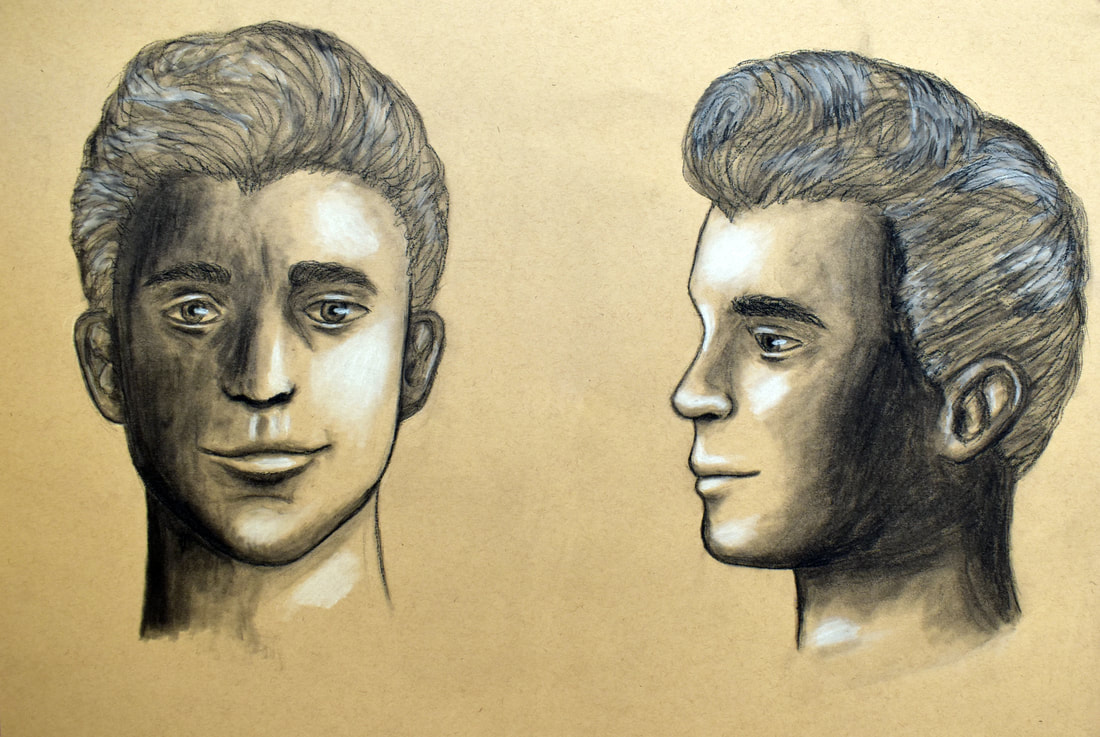
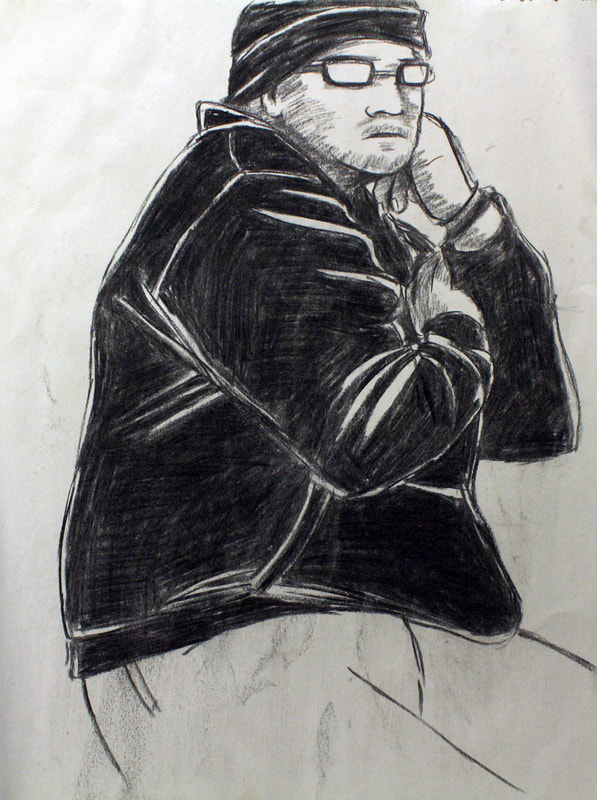
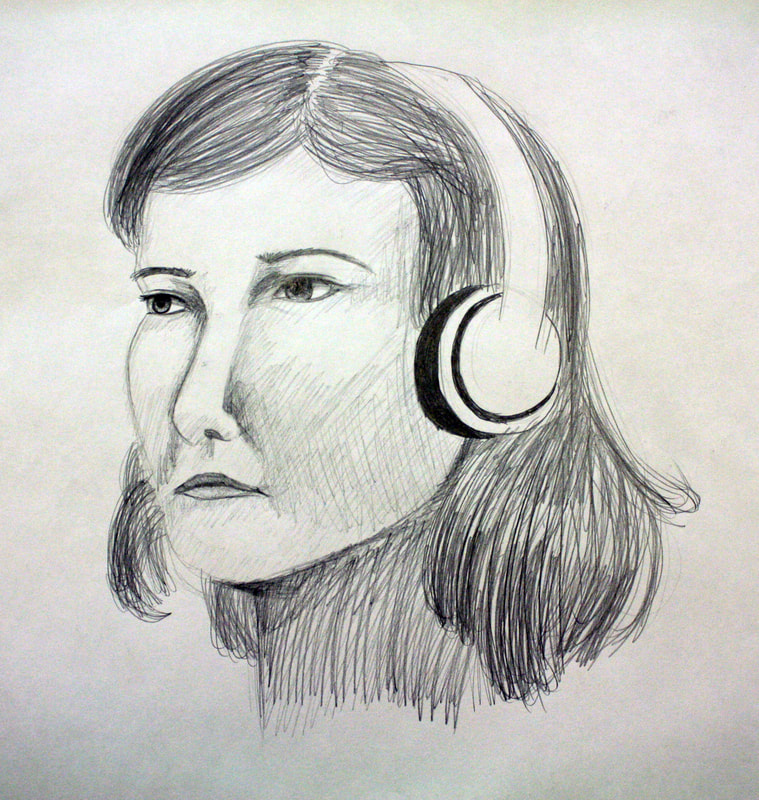
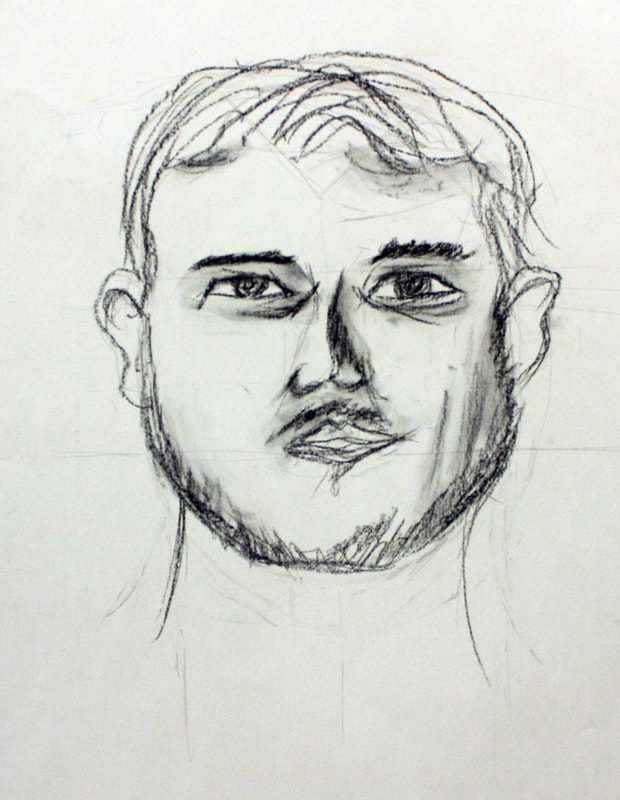
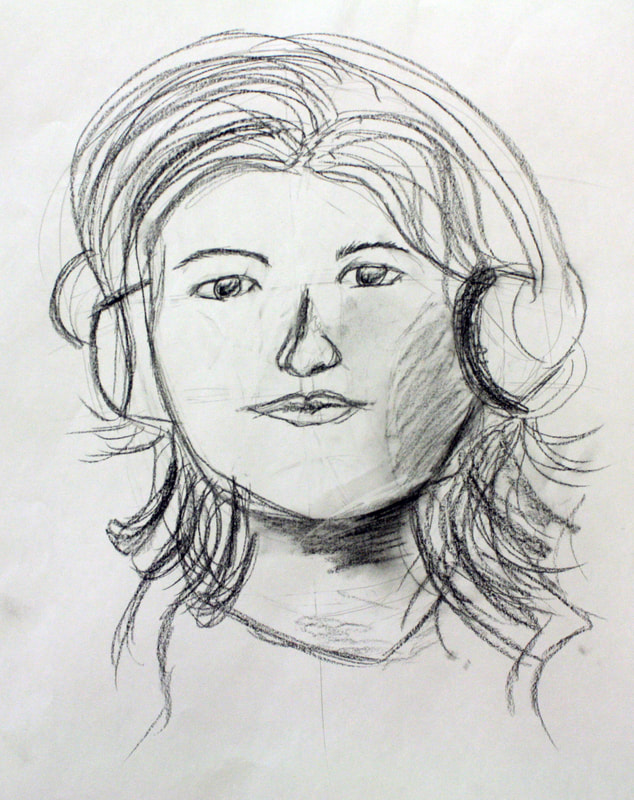
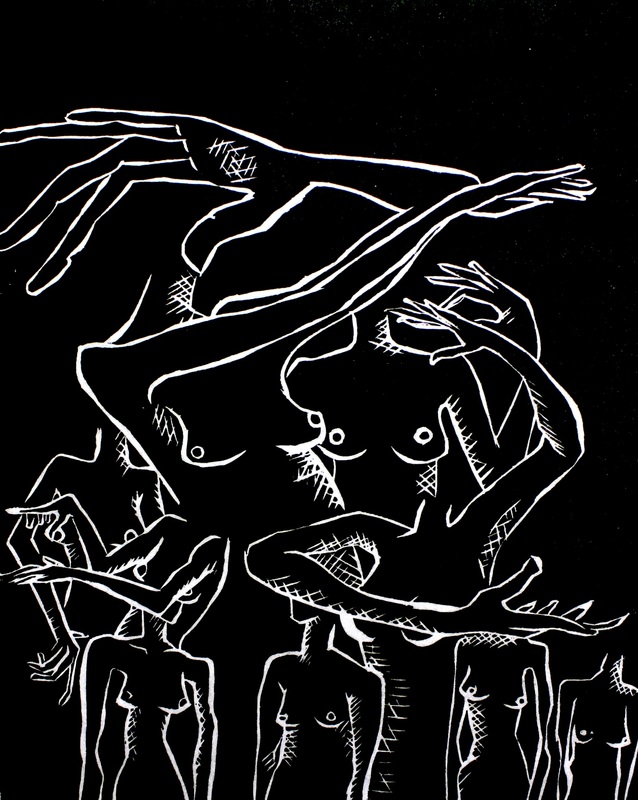
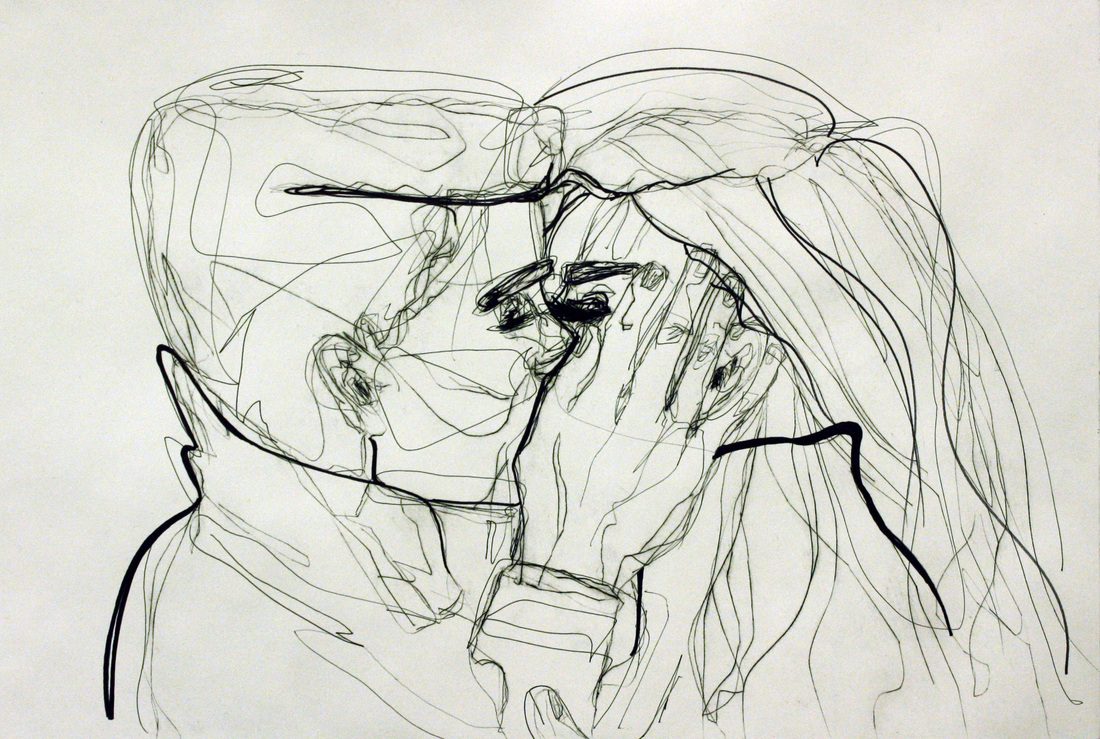
Human Head Project - Students are shown a lecture concerning the proportions of the human head and various methods of drawing the human head accurately. Afterwards, they spend class time drawing various view points of the human head and portrait inside the classroom using live models and cast heads. For these images, they use primarily graphite, charcoal, and conte crayon. They are then asked to use an 18x24 piece of drawing paper, white or toned paper, to create a composition using any of the mediums preferred that renders the human head in a frontal view and side-view in perspective proficiently.
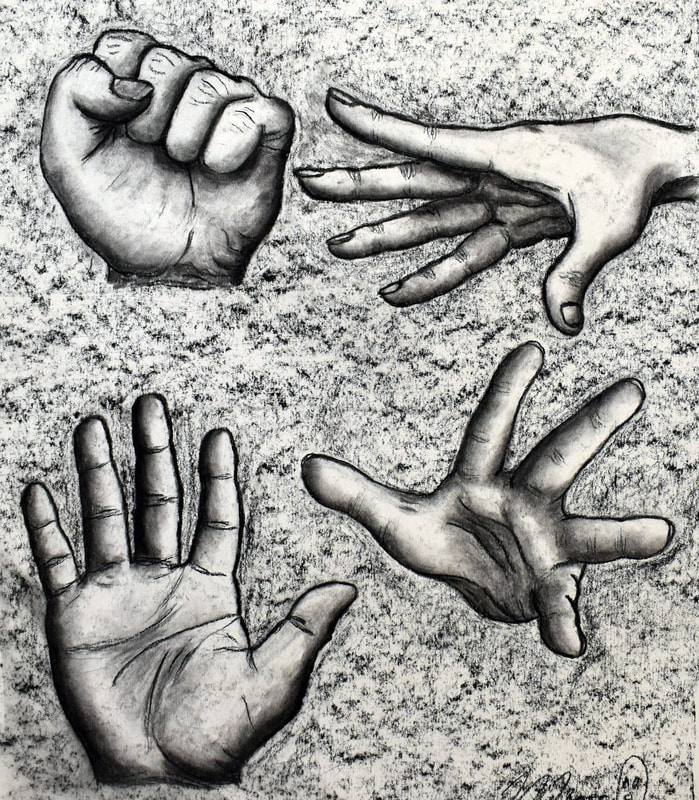
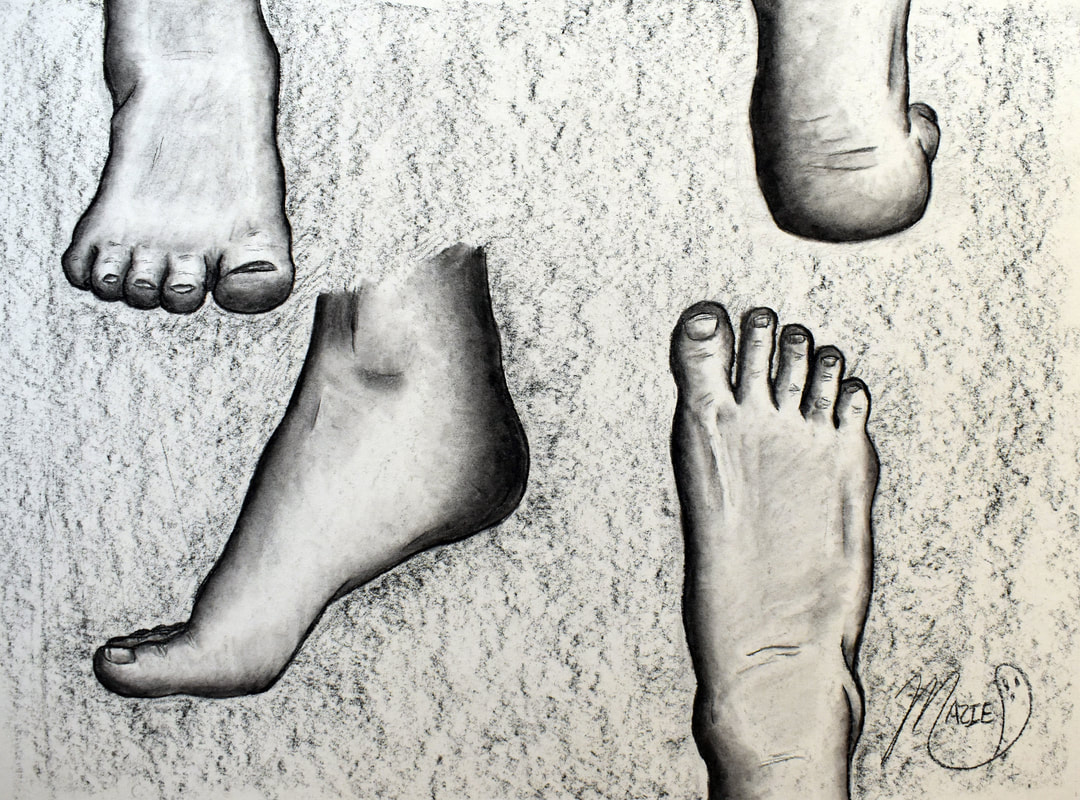
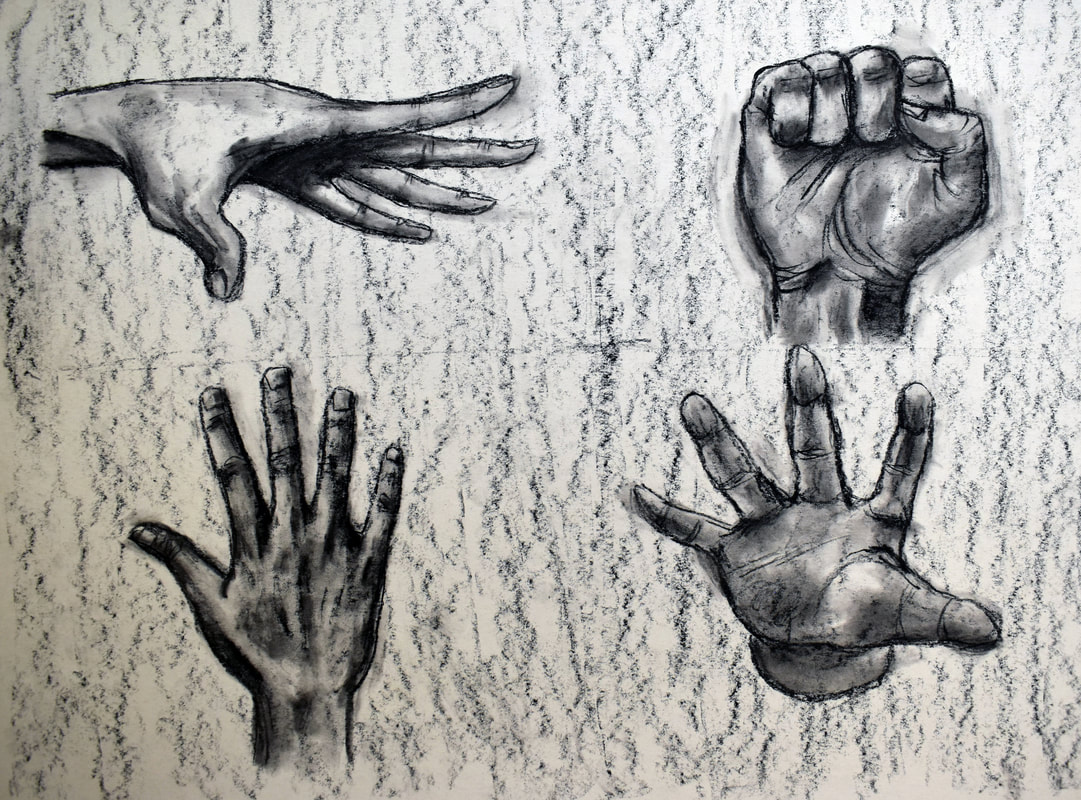
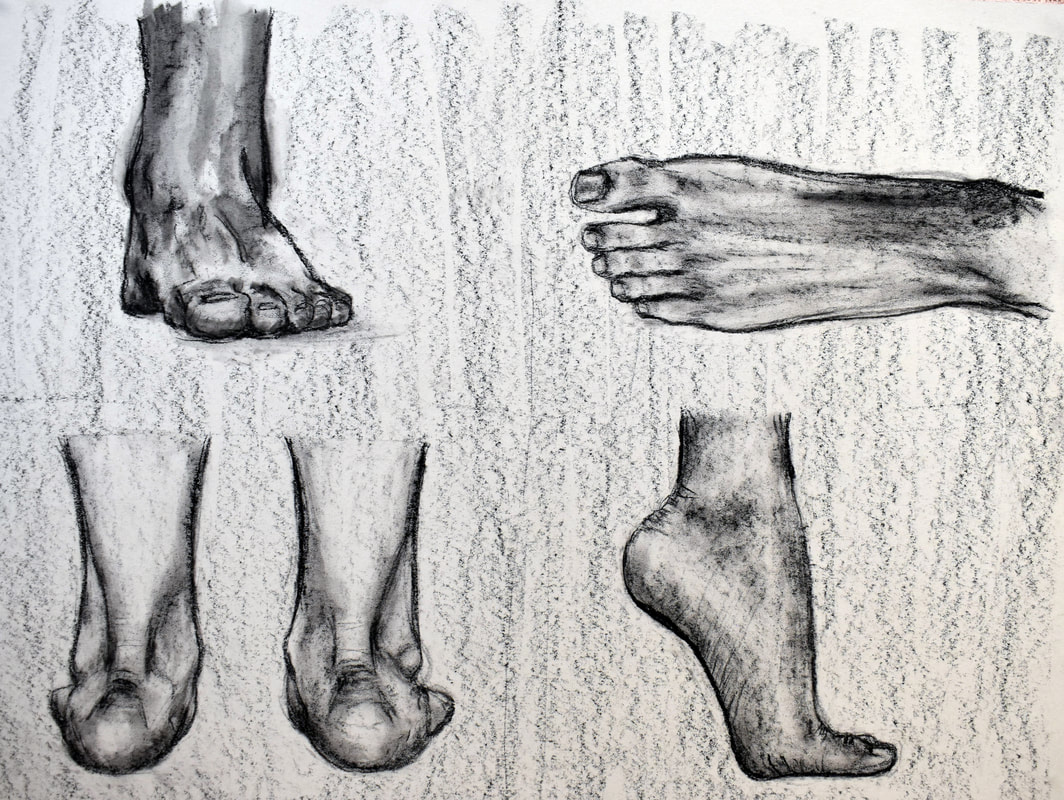
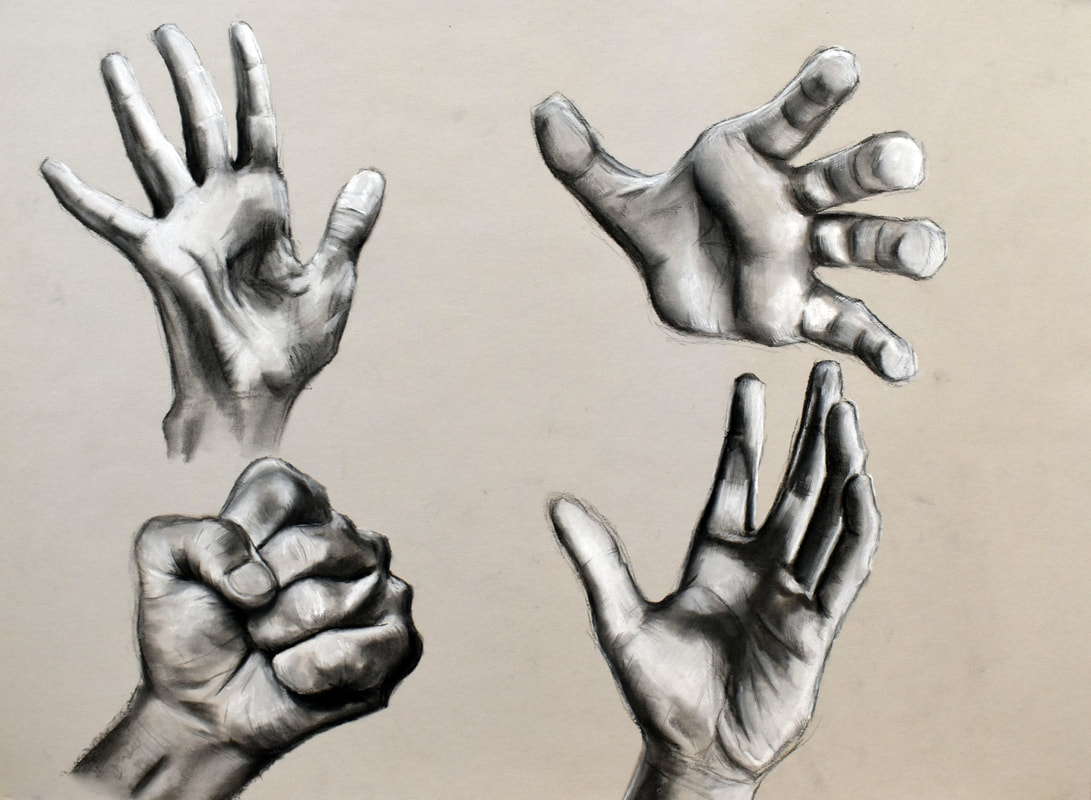
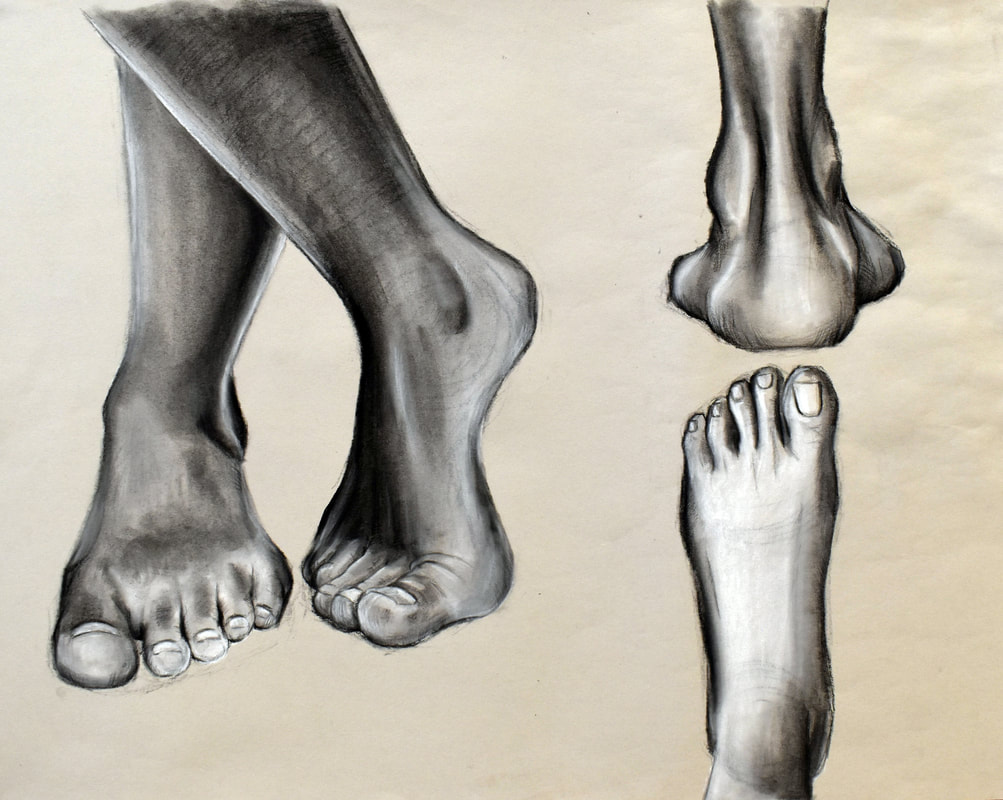
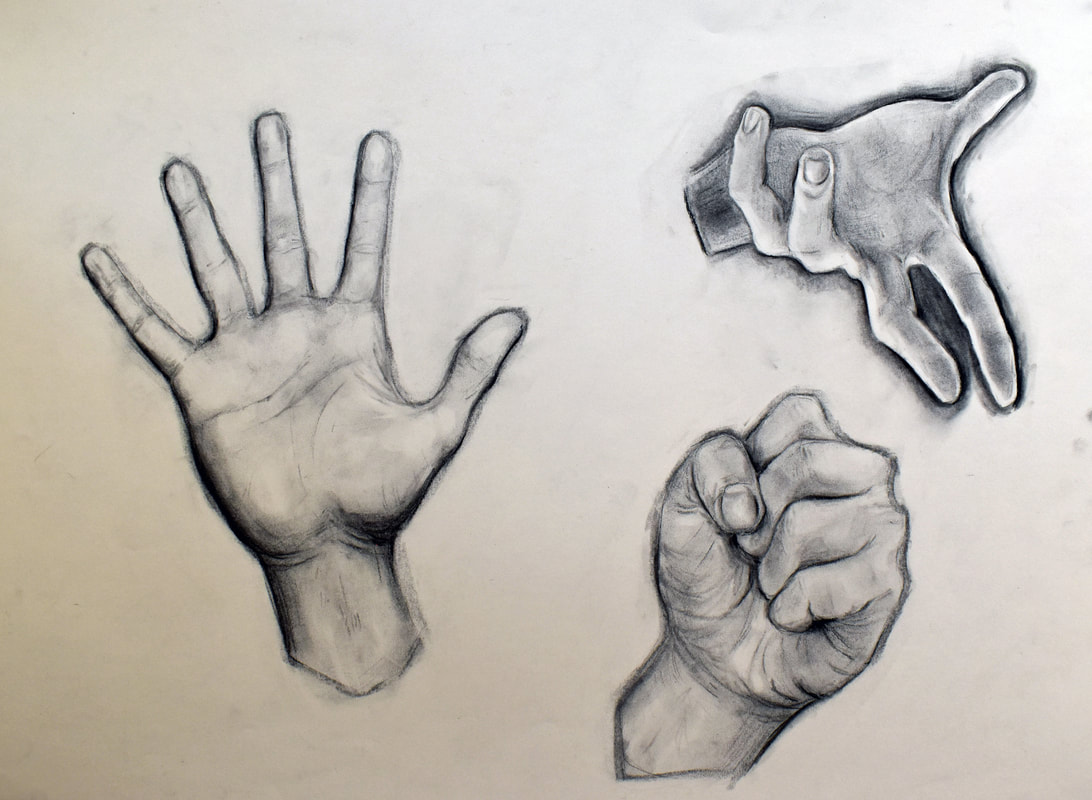
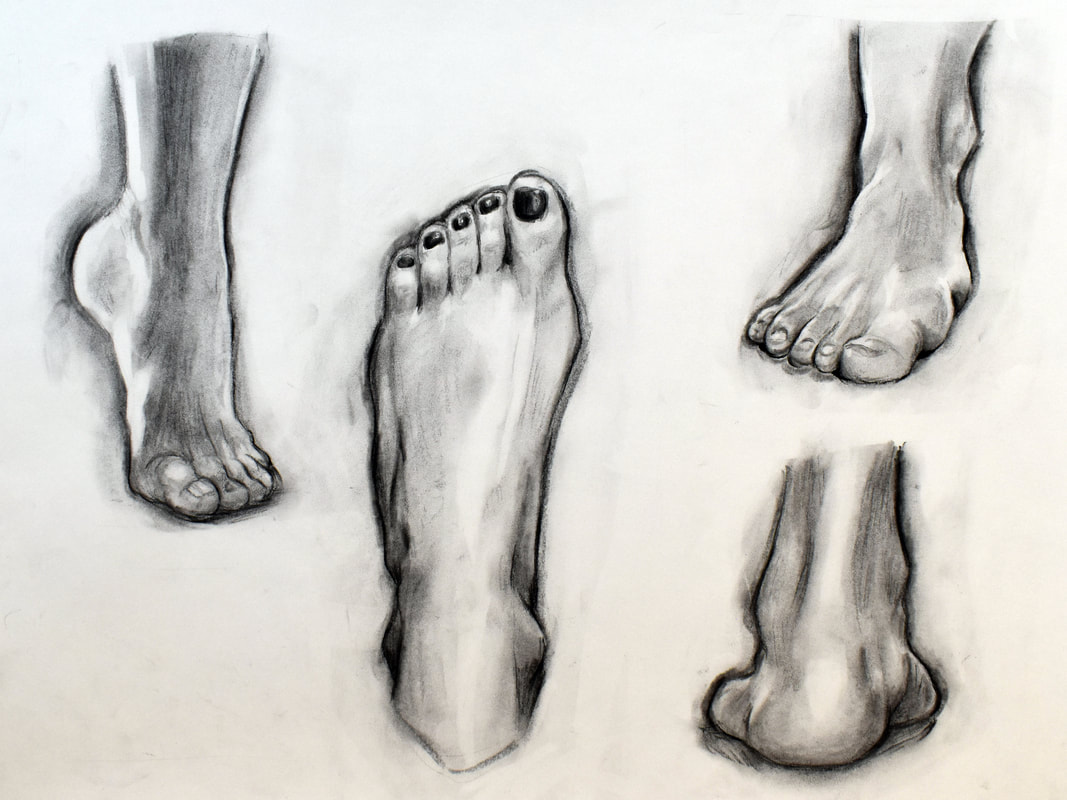
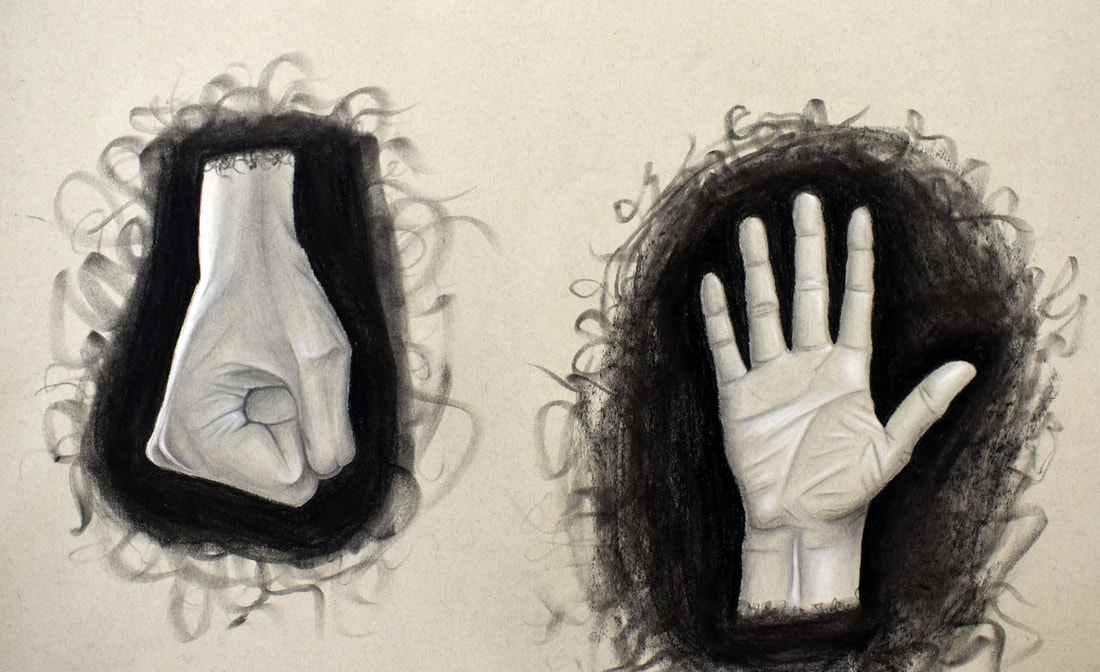
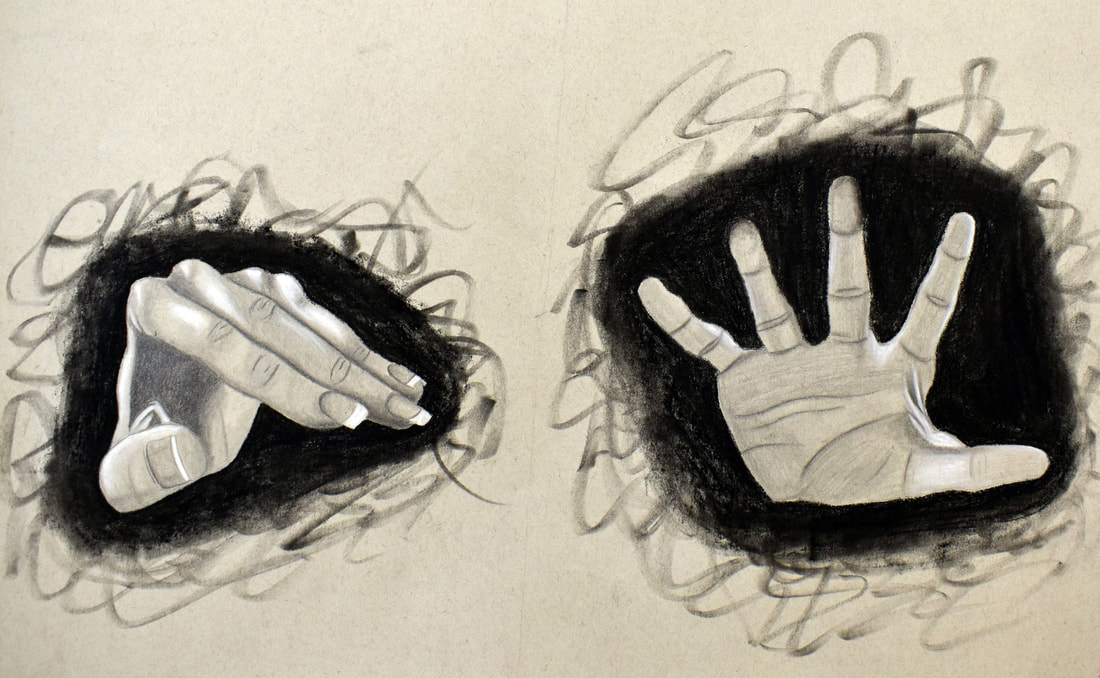
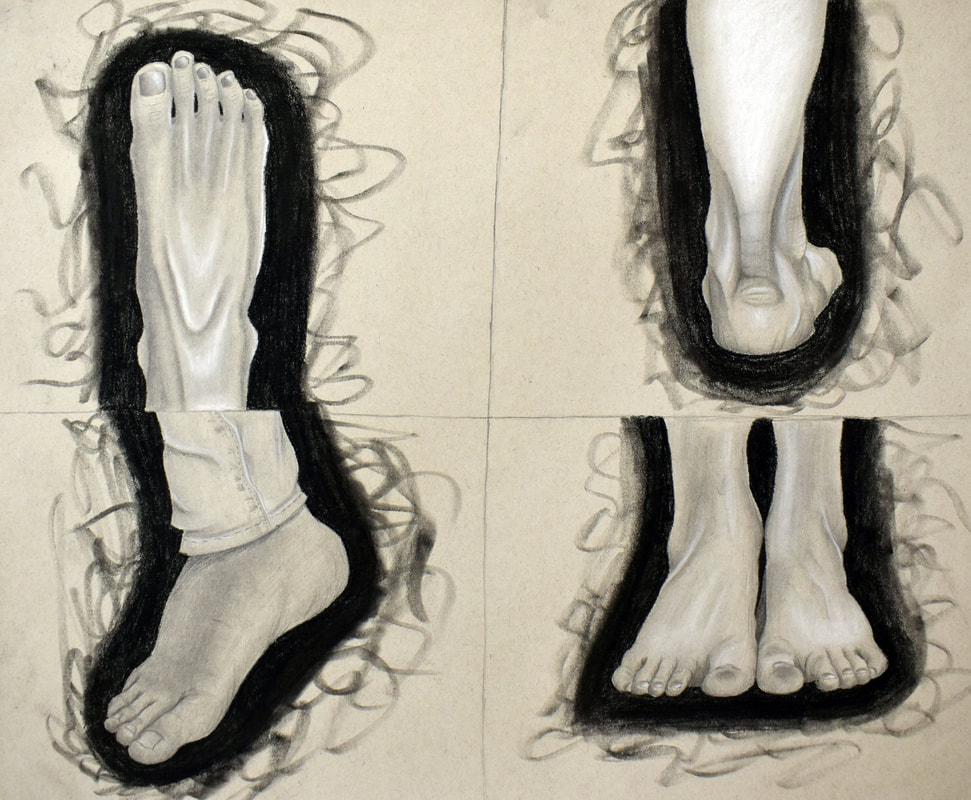
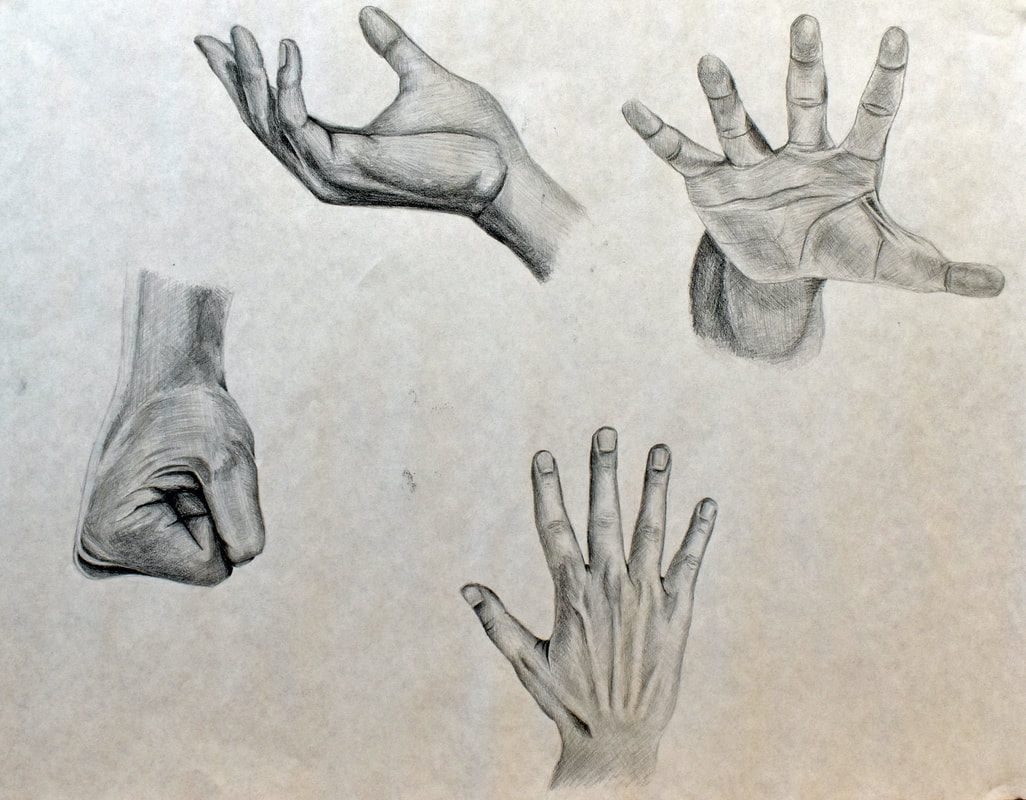
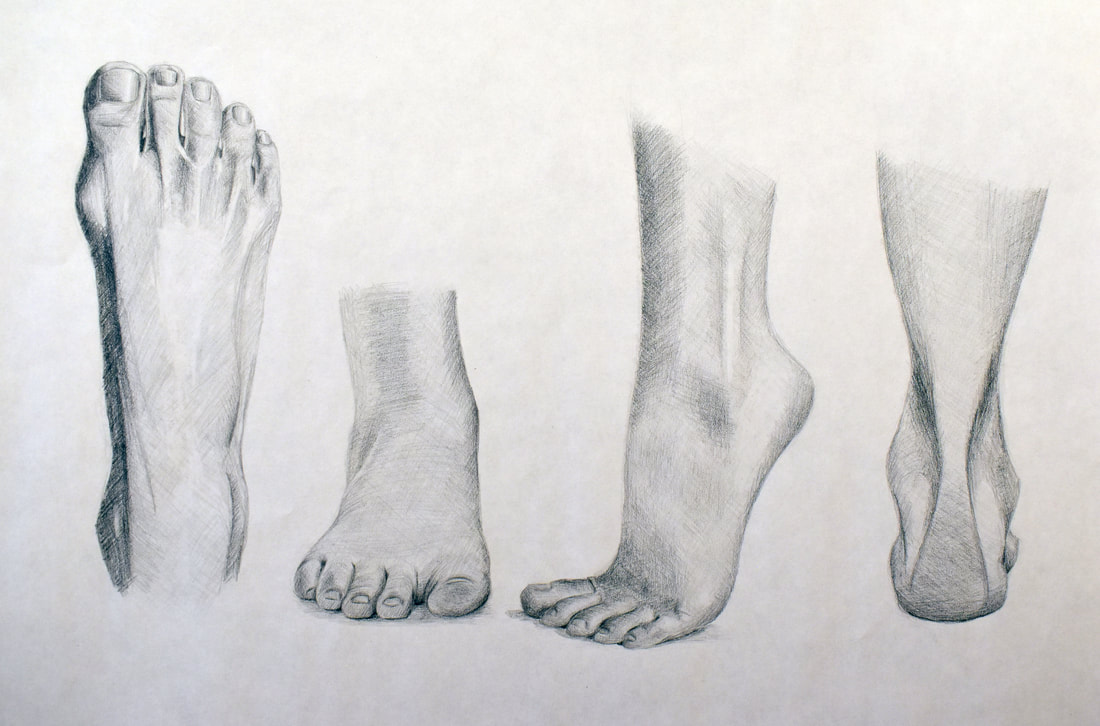
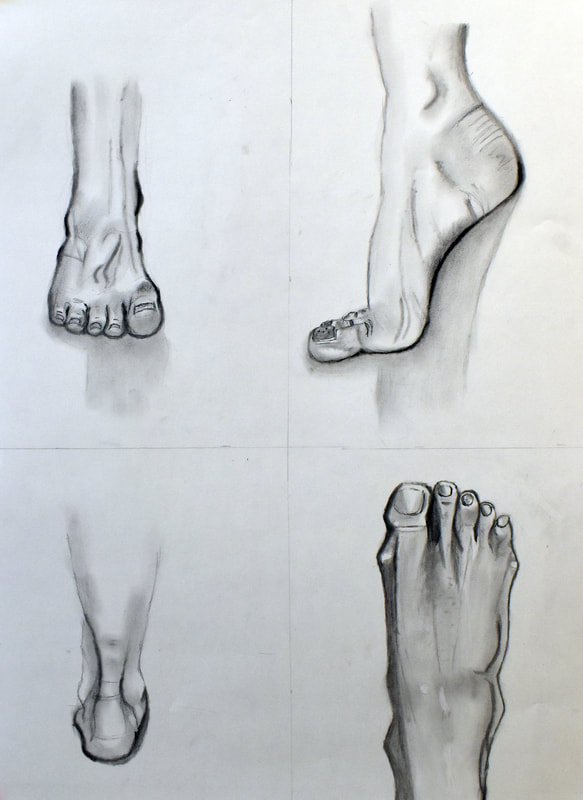
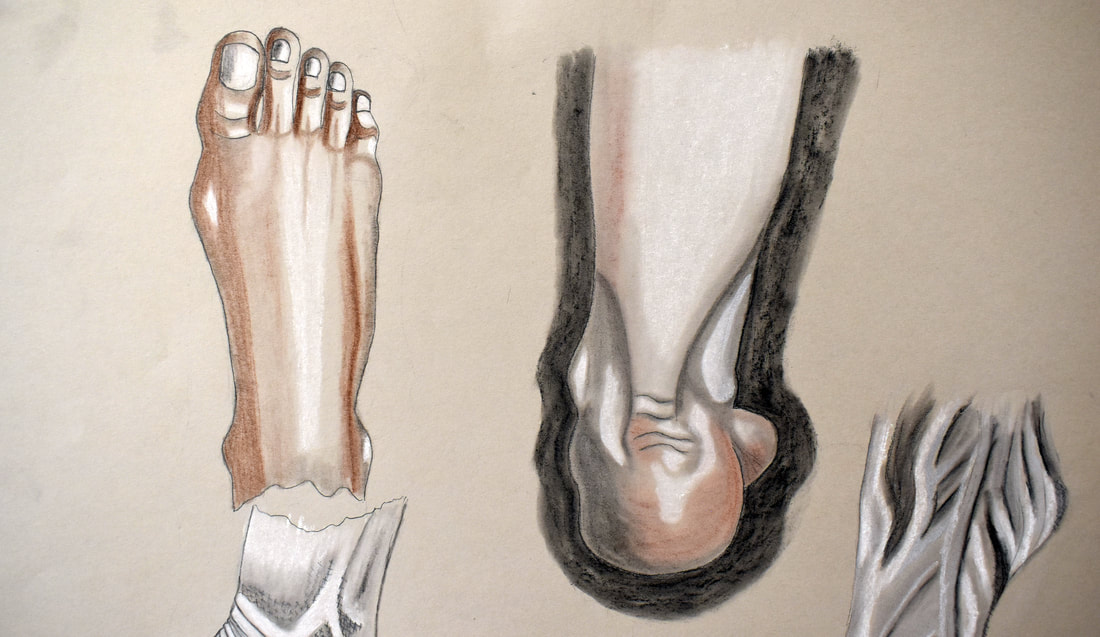
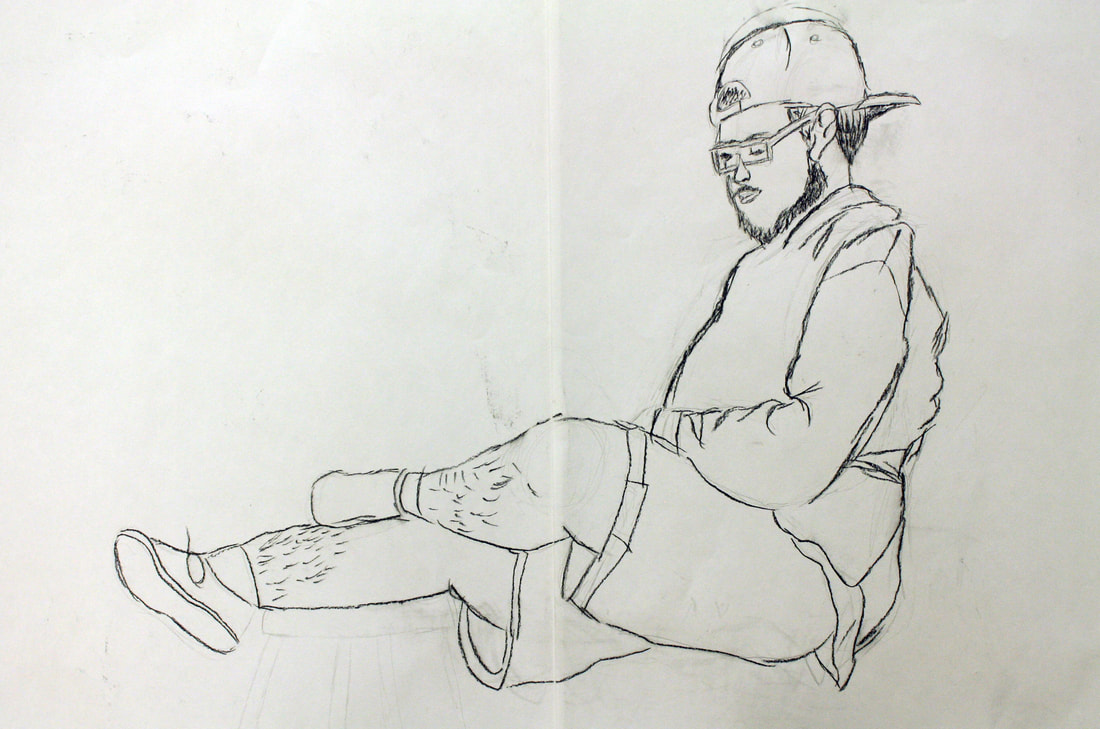
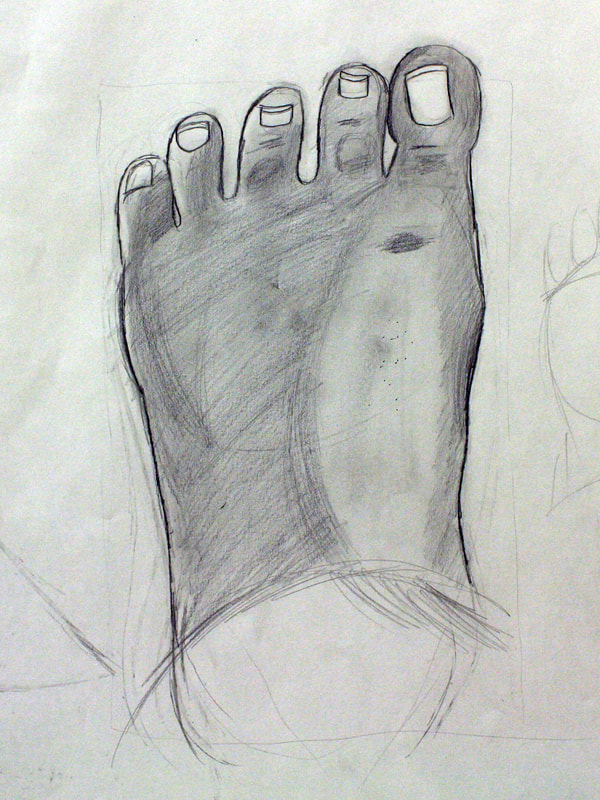
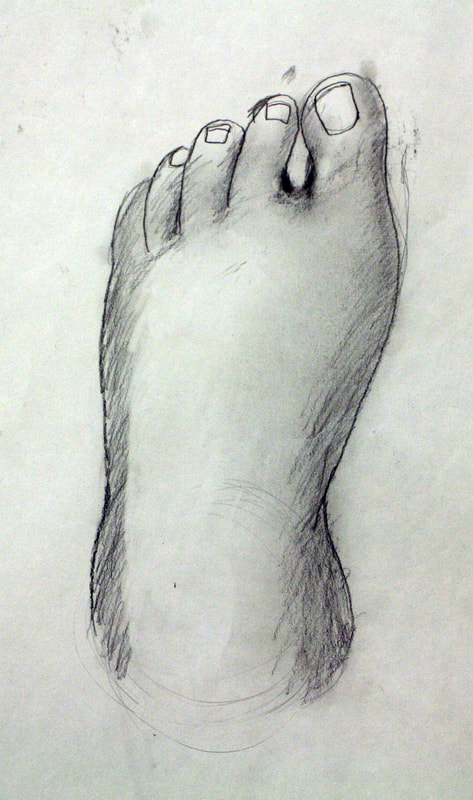
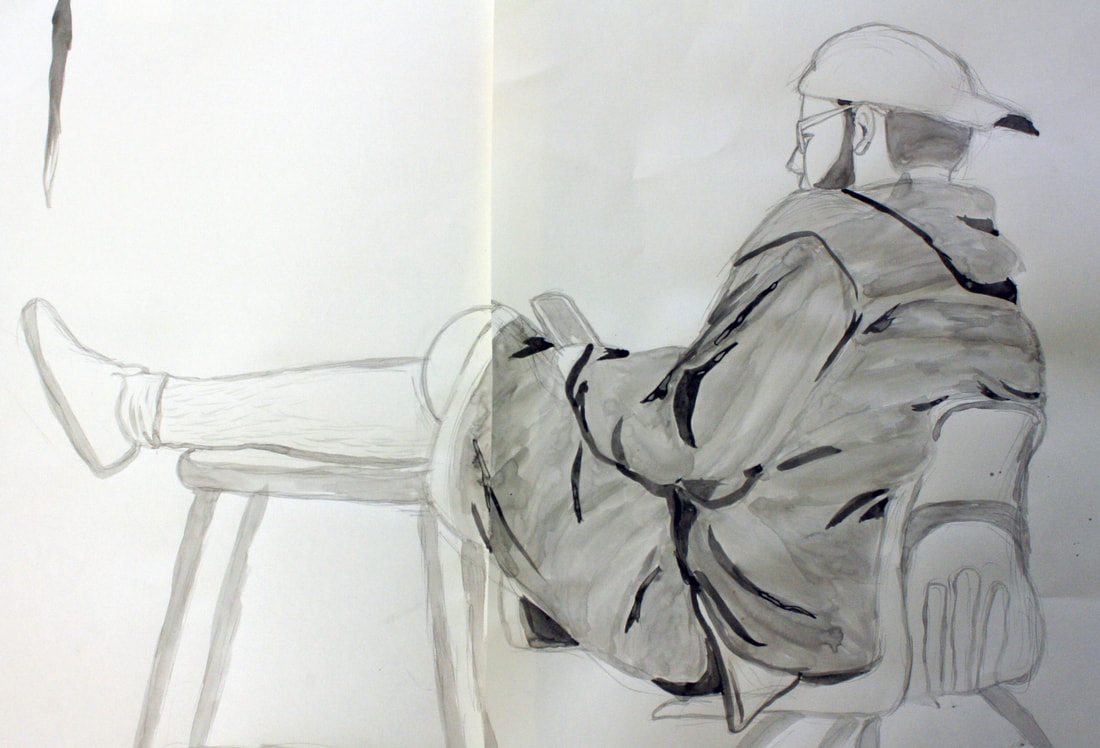
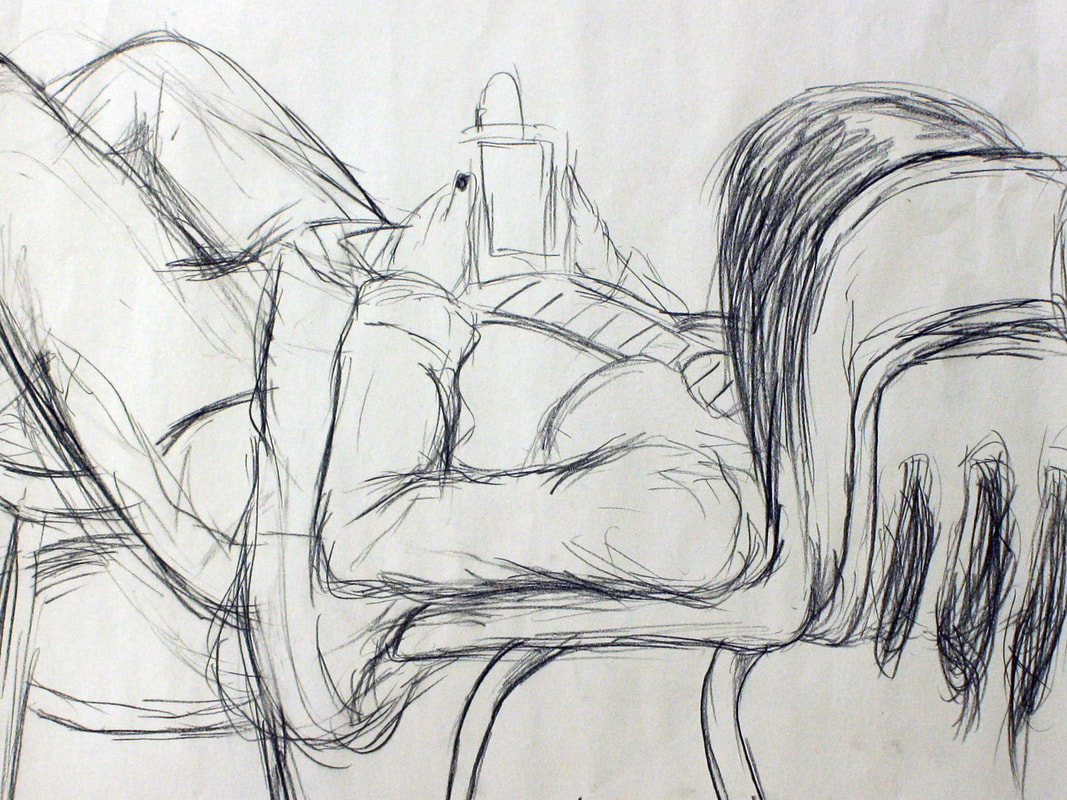
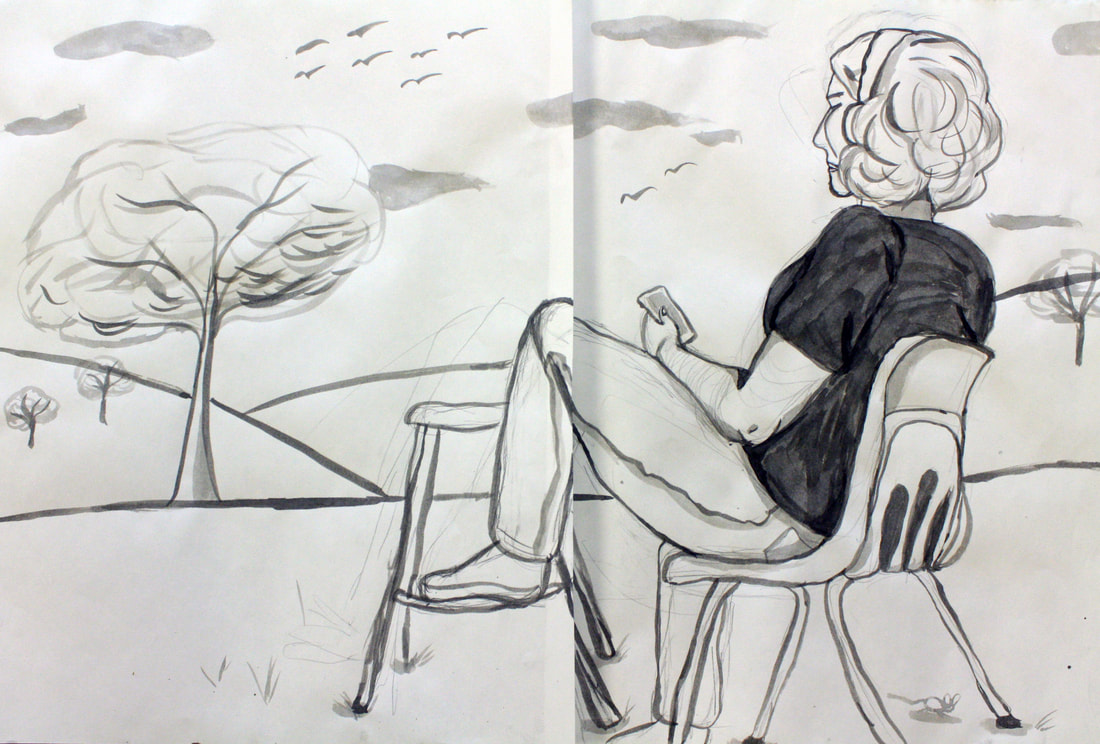
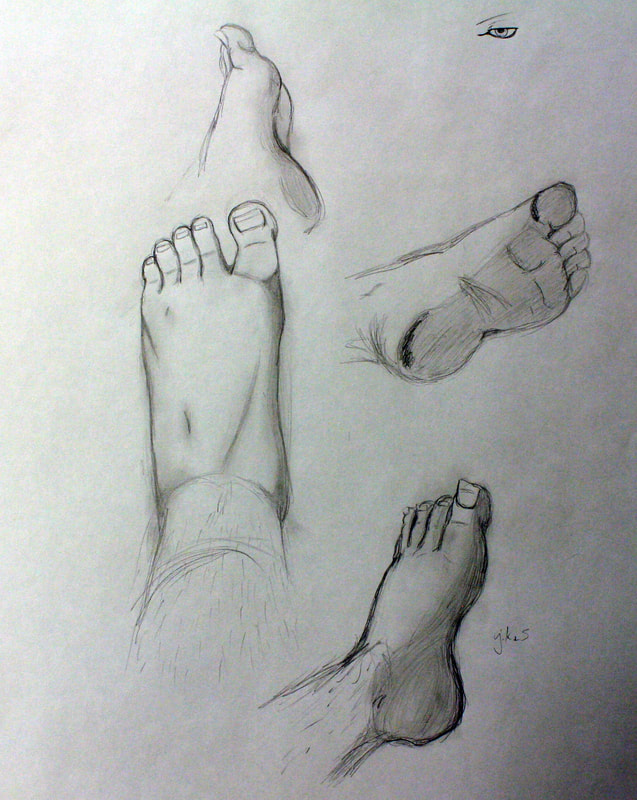
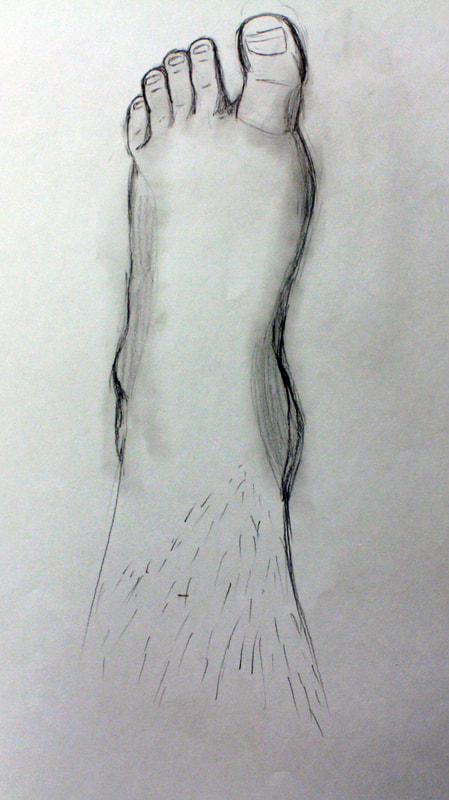
Human Hands and Feet Project - Students are shown a lecture concerning the proportions of the human hands and feet and various methods of drawing both portions of the body accurately. Afterwards, they spend class time drawing various view points of the human hands and feet from different perspectives using live models (or digital models as needed.) They use primarily graphite, charcoal, and conte crayon. They are then asked to use an 18x24 piece of drawing paper, white or toned paper, to create a composition using any of the mediums preferred that renders the hands in four various positions and feet in four various positions as dictated by the professor.
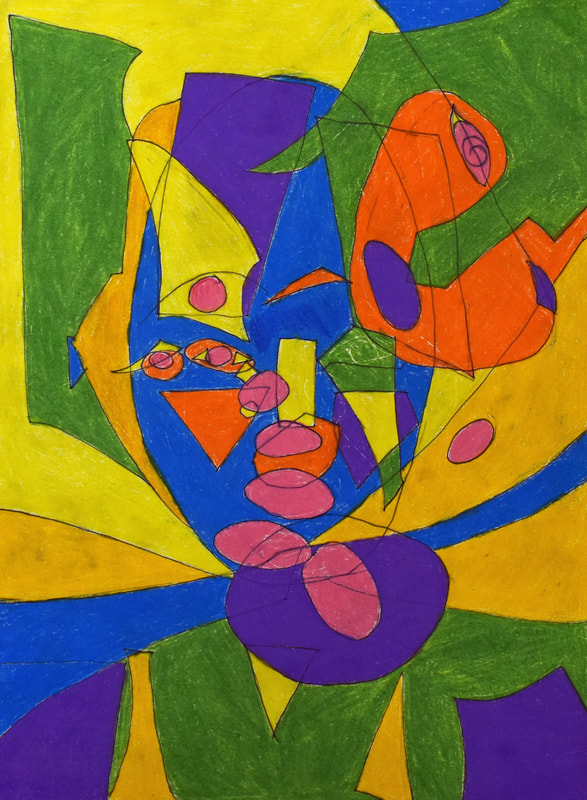
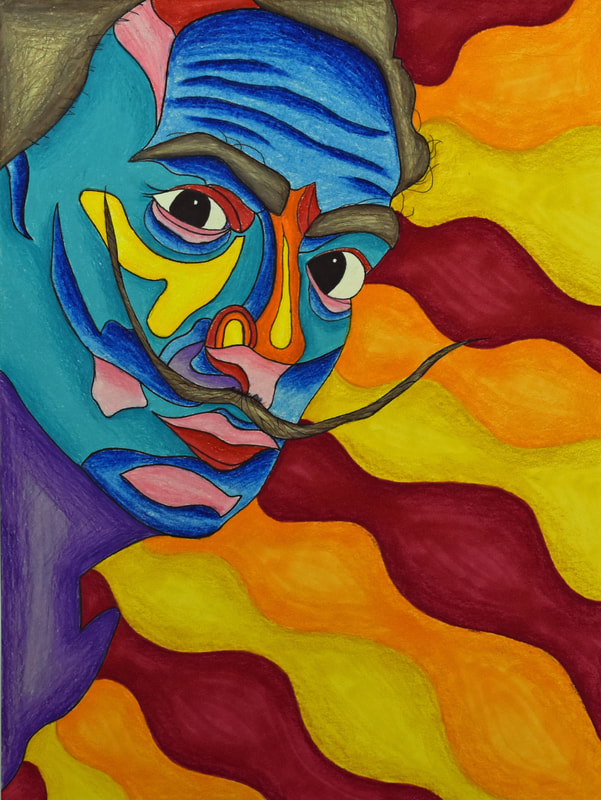
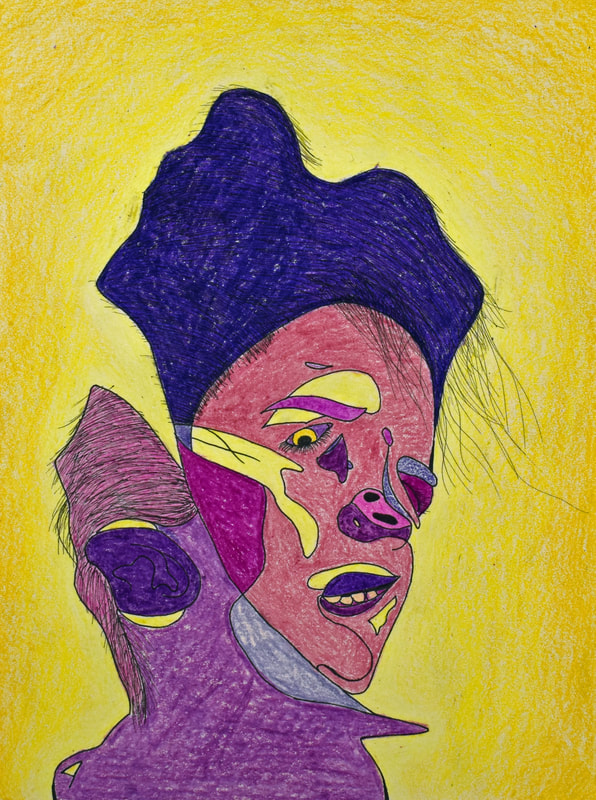
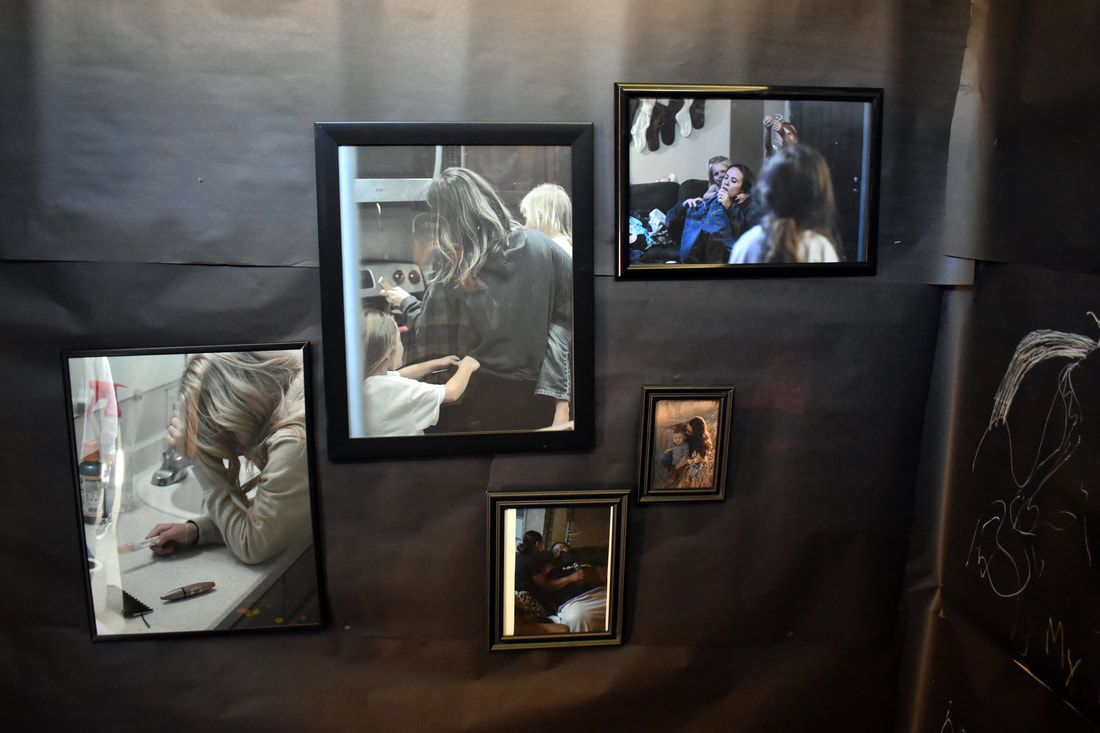
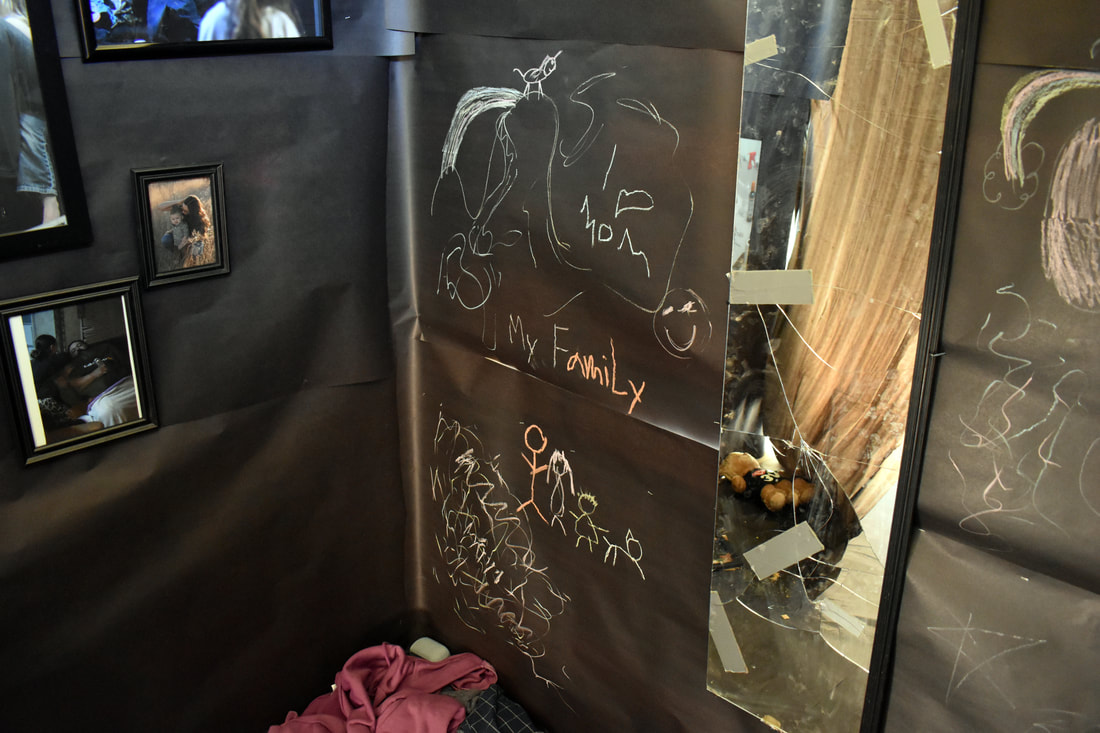
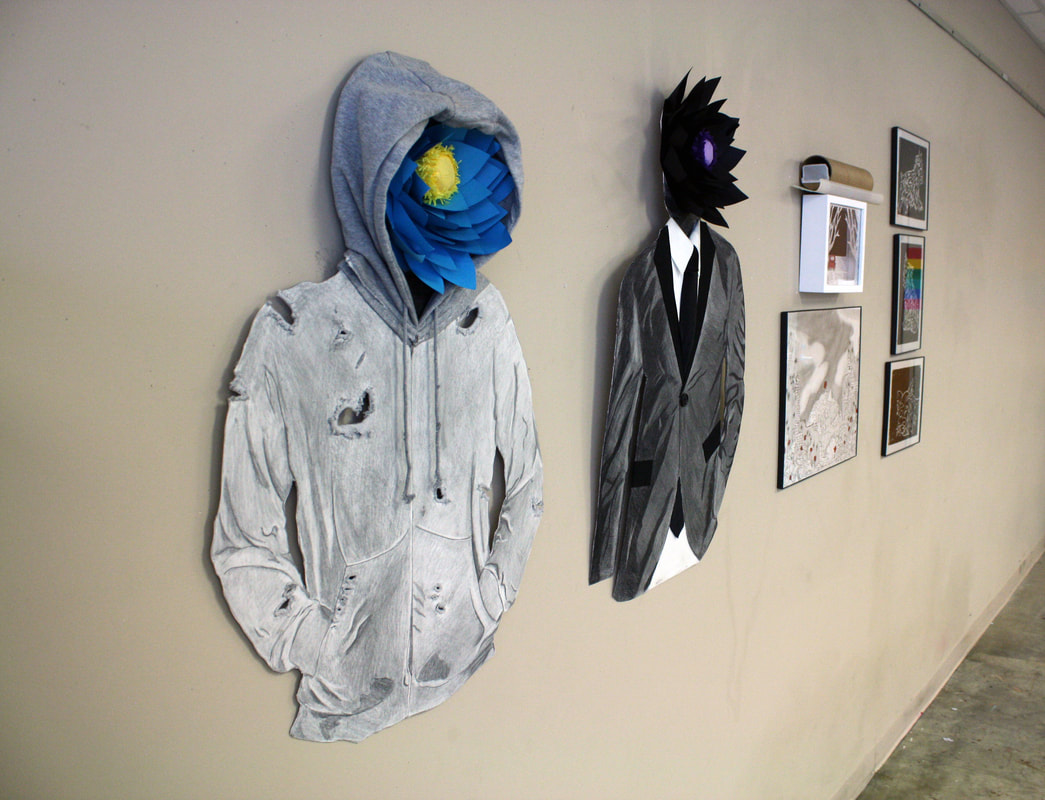
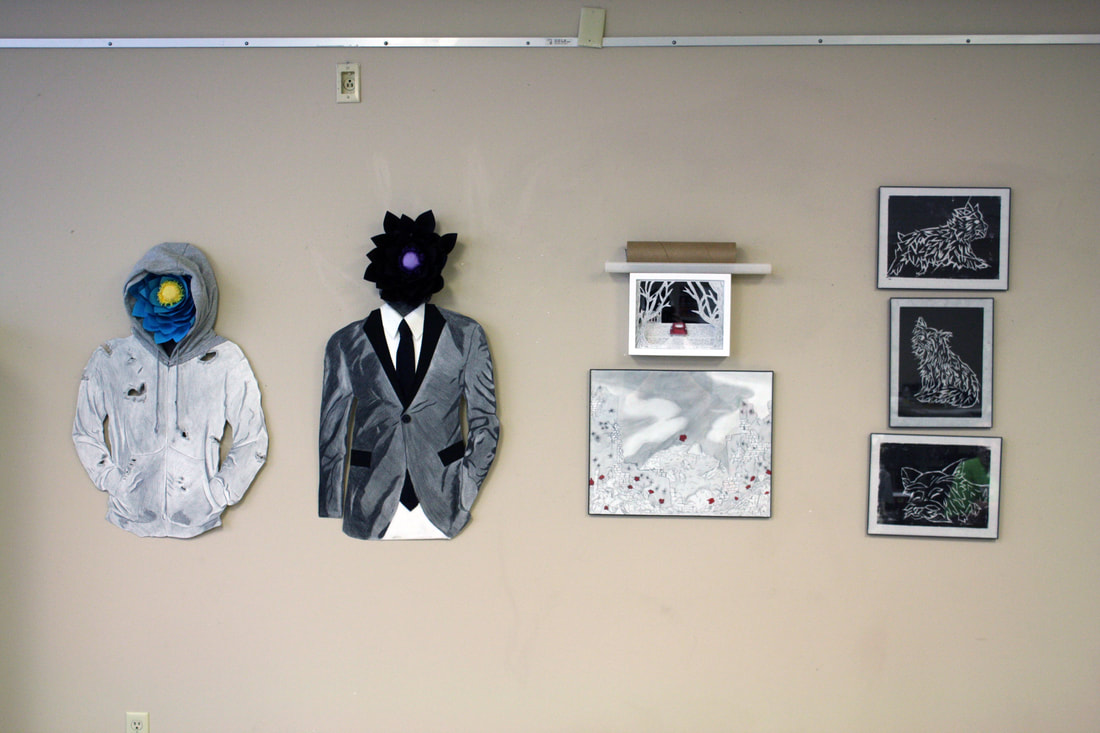
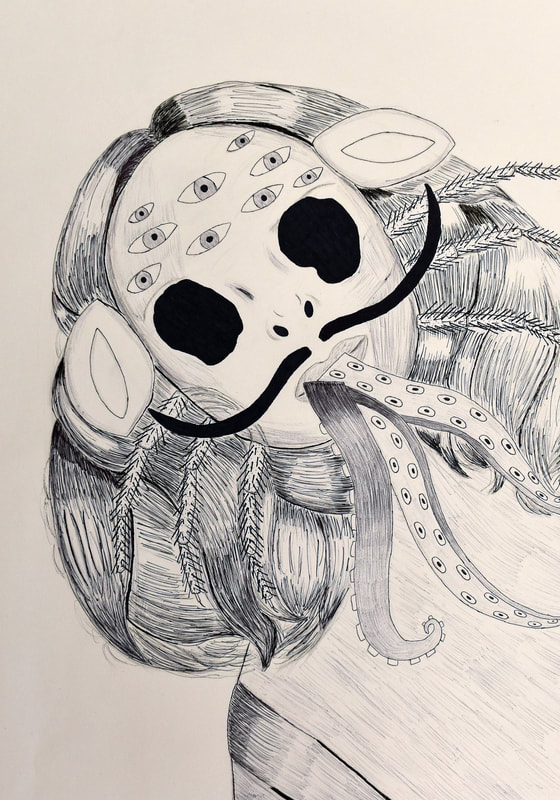
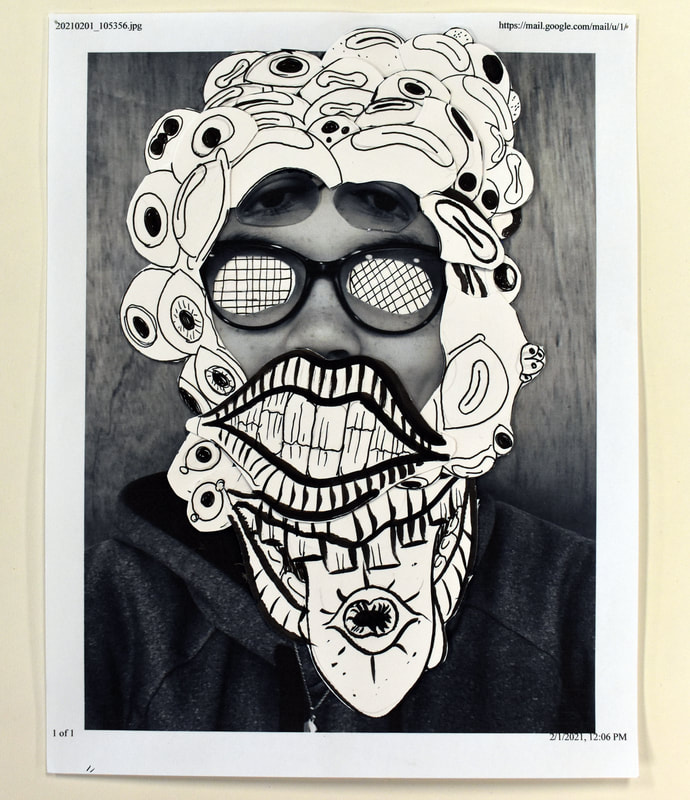
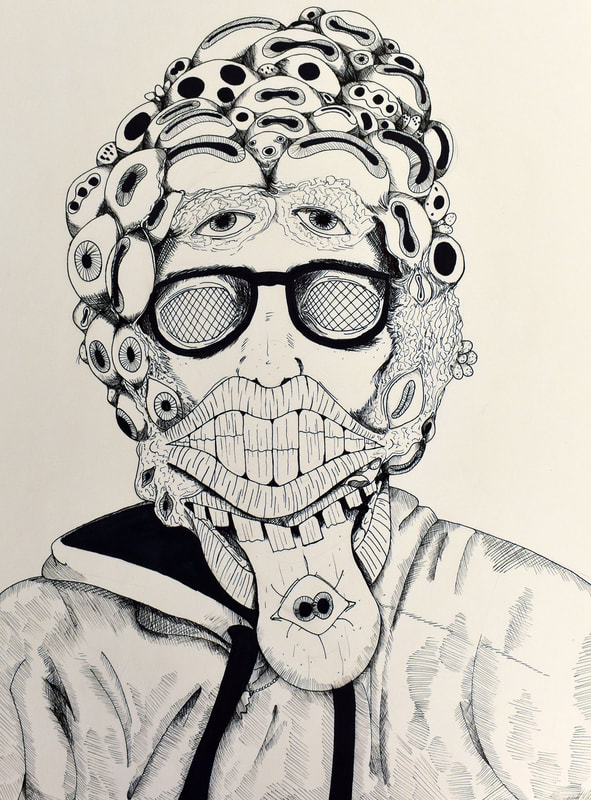
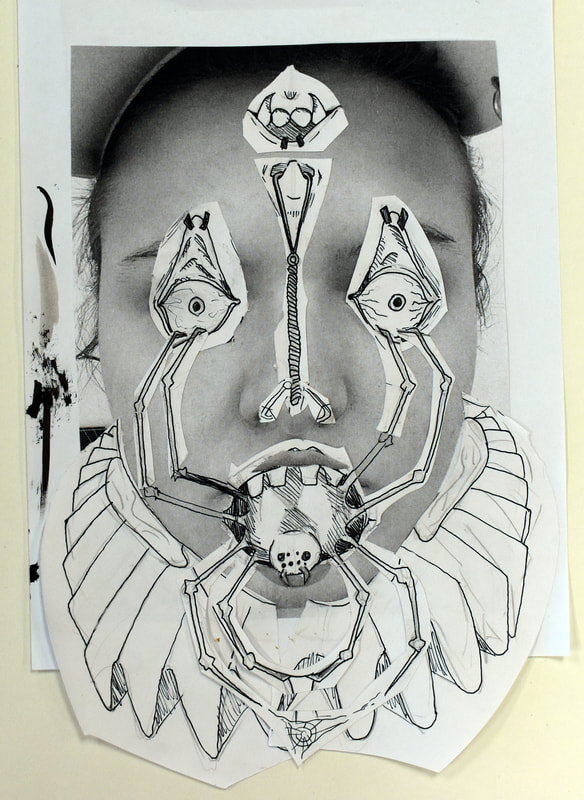
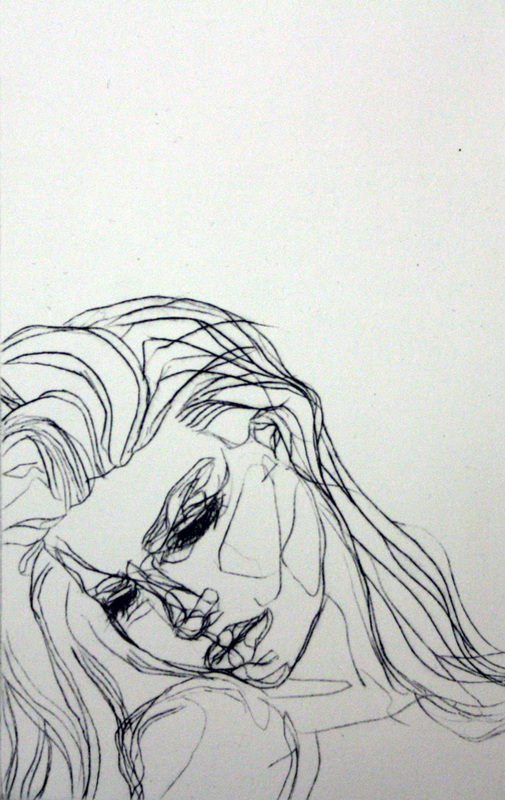
Self Portrait Project -
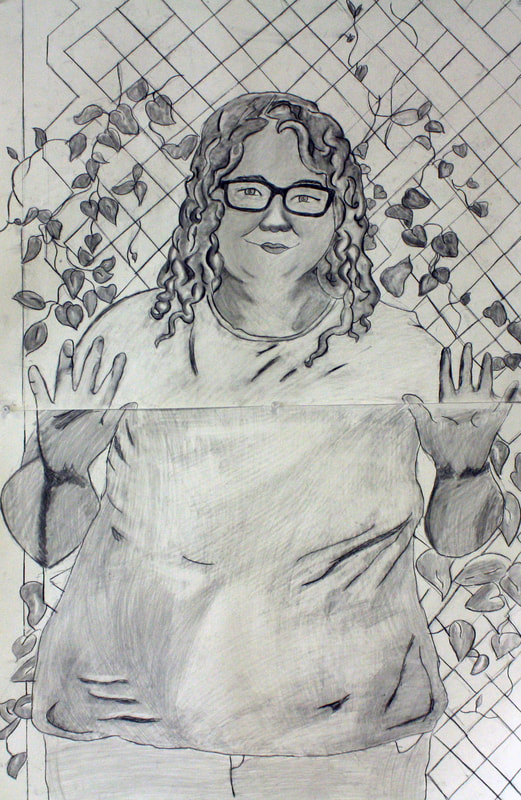
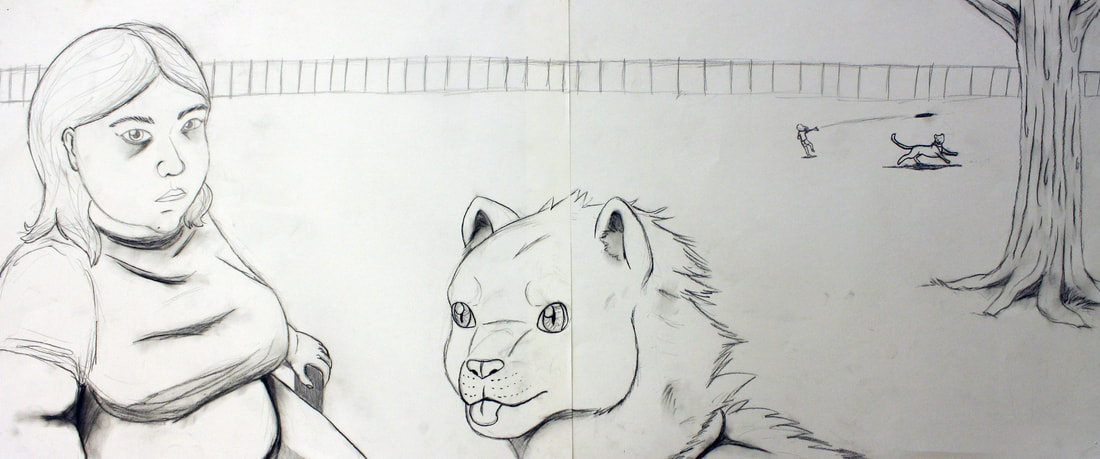
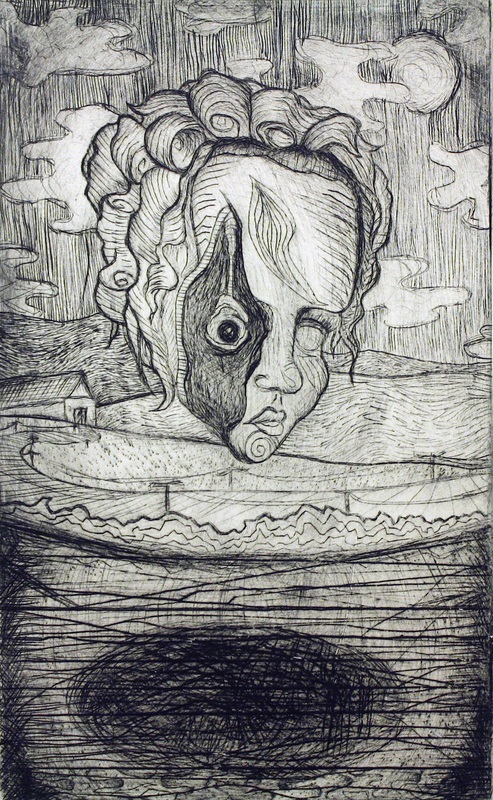
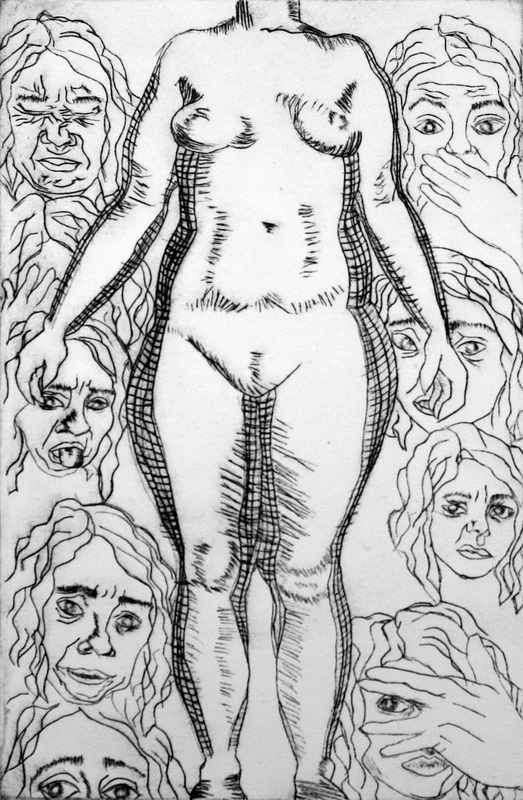
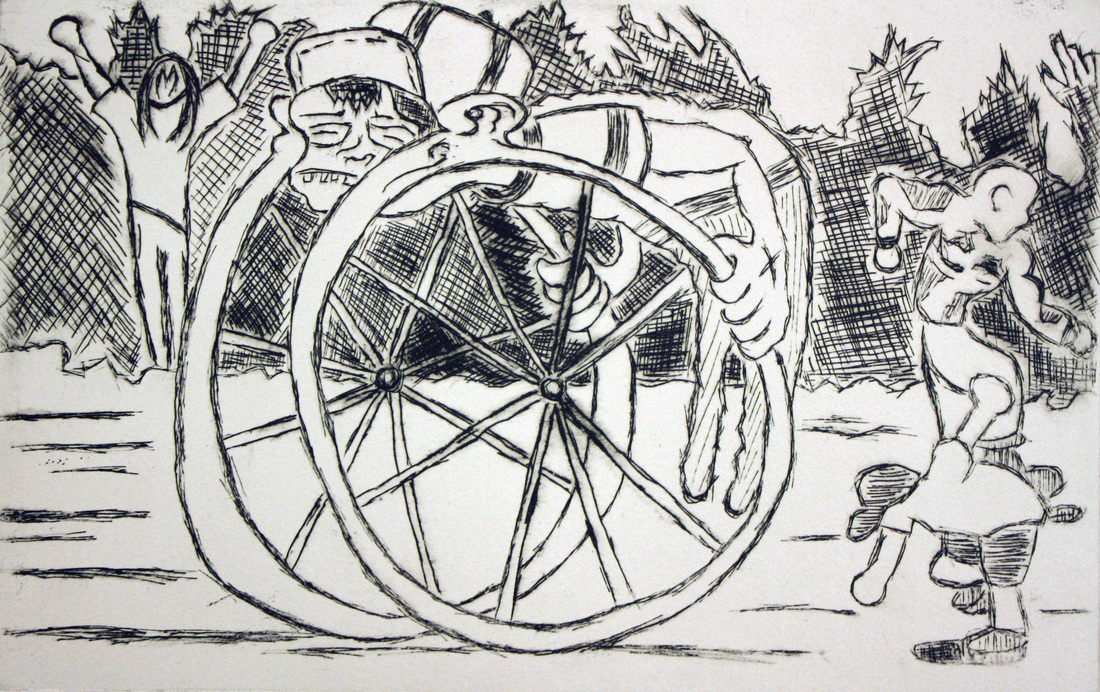
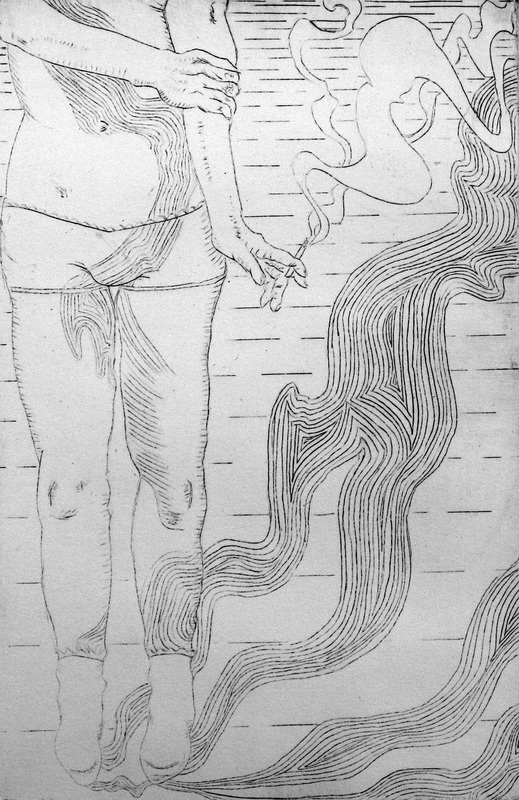
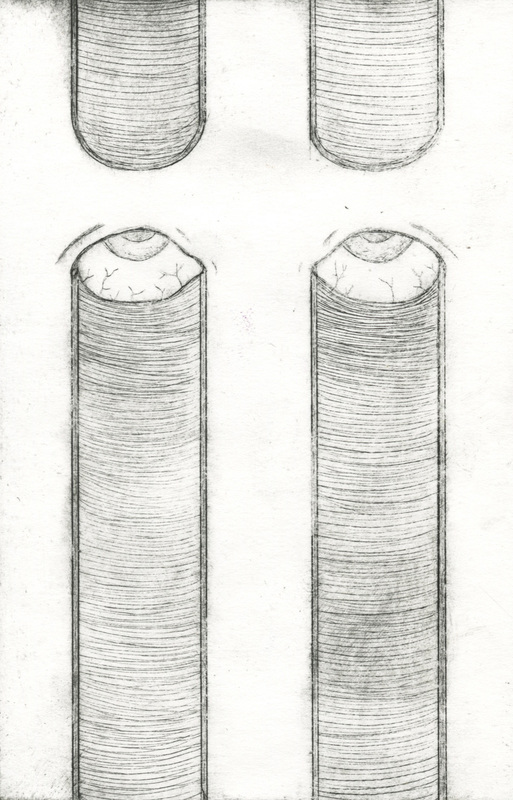
Figure Distortion Project -
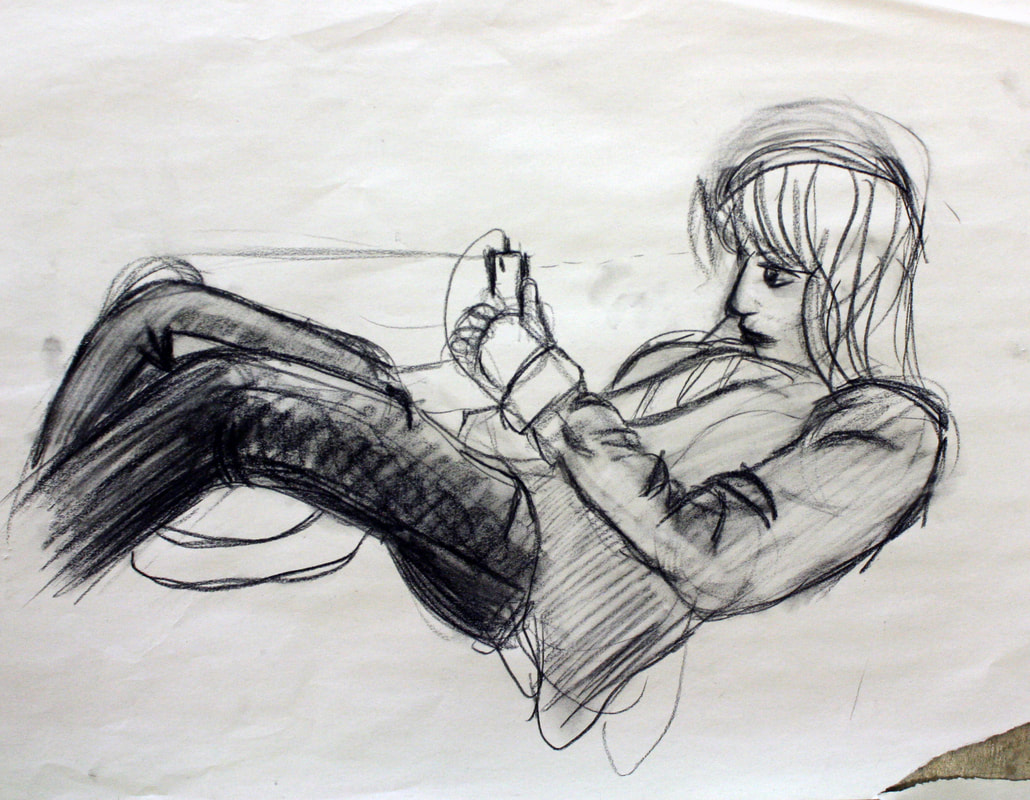
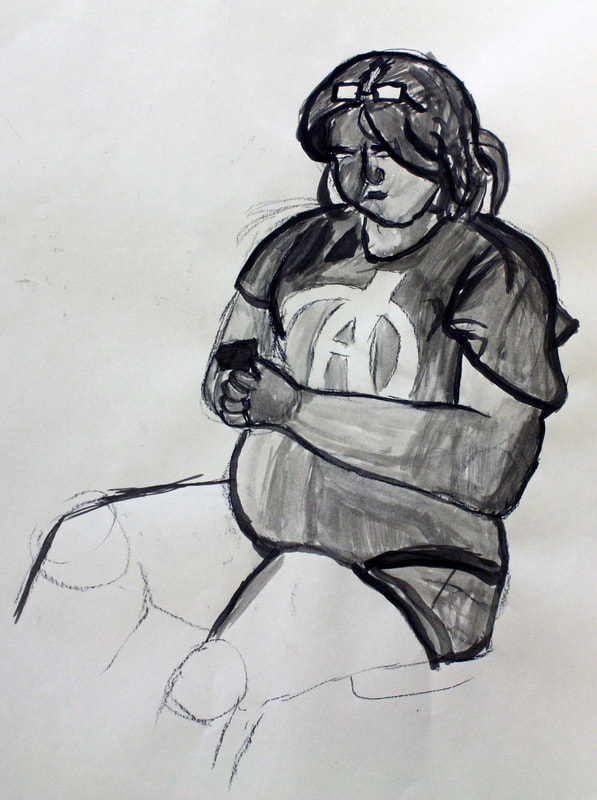
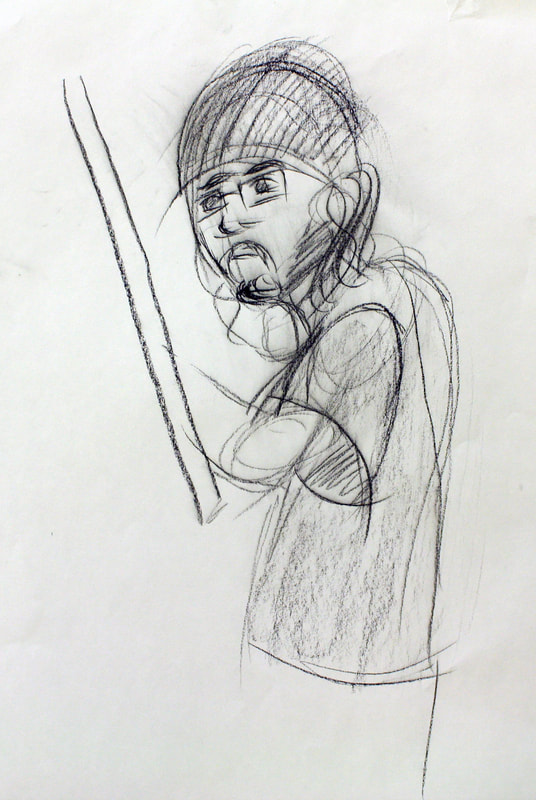
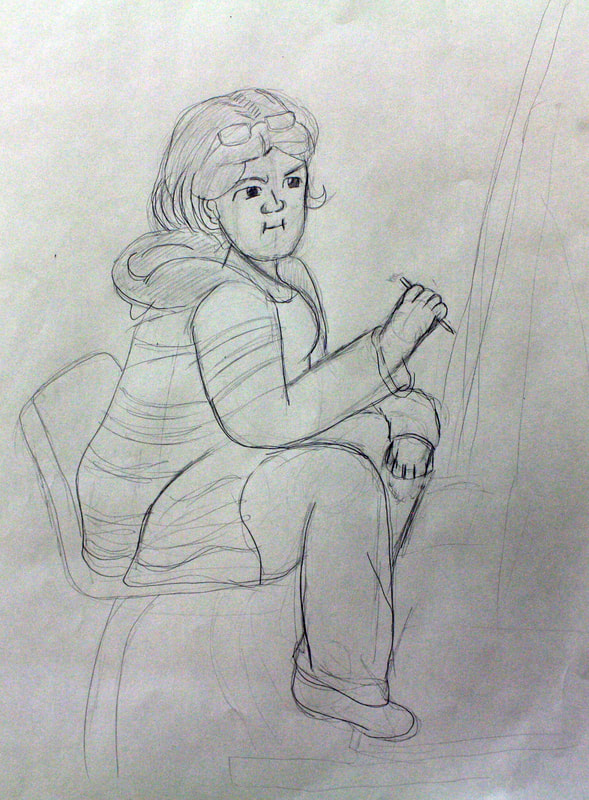
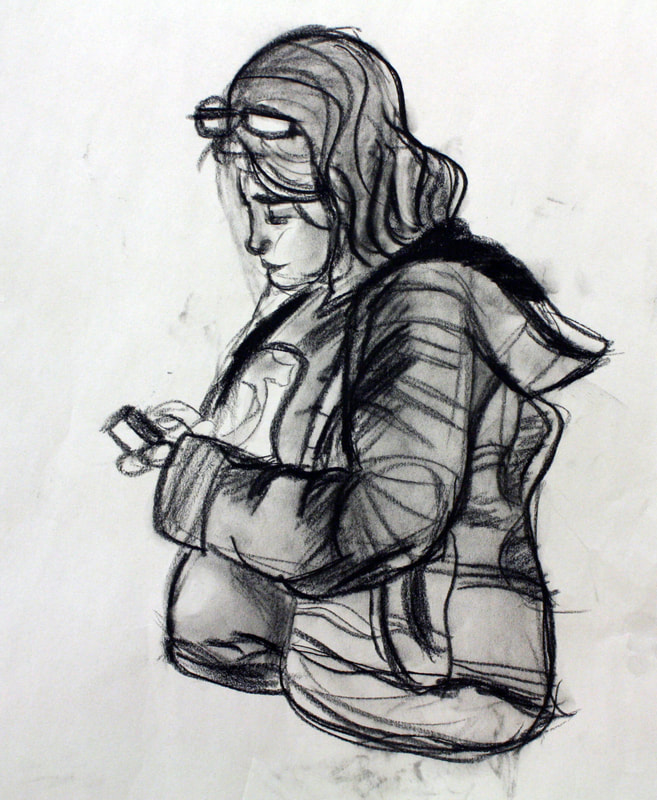
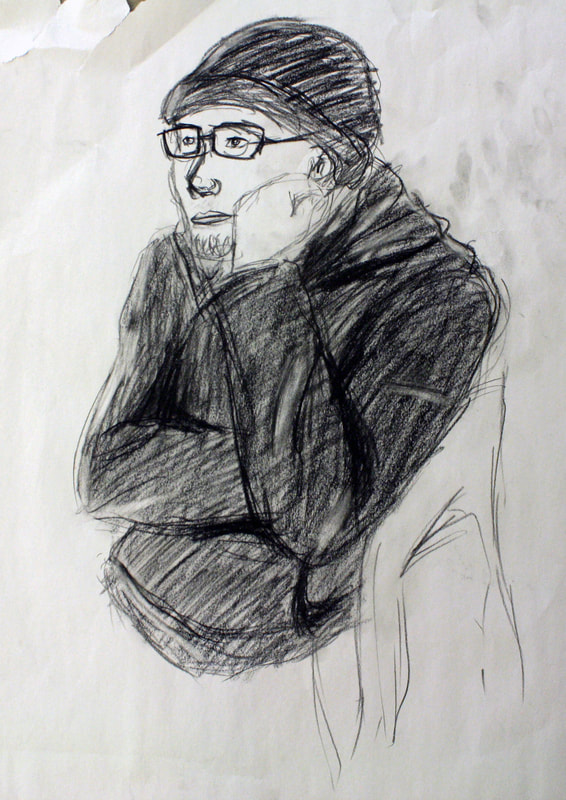
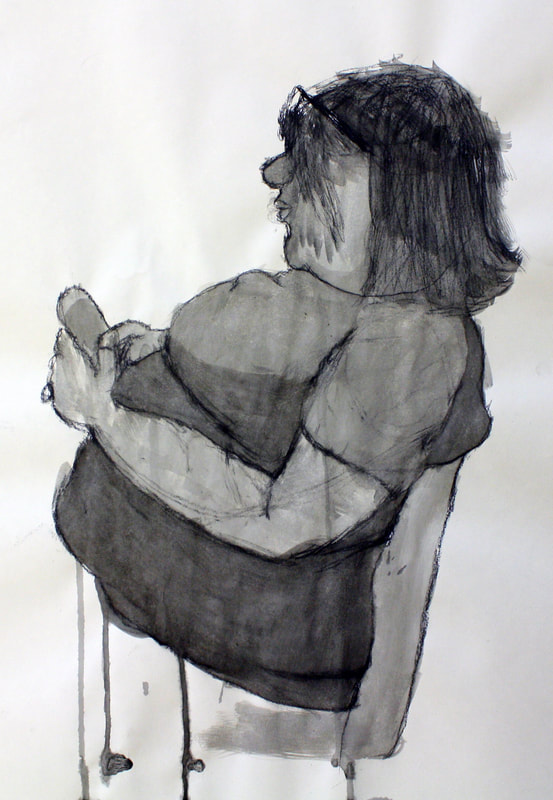
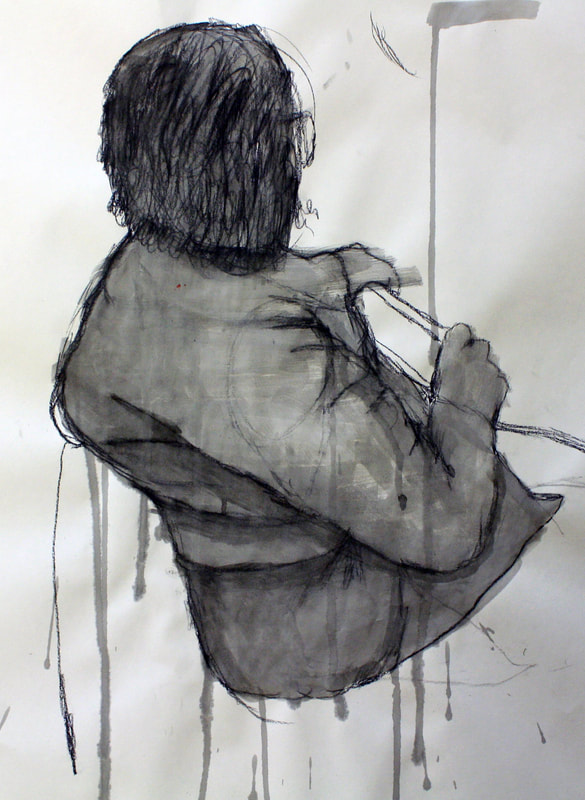
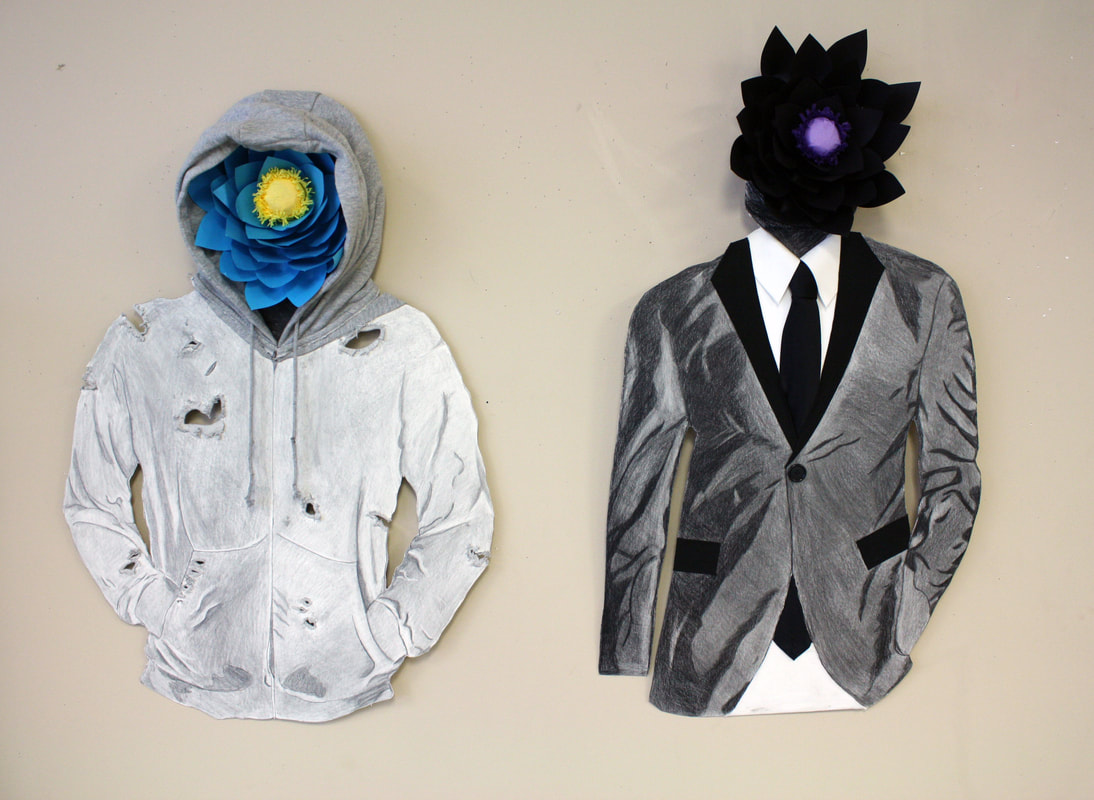
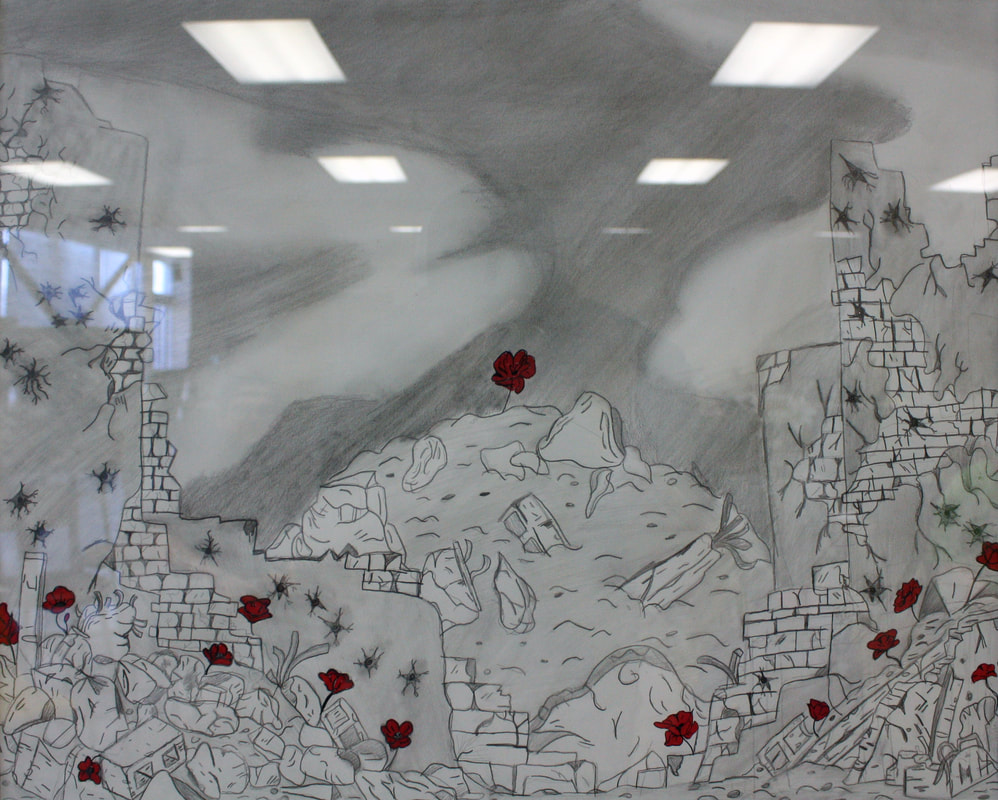
Various Studies - The students are asked to create various in-class studies as the semester unfolds. These are examples of previous students Drawing II studies.


Drawing III
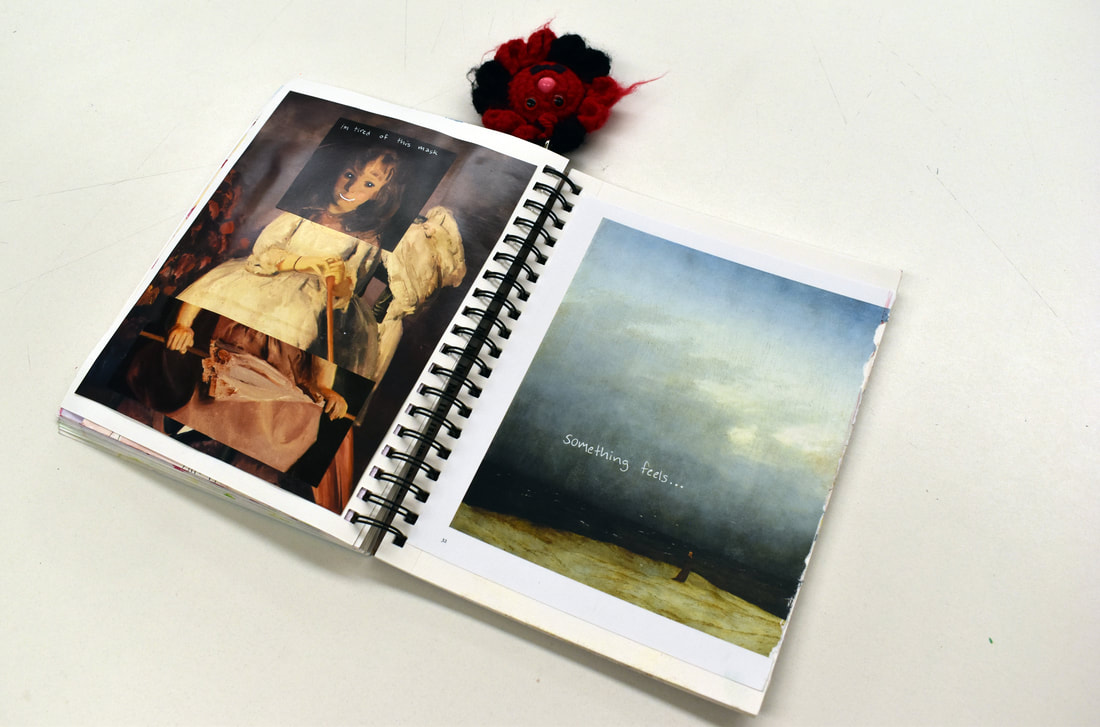
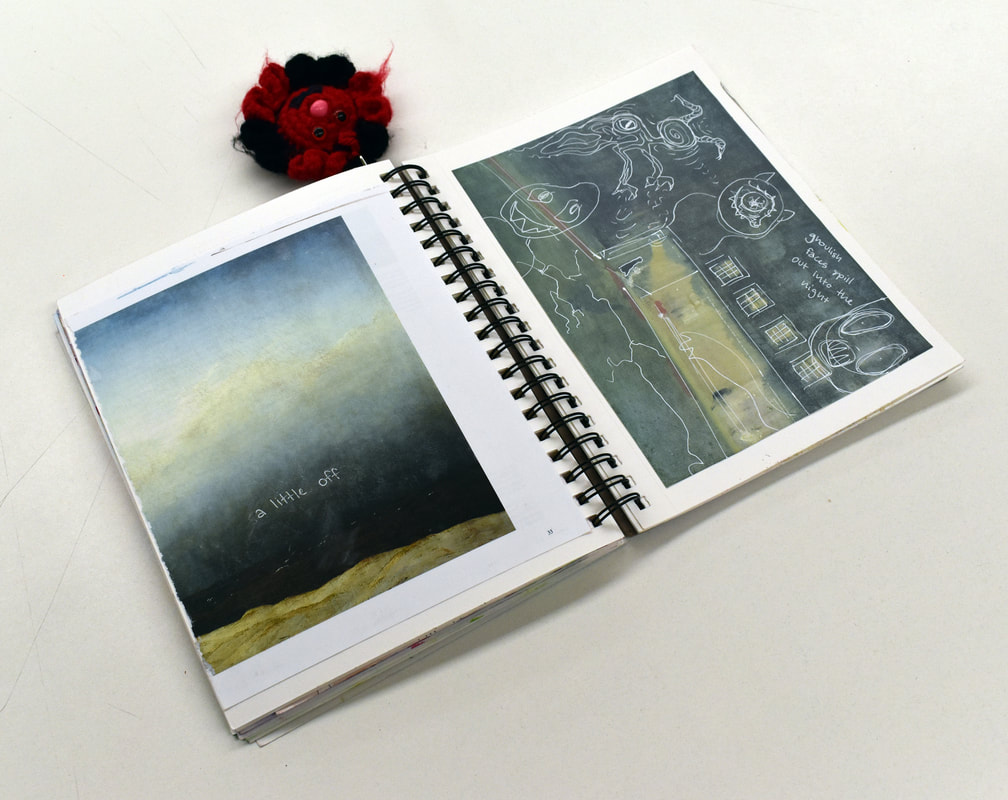
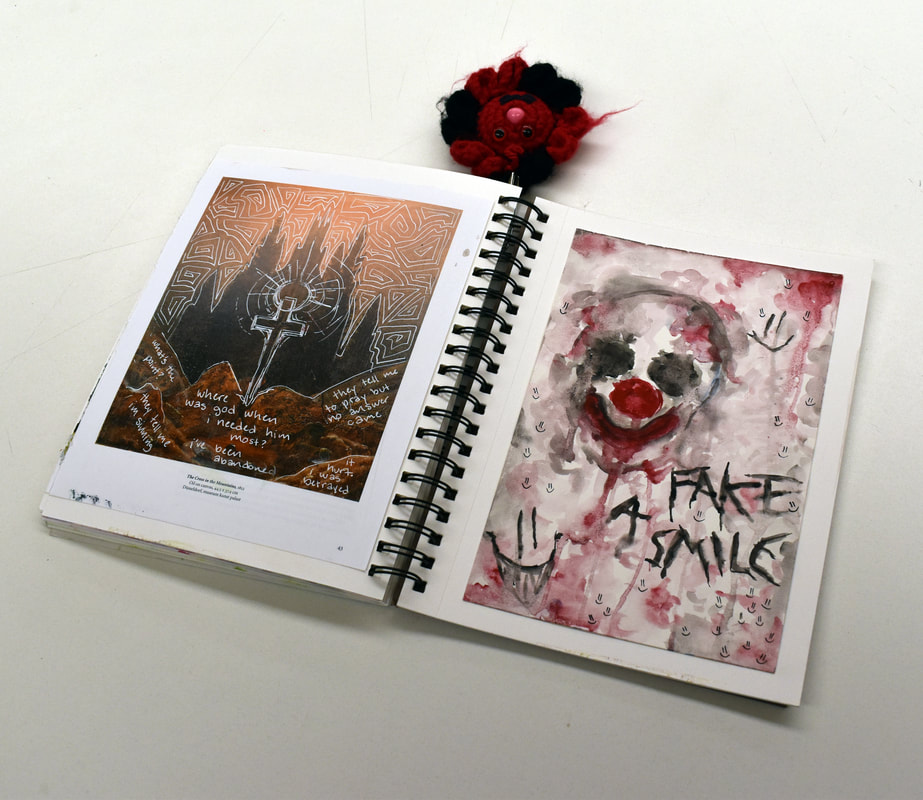
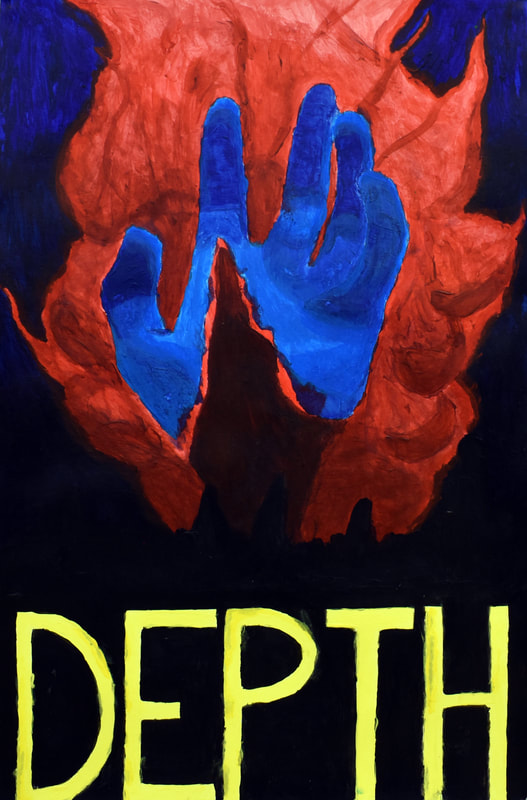
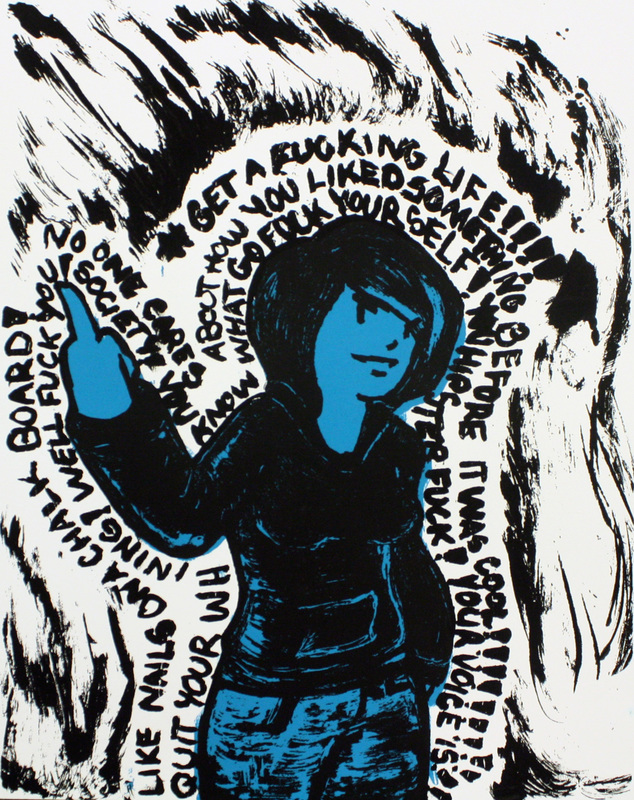
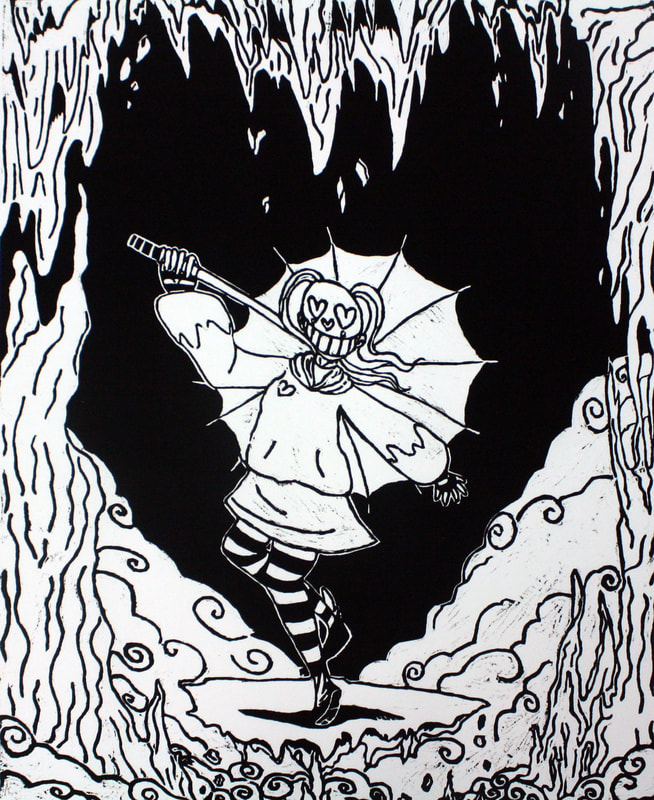
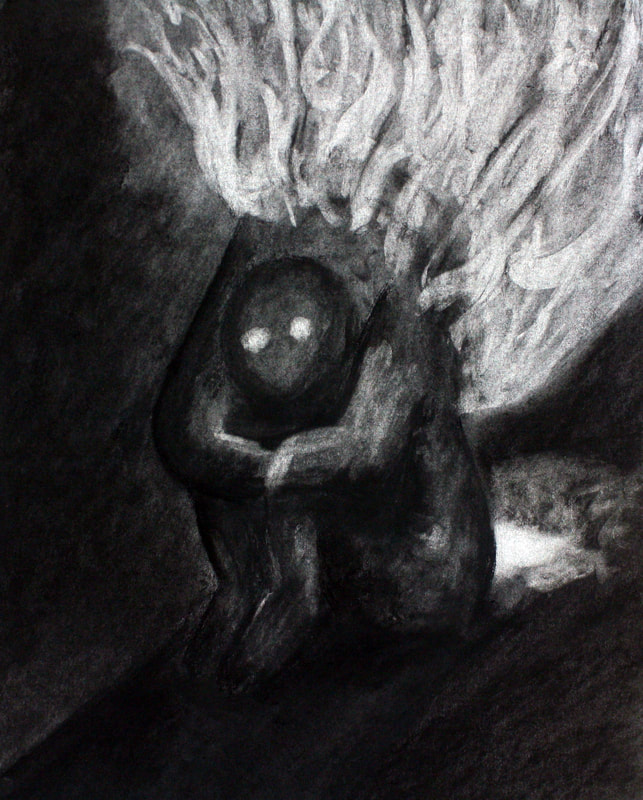
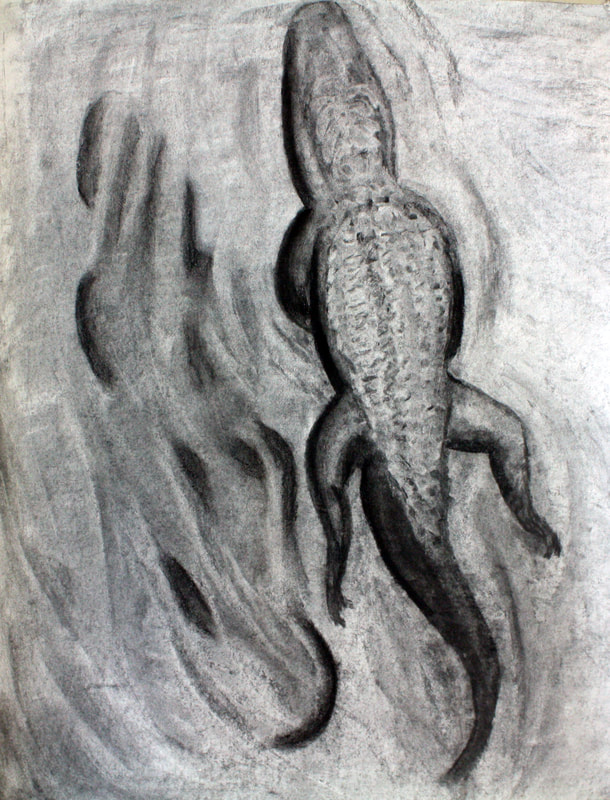
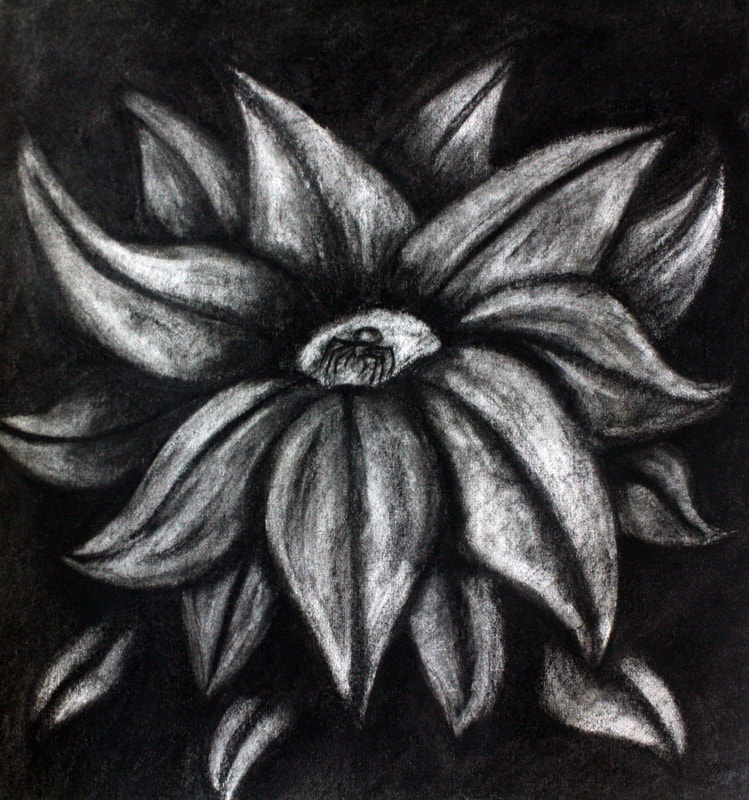
Final Portfolio Presentation - The Final Portfolio Presentation is the final project of Drawing III. The students are tasked with completing eight "drawings" by the end of the semester. Throughout the semester the students present lectures on artists as well as having in-progress critiques on their work every other week. In the meantime, they are to work on the eight drawings in class and out, and these drawings must form a narrative or formal kinship with one another. For the final, the drawings must be completed, an artist statement must be completed that helps the audience understand the student's work, and the display must be professional. In completing this presentation, the student learns valuable lessons throughout the semester. They learn to experiment and push the boundaries of their art and what "drawings" are, they learn to create a finalized artist statement for where they are in their educational journey, they push themselves conceptually, and they learn to display their art in a way that must be considered in advance of critique and as a professional artist.


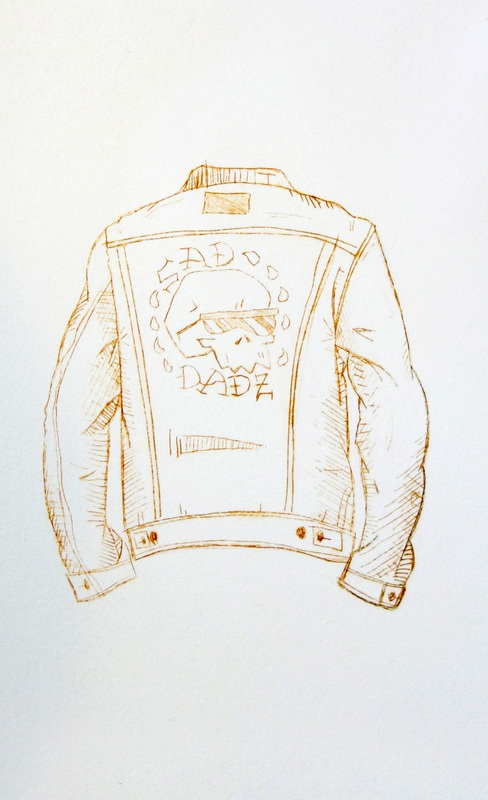
Drawing III Projects - The following are collected works from various Drawing III assignments involving dowel-rod drawings, conceptual projects, and collaboration projects.


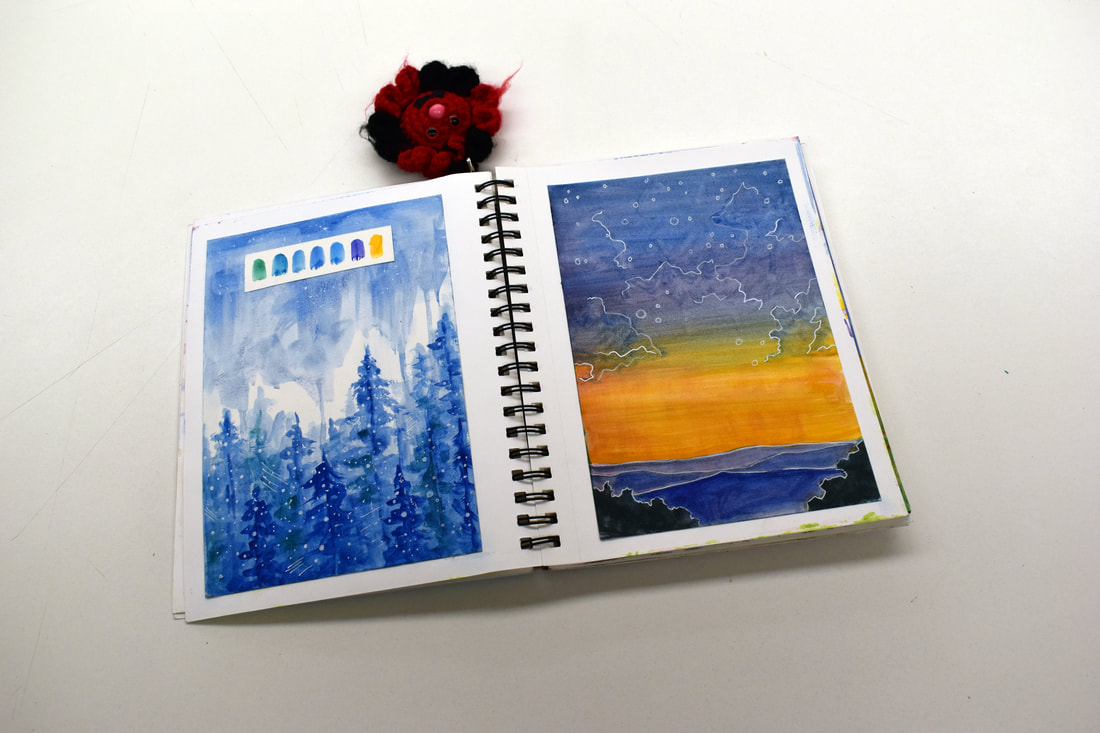
Watercolor I
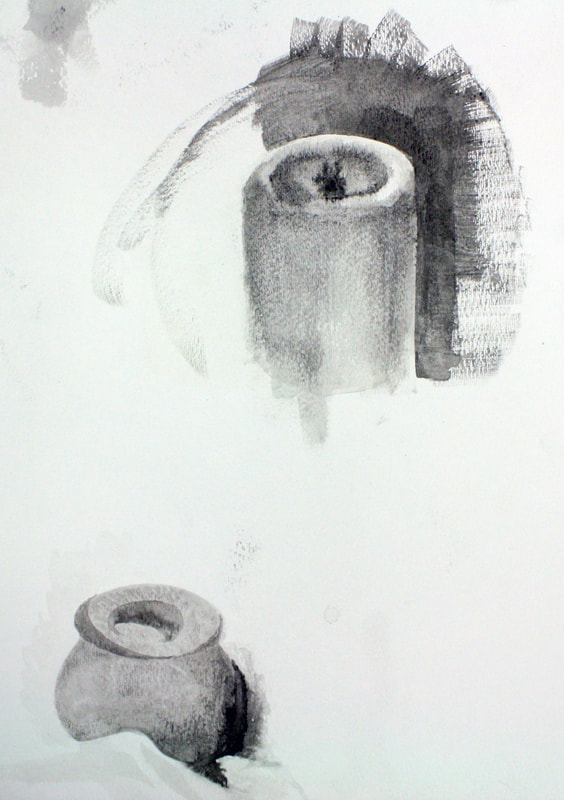
Flat Wash/Graded Wash - The wash assignment consists of a lecture of what washes are in creating watercolor, the kinds of washes an artist can use, and a demonstration. The students then go on to create washes on paper, and eventually layering objects or designs on them. They are then asked to create two artworks using a flat wash background and a graded wash background using a technique they have learned in class as well (salt, sponge, blending, etc).
Flat Wash/Graded Wash - The wash assignment consists of a lecture of what washes are in creating watercolor, the kinds of washes an artist can use, and a demonstration. The students then go on to create washes on paper, and eventually layering objects or designs on them. They are then asked to create two artworks using a flat wash background and a graded wash background using a technique they have learned in class as well (salt, sponge, blending, etc).
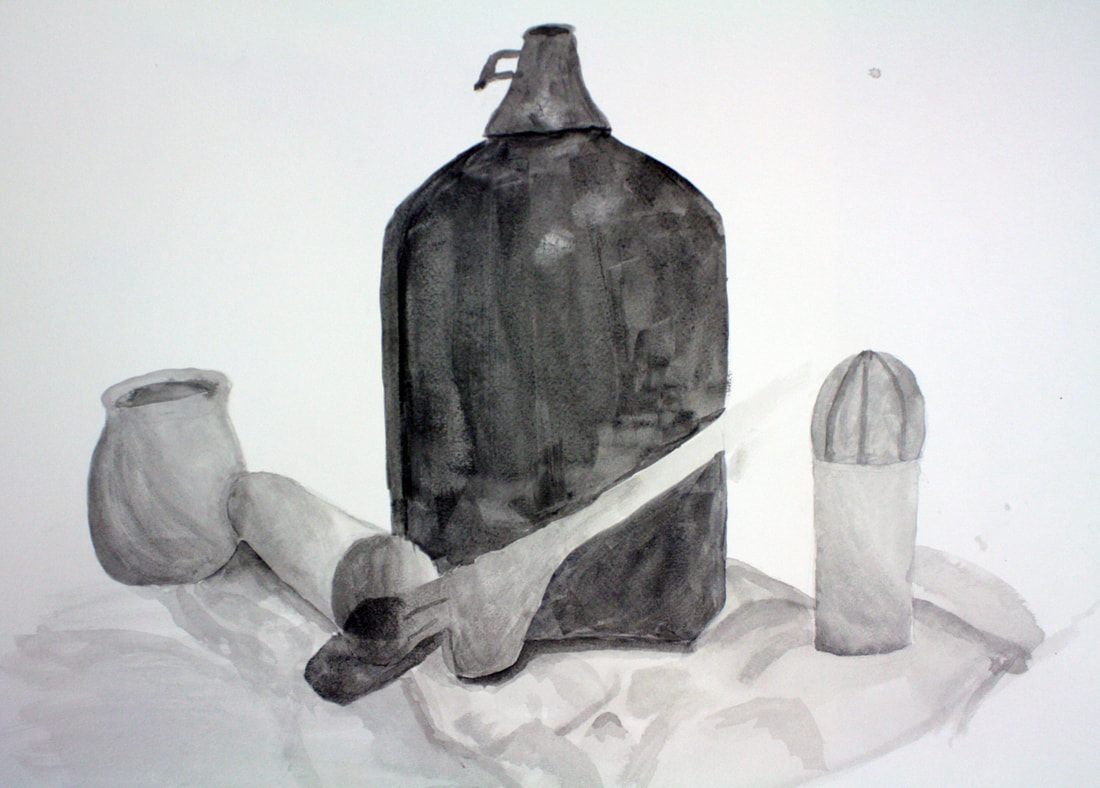
Wet on Wet/Dry on Wet/Wet on Dry - This assignment consists of the many ways watercolor paint can be applied to the paper being used by the artist. The students are lectured on the various applications, shown a demo, then they are told to create a still life painting using each of these techniques. They are then asked to create two still life paintings using two different forms of paint application to the watercolor paper.
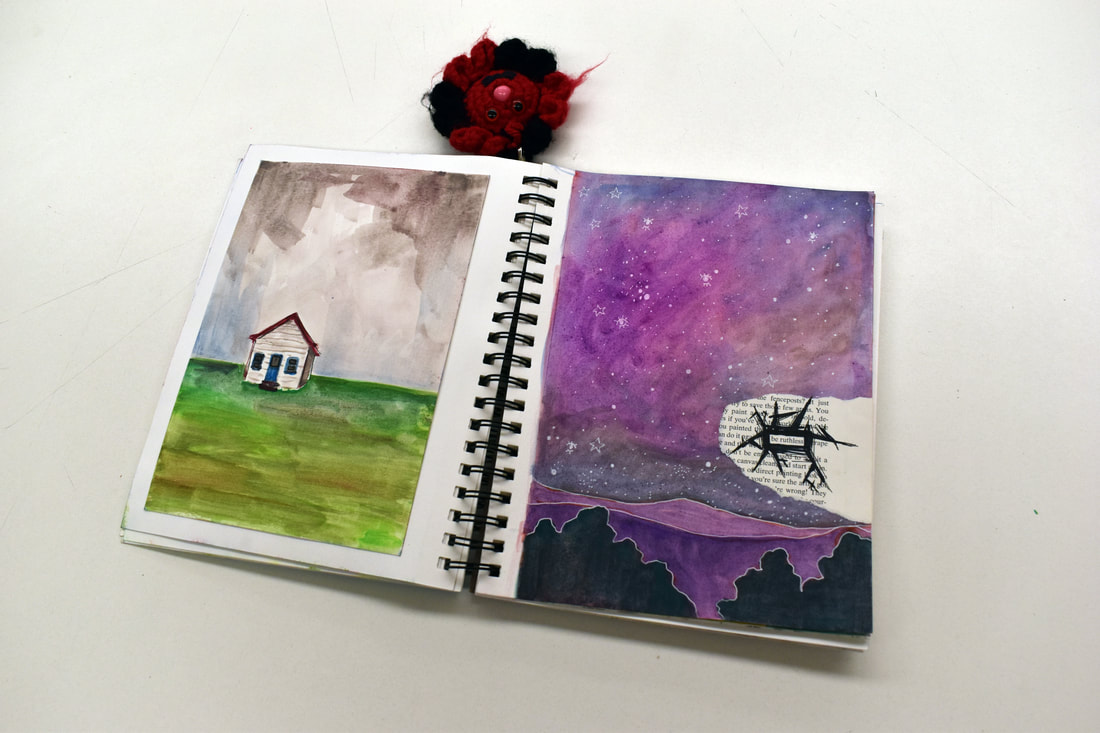
Interior and Exterior - This assignment consists of painting the interior of buildings and the exterior realities, and concerns itself with being able to convey perspective as well as optical color. The students paint outside, trying to capture what they see before time changes as does the color and view. They then must do the same inside as well. The assignment consists of creating a painting of an interior or exterior.
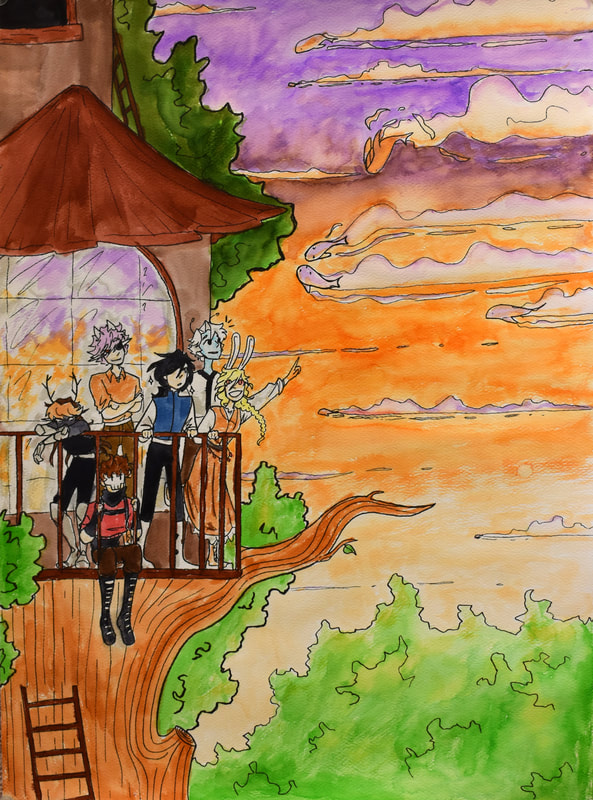
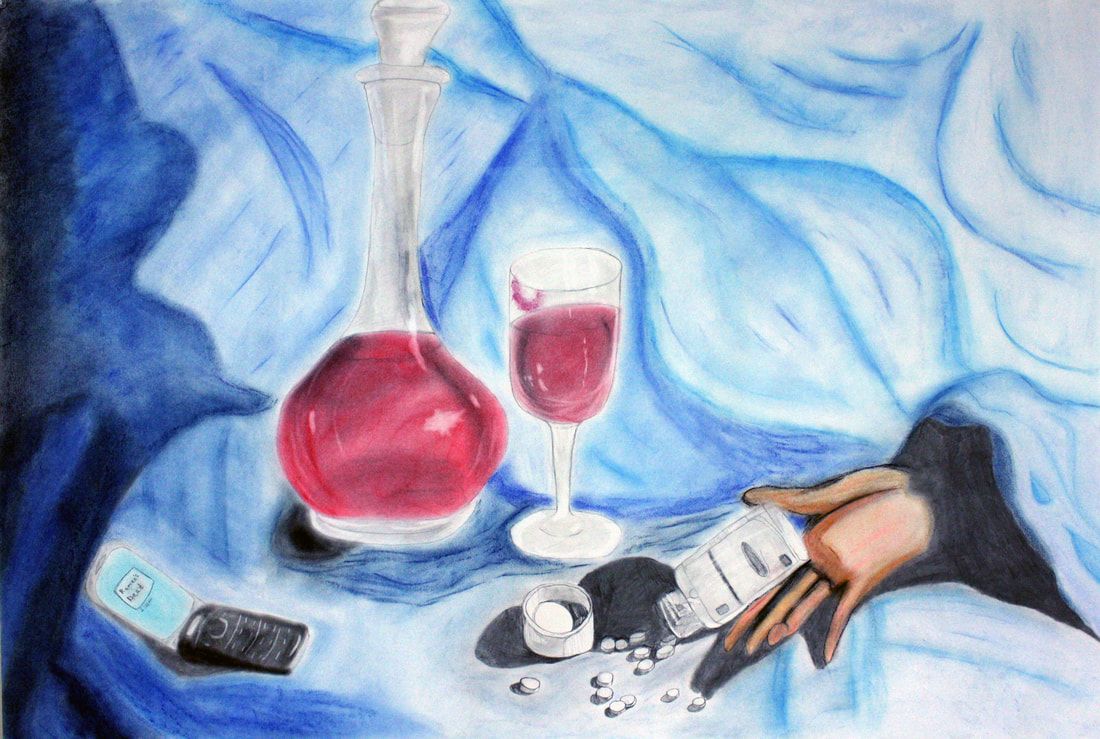
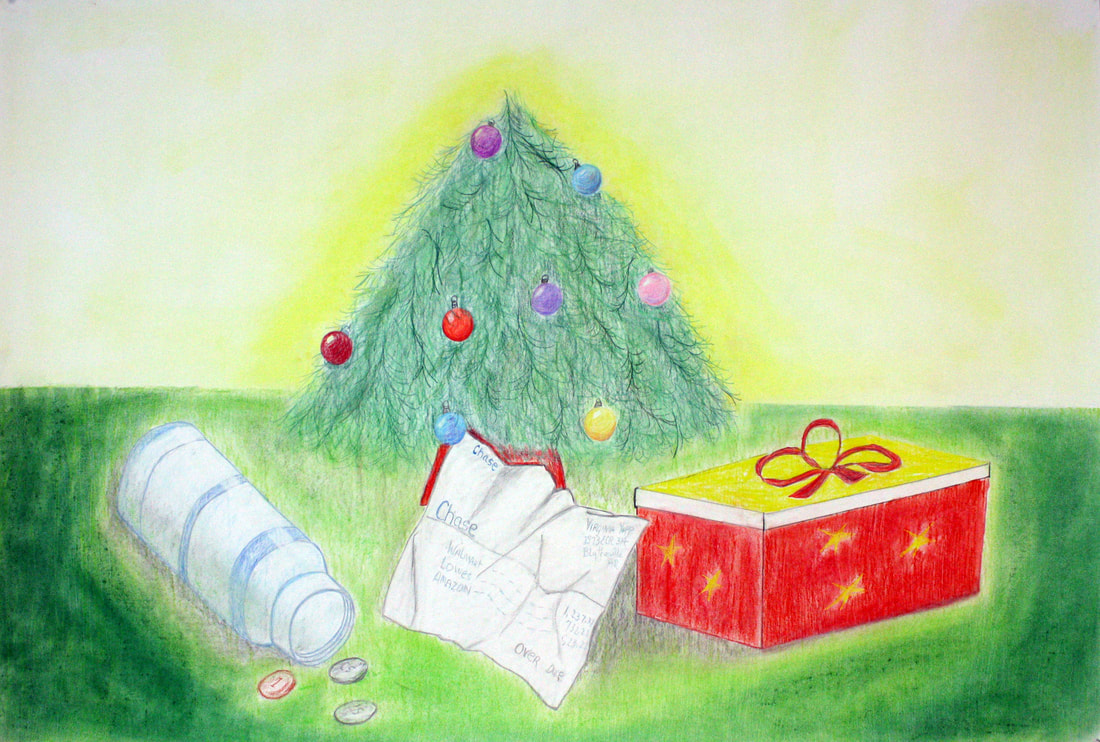
Reality and Imaginary - This assignment consists of taking all that the student has learned in the semester and asks them to create something imaginary in the composition as well. Therefore, they can choose a still life, an interior, an exterior, an object, and so on. The assignment asks they combine the real and imaginary using techniques they've learned as well.
Final Project - The students final assignment consists of using a sheet of watercolor paper 18x24 or larger. They are asked to take everything they've learned in the semester and create a large scale watercolor. They are allowed freedom in what they choose to create as well, as long as it has a concept or narrative in what they present. It is the culmination of all that they have learned.

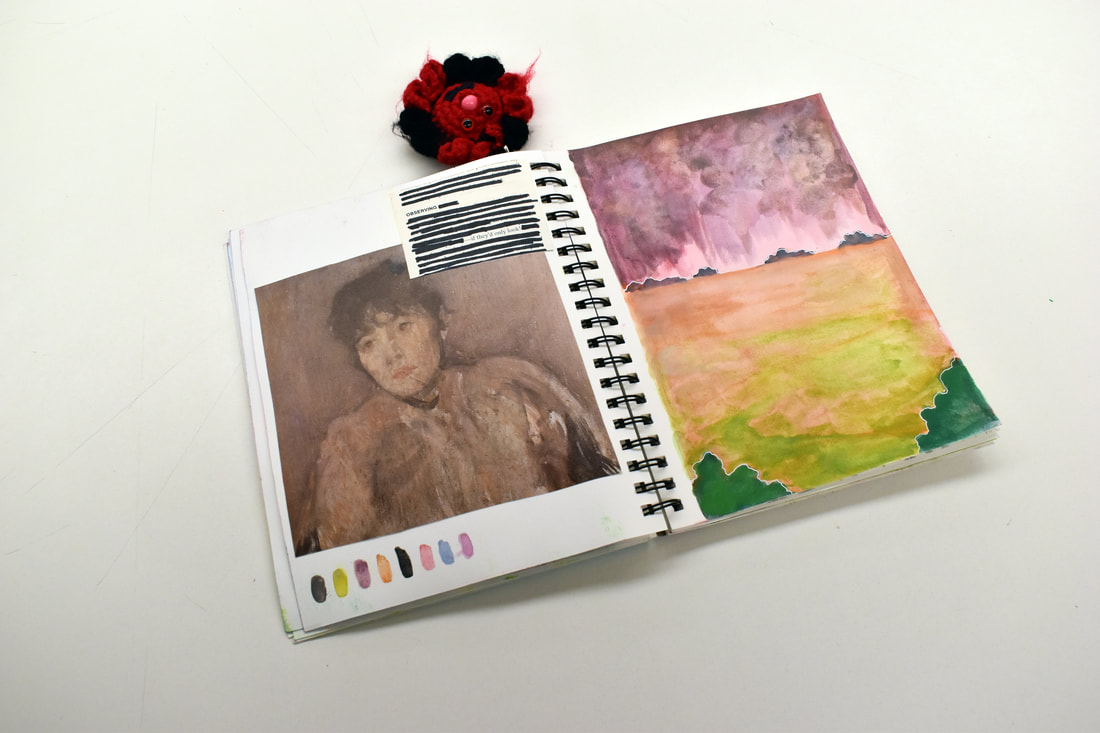
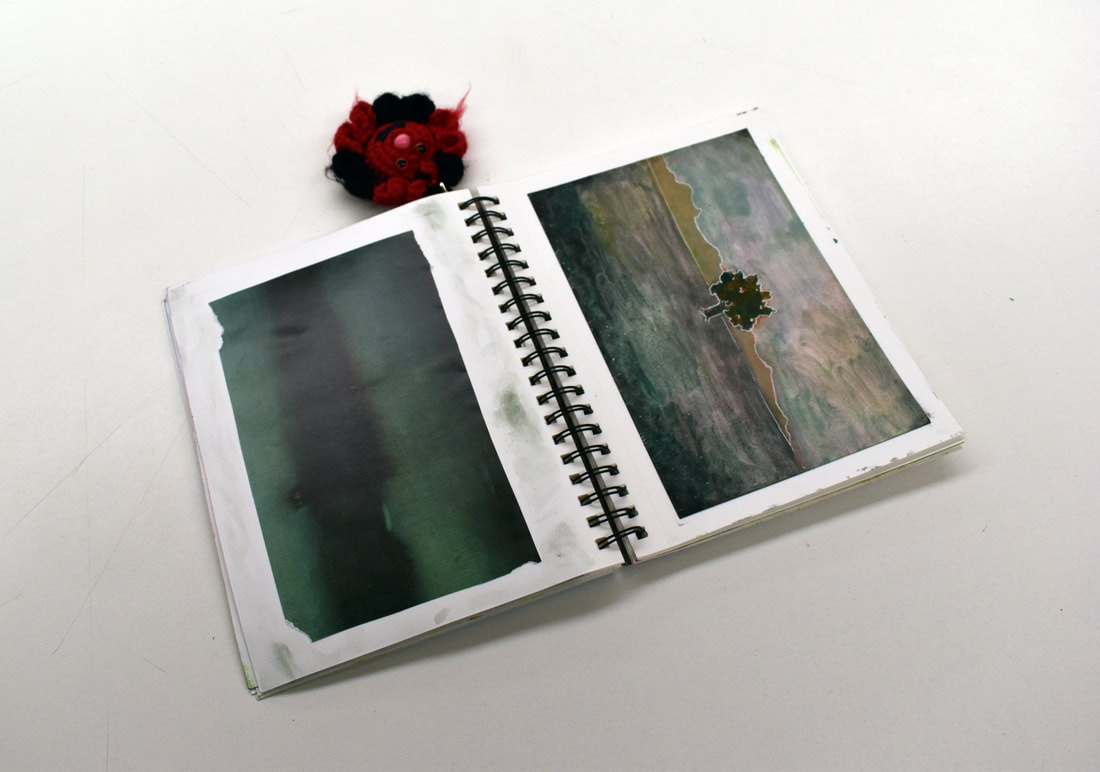
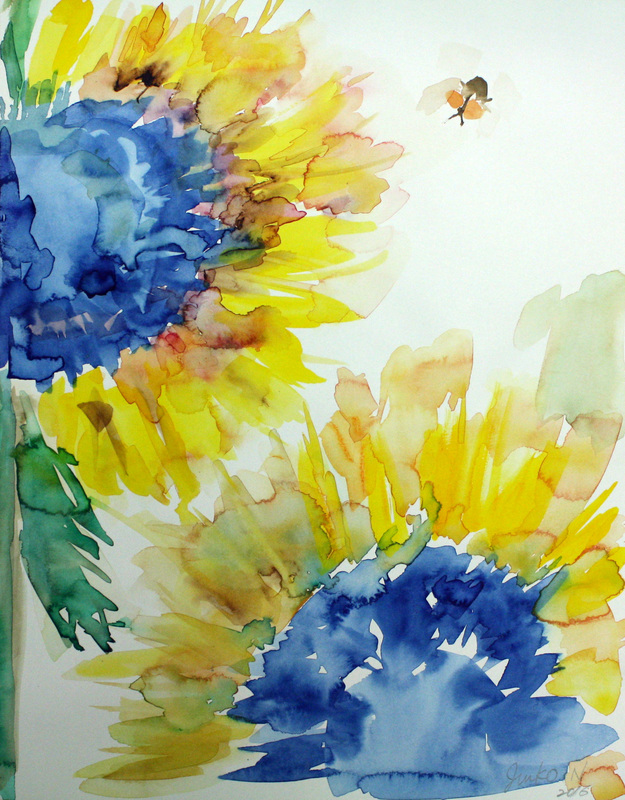
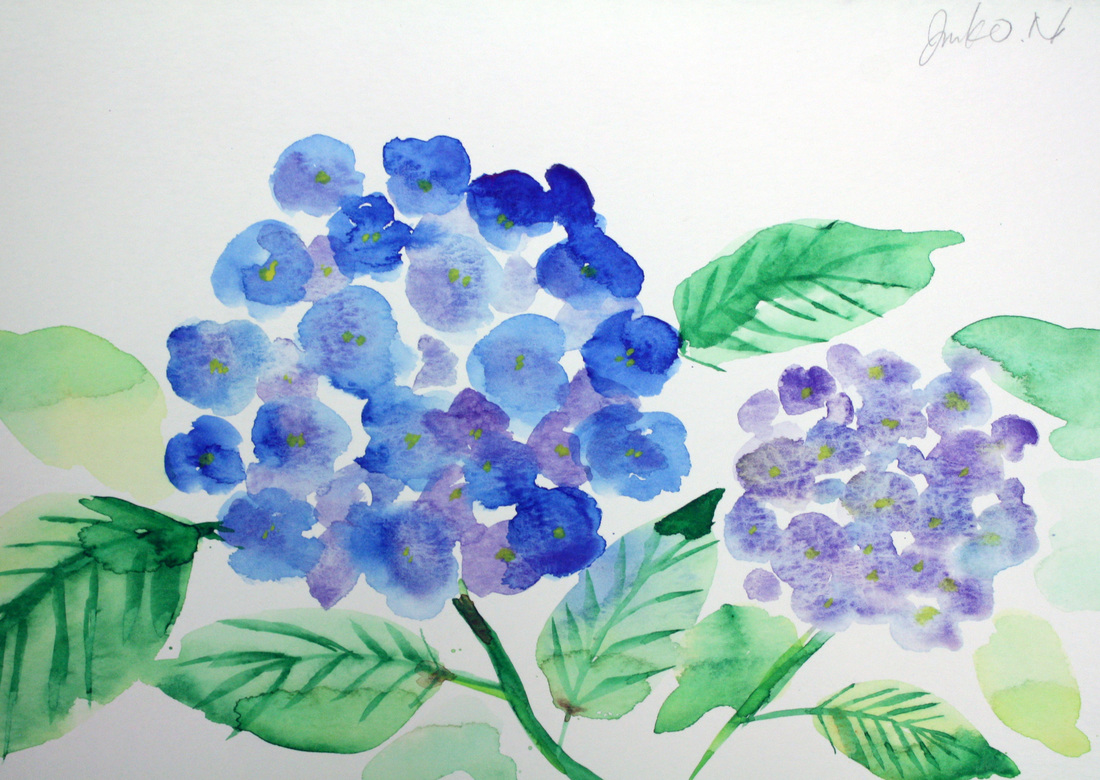
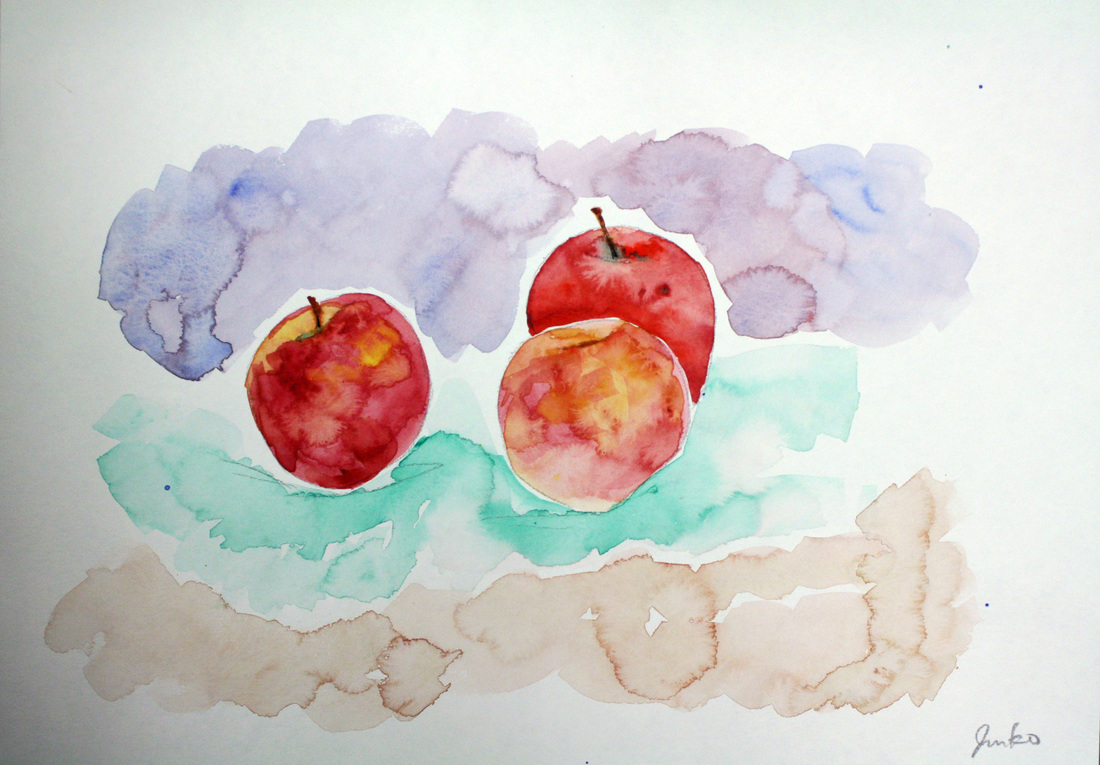
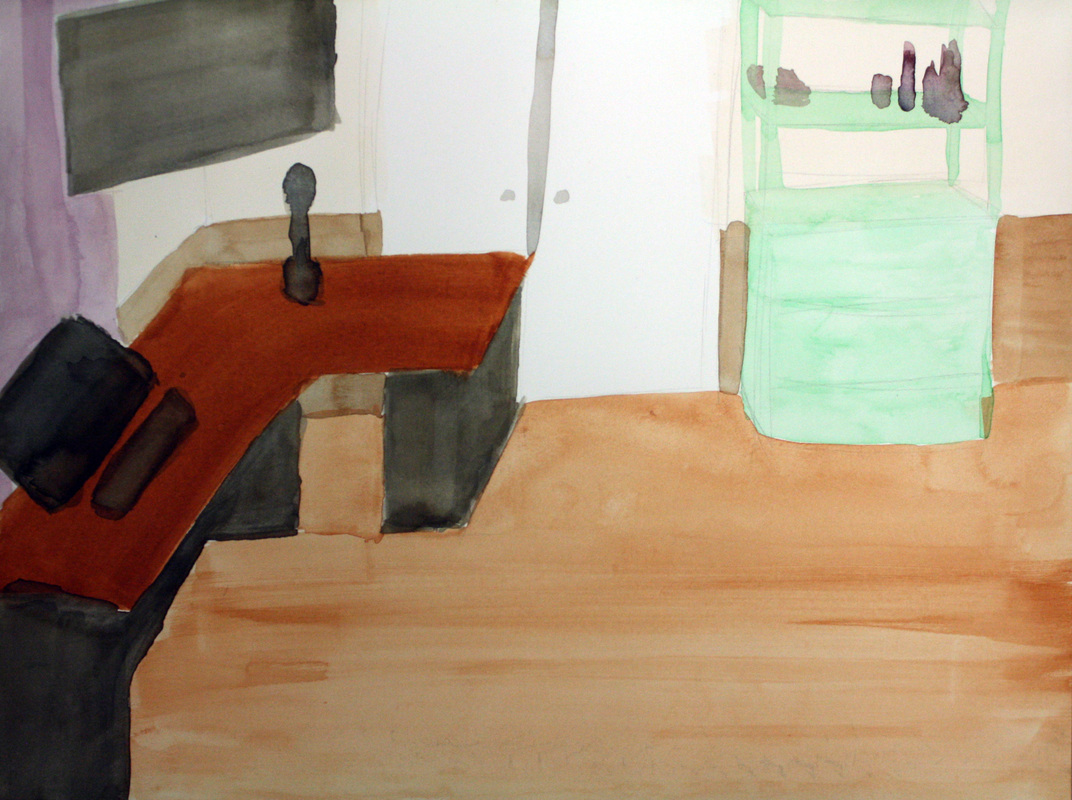
Various Studies - The students are asked to create various in-class studies as the semester unfolds. These are examples of previous students watercolor studies.

Introduction to Printmaking
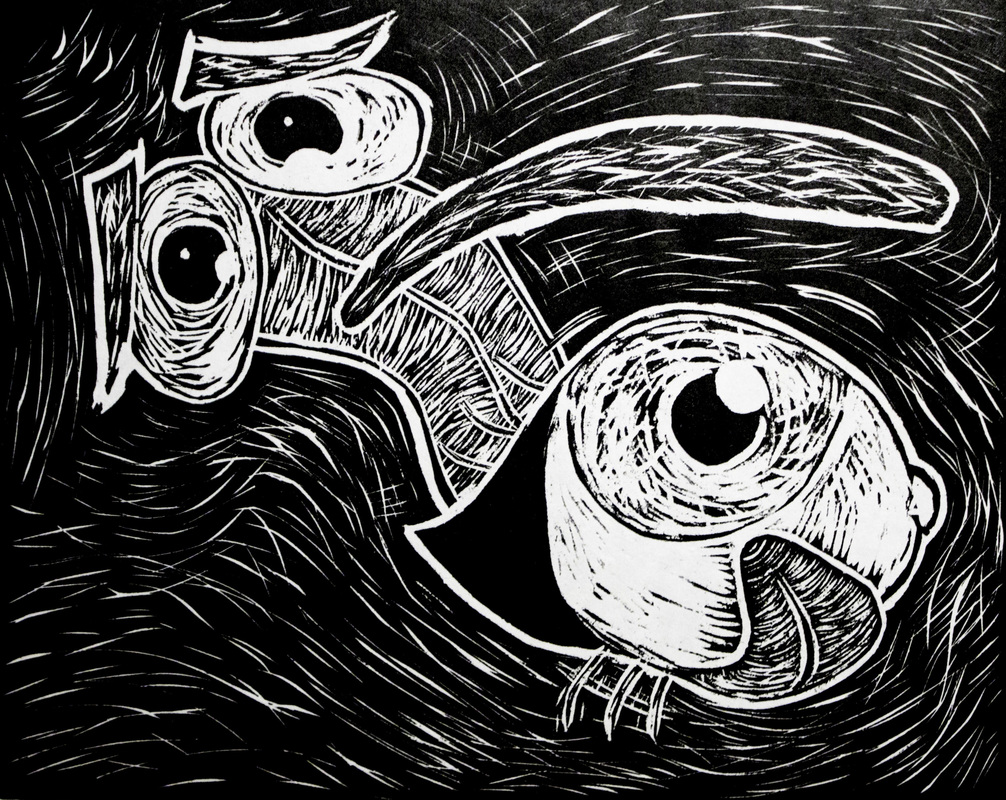
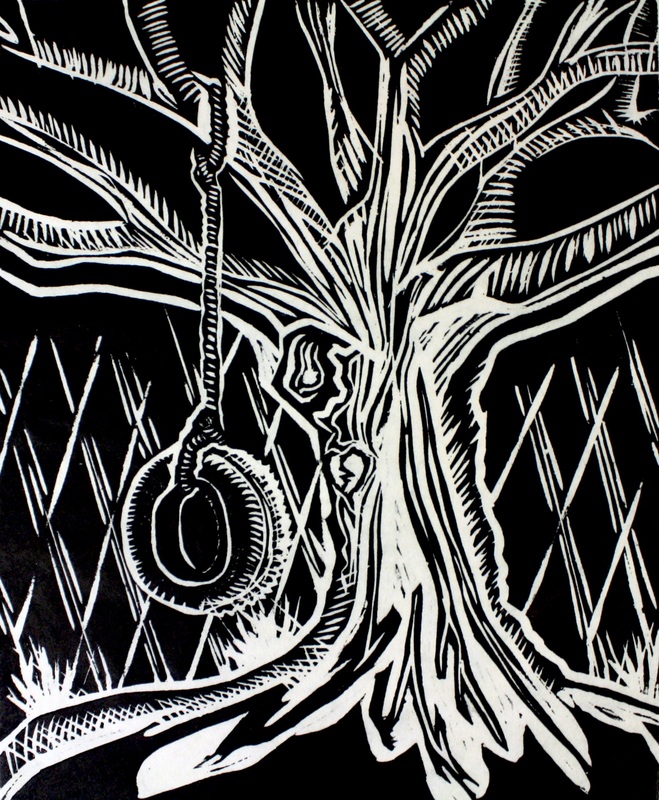
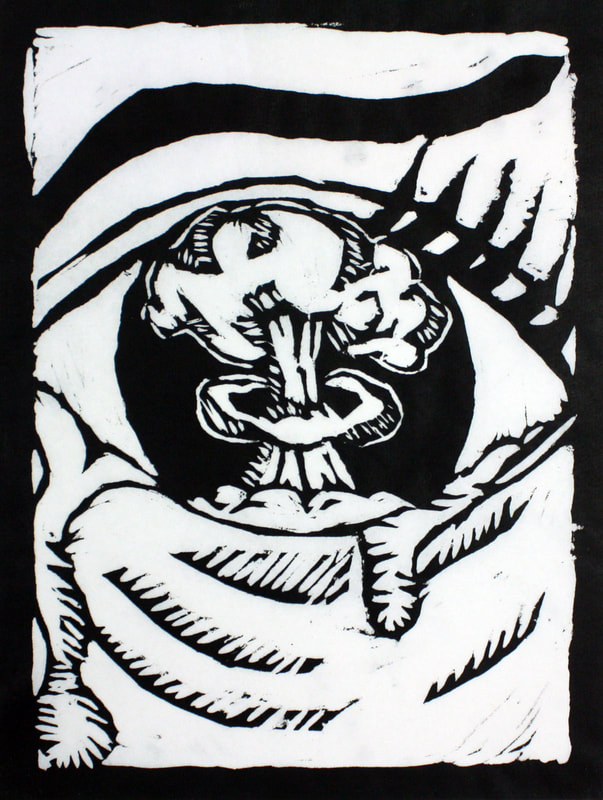
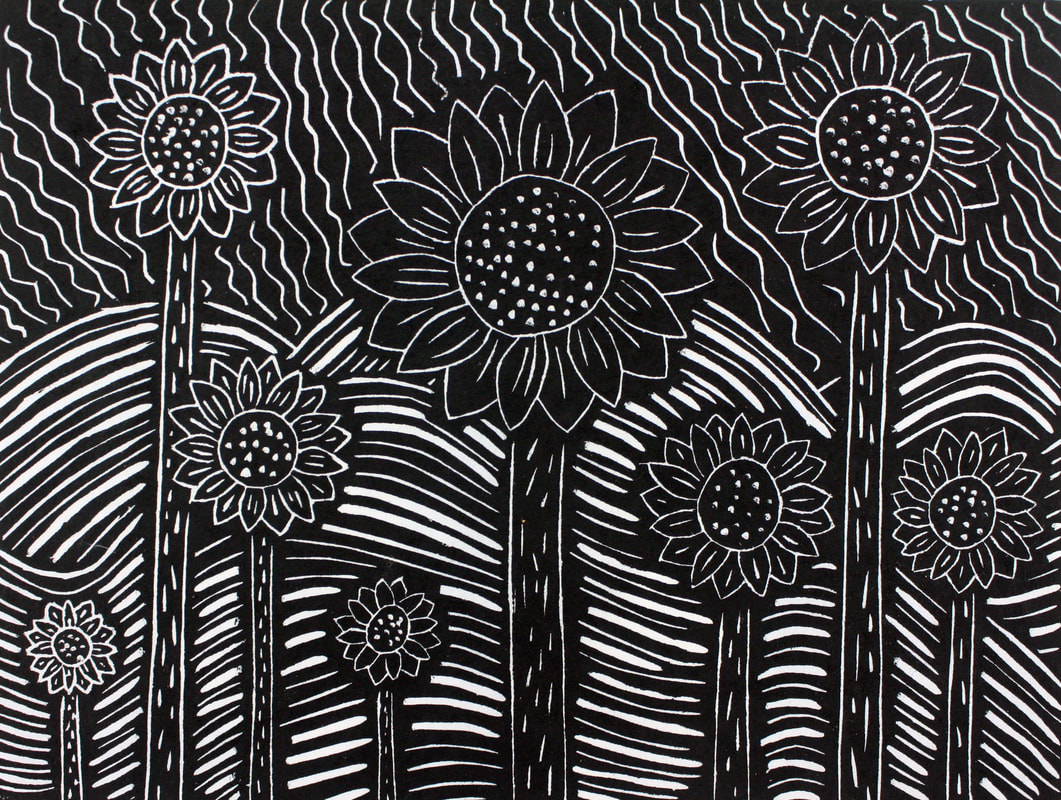
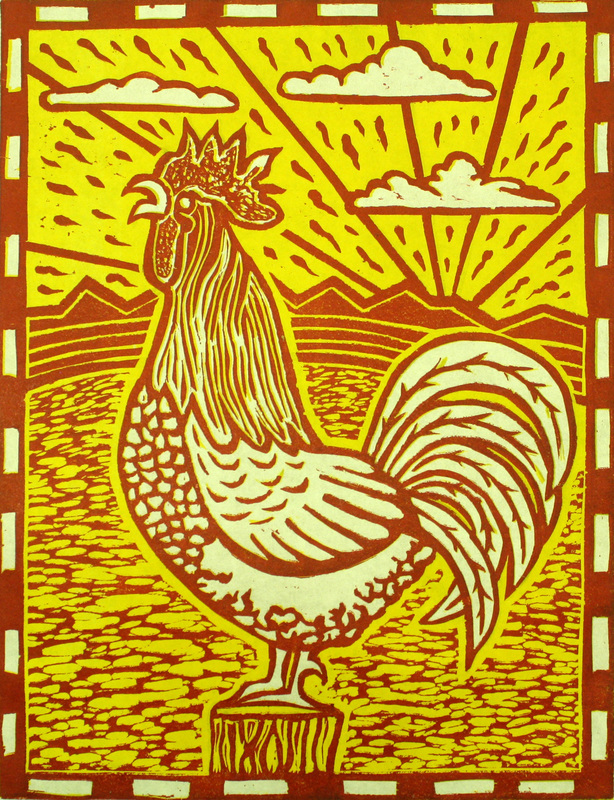
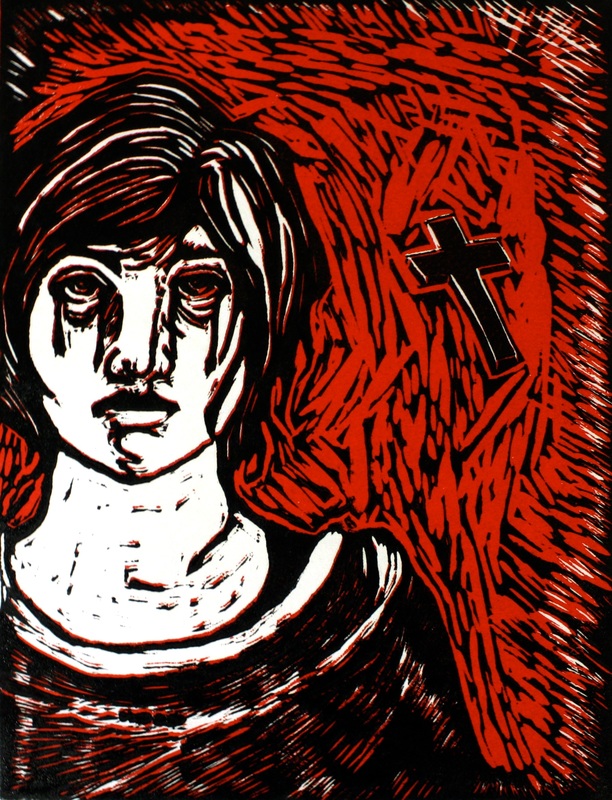
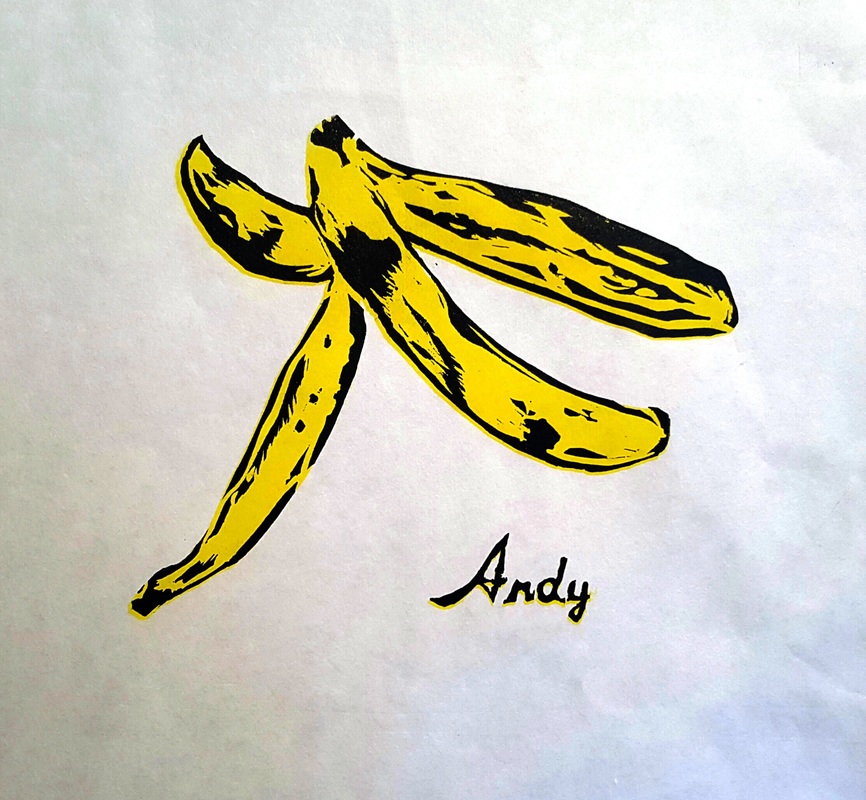
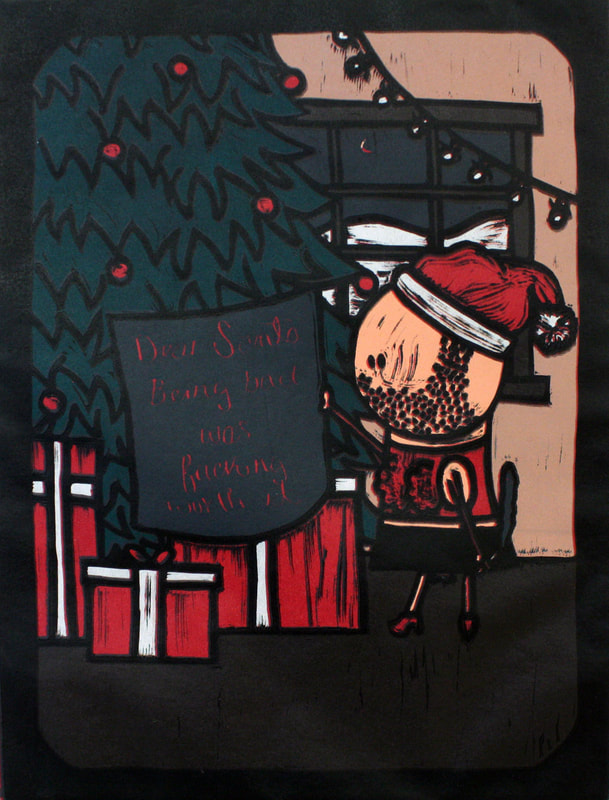
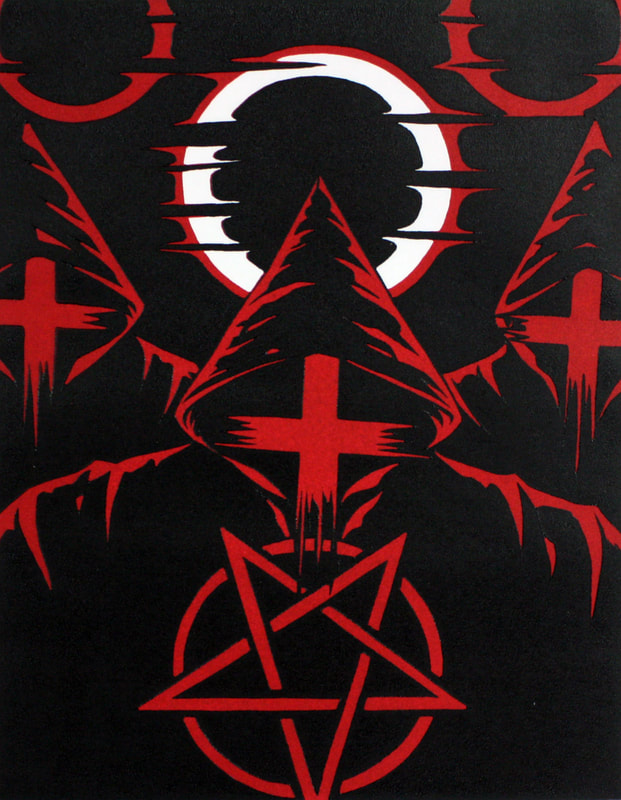
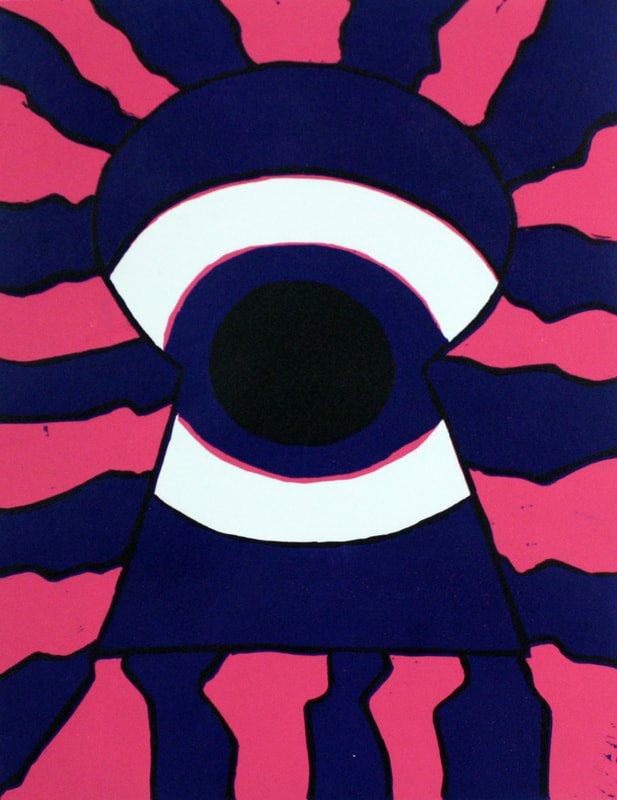
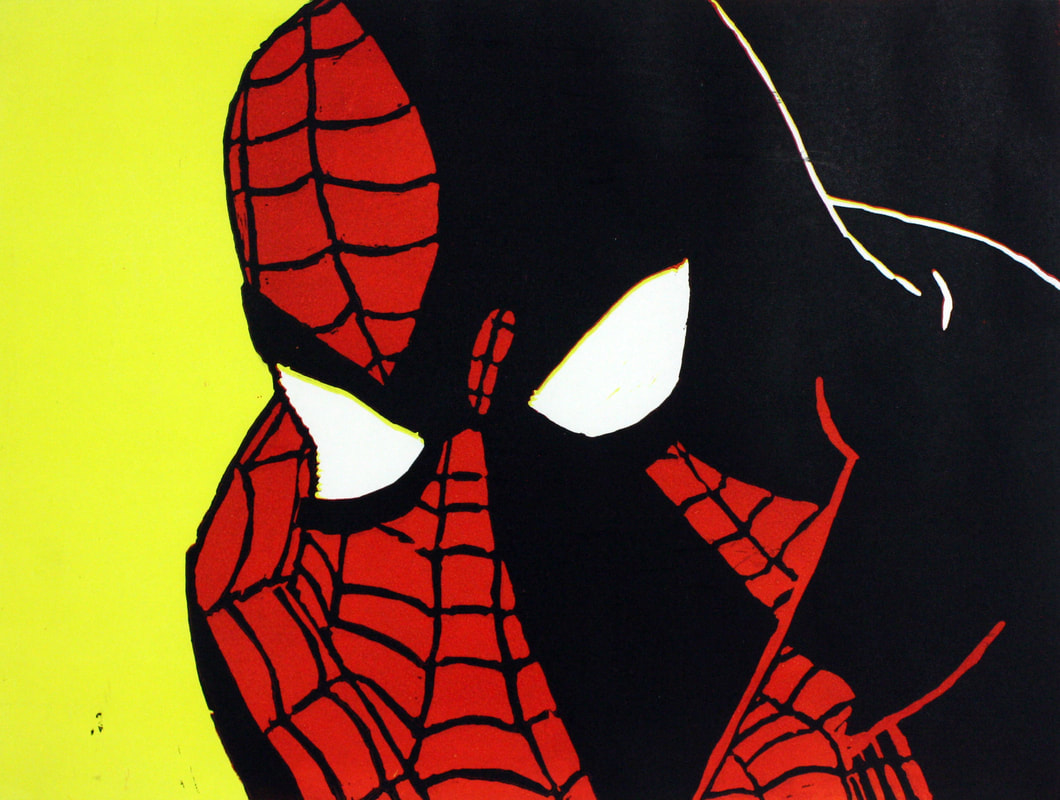
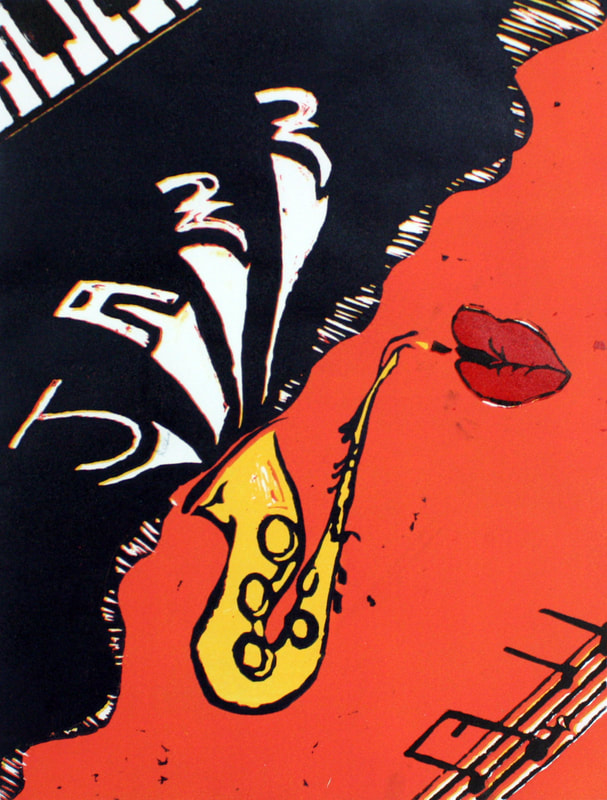
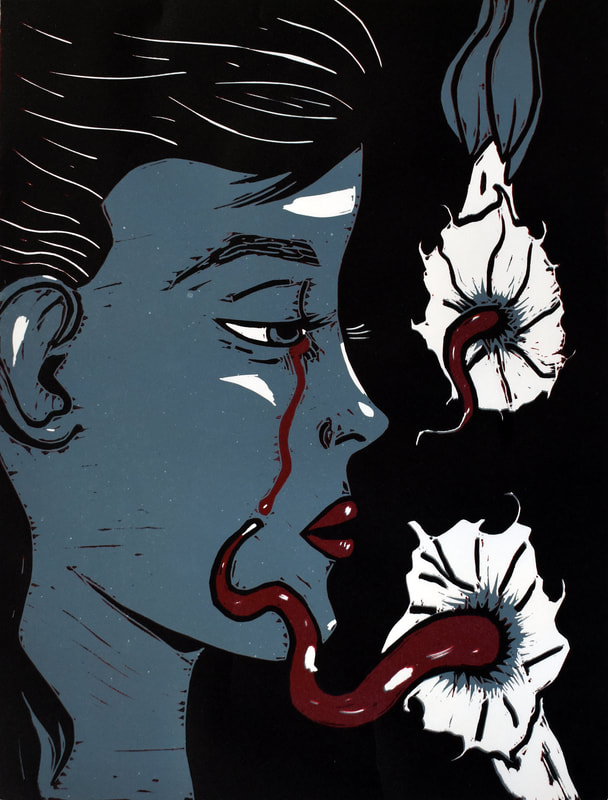
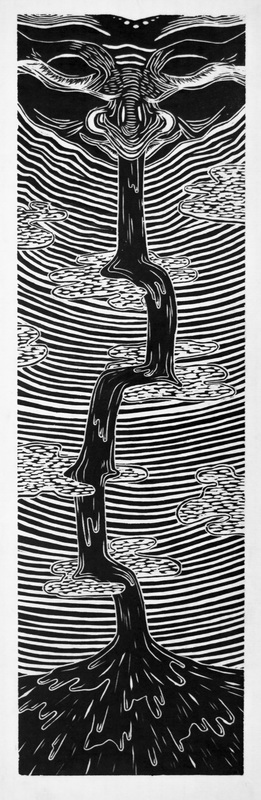
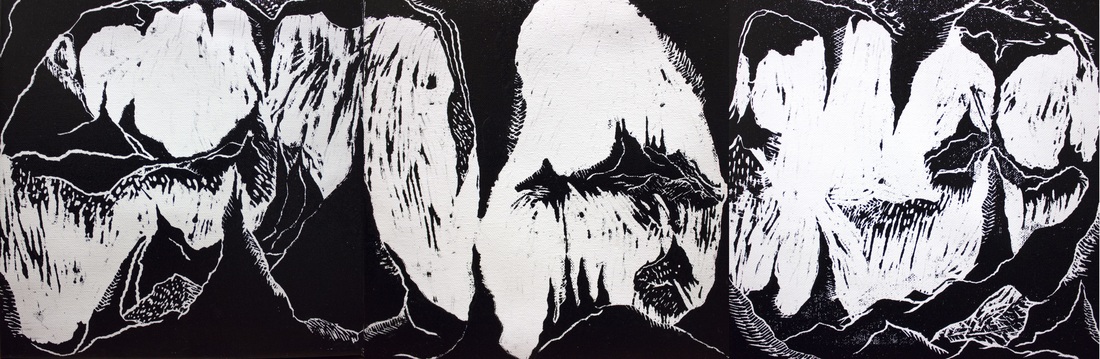
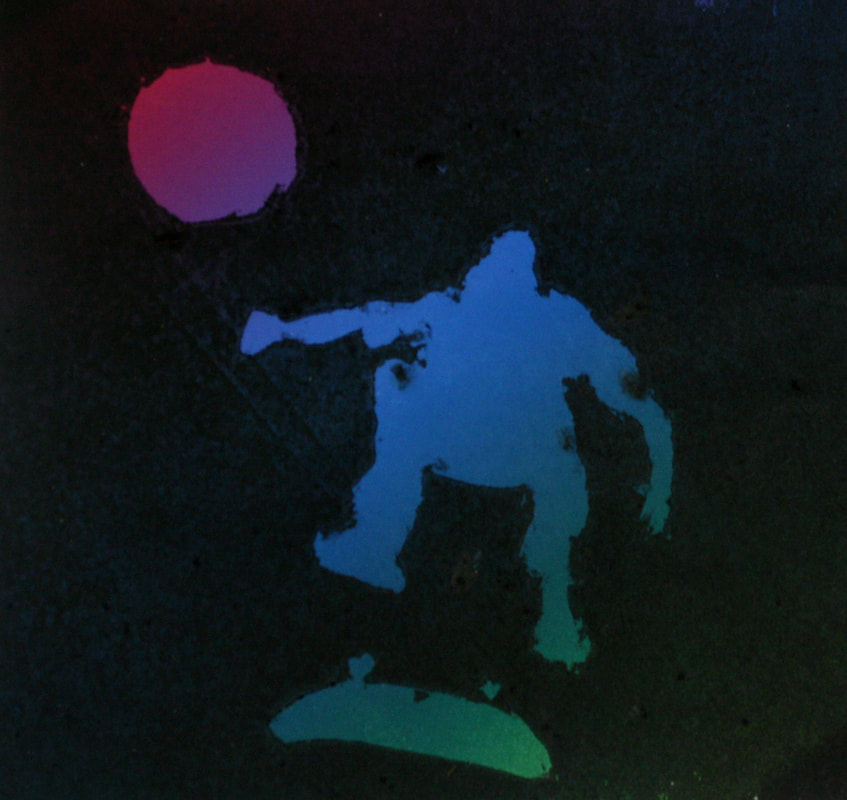
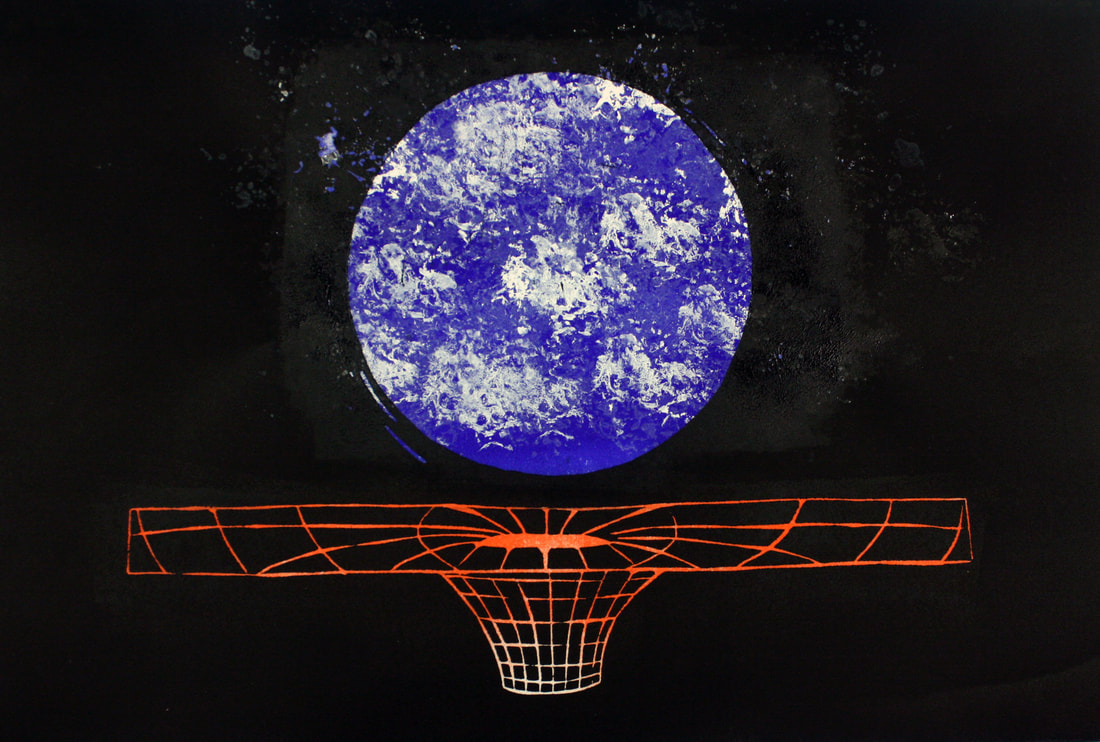
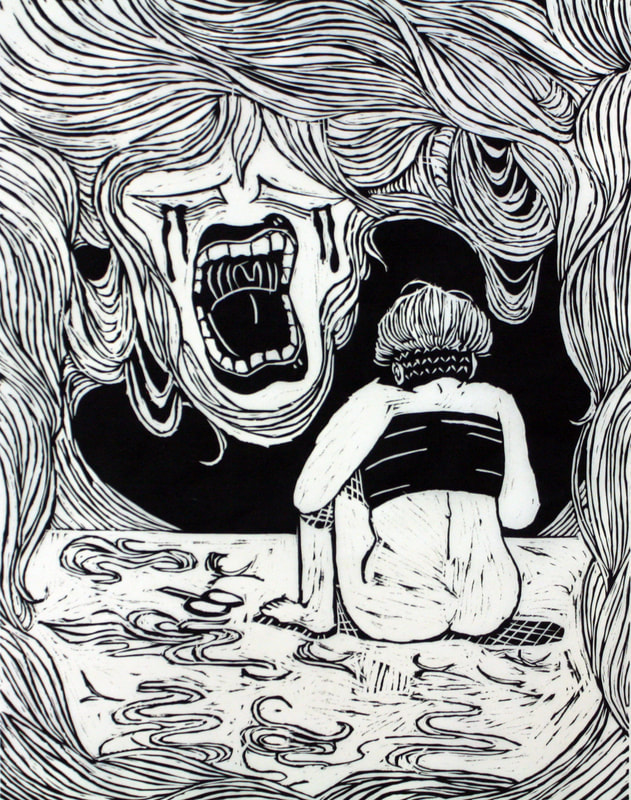
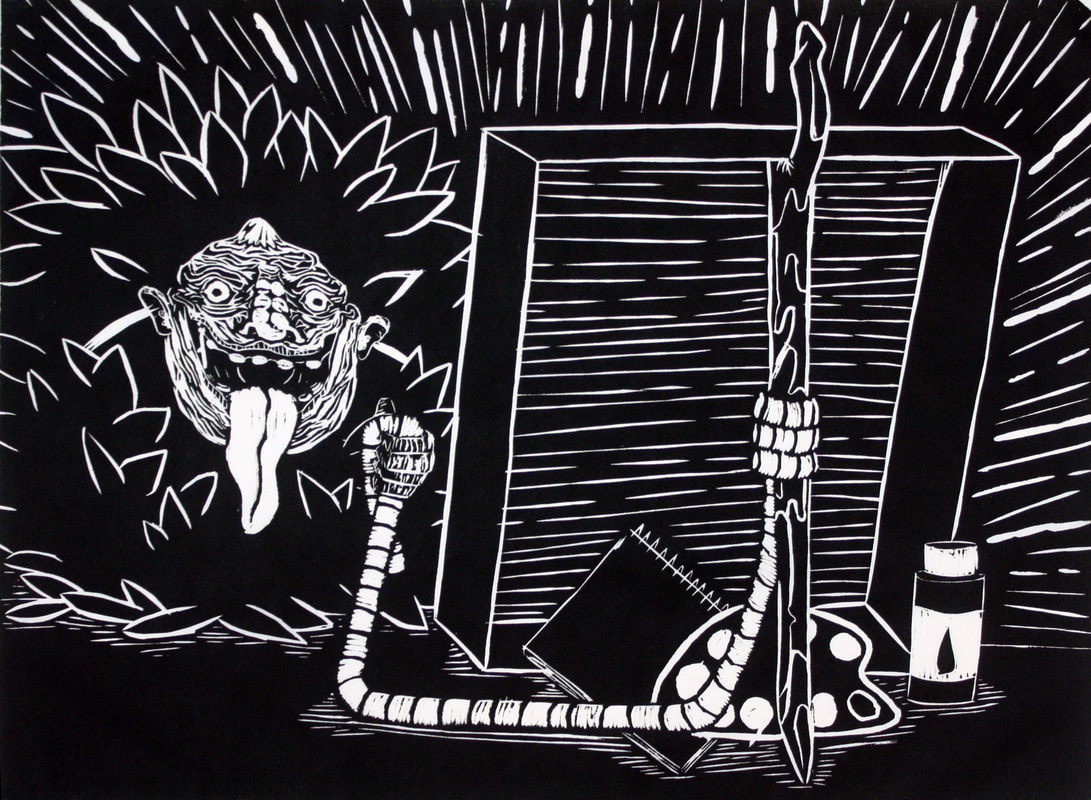
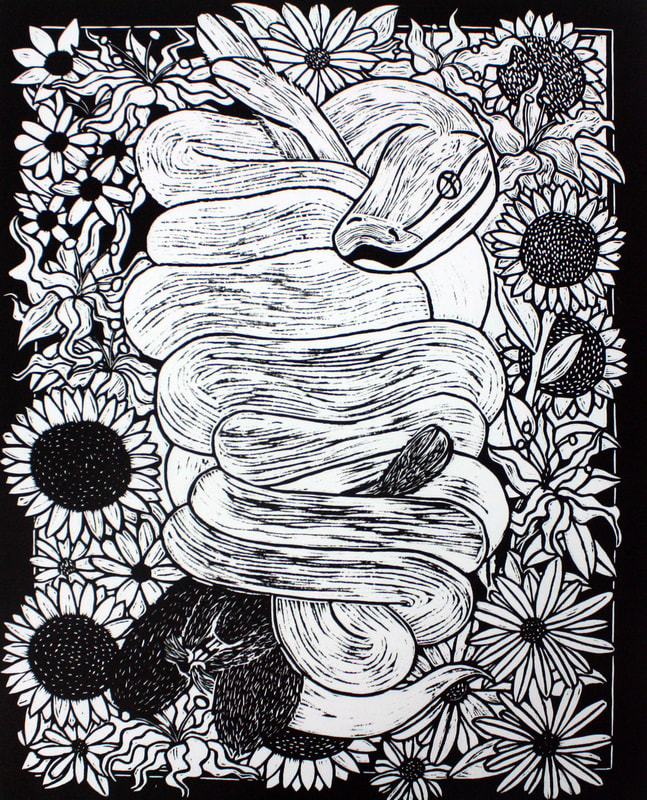
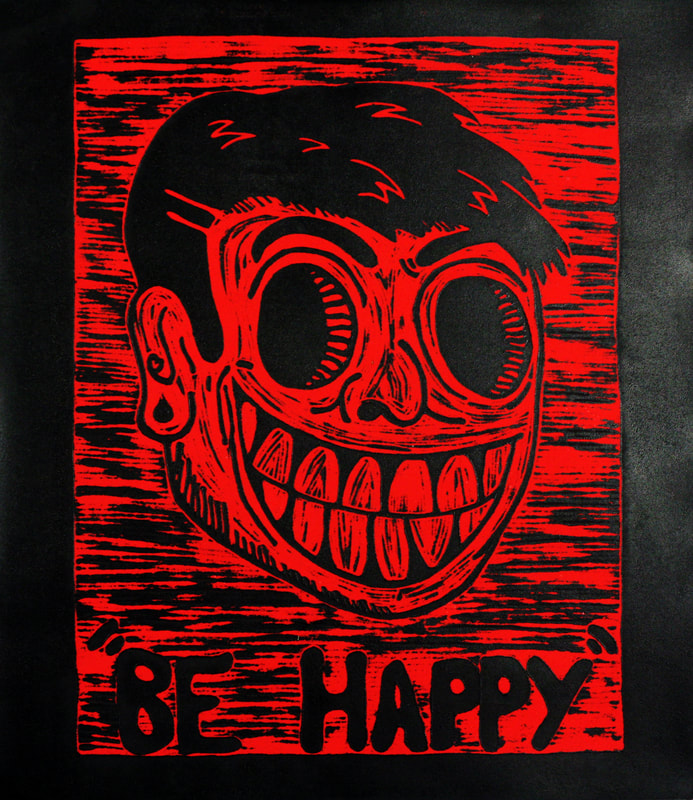
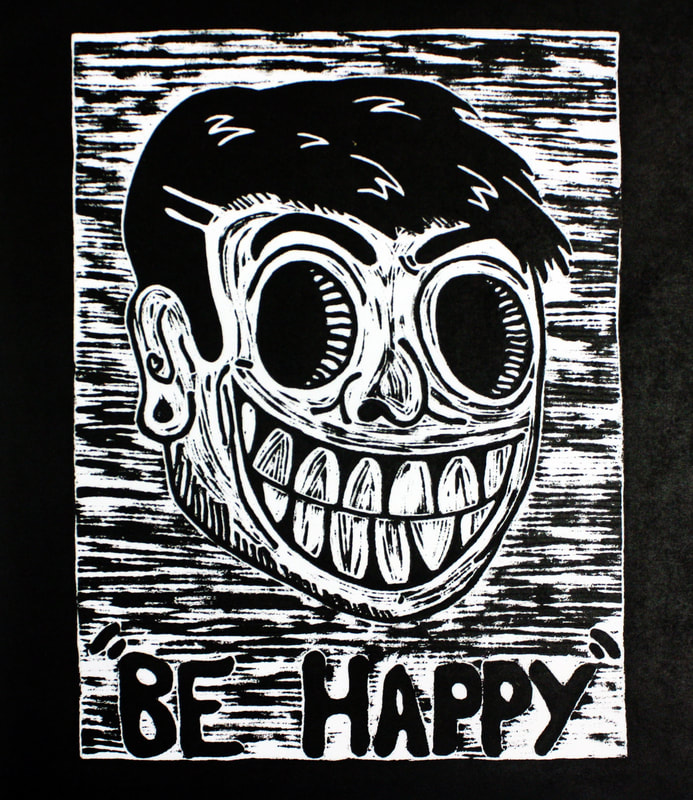
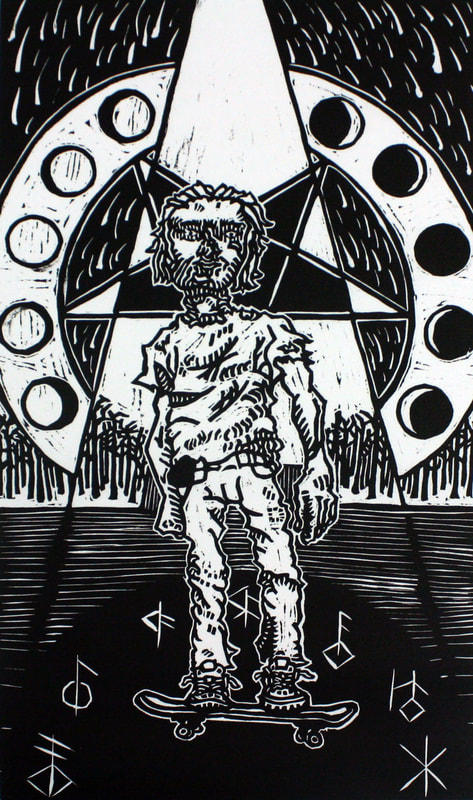
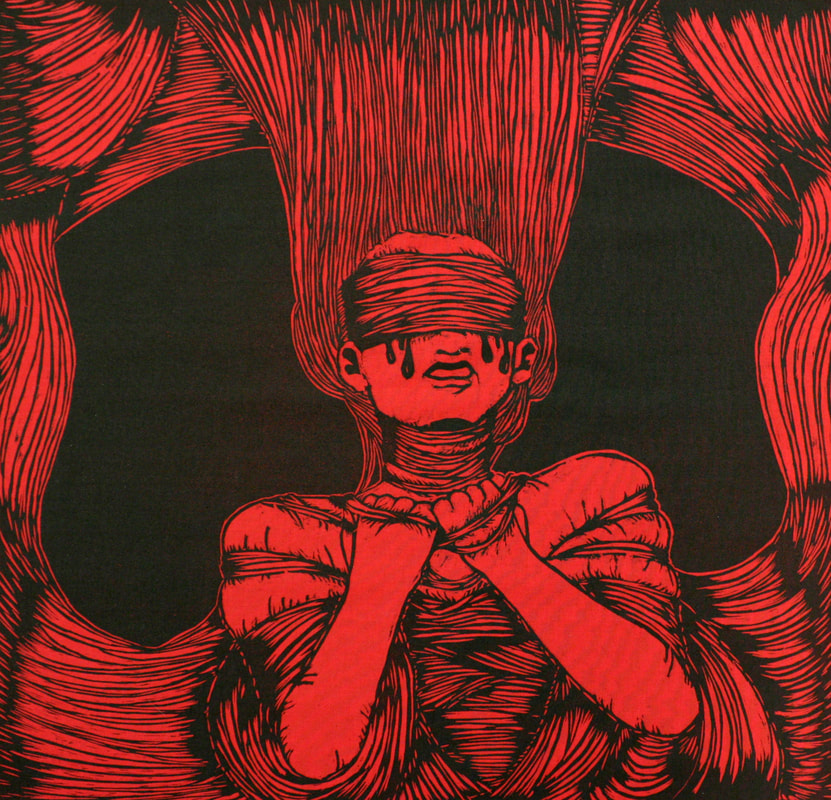
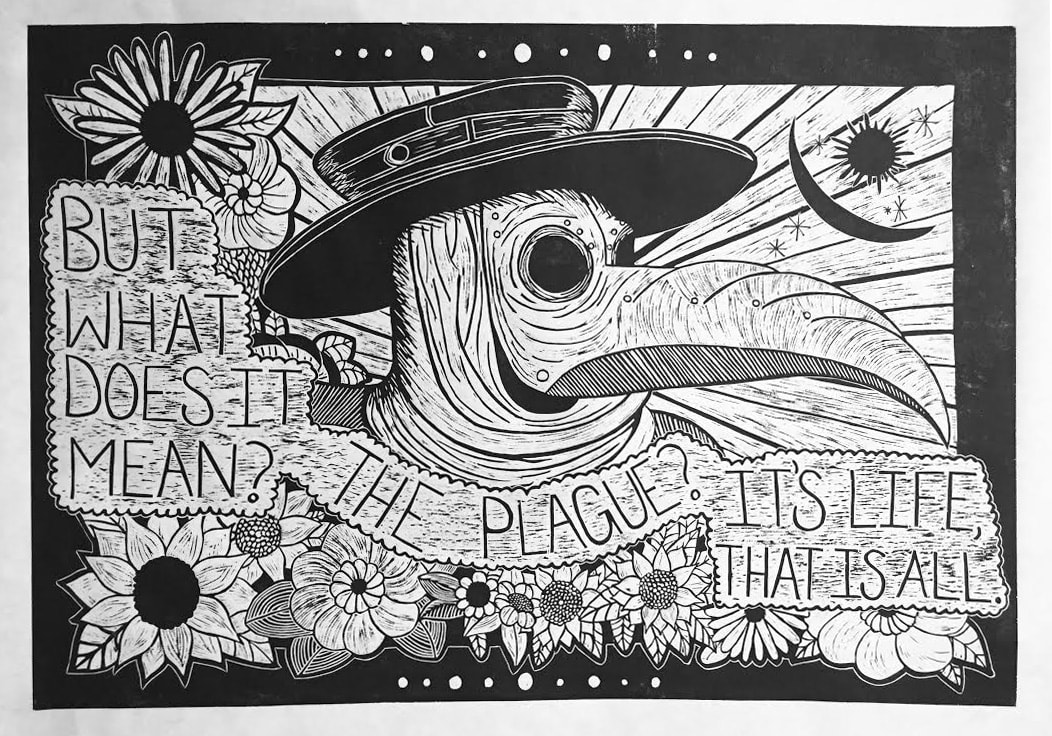
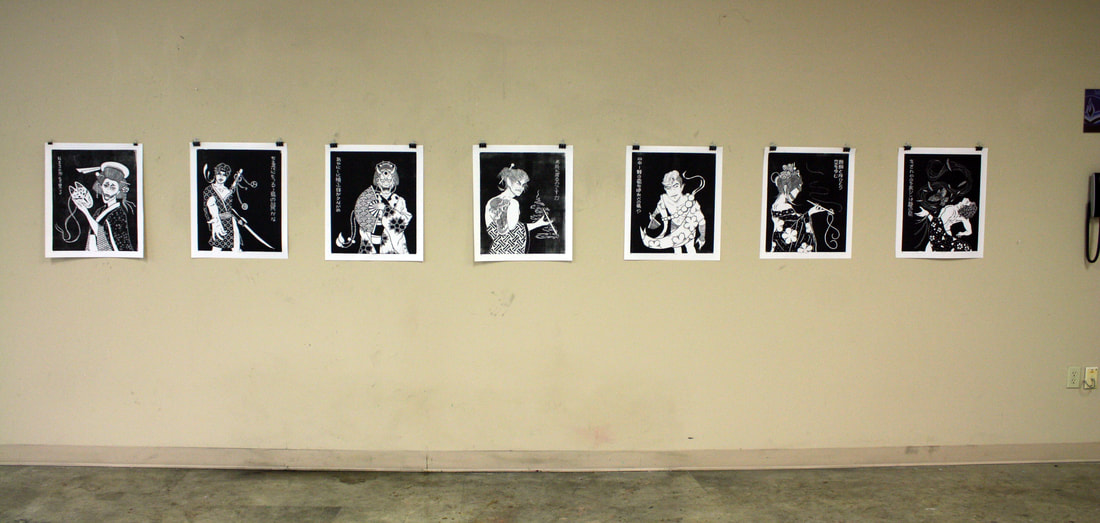
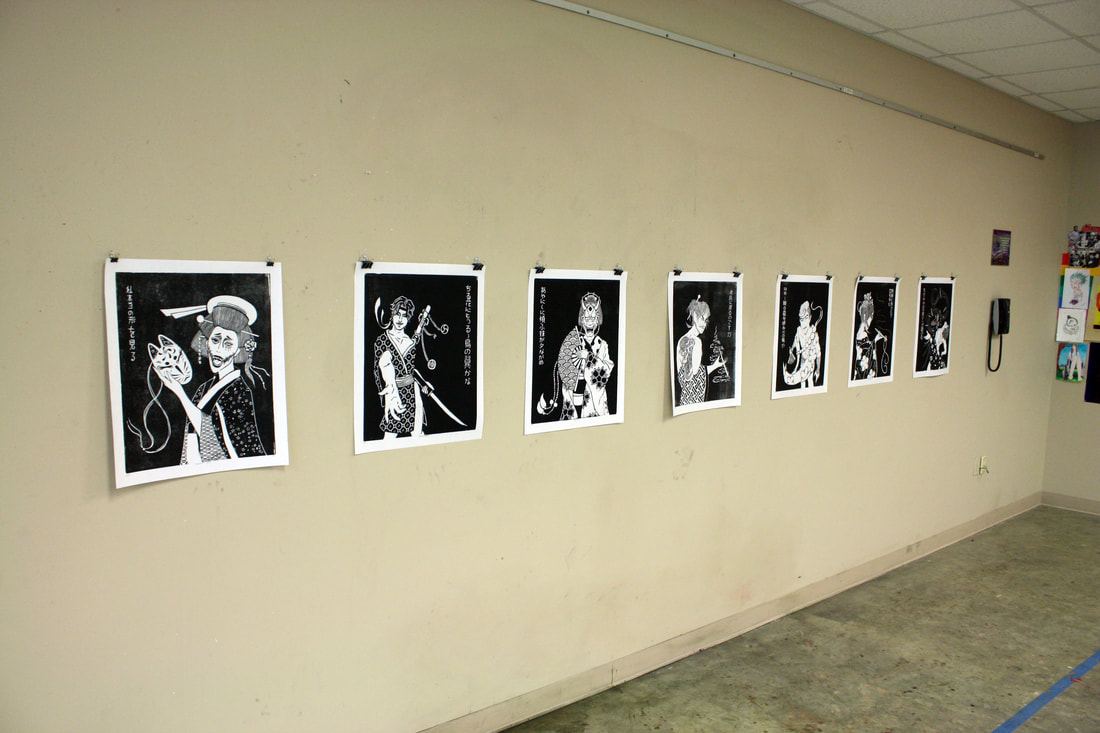
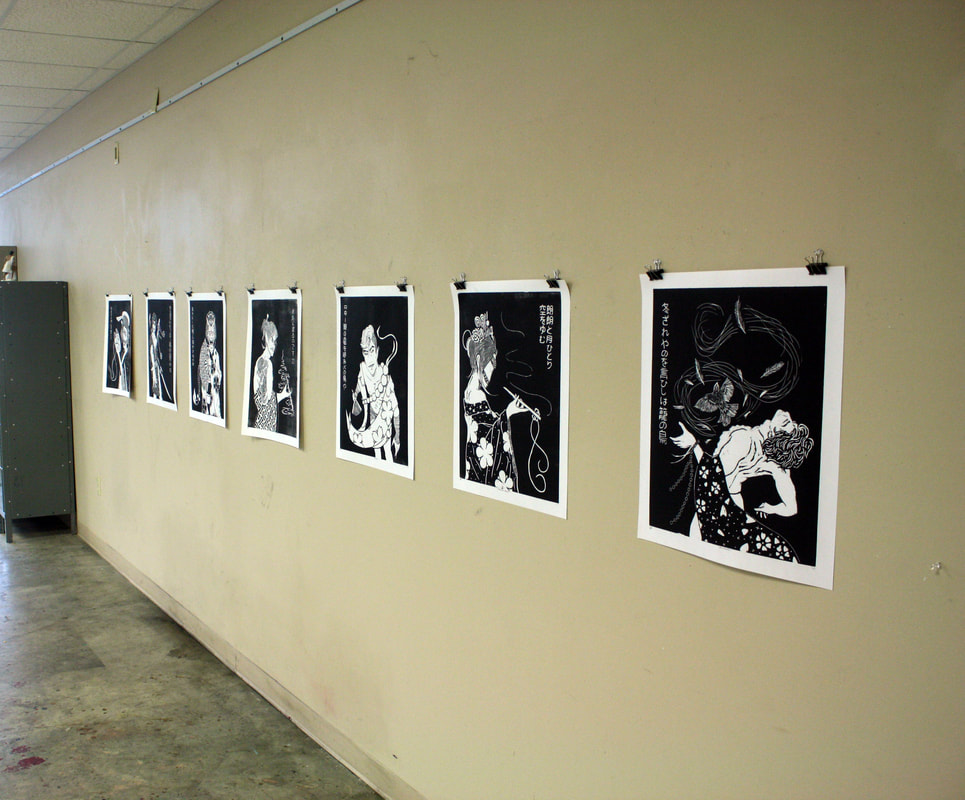
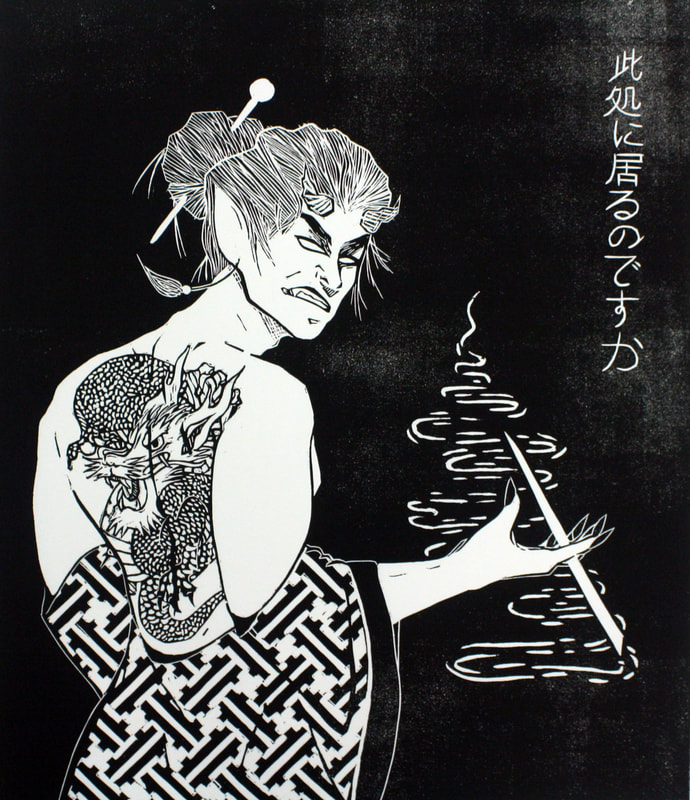
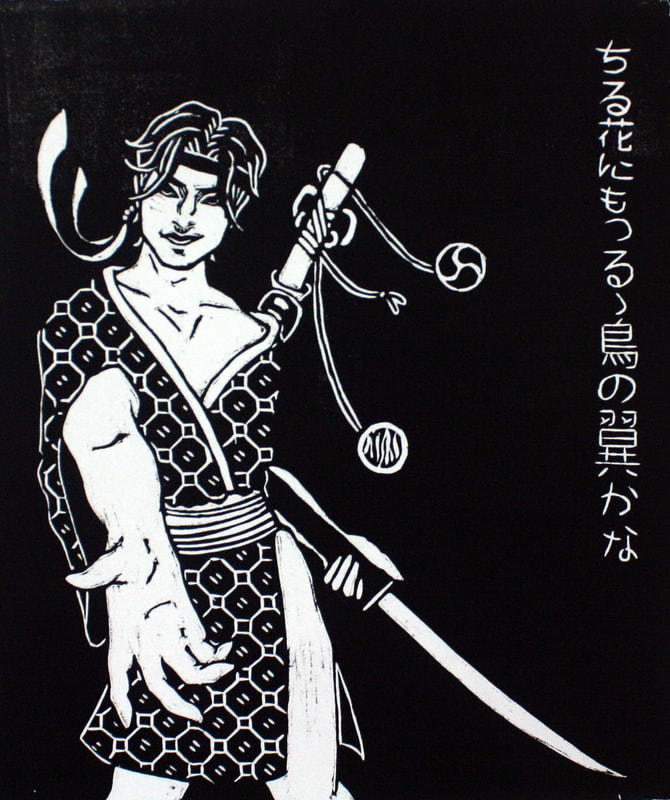
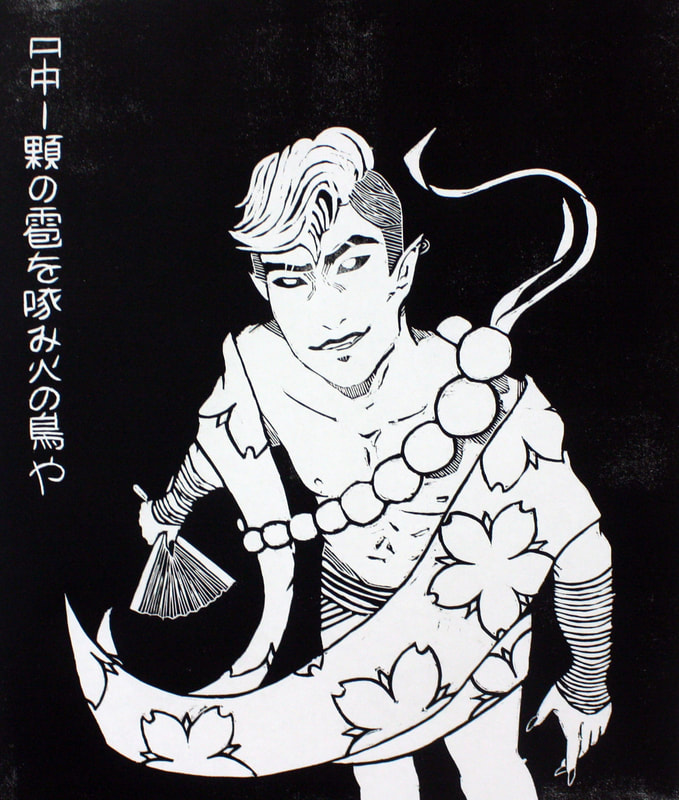
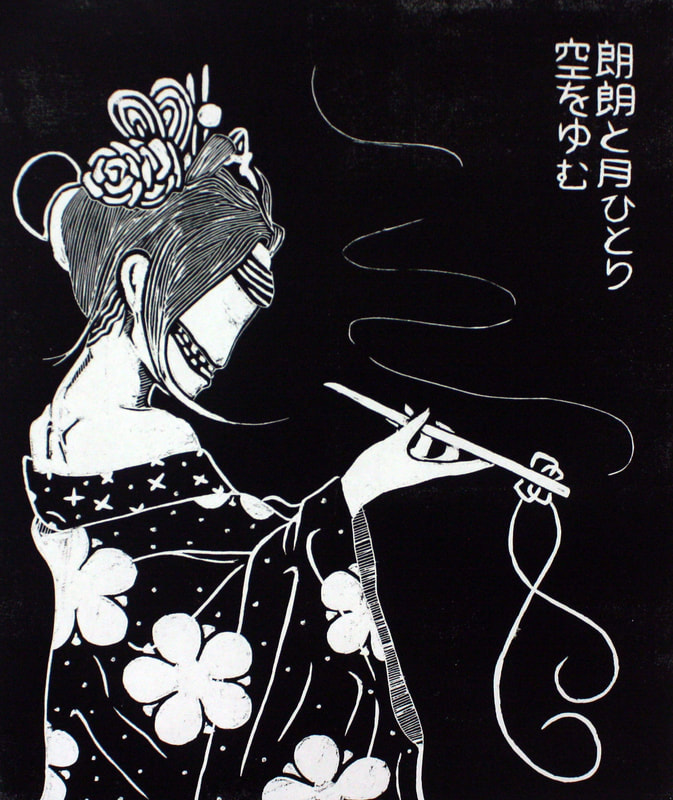
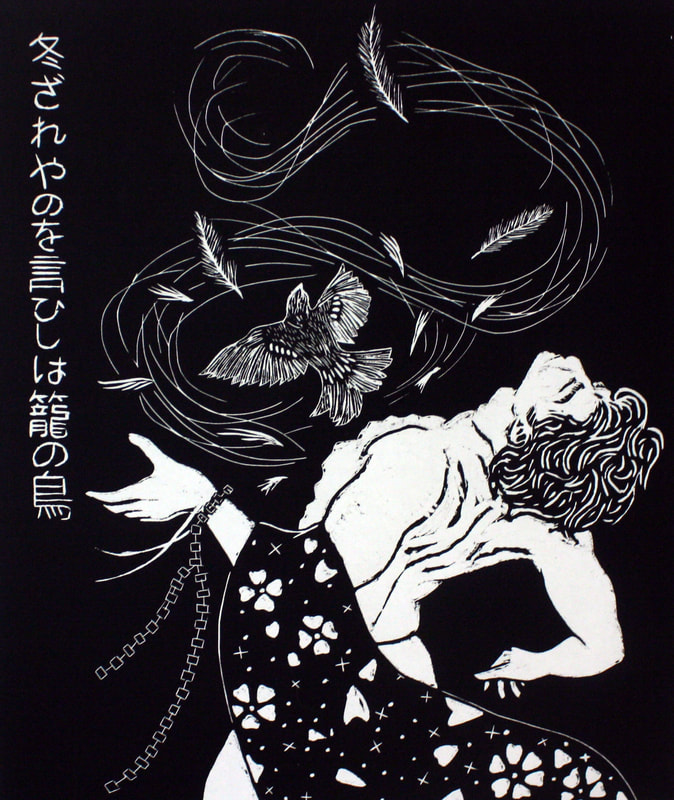
Woodcut Project - The woodcut assignment consists of a lecture on what woodcuts are, relief prints carved from wood using gouges, tool safety and uses, studies for the students ideas and images, and a demonstration on printing their blocks. The students are allowed creative freedom, but are offered ideas on their images and conceptual ideas from their fellow classmates and the professor. They are required to have a five print edition at a set size and using one color on critique day as well as a basis for their conceptual ideas regarding the image.
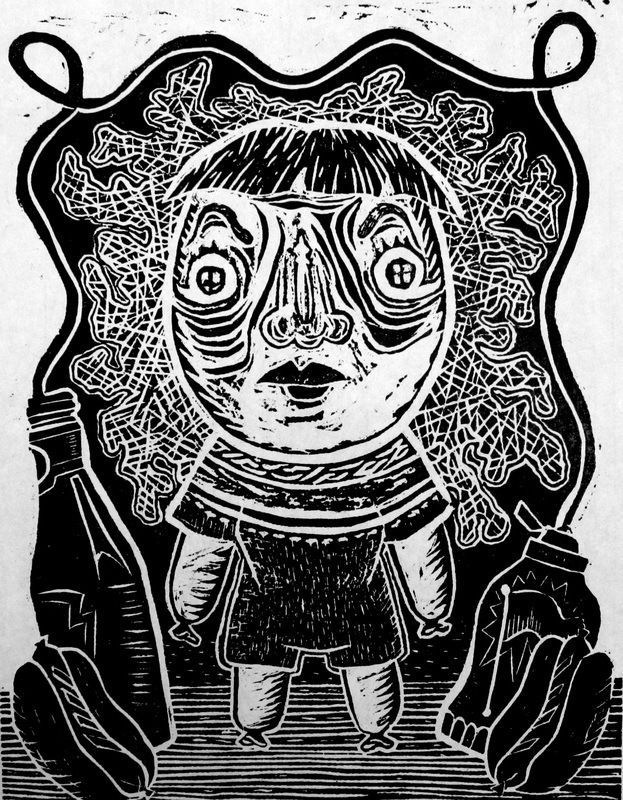

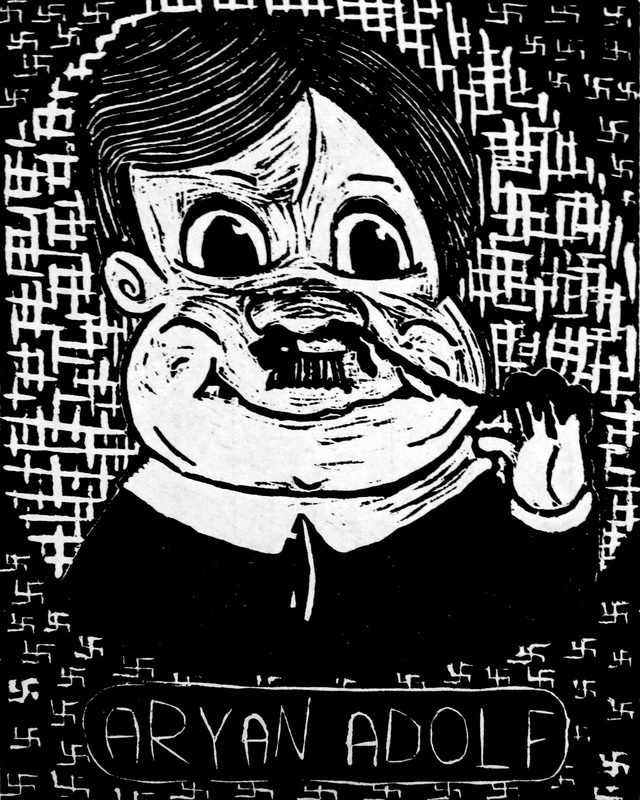
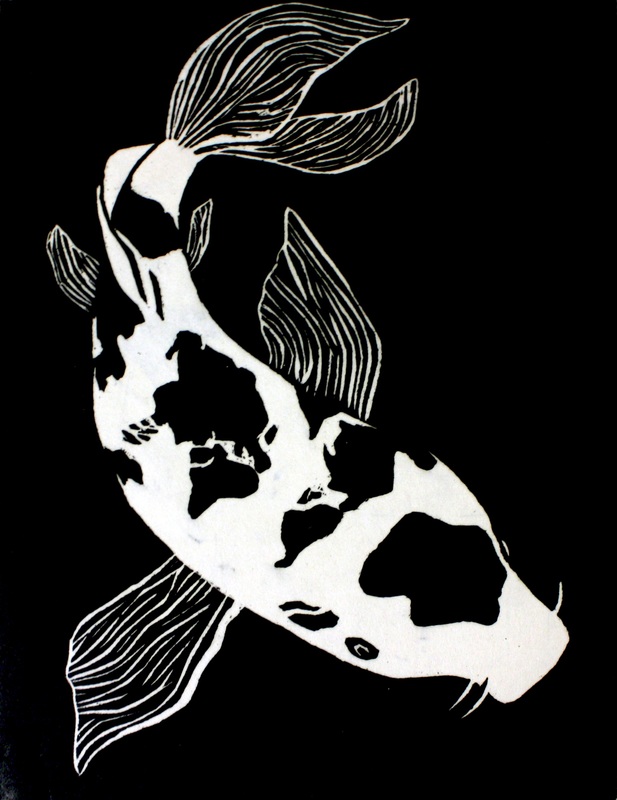

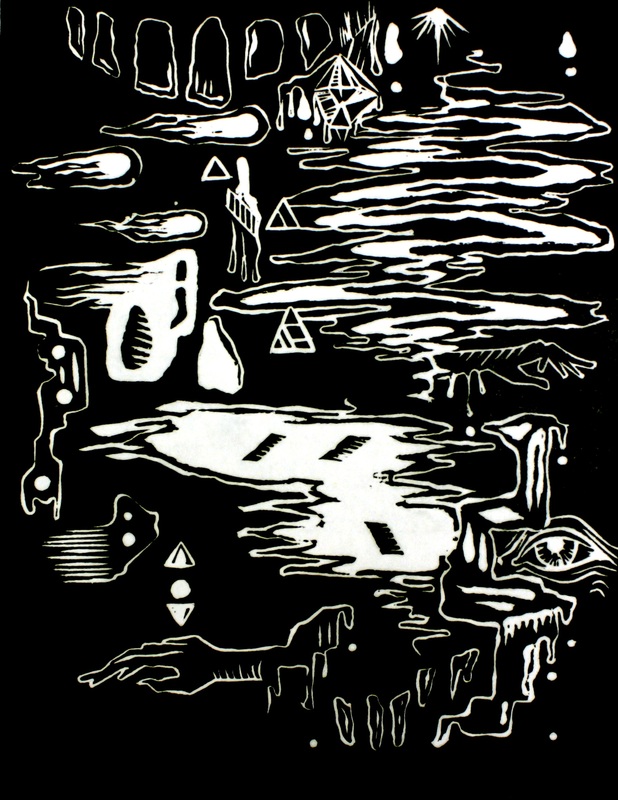
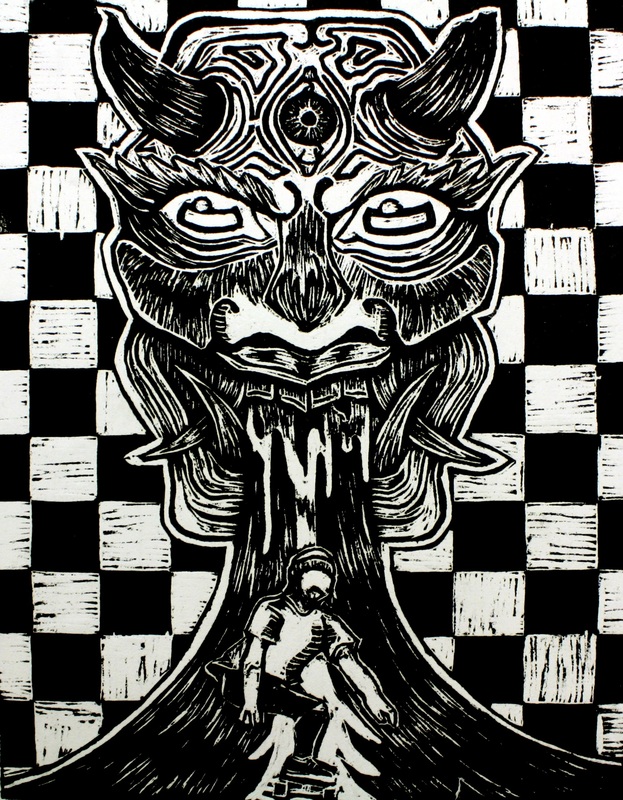
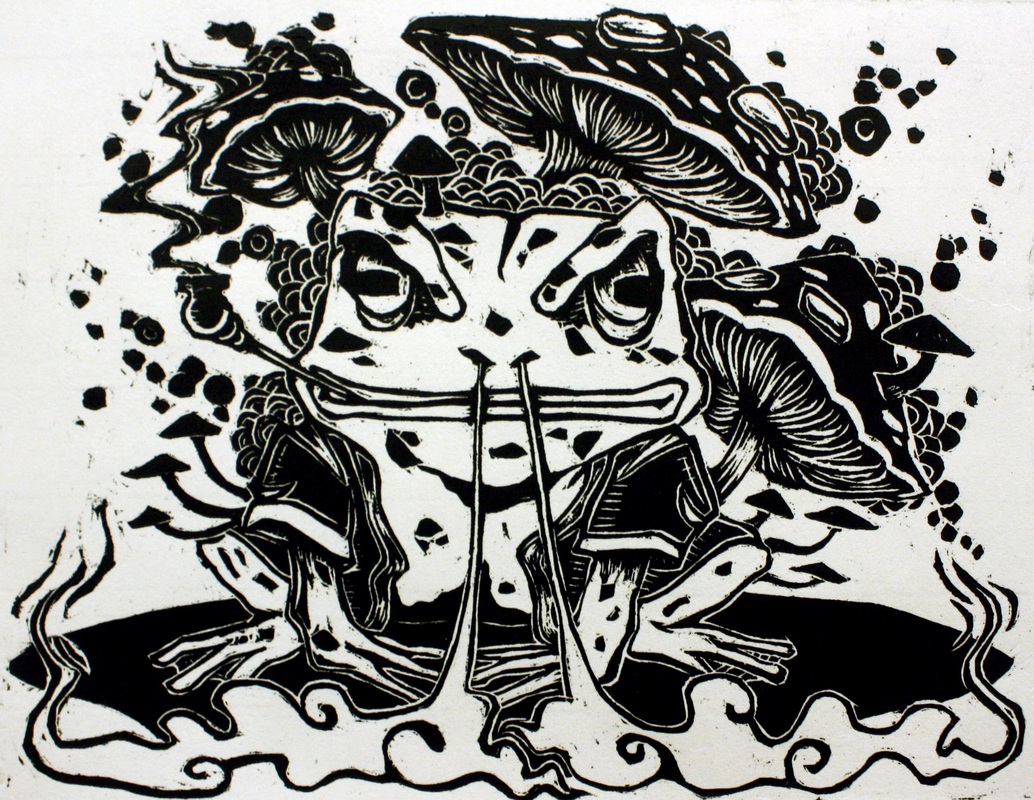
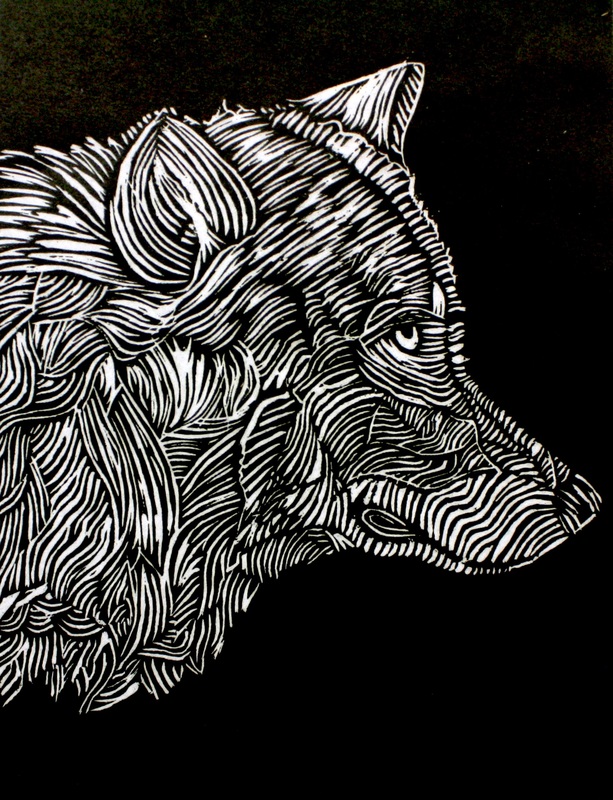

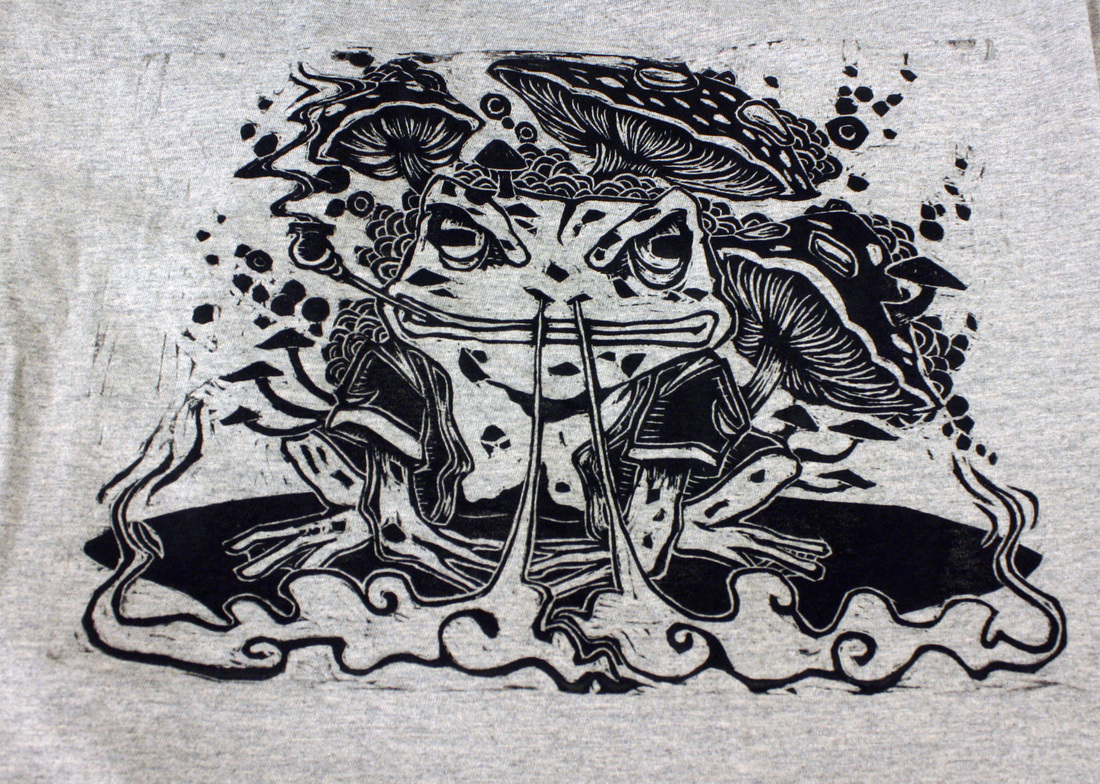
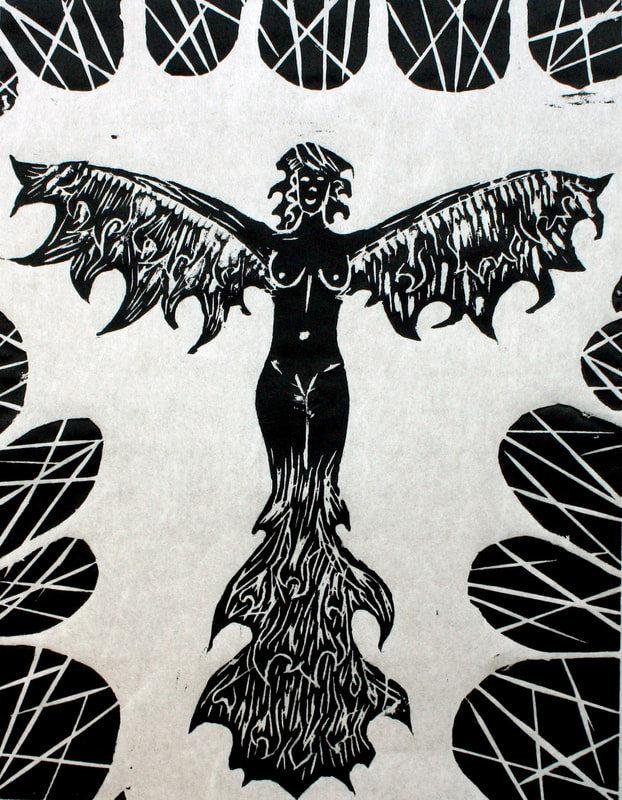
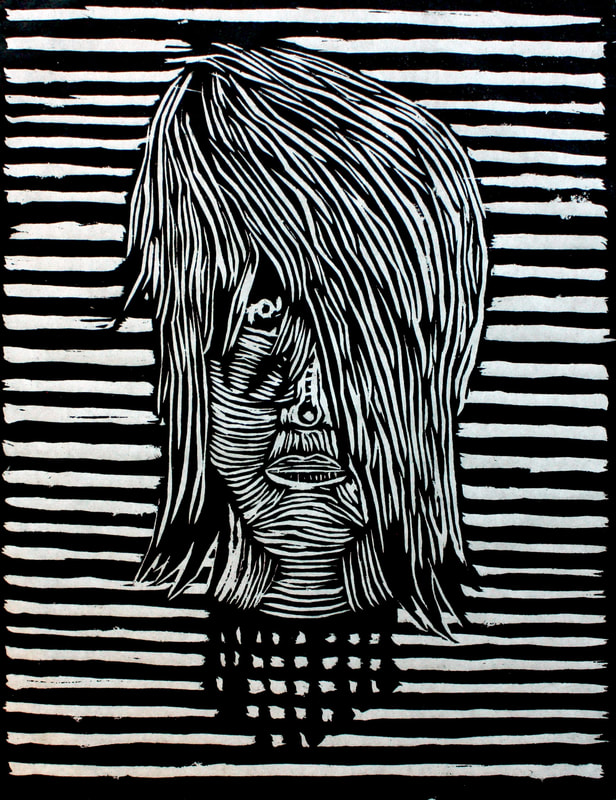
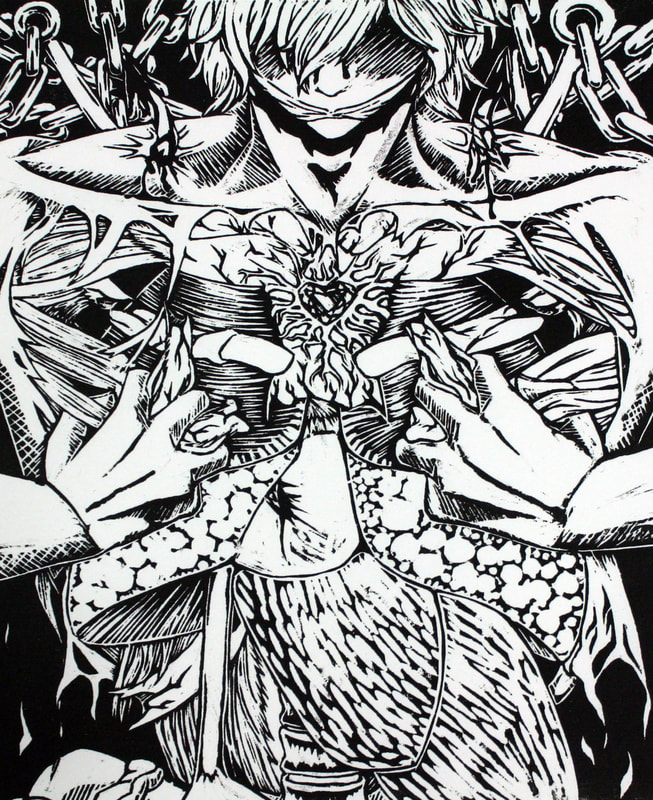
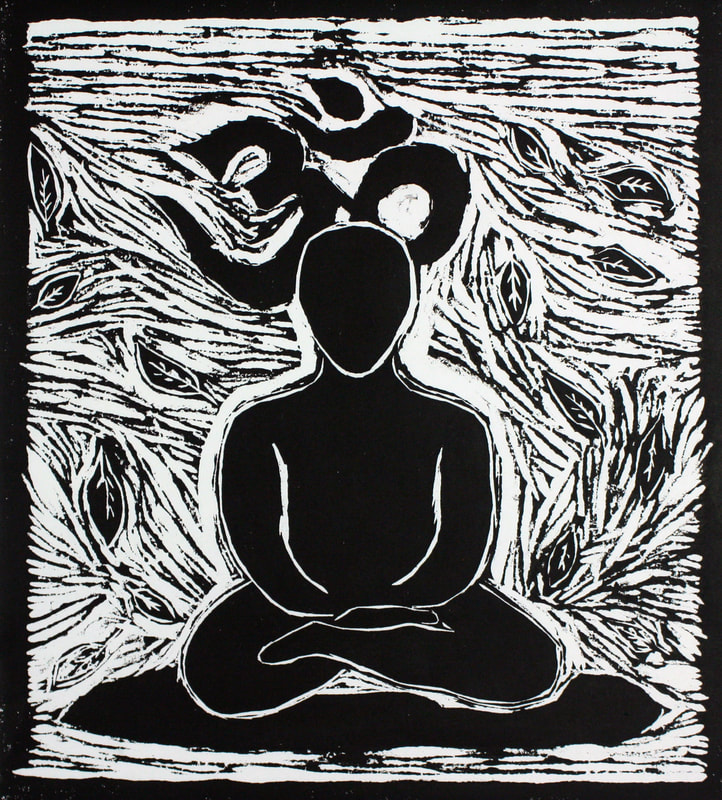
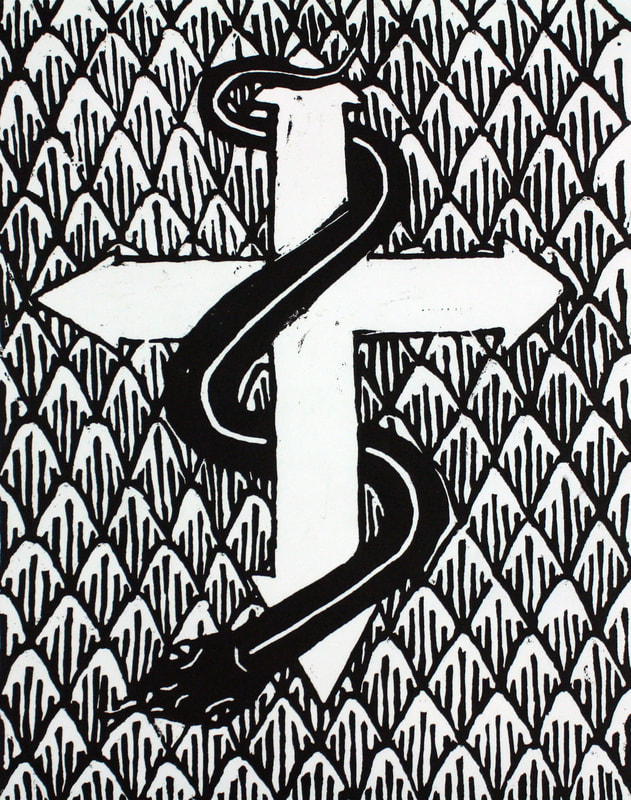
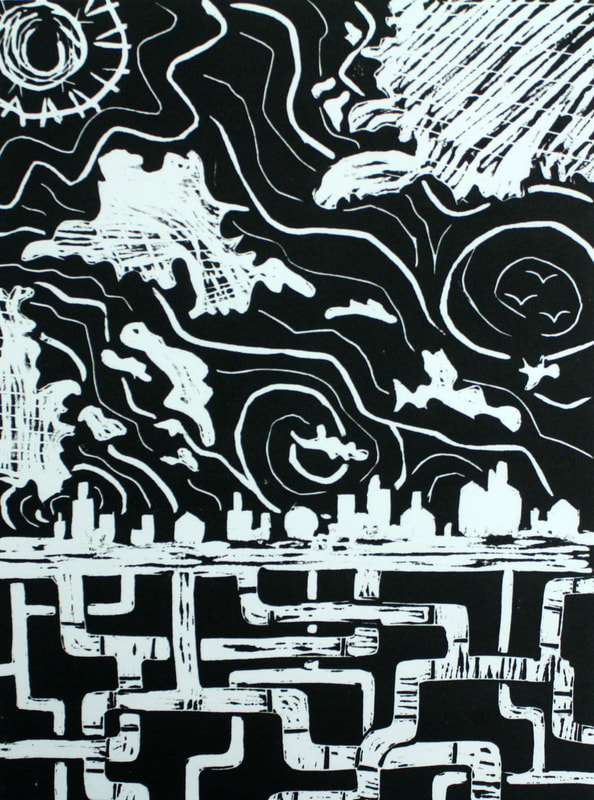
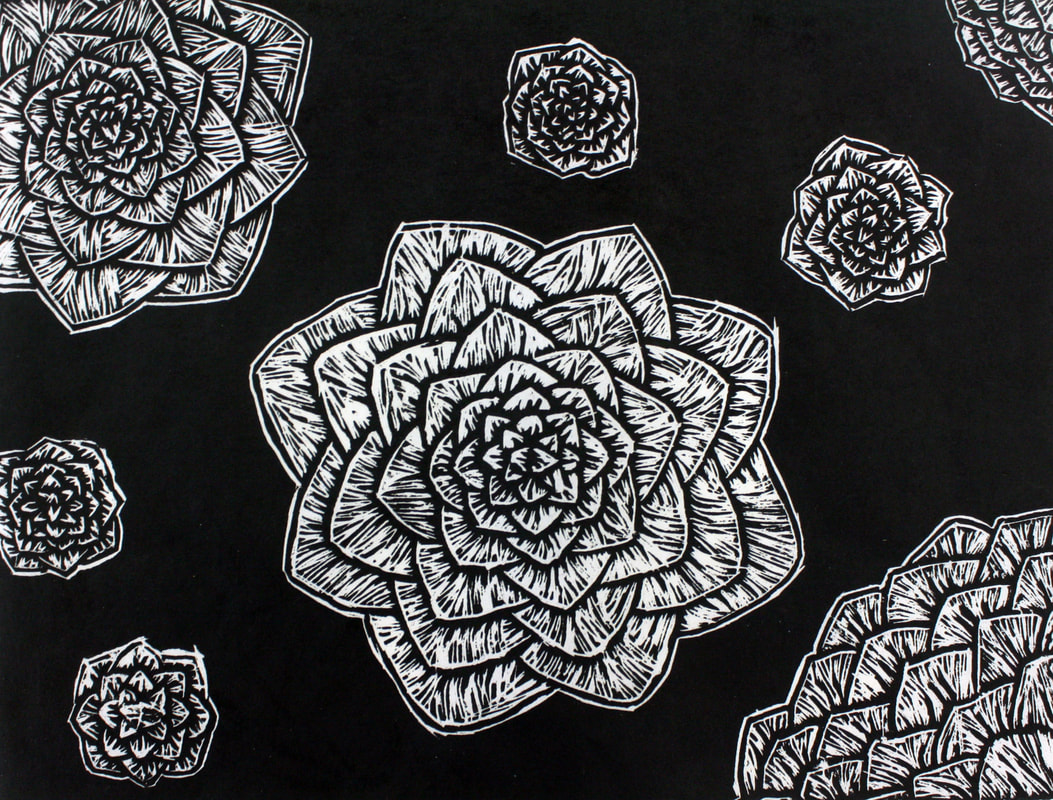
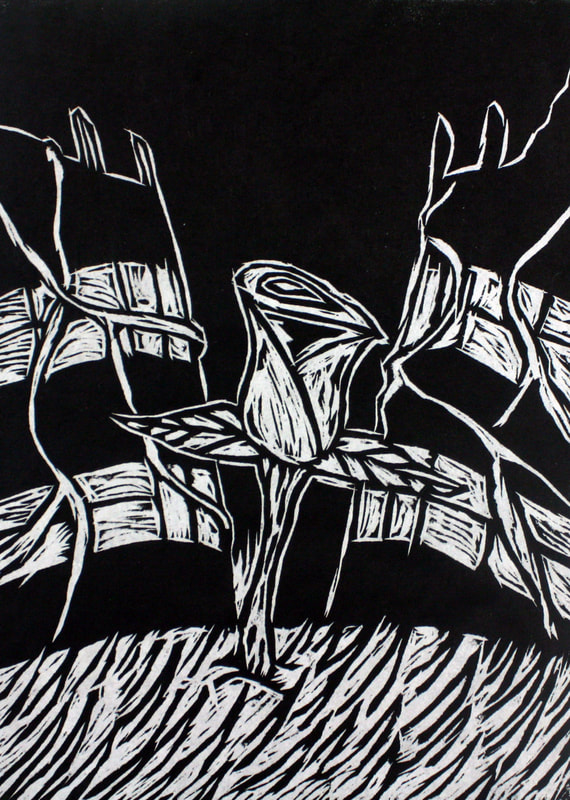
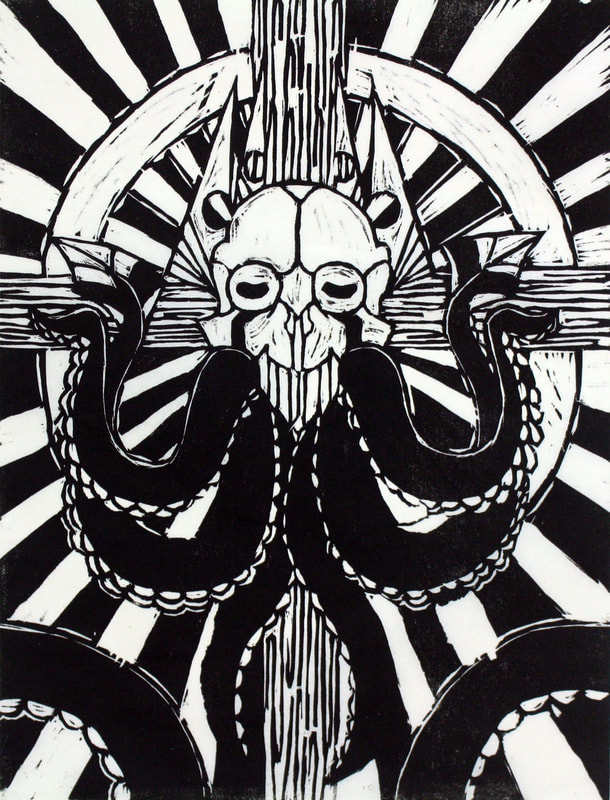
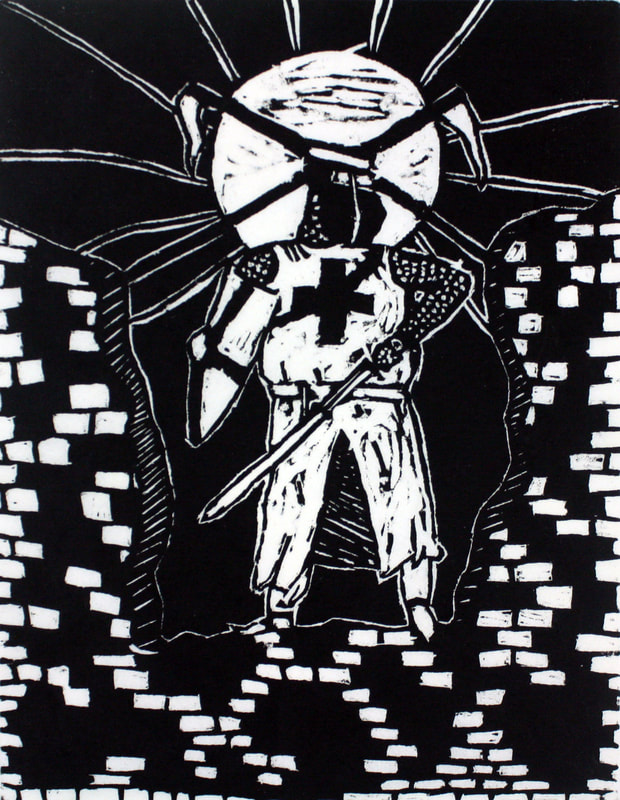

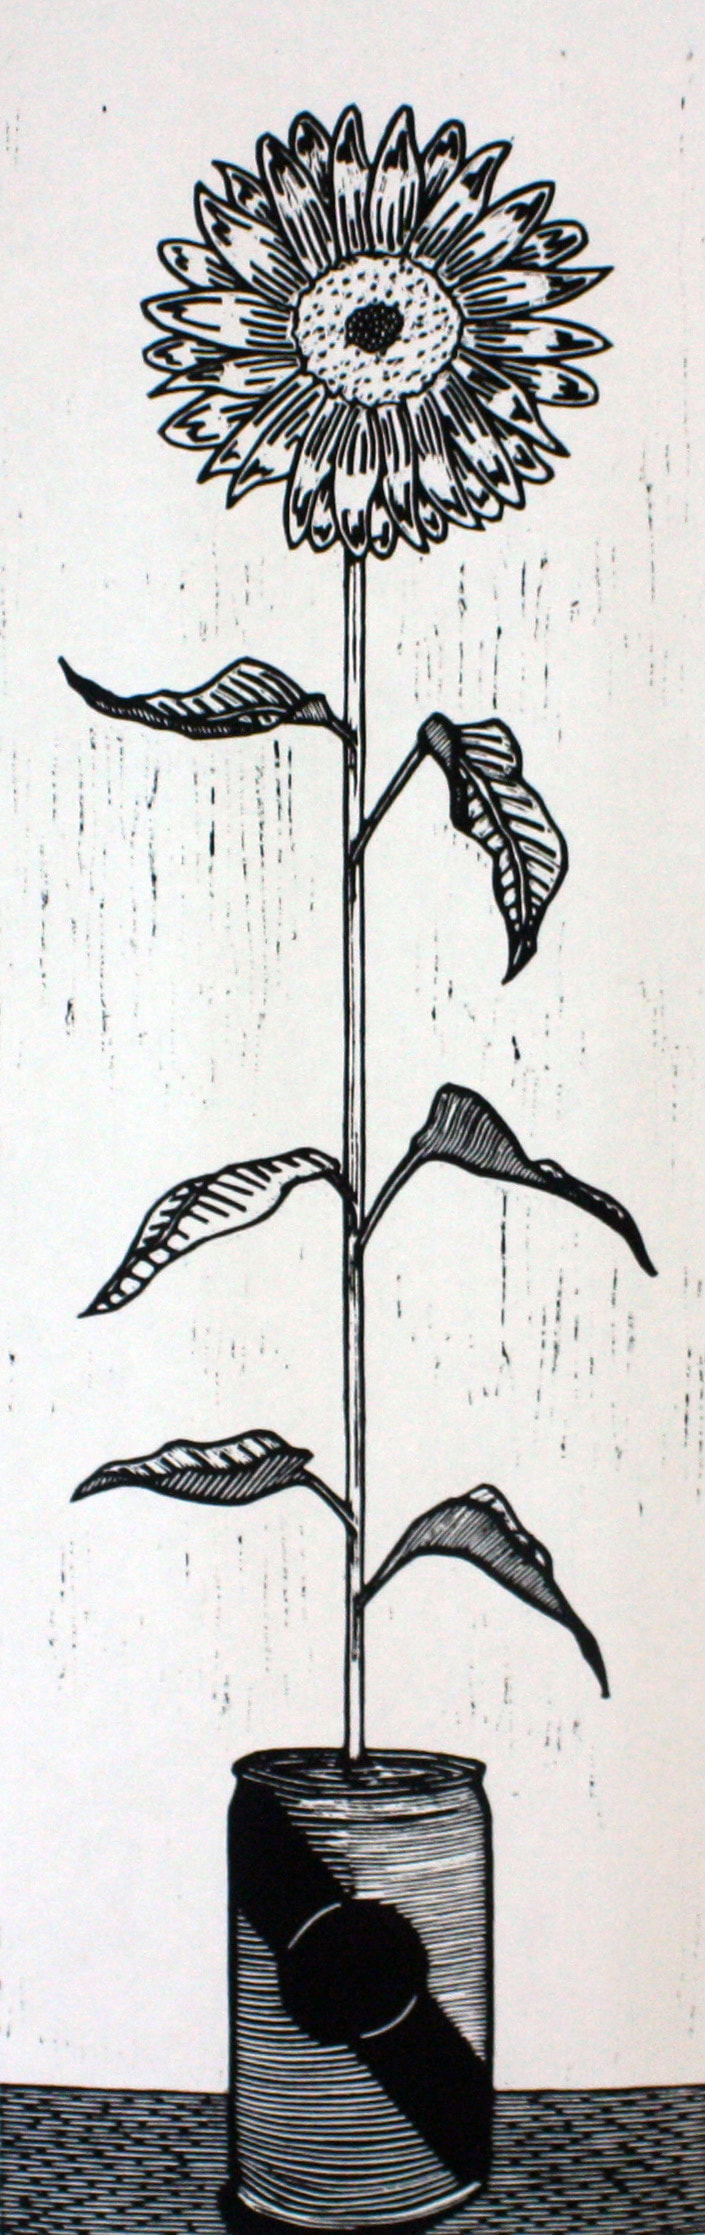
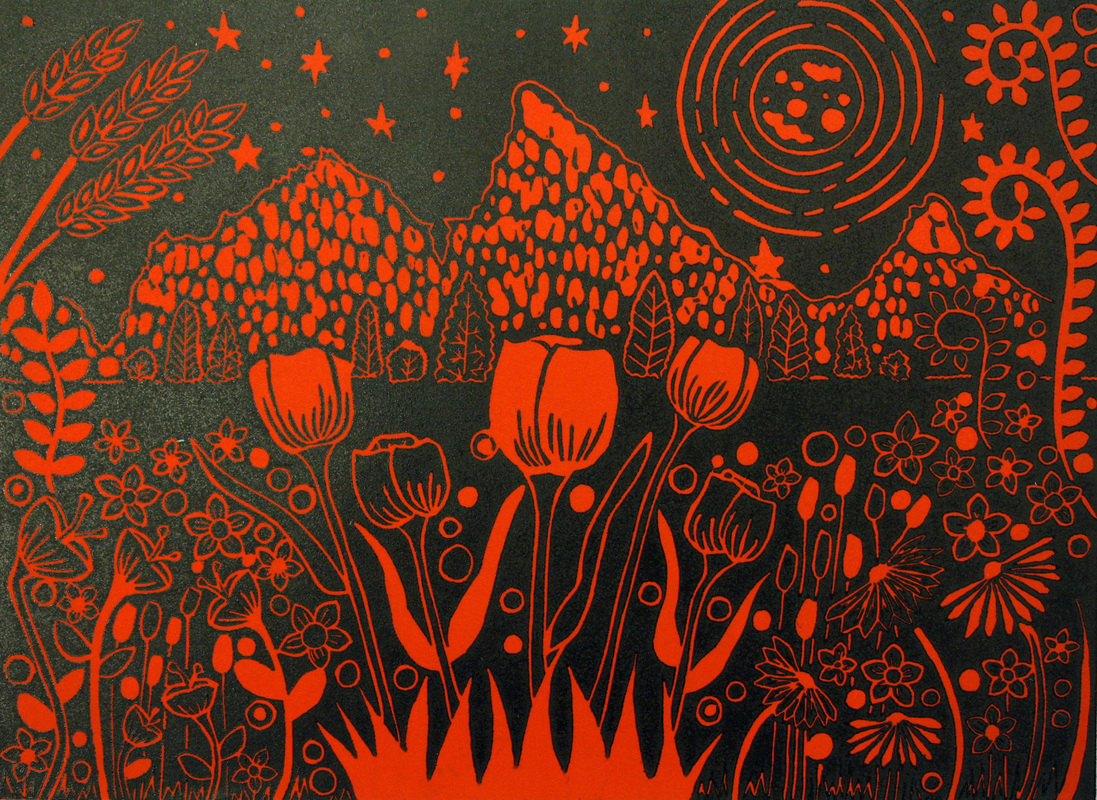
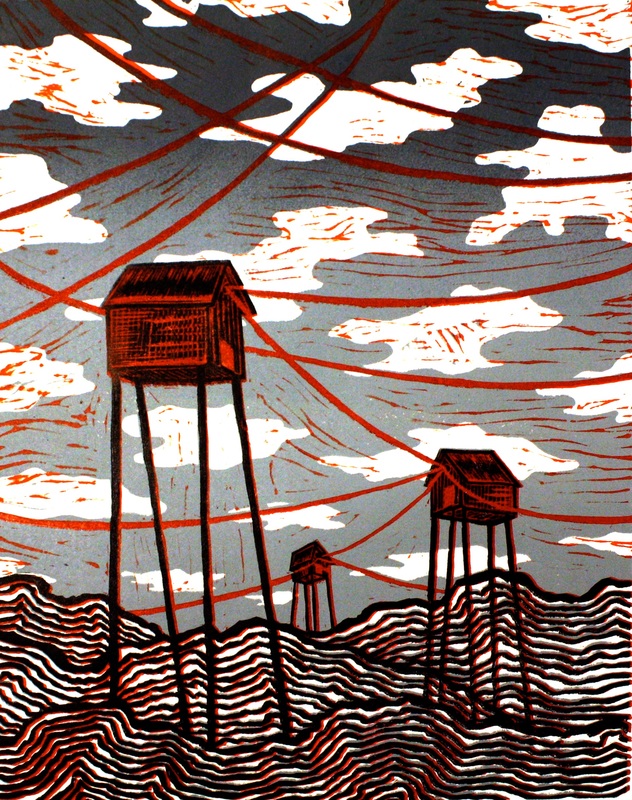
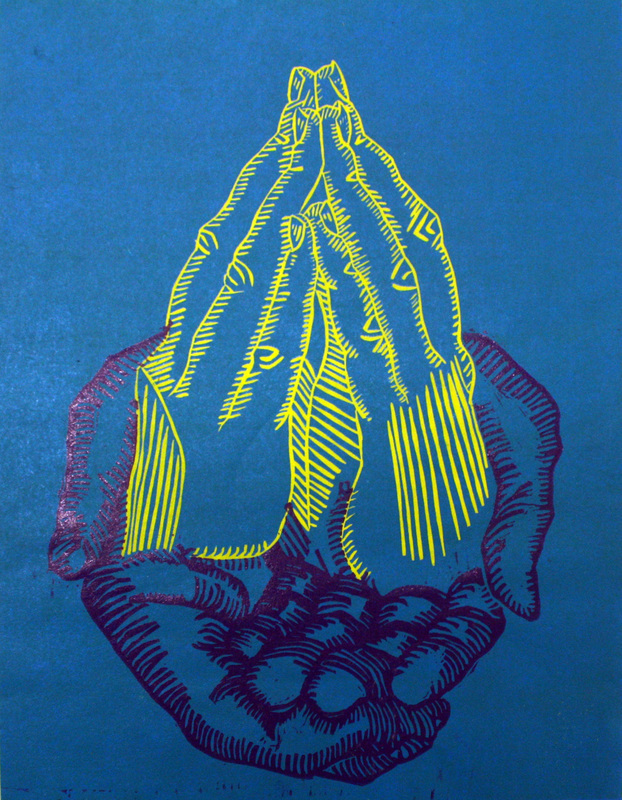
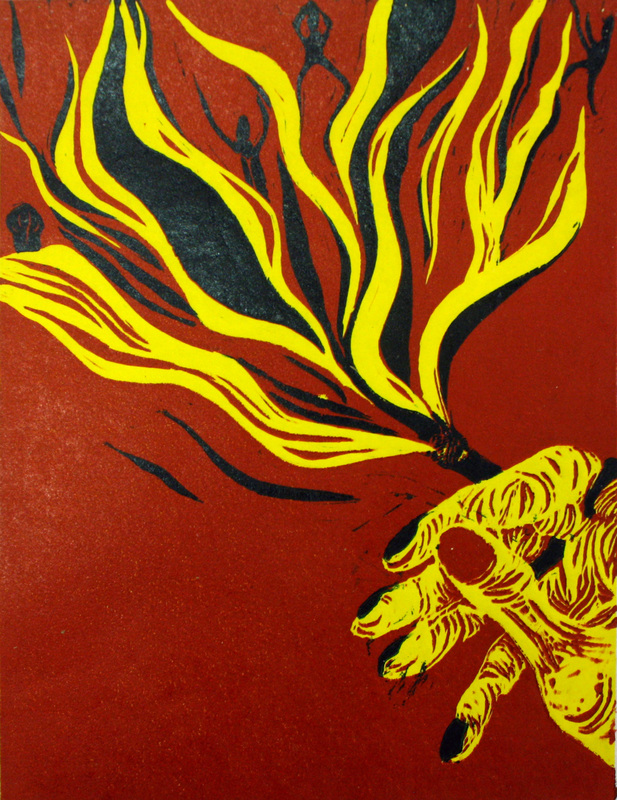
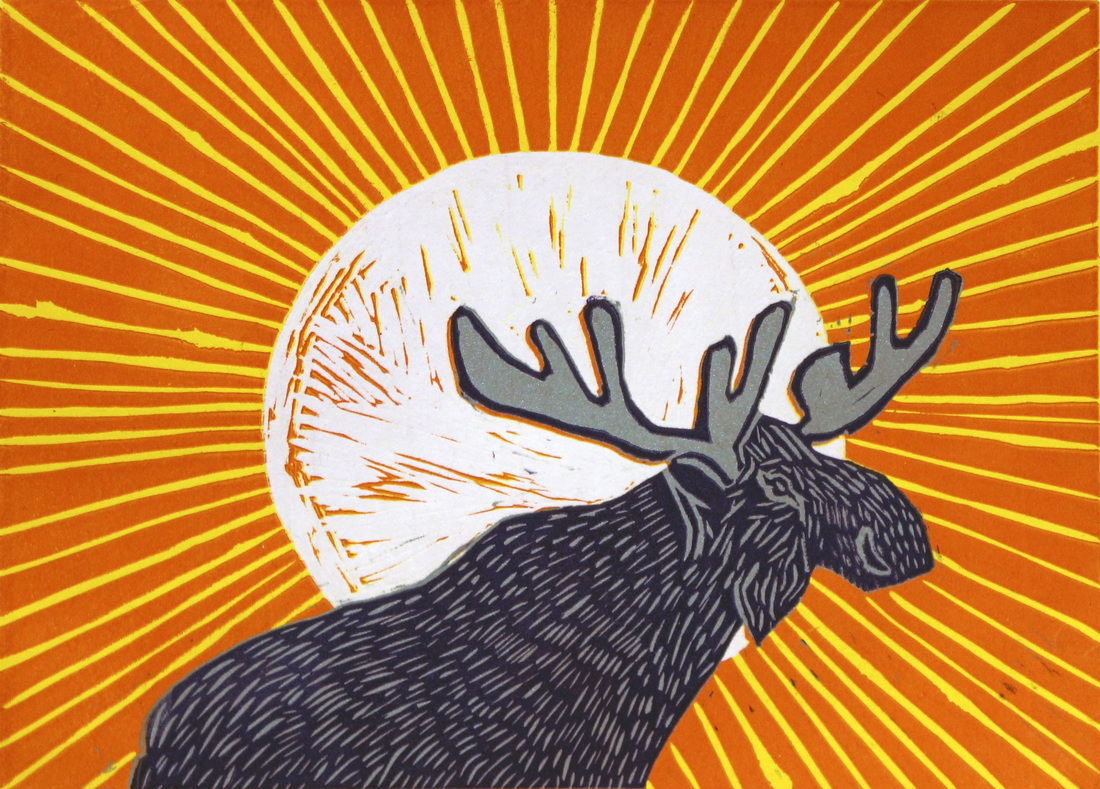
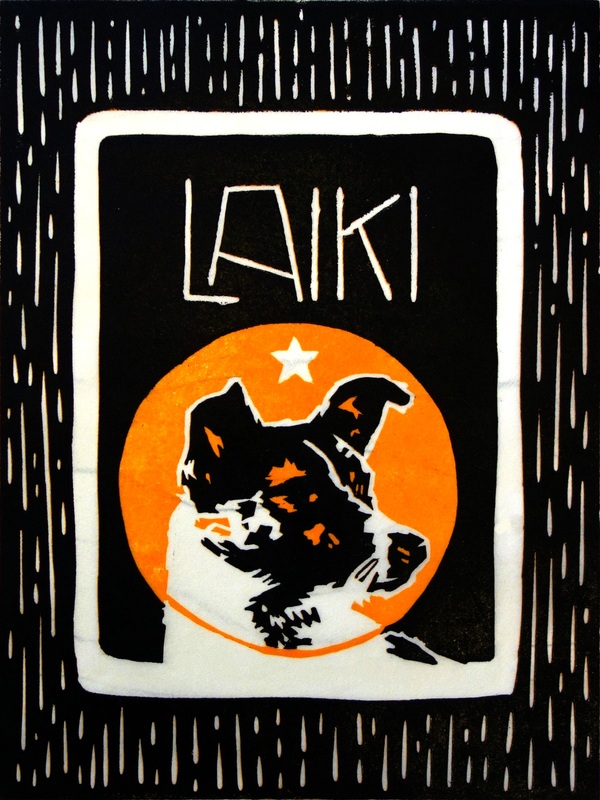
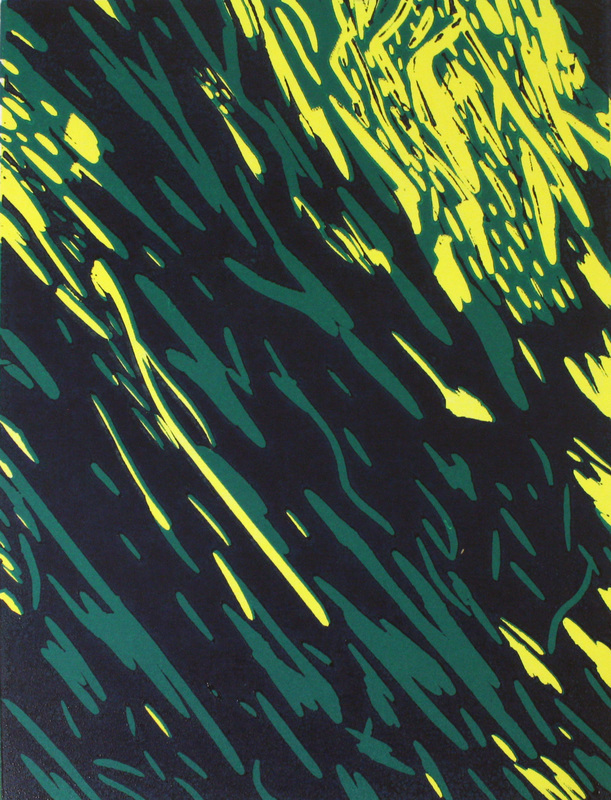
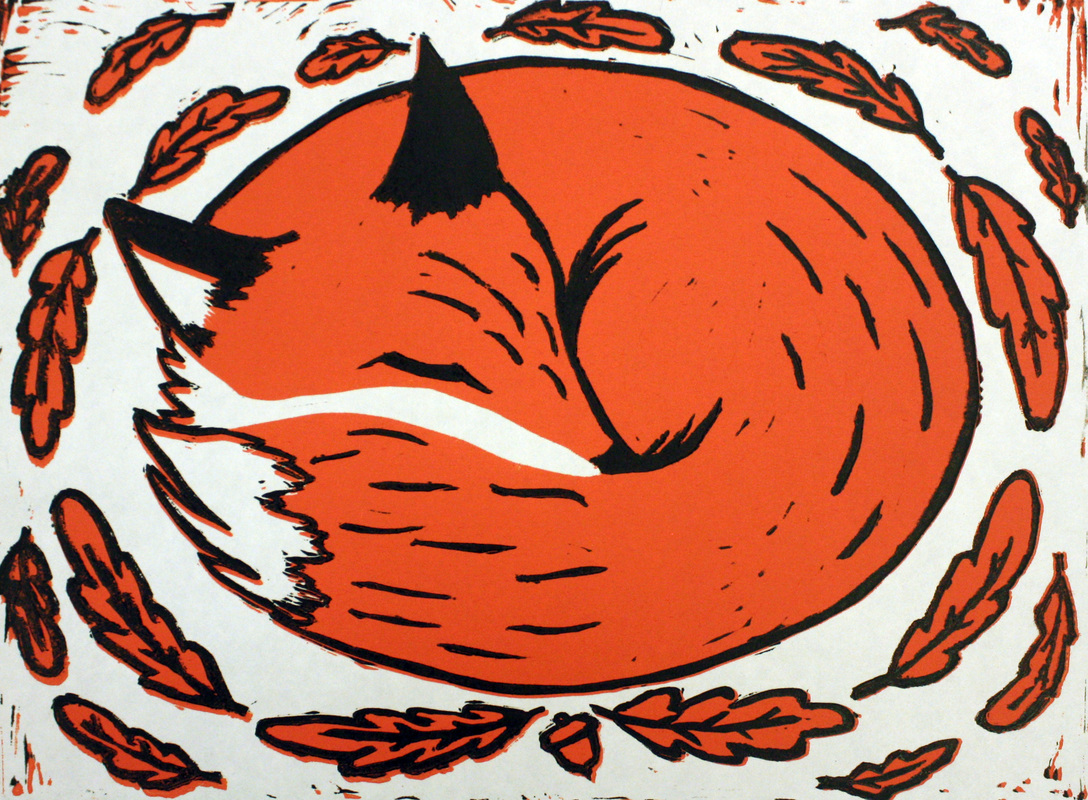
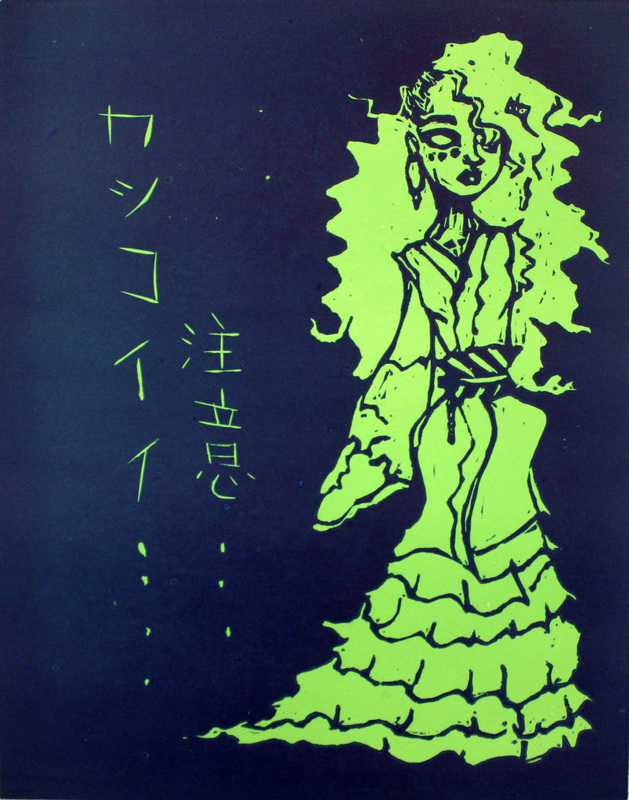
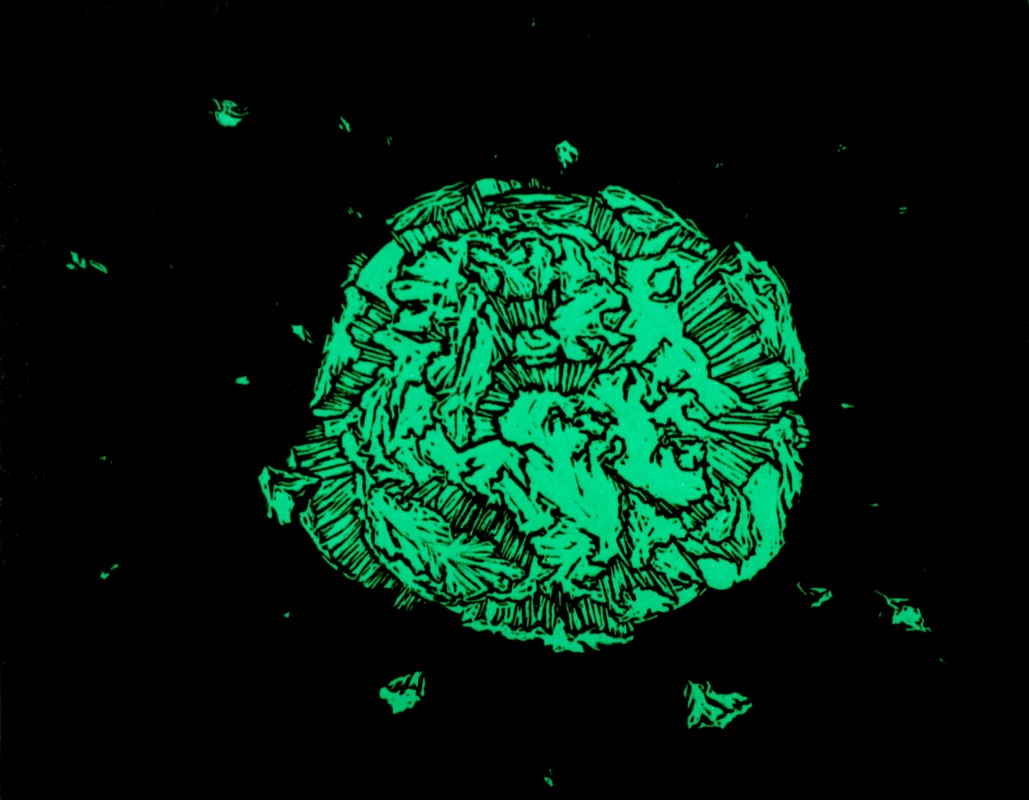
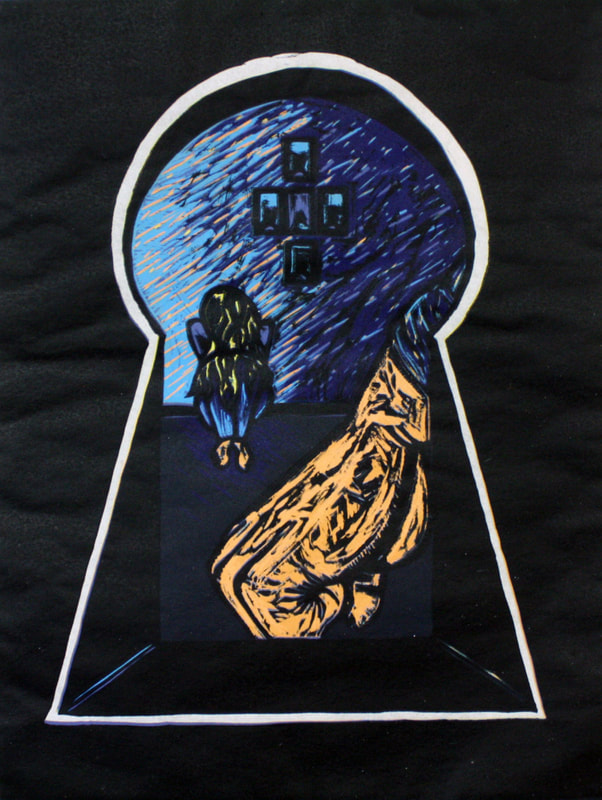
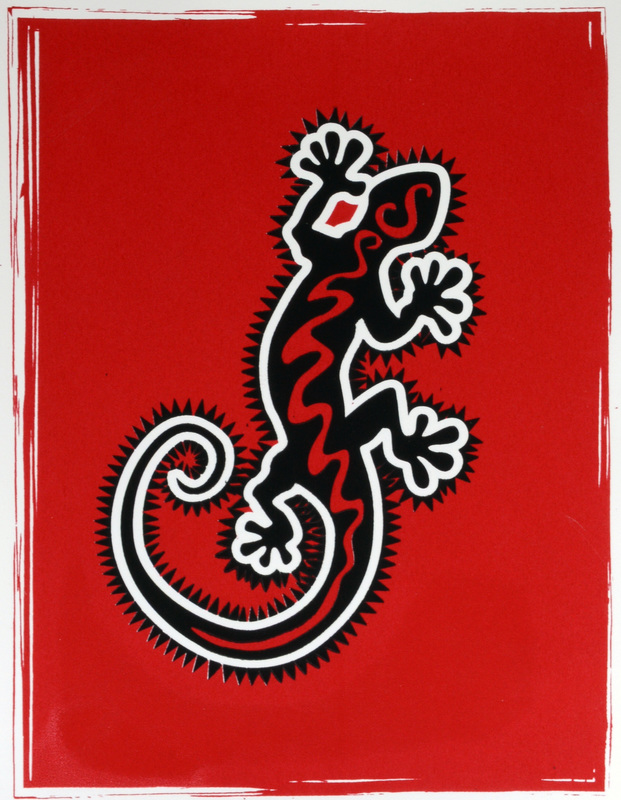
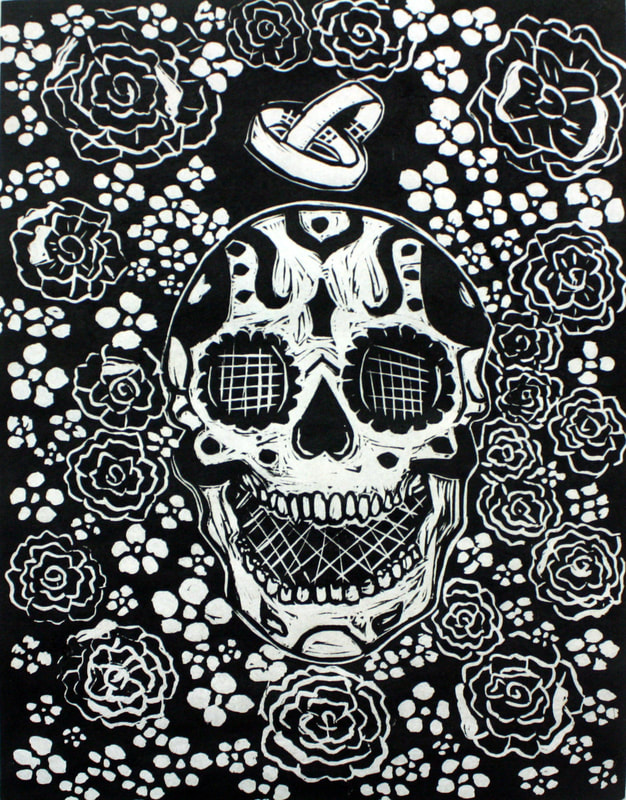
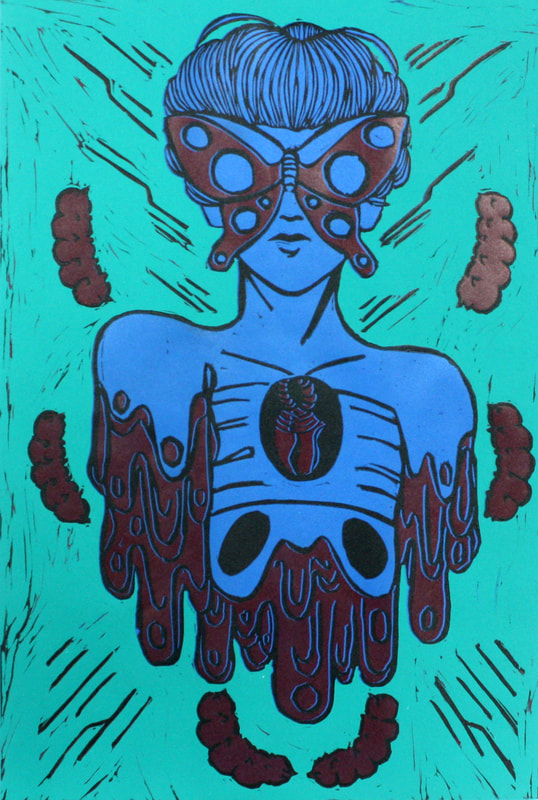
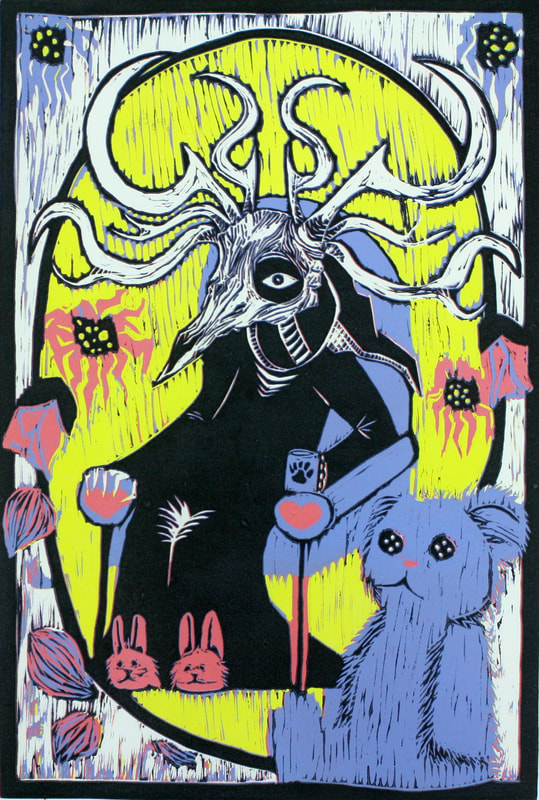
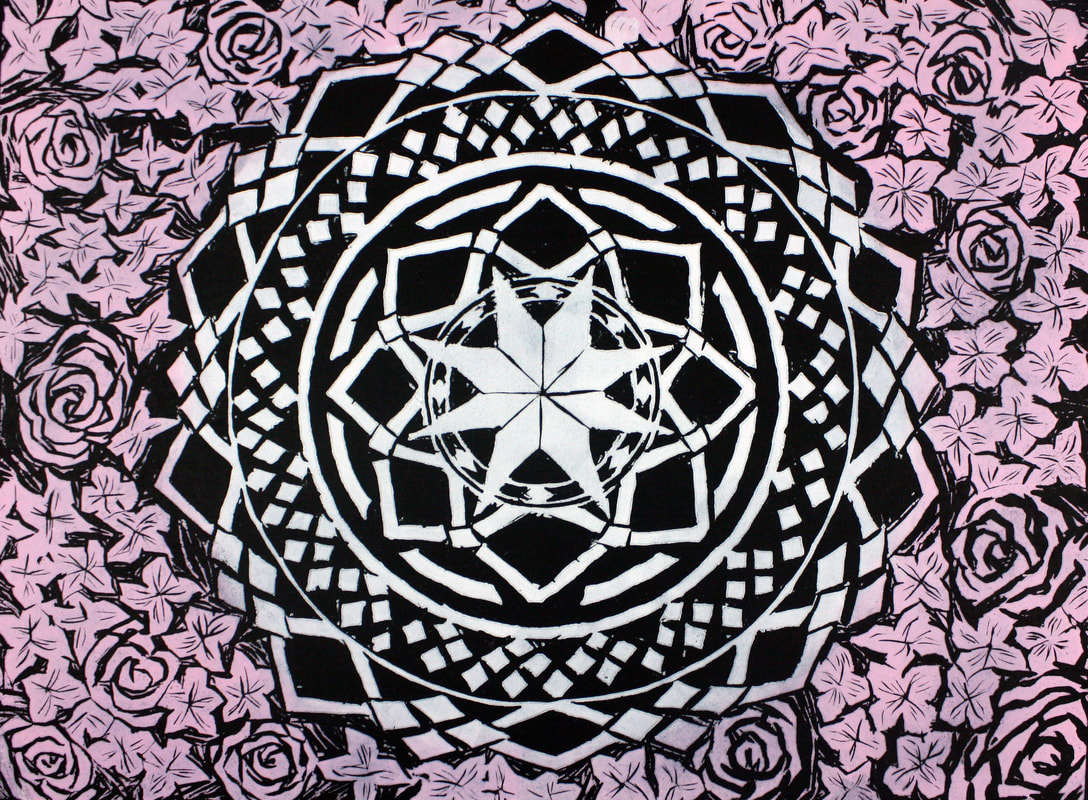
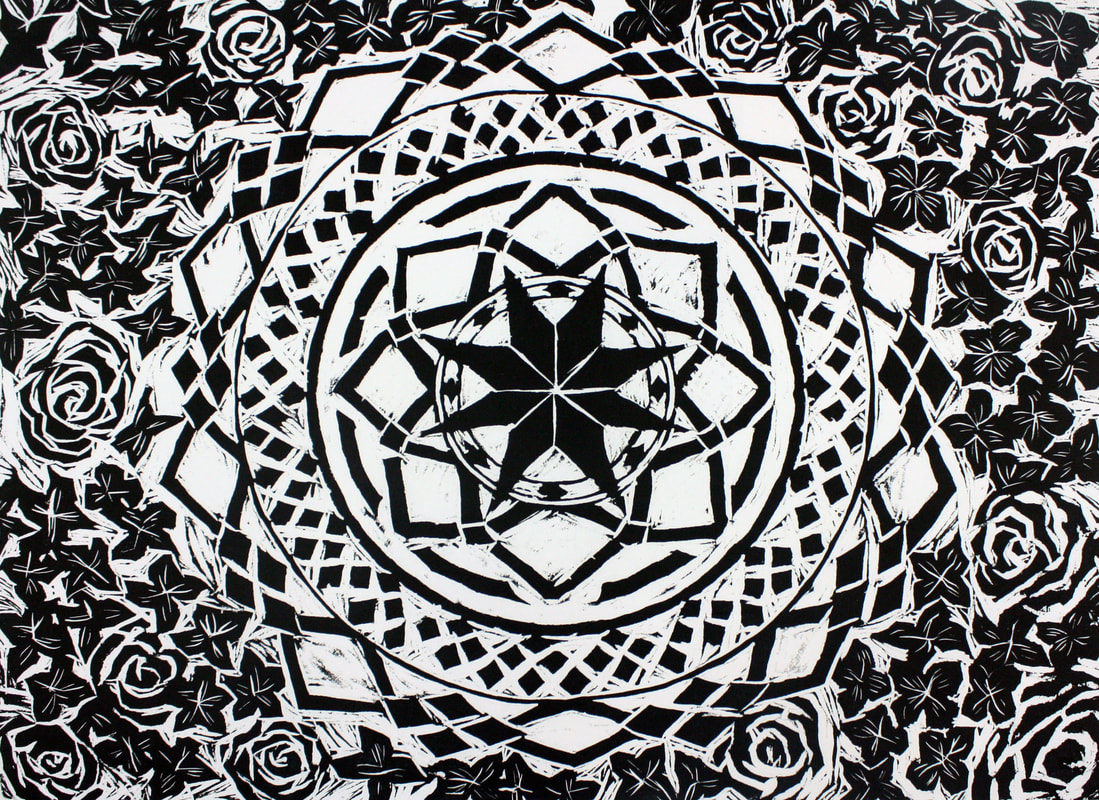
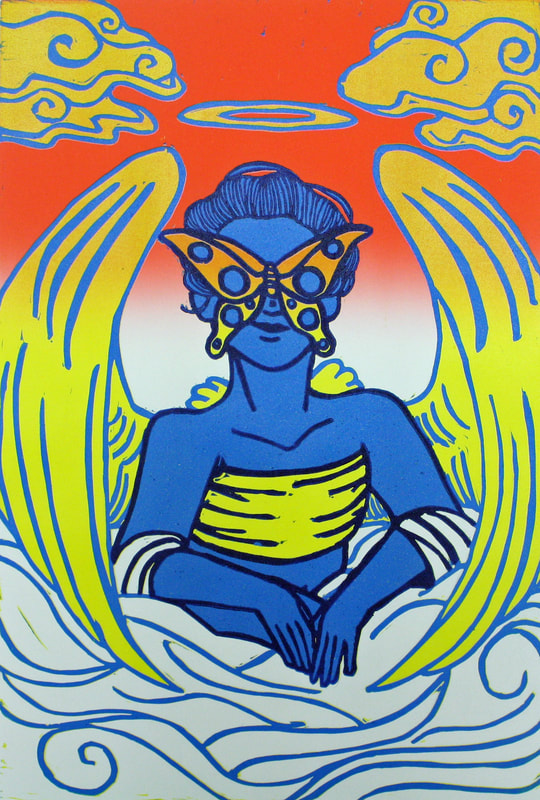
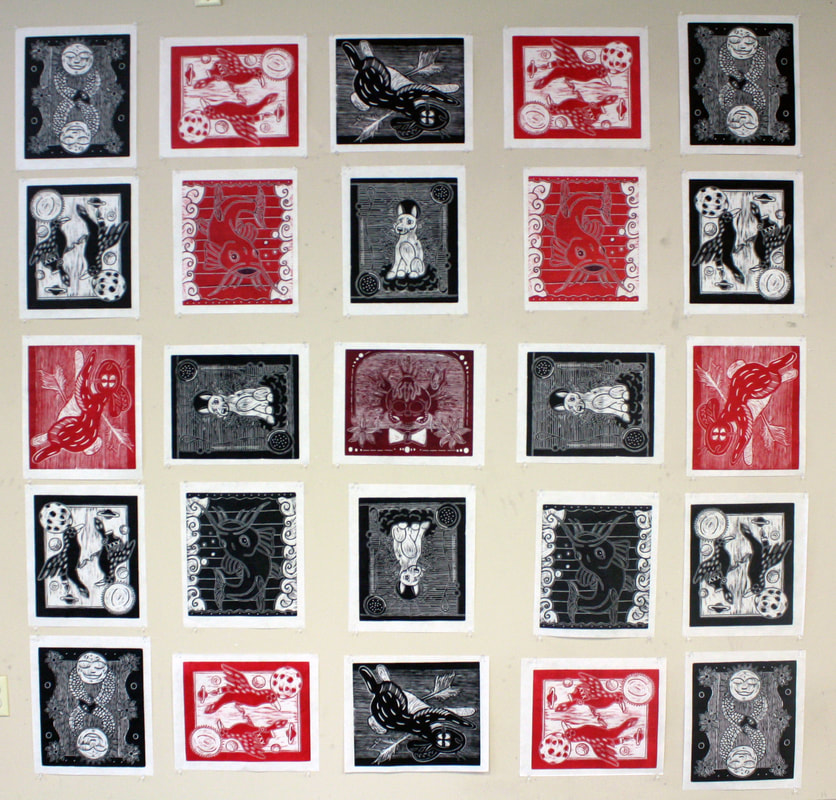
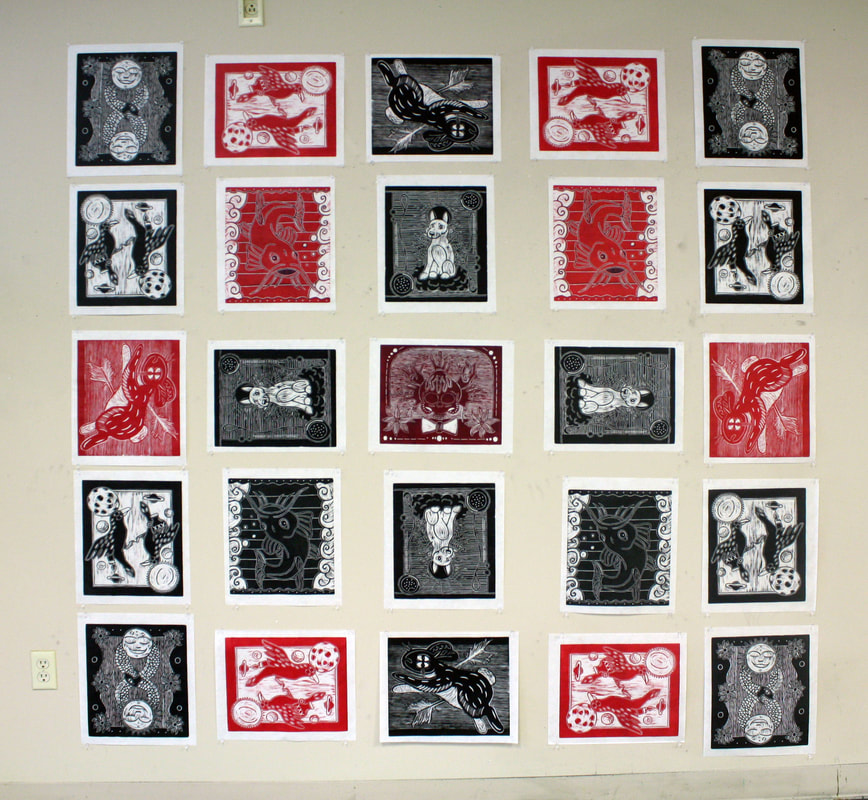
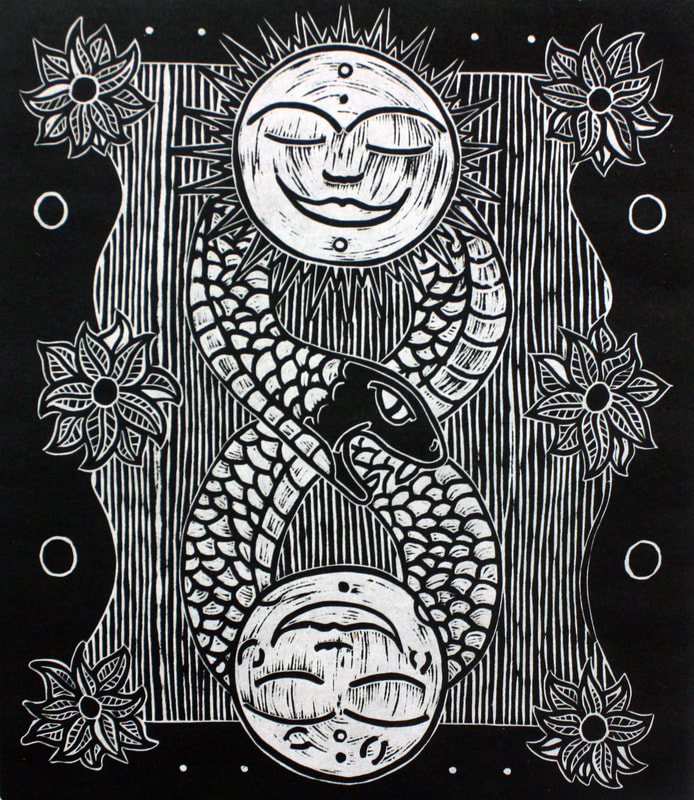
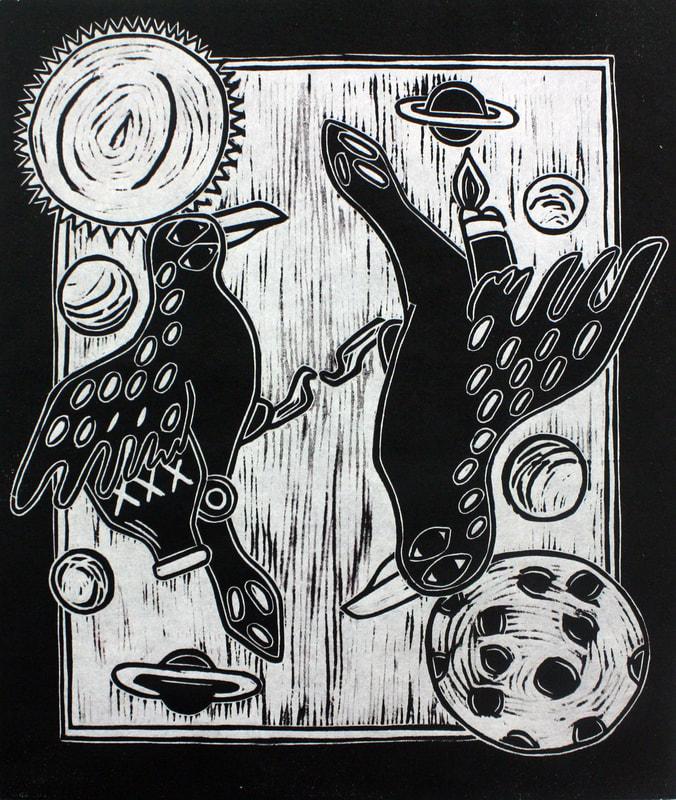
Linocut Reduction Project - The linocut reduction assignment consists of a lecture on on what linocuts are, relief prints carved from linoleum using gouges, tool safety and uses, studies for the students ideas and images, and a demonstration of printing their blocks. The students are allowed creative freedom, but are offered ideas on their images and conceptual ideas from their fellow classmates and the professor. They are required to have a five print edition at a set size and using at least two separate colors on critique day as well as a basis for their conceptual ideas regarding the image.
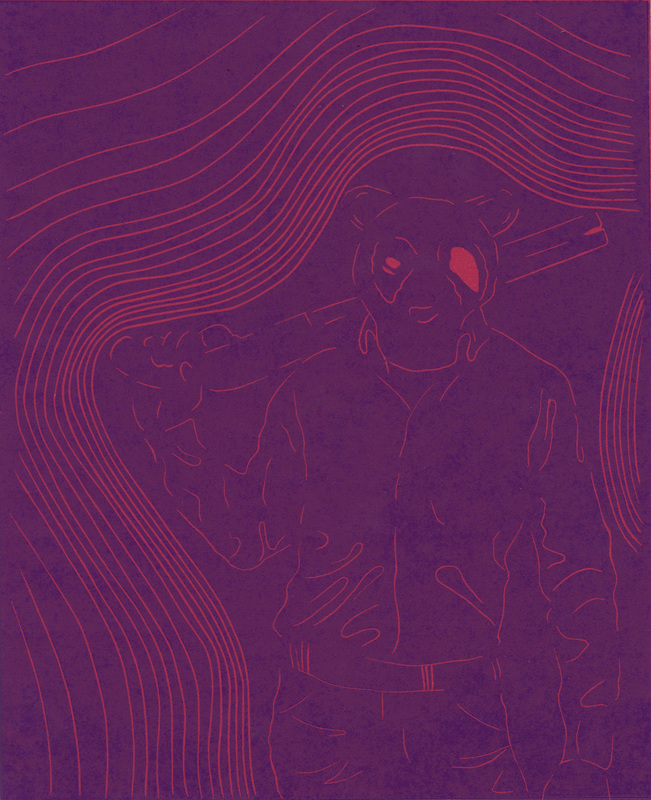


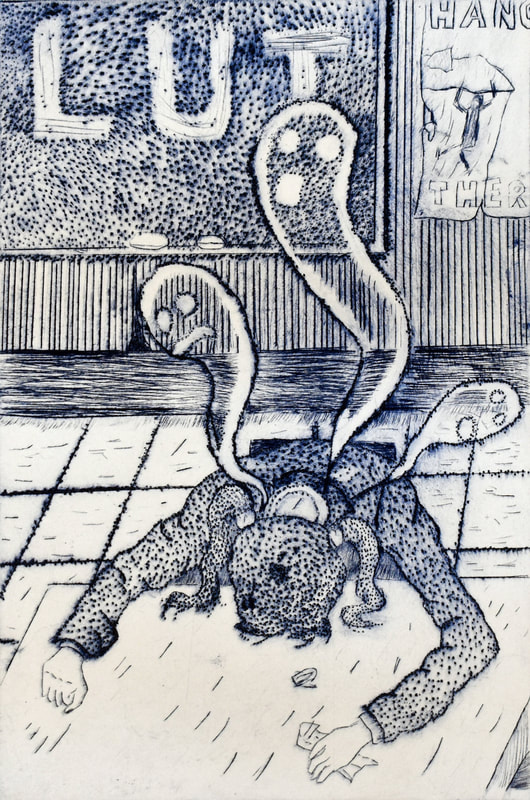
Plastic Drypoint Project - The plastic drypoint assignment consists of a lecture on what drypoints are, plates that are needled which cause burrs to allow the ink to sip into, tool safety and uses, studies for the student ideas and images, and a demonstration on printing their plates. The students are allowed creative freedom, but are offered ideas on their images and conceptual ideas from their fellow classmates and the professor. They are required to have a five print edition at a set size and using one color on critique day as well as a basis for their conceptual ideas regarding the image.


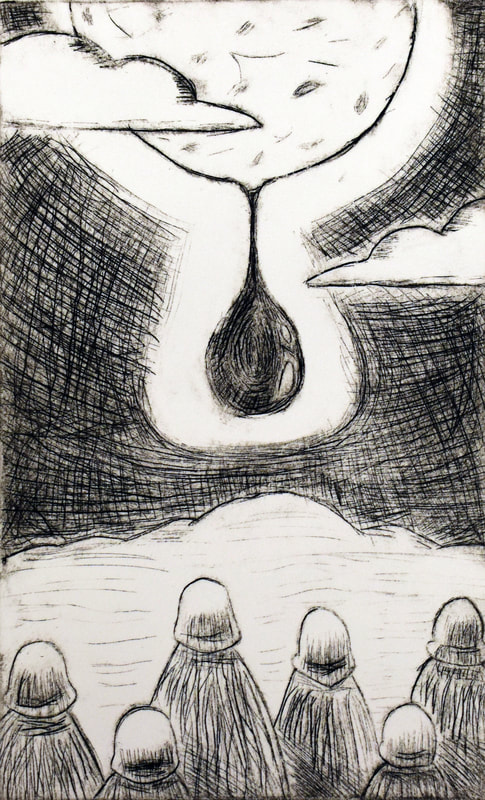
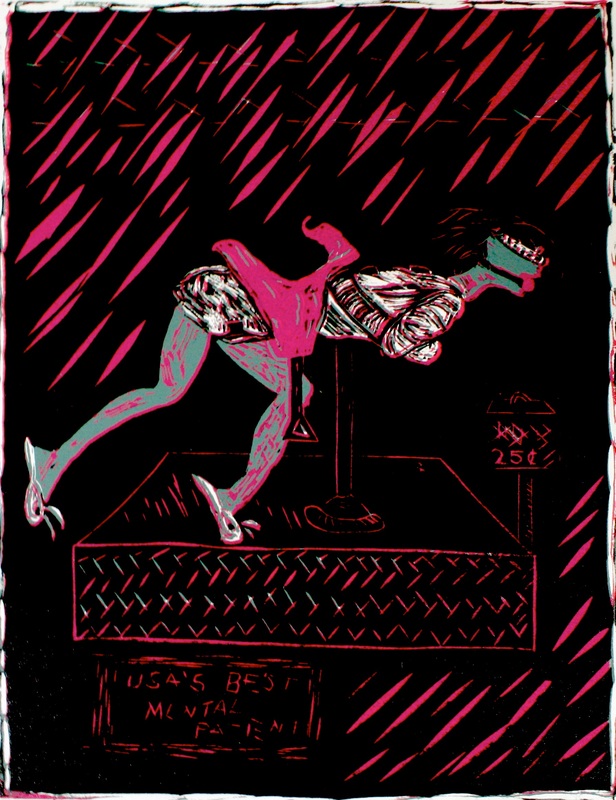
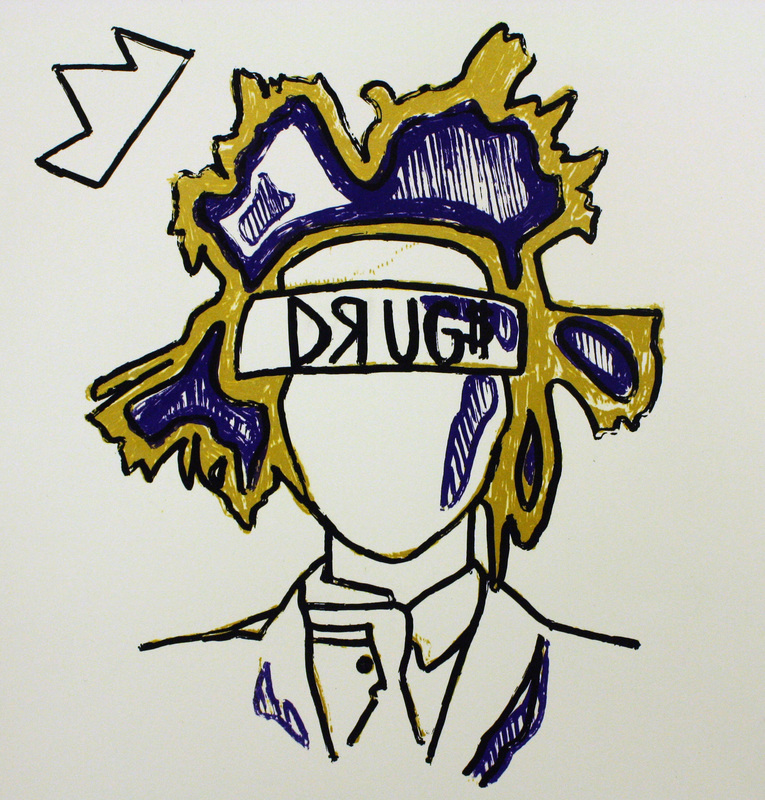
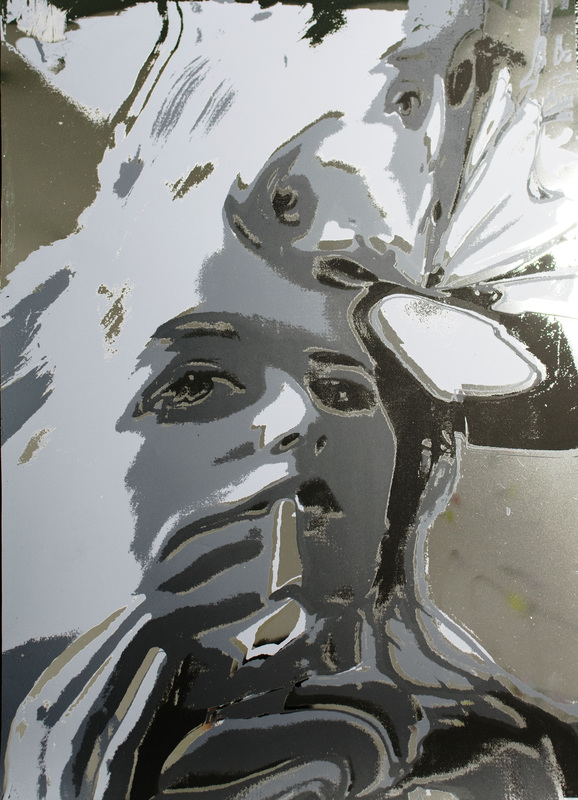
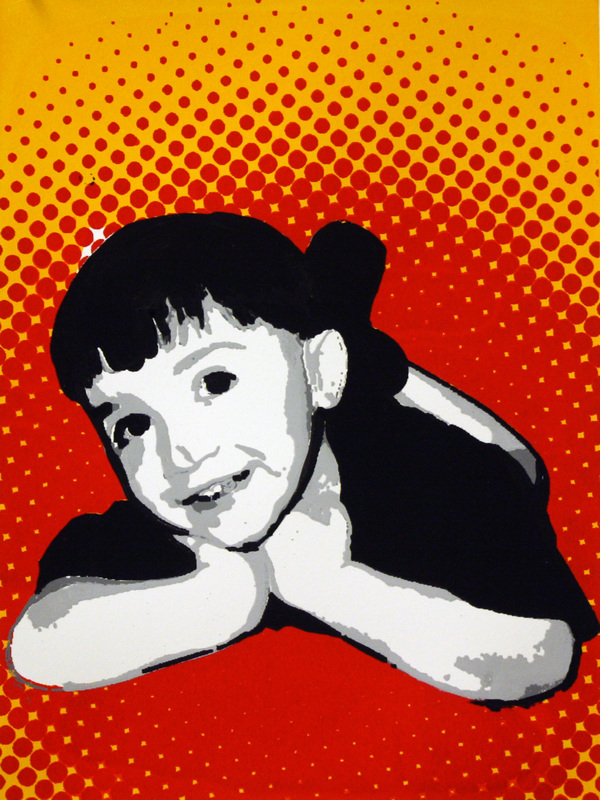
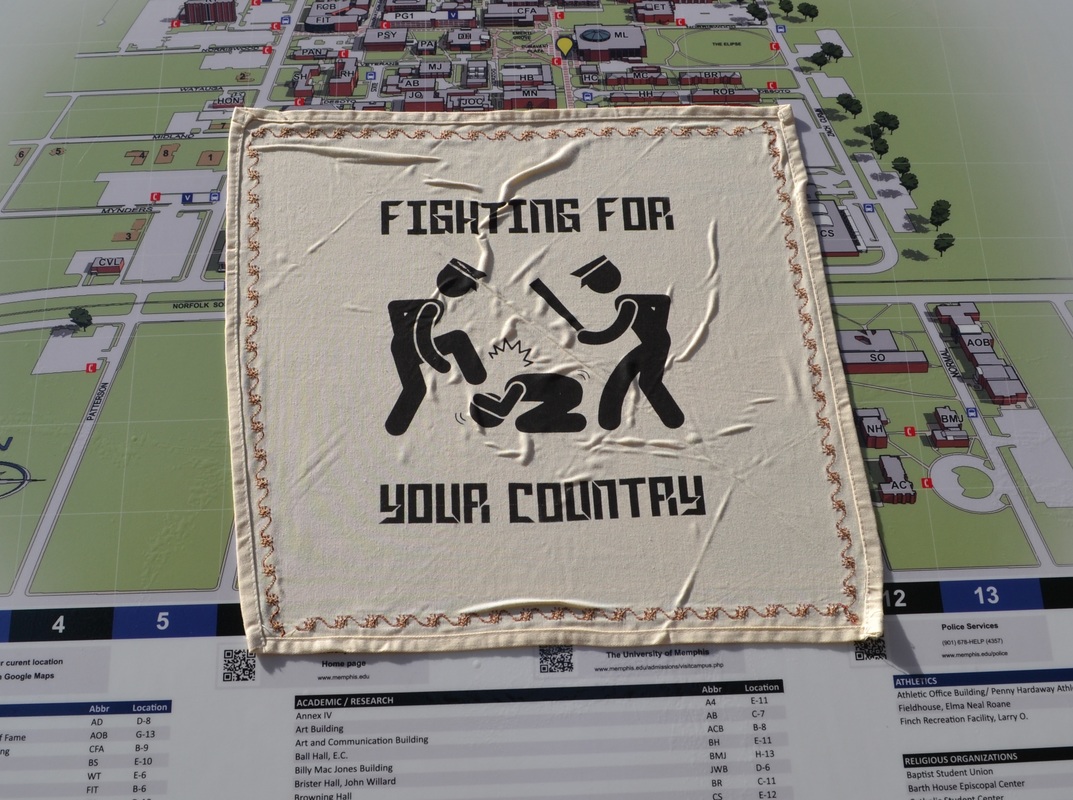
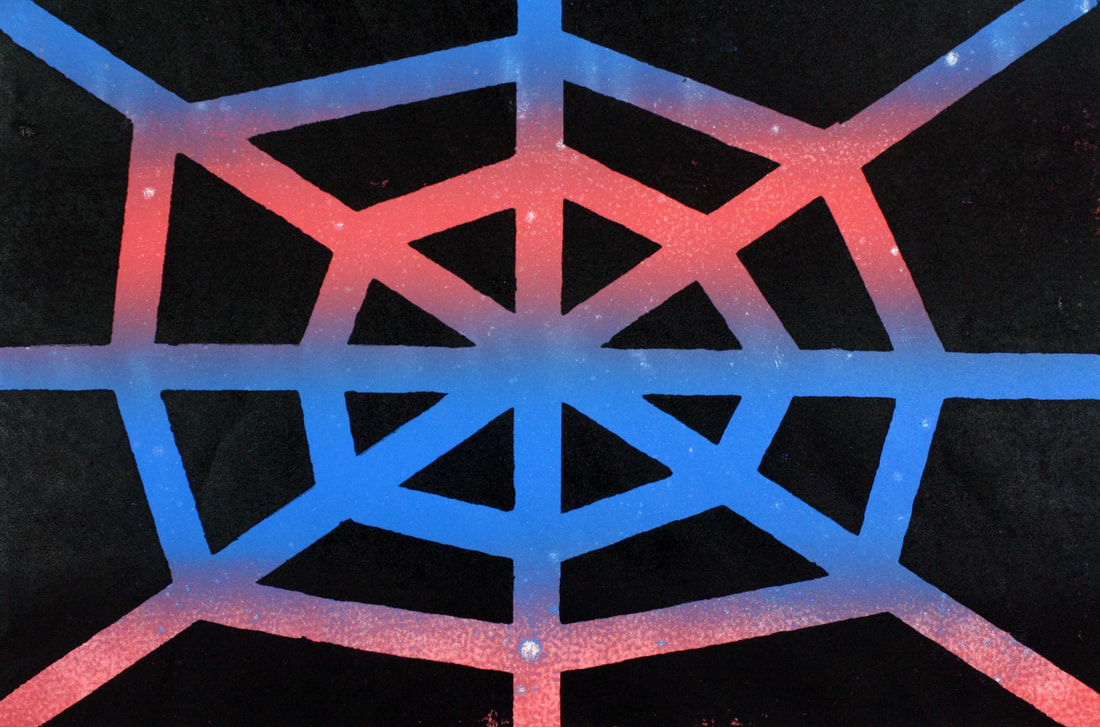
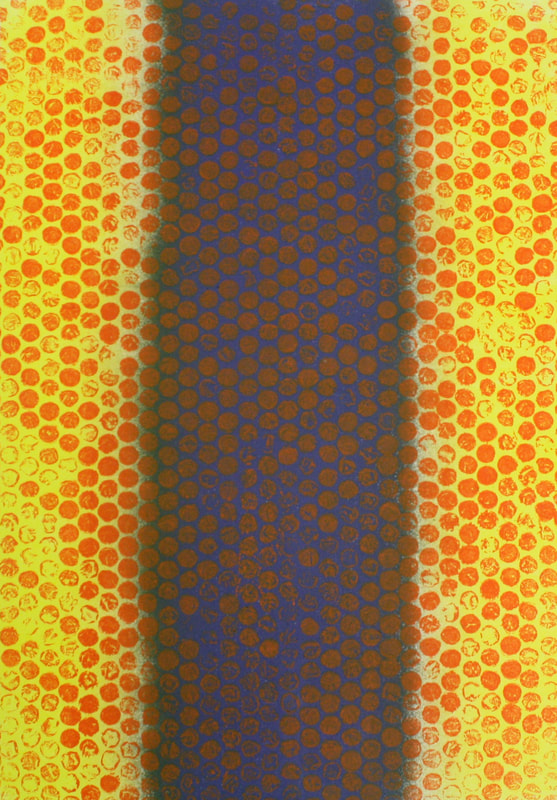
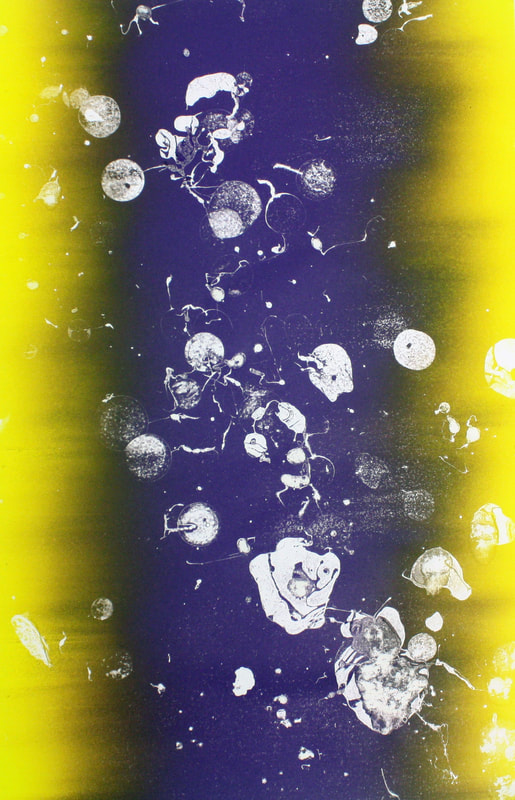
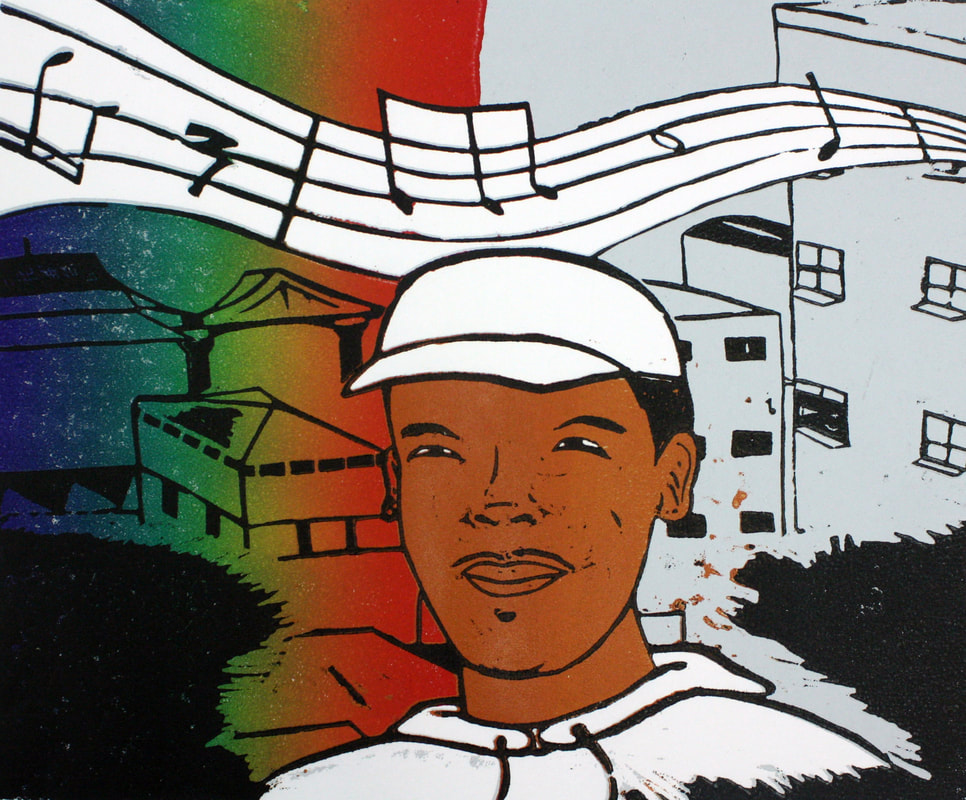
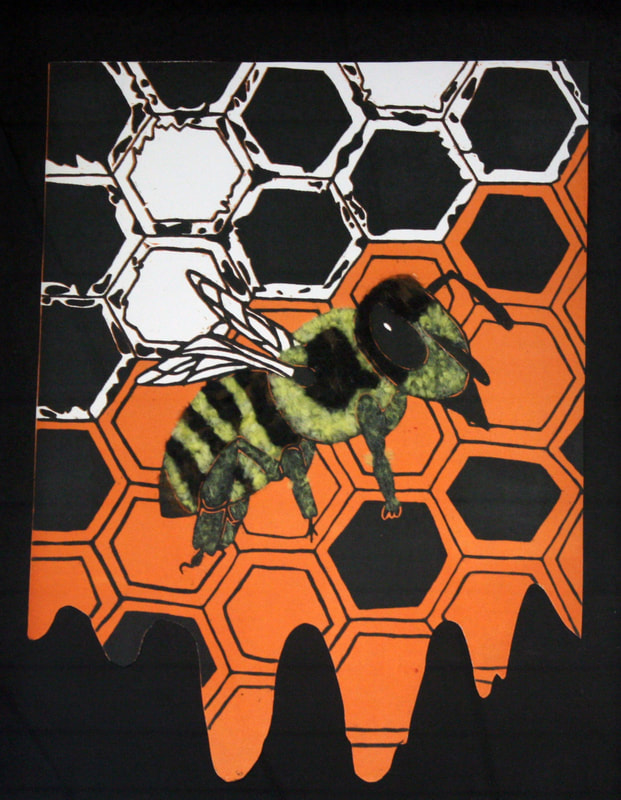
Screenprint Project - The screenprint assignment consists of a lecture on what screenprints are, prints created by layering ink on paper that is squeegeed through a silkscreen, tool and shop safety, studies for the students ideas and images, and a demonstration of printing their image. The students are allowed creative freedom, but are offered ideas on their images and conceptual ideas from their fellow classmates and the professor. They are required to have a five print edition at a set size and using at least two separate colors on critique day as well as a basis for their conceptual ideas regarding the image.
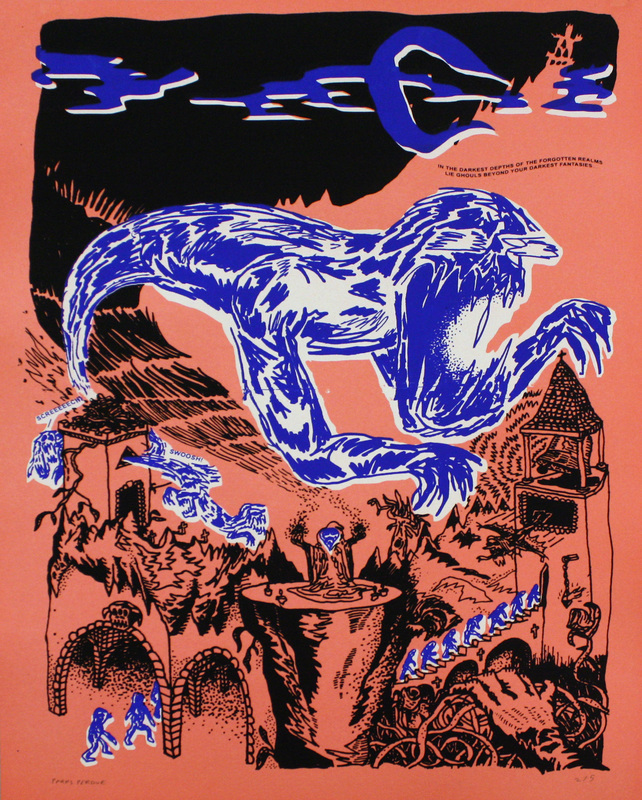
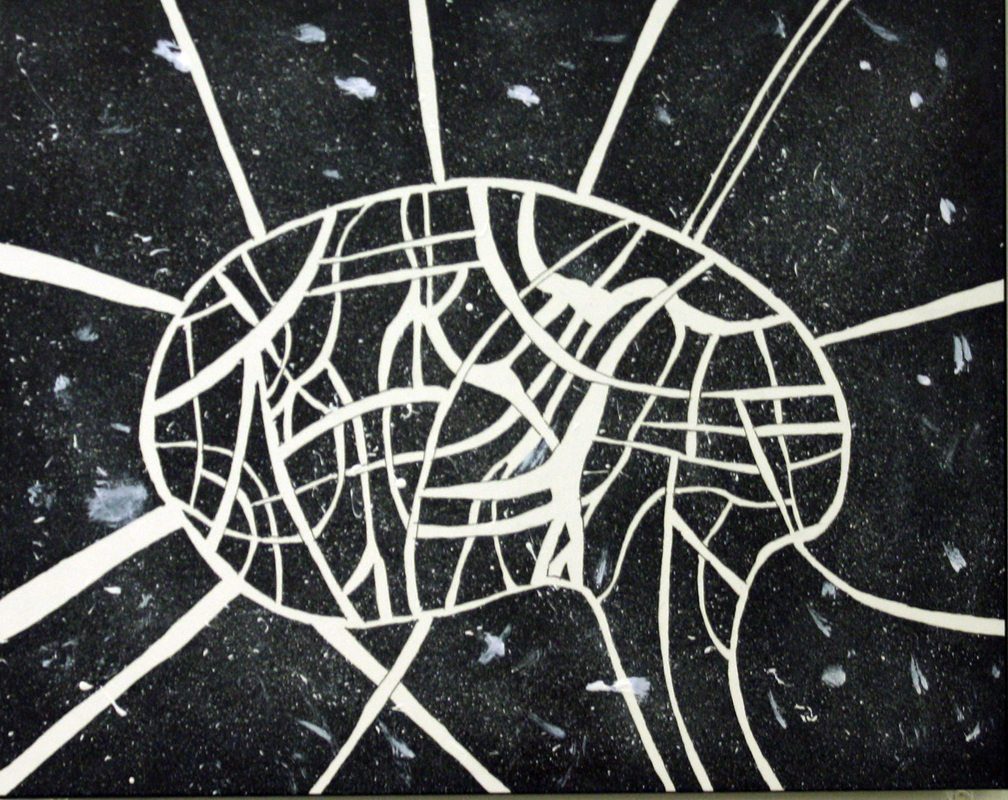
Final Project - The final assignment is issued in the middle of the semester, so that students can begin to sketch and work on their project as they learn more methods of printmaking, and to help their ideas form solid. The students are asked to create a work that is conceptual, but may be any idea they have using one method they learned in the class. The student is then allowed three options. The first option is to take what they've learn and expand, so they can choose to use a bigger size or use more colors in their final print. Their second option is to take two methods they've learned and combine them. The third option is to take a process they've learned over the course and fuse this with their main concentration, whether it be graphic design, painting, or sculpture. They are required to have their final art work ready to display on critique day as well as a basis for their conceptual ideas regarding the image.


Printmaking II
Monotype Project - Students are tasked with using inks and plexiglass to create monotypes. They are able to use blend rolls, texture, stencils, and liquids to aid in this project.
Monotype Project - Students are tasked with using inks and plexiglass to create monotypes. They are able to use blend rolls, texture, stencils, and liquids to aid in this project.


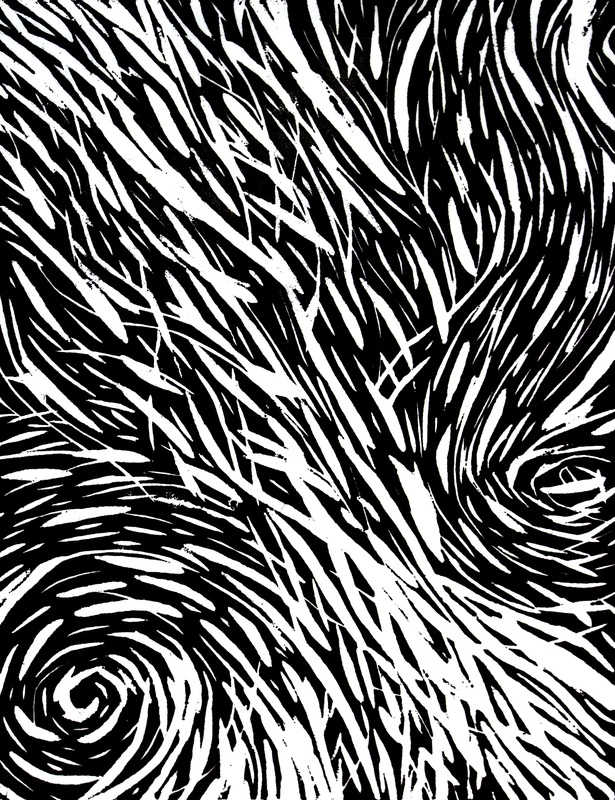
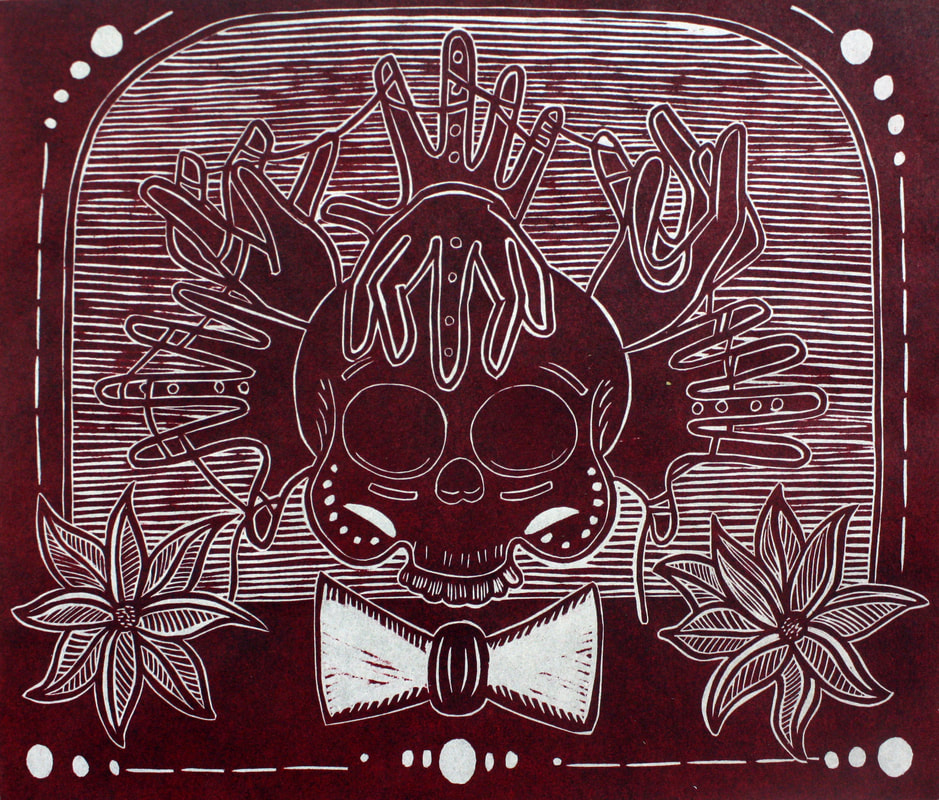
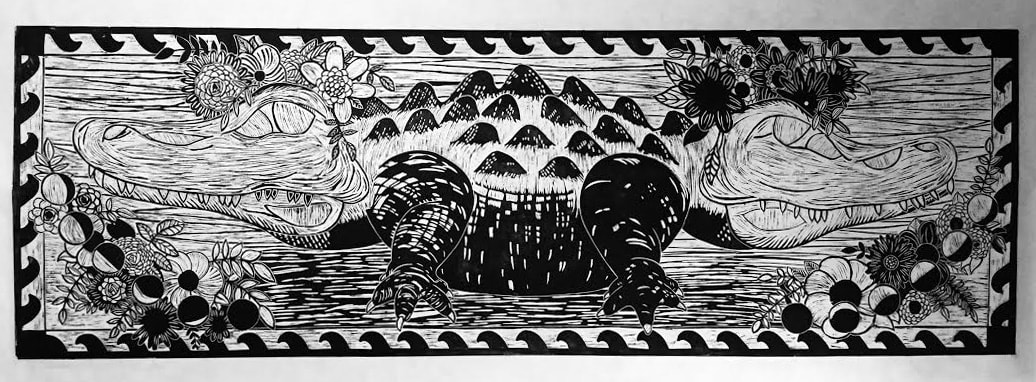
Large Scale Linocut - Students are tasked with creating and carving a large scale linocut at the size of 12x18" or larger. They are asked to use 2 or more colors in printing these linocuts and present these in an edition or to have a variable edition using 2 or more colors.

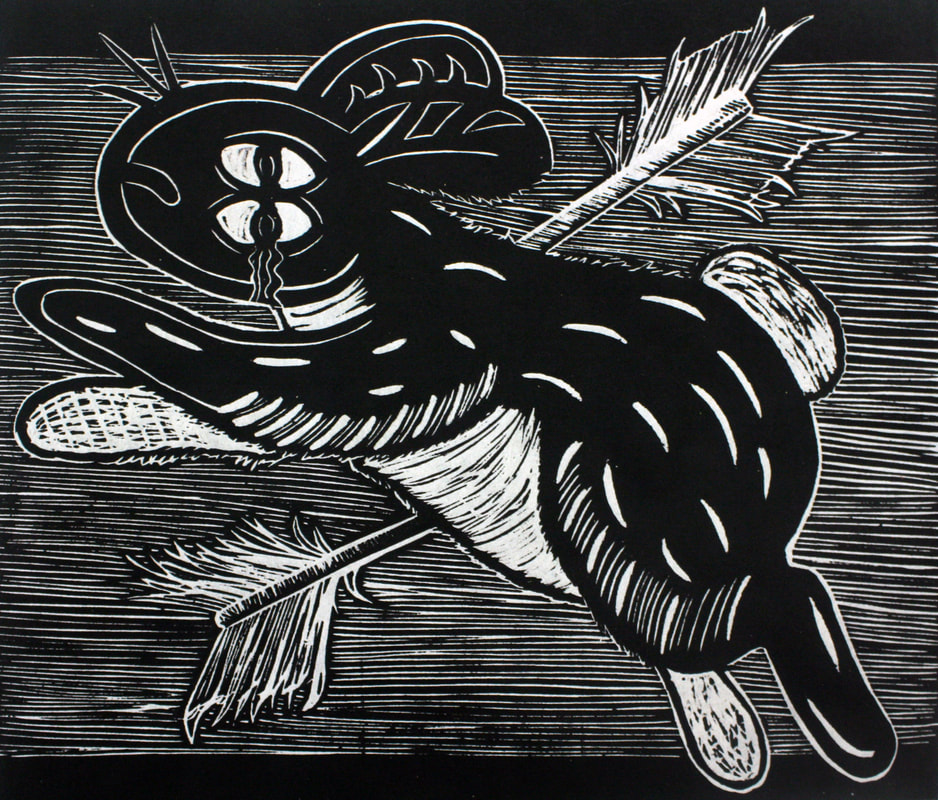
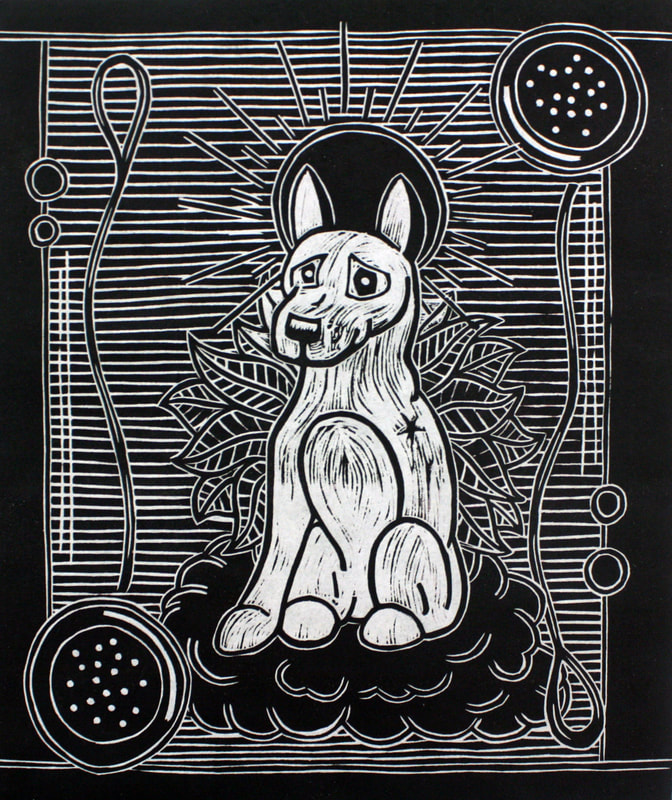
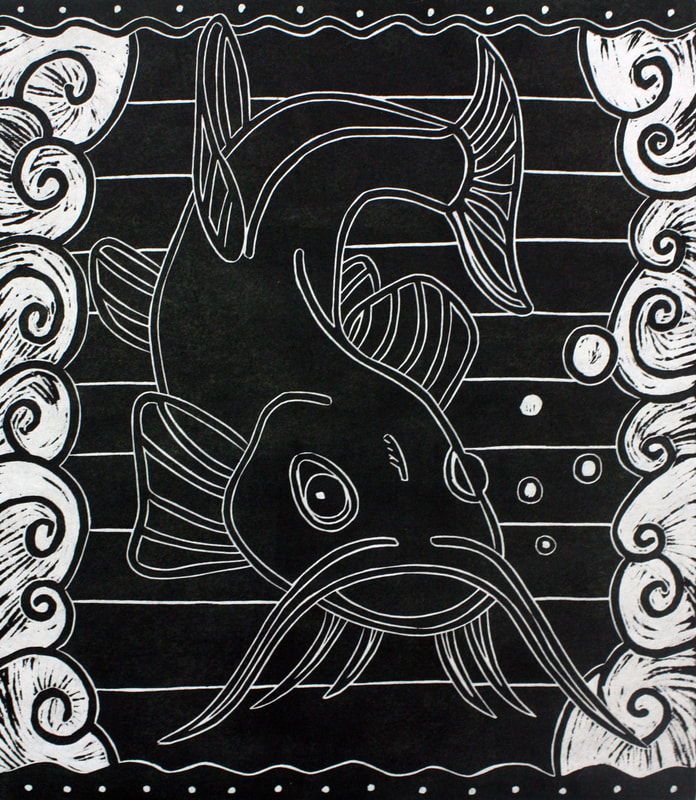
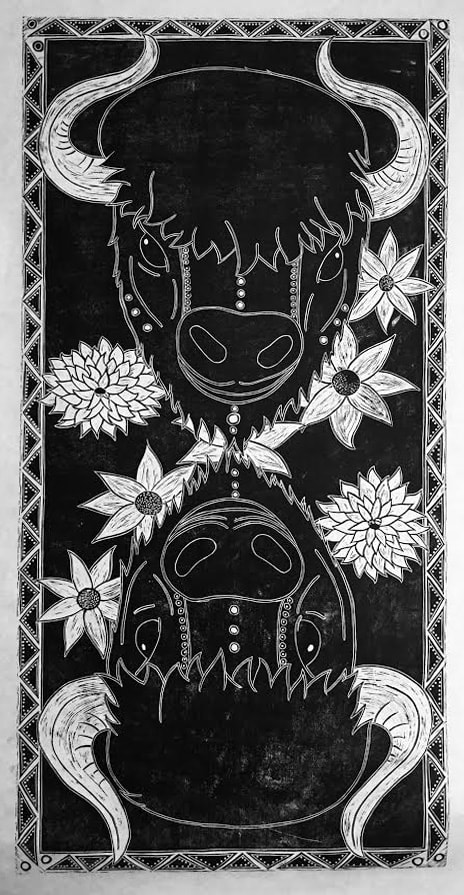
Large Scale Woodcut - Students are tasked with creating and carving a large scale woodcut at the size of 20x24" or larger. They may combine 2 or more colors, do a reduction, or multi-block, but must have at least 3 prints and a black & white version.

Final Project - Students are tasked with creating their Print II Final from various options created by the professor or an option they have created.

Independent Study
This area is reserved for work created when working with students on various Independent studies. Semester and year will be listed along with student name and the materials they used.


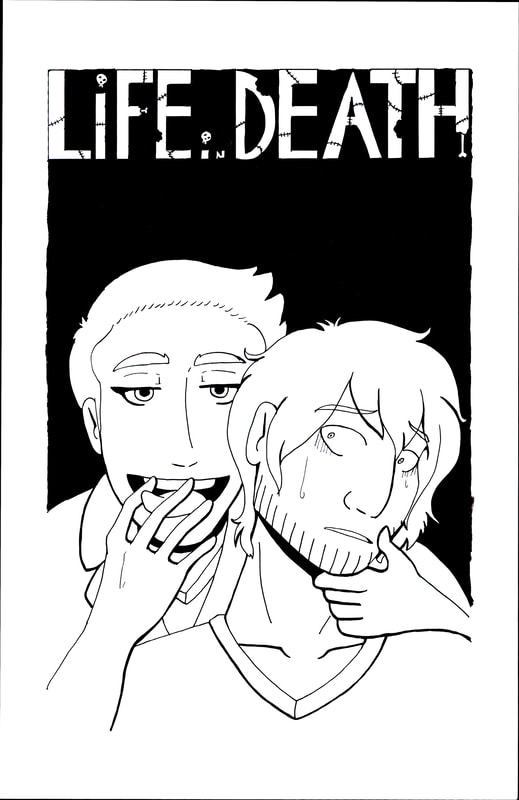
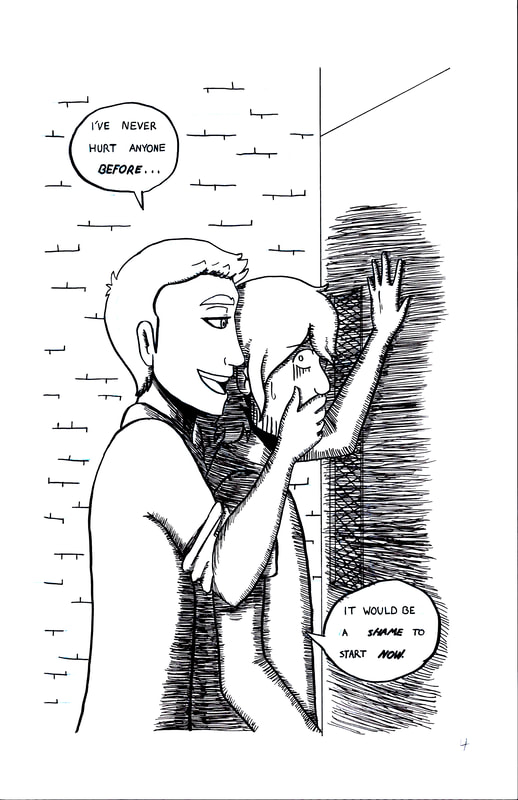
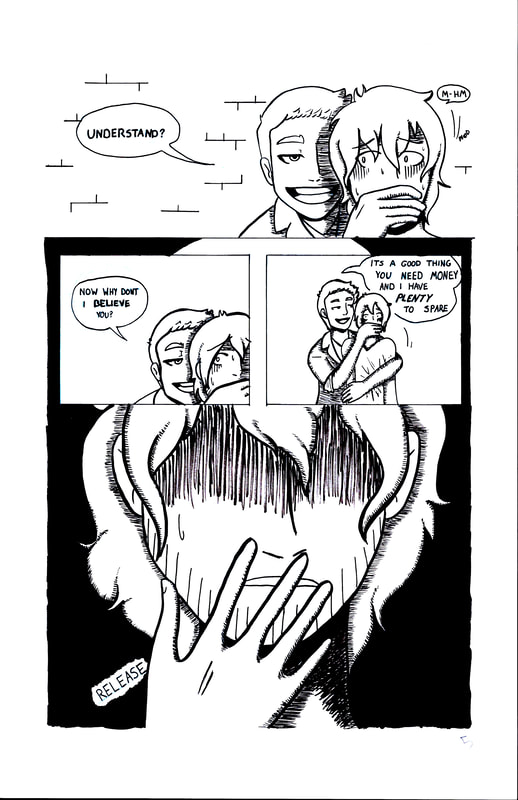
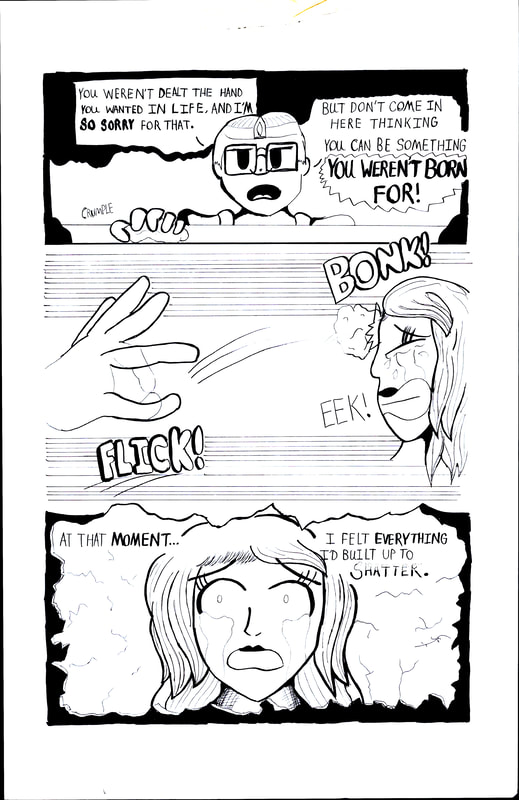
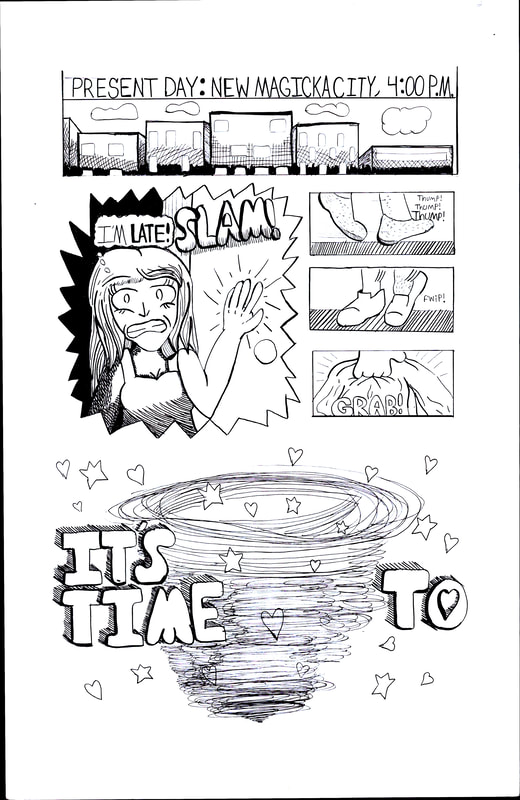
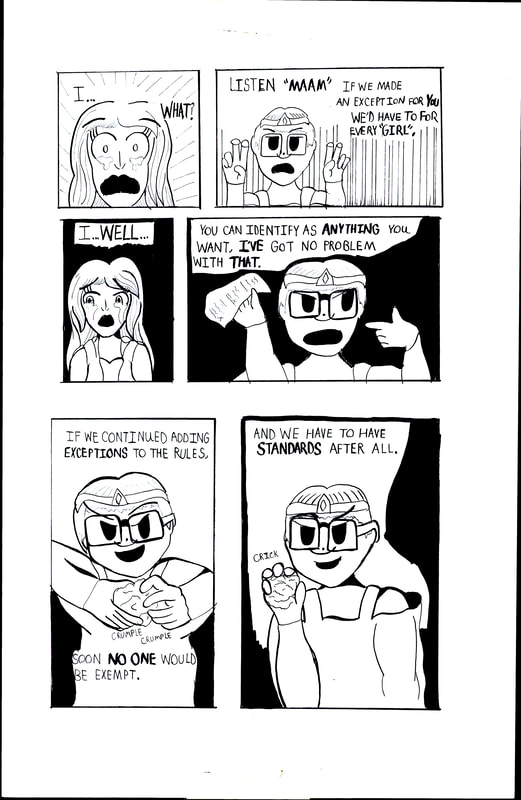
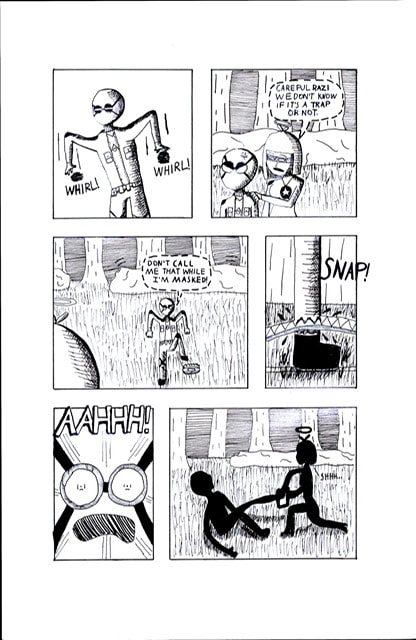
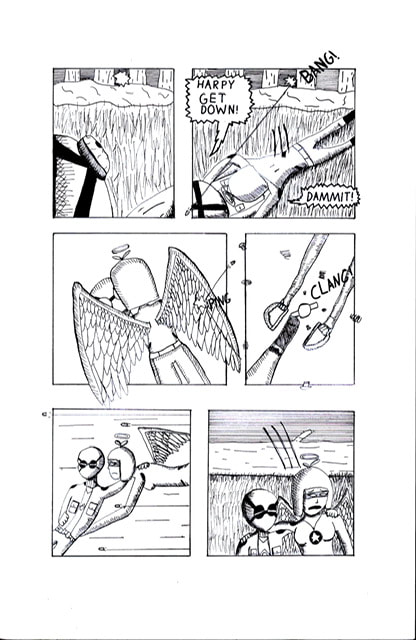
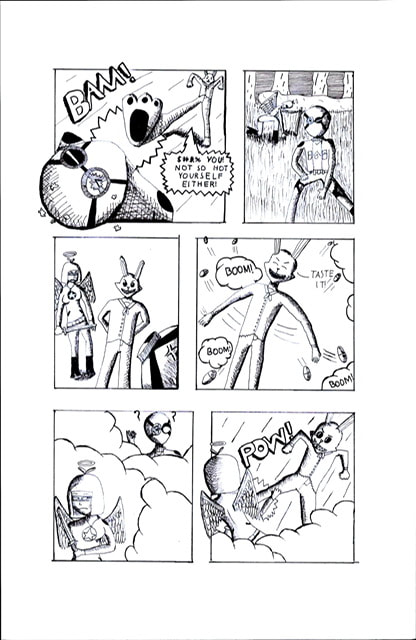
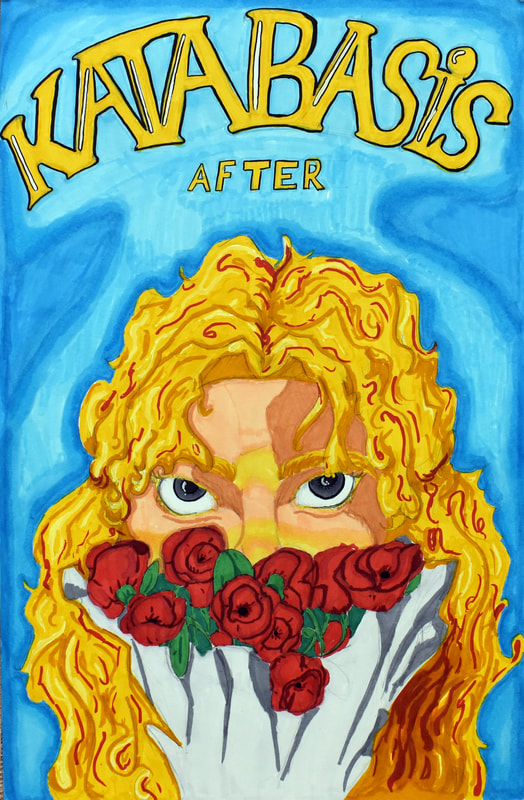
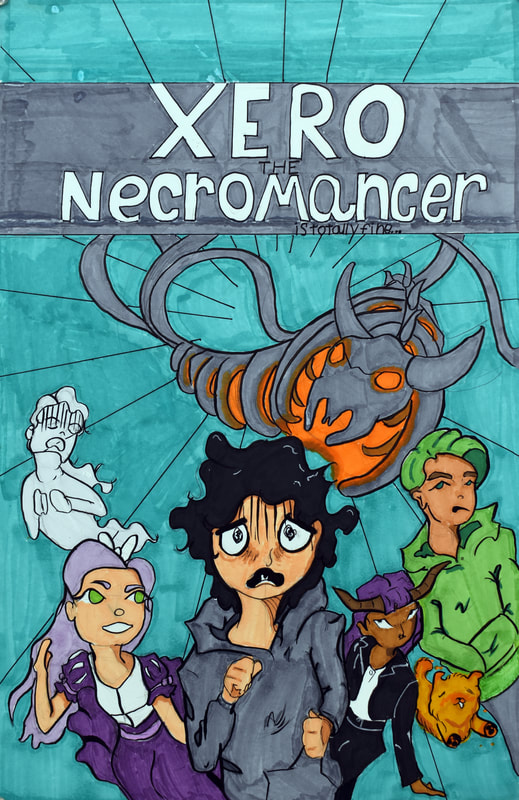
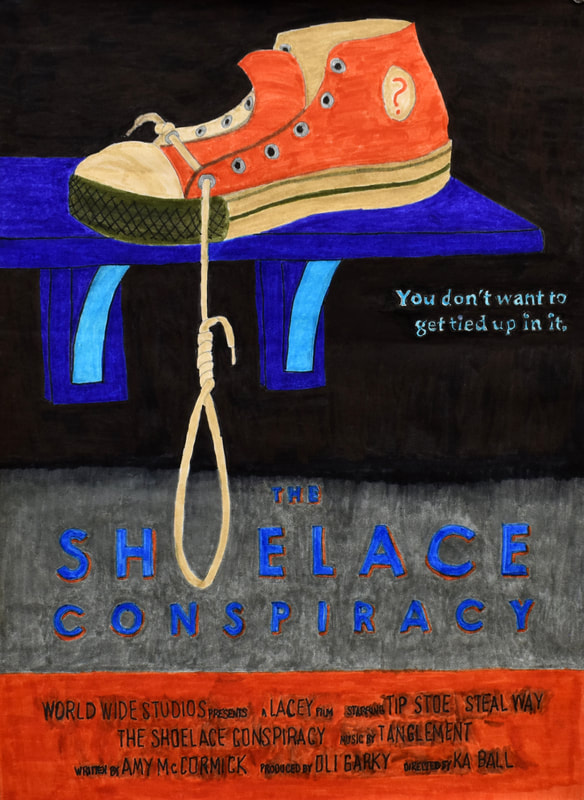
Comics and Sequential Art I